What do you throw a drowning bassist?…their case.
Just kidding! Let’s be real and acknowledge that the bass guitar plays an incredibly crucial role in our music today. A lot of popular music is driven by the bass. So if a bass track isn’t recorded well, it can really hurt the excitement of a recording. There are many ways to record bass, but I’m going to discuss three general methods that will each yield a different result.
DI into the interface
This is technically the easiest method, because modern interfaces like the Focusrite 18i20 allow you to plug directly into the instrument input.
In this situation, I would recommend putting a saturation plugin on the channel after you’ve tracked it — something like Softube’s Saturation Knob or Izotope’s Neutron Exciter can work wonders. Direct to interface recording can sometimes have a harsh timbre, especially on the high frequencies. Adding a saturation that emulates an analog sound can round off some of the high frequencies of the bass tone and make it feel less stale. If you have a Universal Audio interface, you could achieve a similar goal by using one of the pre-amps on the unison channel. I really like their Neve Preamp plugin for this.
It’s an easy method because you don’t need that many cables, but you’re leaning heavily on the natural tone of your instrument and the instrument preamps on your interface. If the preamps on your interface have a limited frequency response, it can be hard to get good low frequencies out of the recording.
If you want to record bass with just one channel, I recommend adding an analog component to the signal before hitting the interface. Something like an analog microphone preamp or a simple DI box. My personal favorite preamp is the UAD LA-610 — the instrument input has a rich frequency response and the built-in LA-2A compressor happens to be an incredible bass compressor. If you’re more interested in a DI, I would recommend the Radial Pro DI. The transformers sound full, the enclosure is very durable, and it allows you to record your amplifier at the same time.
DI with an Amp
Okay, your new DI box sounds great, but maybe you’re still missing something in that bass tone. I often feel like the DI bass track doesn’t have the mid frequencies I want. This is where you add an amplifier to the mix. DI boxes have a “thru” output that allows you to send your guitar/bass to the amplifier and the interface at the same time. The “thru” output can be connected to the bass amp, while the XLR output of the DI will be plugged into a microphone preamp or directly into channel 1 on your audio interface.
Now you just have to place the microphone in front of your bass amp and plug it into channel two. I recommend using a microphone that can handle a lot of SPL without clipping, like a dynamic or condenser microphone with a pad on it. I wouldn’t recommend using a ribbon because those tend to clip sooner when placed in front of a loud source.
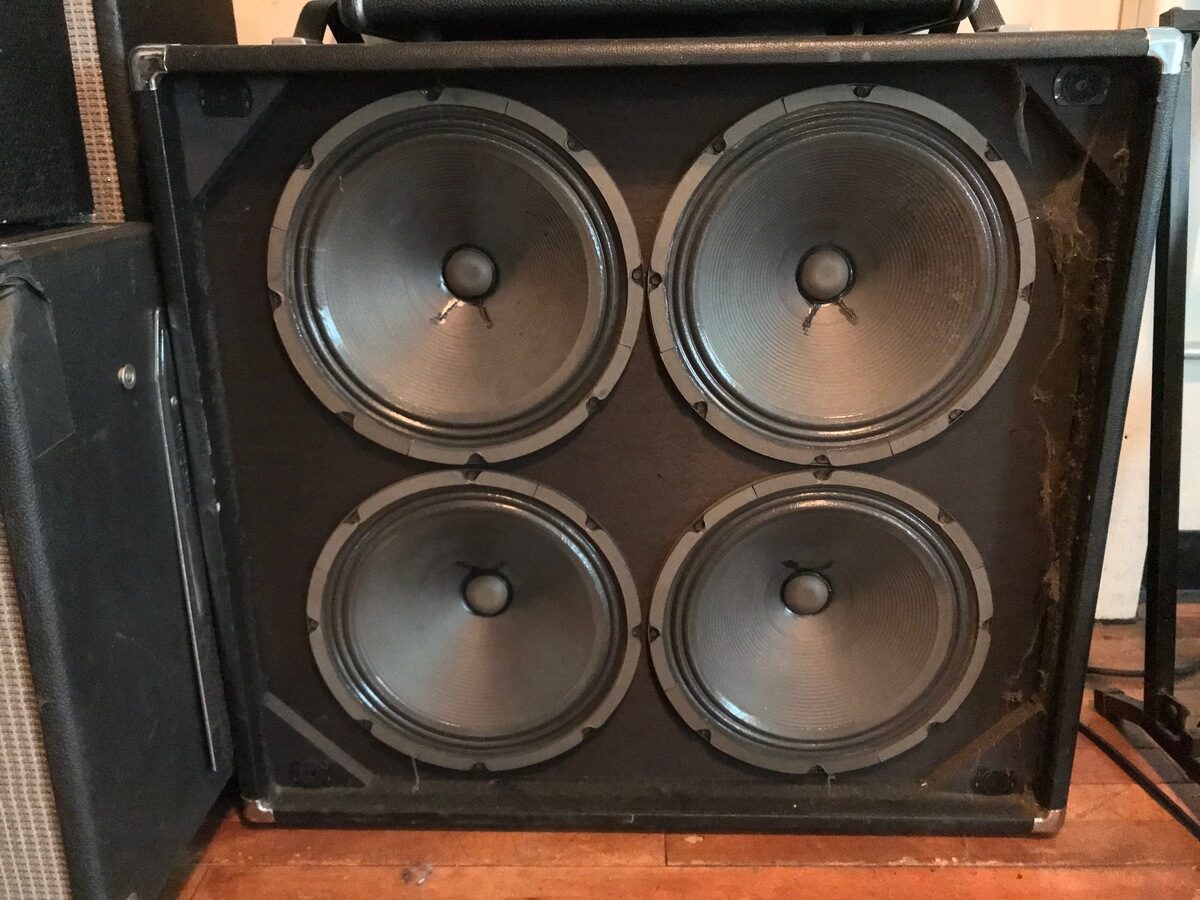
The placement of the microphone can drastically change the quality of your recording. If you’re looking for more low end from this source, I would aim the microphone close to the edge of the speaker cone within the amplifier. If you’re looking for more presence, I would place it closer to the center of the speaker cone. Personally, I place it somewhere in between those two options. You can also reference Sergio’s article on guitar amp microphone placement.
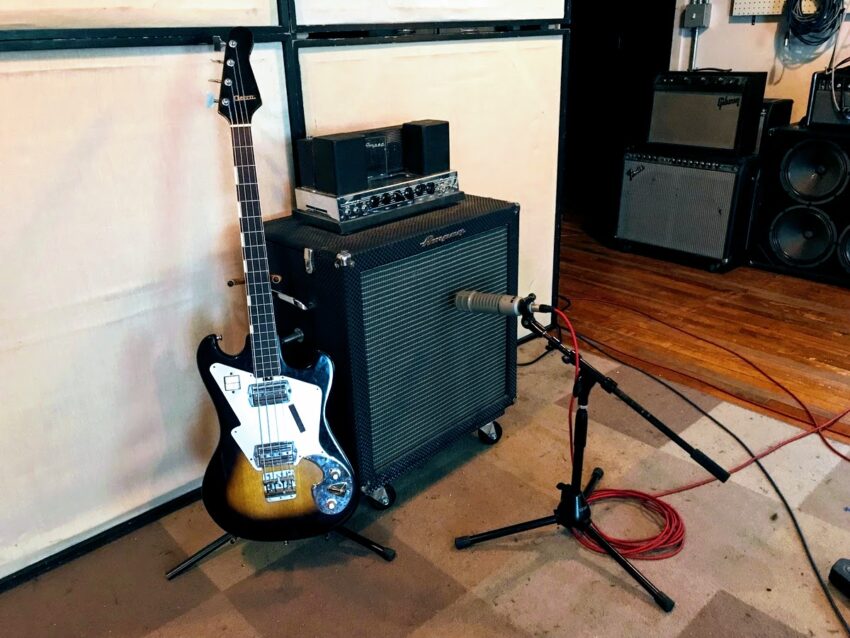
Once you’ve done that, you can start recording! This may take up a second channel, but it’s worth the extra real estate. Here are two recordings I’ve been working on. The first has only the DI bass track and the second features the DI and the Ampeg Portaflex. Notice how much more body the second option has. I left the drums in there to give you some context:
Get WEIRD With It!
In some situations, a musician might think that less is more. In this situation, MORE IS MORE. If you’re comfortable getting a solid bass tone, you might want to find ways to get weird with that bass tone to shape the sound of a recording. By this I mean, add something to your setup that is a little abnormal and see what it does. I wouldn’t sacrifice the channel you lean on for a solid unaffected bass tone, but add something that you can use as an effect. I can’t give you absolute instructions to this option, but I can give you some insight into how I got weird with a recent recording.
The band in this recording has an ending to their song that is supposed to be a very repetitive line that just keeps ramping up as the entire song becomes this chaotic build. I wanted the tone of the bass to go from a pretty straightforward clean sound into a saturated wall of grit. So, I added a third channel to my recording.
I split the dry bass signal off into the Pro Co Rat 2 distortion pedal as well. I already had the DI and the amp channels for the thumping body of the clean bass, and I was using the Rat to have a channel of this fuzzed out bass for the end of the song. The entire track has a fairly clean bass tone, but you’ll notice that as the song is building I start bringing up the volume of the distorted channel. The bass note by the end of the build is far more fuzzed out than the rest of the song, and it really nails the weirdness the band was aiming for to contrast the rest of the song.
Here’s a clip of the song to show you the change in bass tone. The initial tone is just a 1960s Ampeg B15 Portaflex and the Radial Pro DI. As stated previously, I slowly automate the volume of the distorted channel up at the end of the song.


Leave a Reply