An important idea came up in my previous post about guitar nuts that can be summed up to something like “a good luthier respects the work enough to ask to be paid more for it.” Legendary theme park entrepreneur John Hammond might say “we spared no expense.” Chances are playing and repairing instruments will not result in being eaten by prehistoric lizards, but it still rings true that some jobs are more involved than they may appear. Replacing electronics on semi-hollow body and hollow body instruments is one of these jobs.
This kind of work can be a breeze on solid body instruments like a Telecaster or Stratocaster. Ask a professional to change a jack on one of these instruments and they might ask you for $10 and just a few minutes. Before you know it, you’re on your way with a sparkly new connector linking you to crystal clear sound. While this style of instrument generally offers access to these components through a panel or a few screws removed, most semi-hollow body instruments will be less forgiving. As it turns out, the super-elegant “f hole” – which kind of makes you feel like you are being elevated to the sophistication of a classical stringed instrument, while letting you rock out at the same time – will be your one true ally on the way to fixing this instrument.

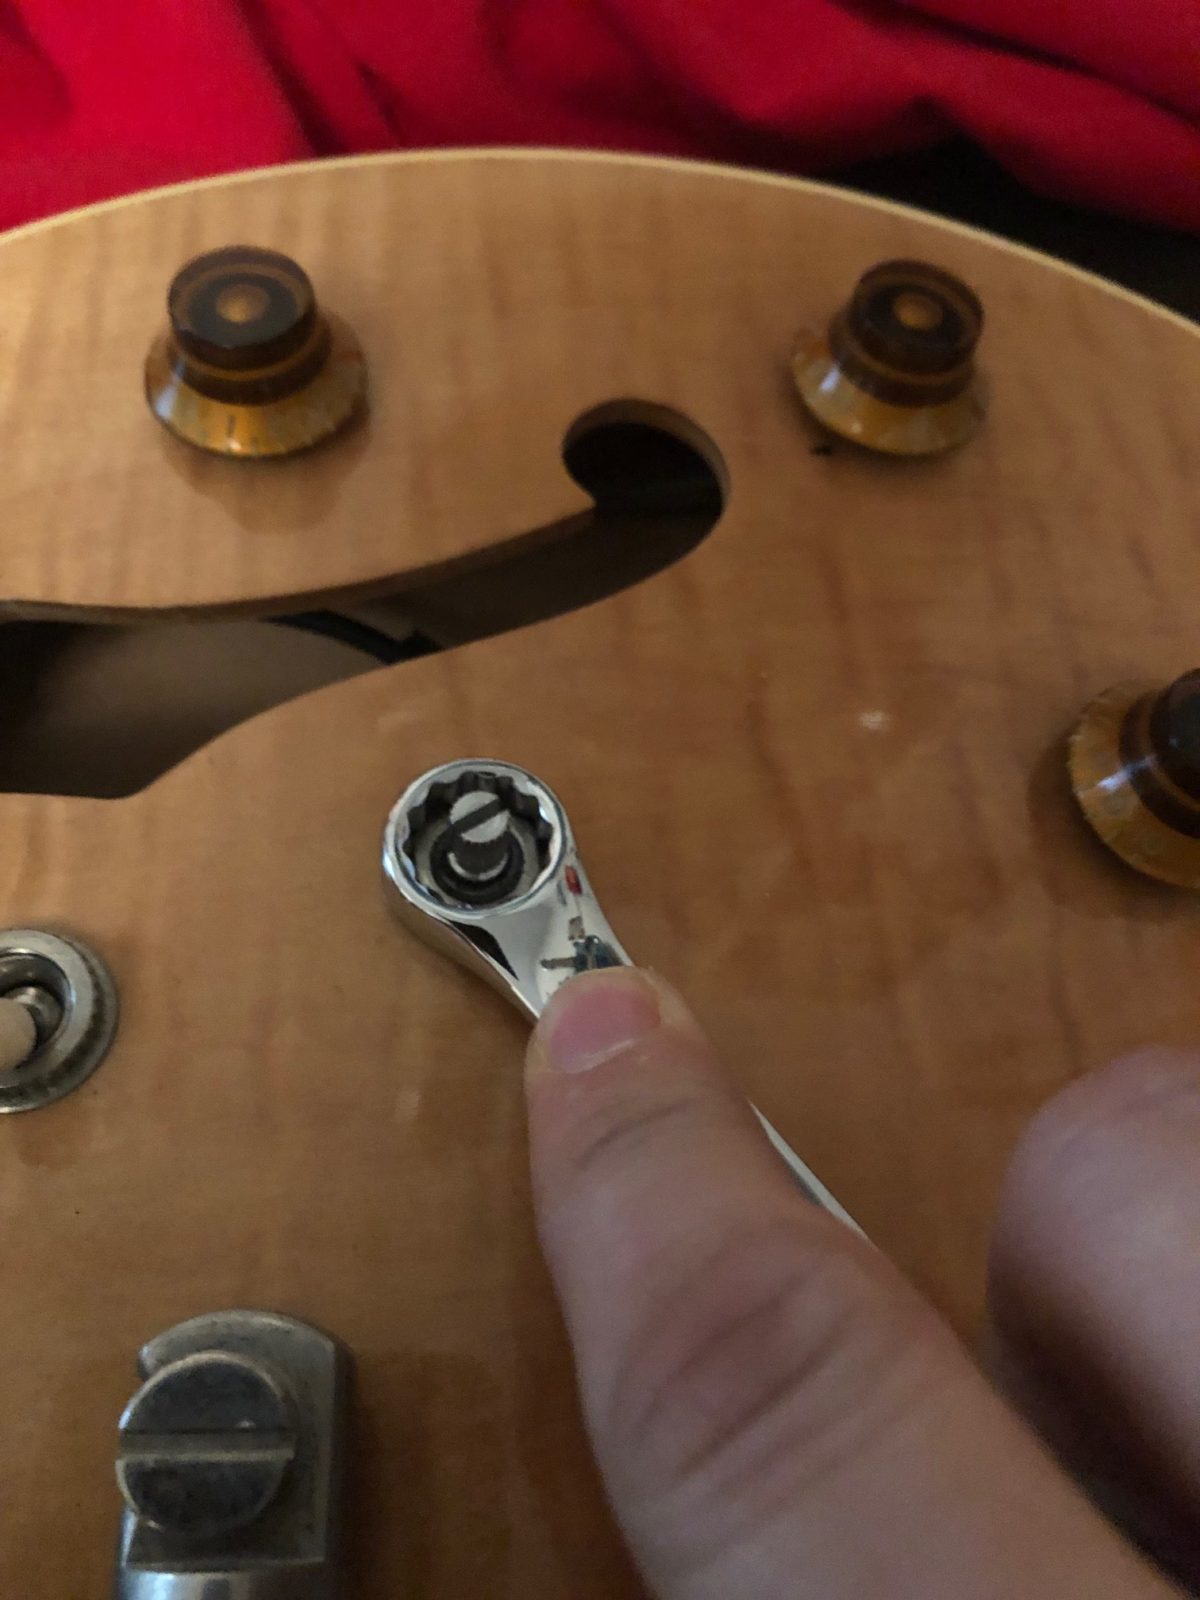
Before navigating the treacherous waters of exposing the electronic components themselves, we need to remove the knobs and the nuts holding everything in place. This sounds simple enough, but there are a few tips in order that can make this part a lot more successful while treating your guitar with some additional care.
Generally speaking, the space between the knobs and the guitar itself is too small to get some fingers in and physically pull the knobs off. Even when you have the room to get a finger in place, the knob is probably so tightly secured to the shaft of your pots that the edges of it will cause you some serious discomfort when trying to pull it off.
Another temptation is to try and slip a flat head screwdriver under the knob so you can pry it off. A gentle hand could make success of this method, but the likelihood is that you will end up with marks from the edges of the screwdriver digging into the top of your guitar and the knobs, and the whole time you are also putting considerable strain on the pots themselves.
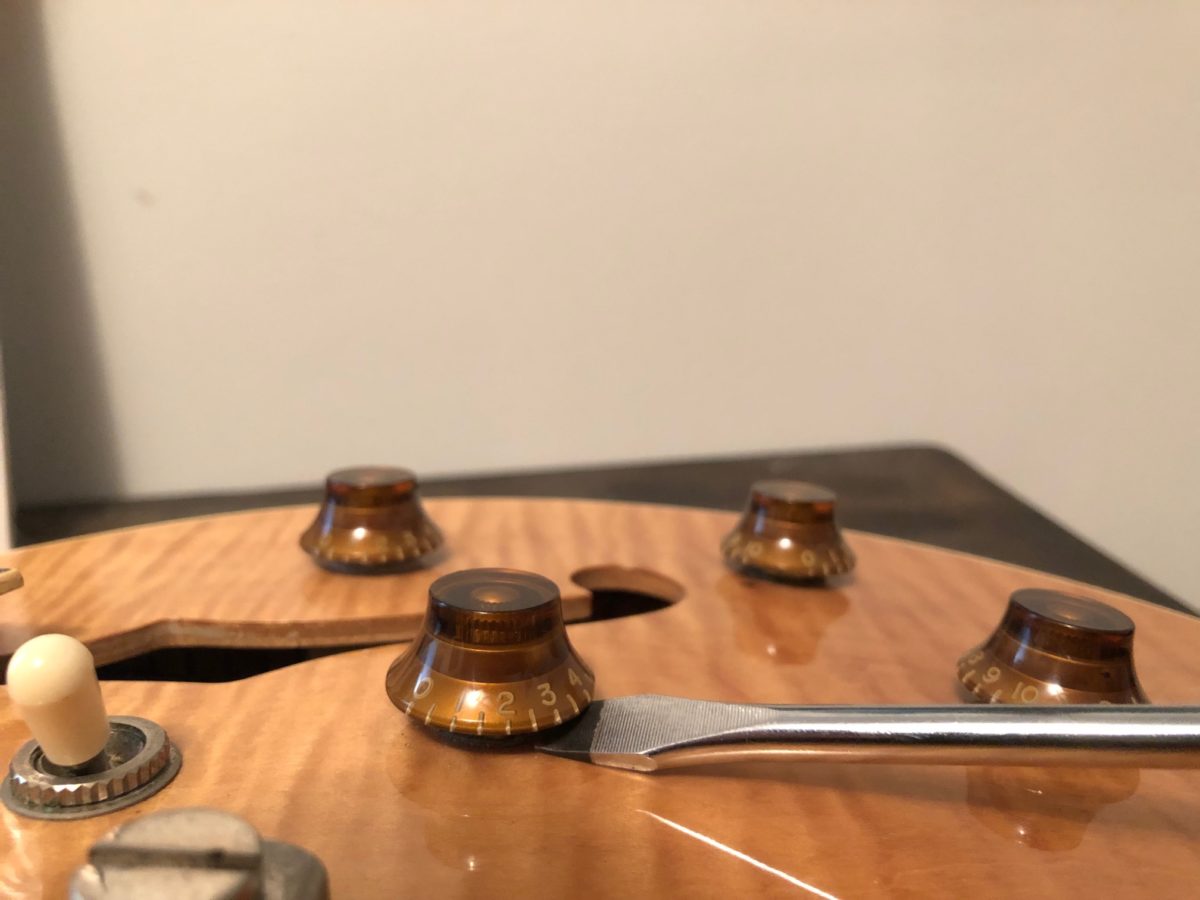
Tempting, but definitely not the way to go.
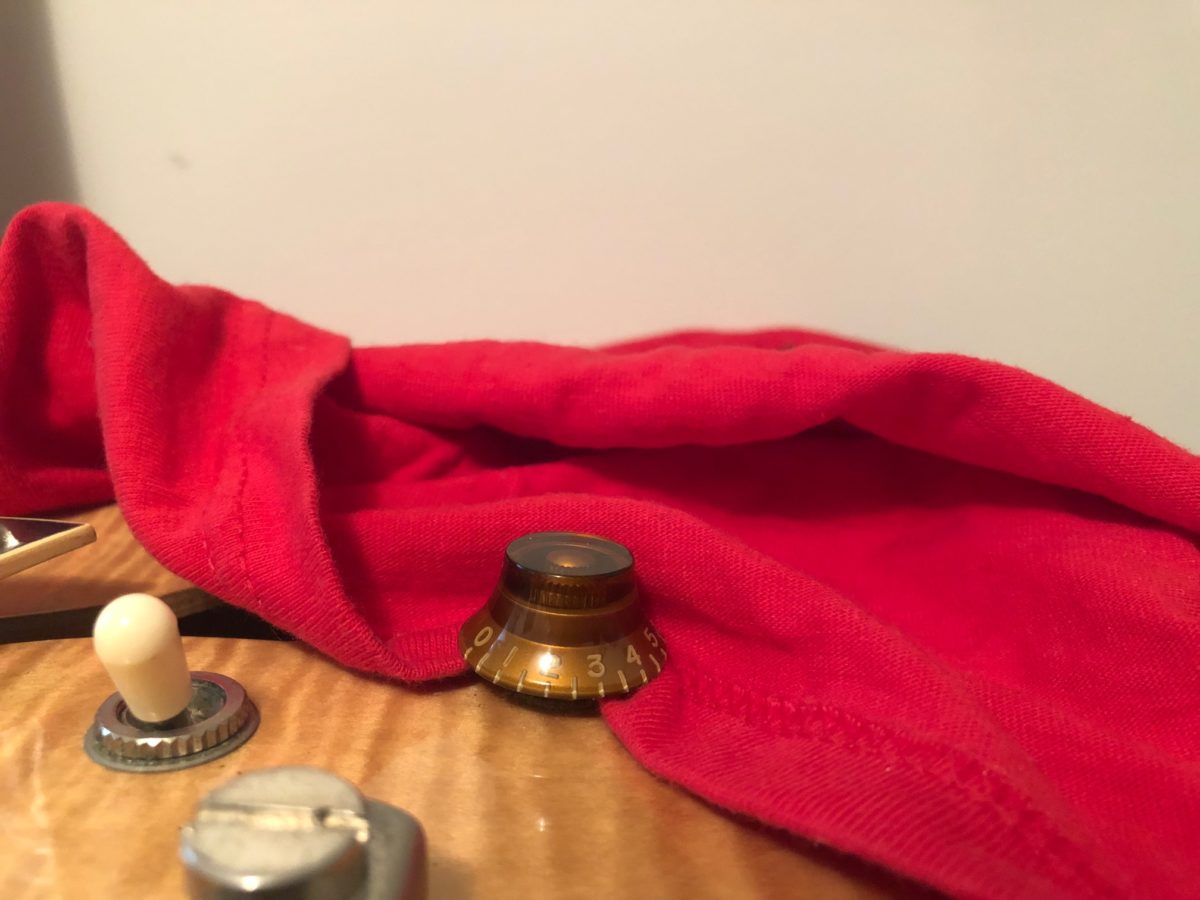
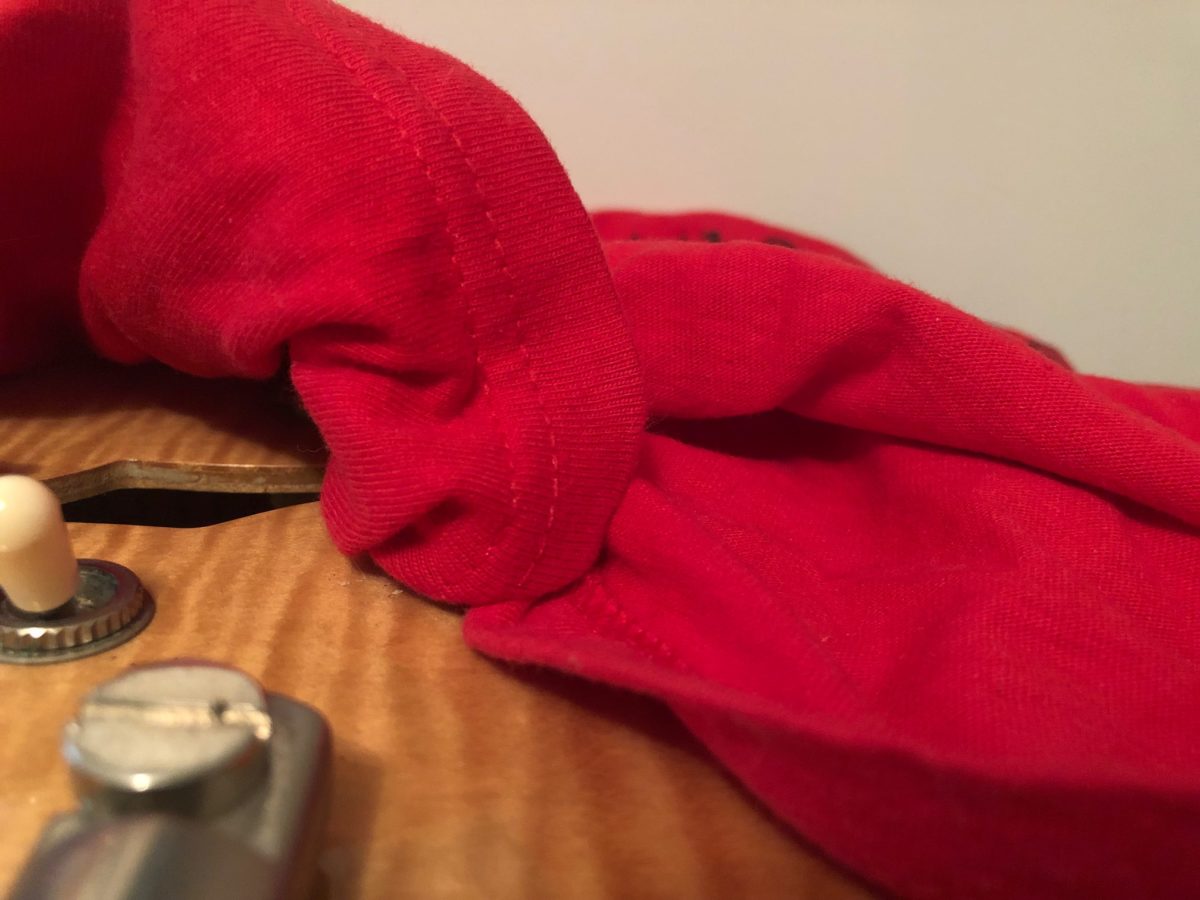
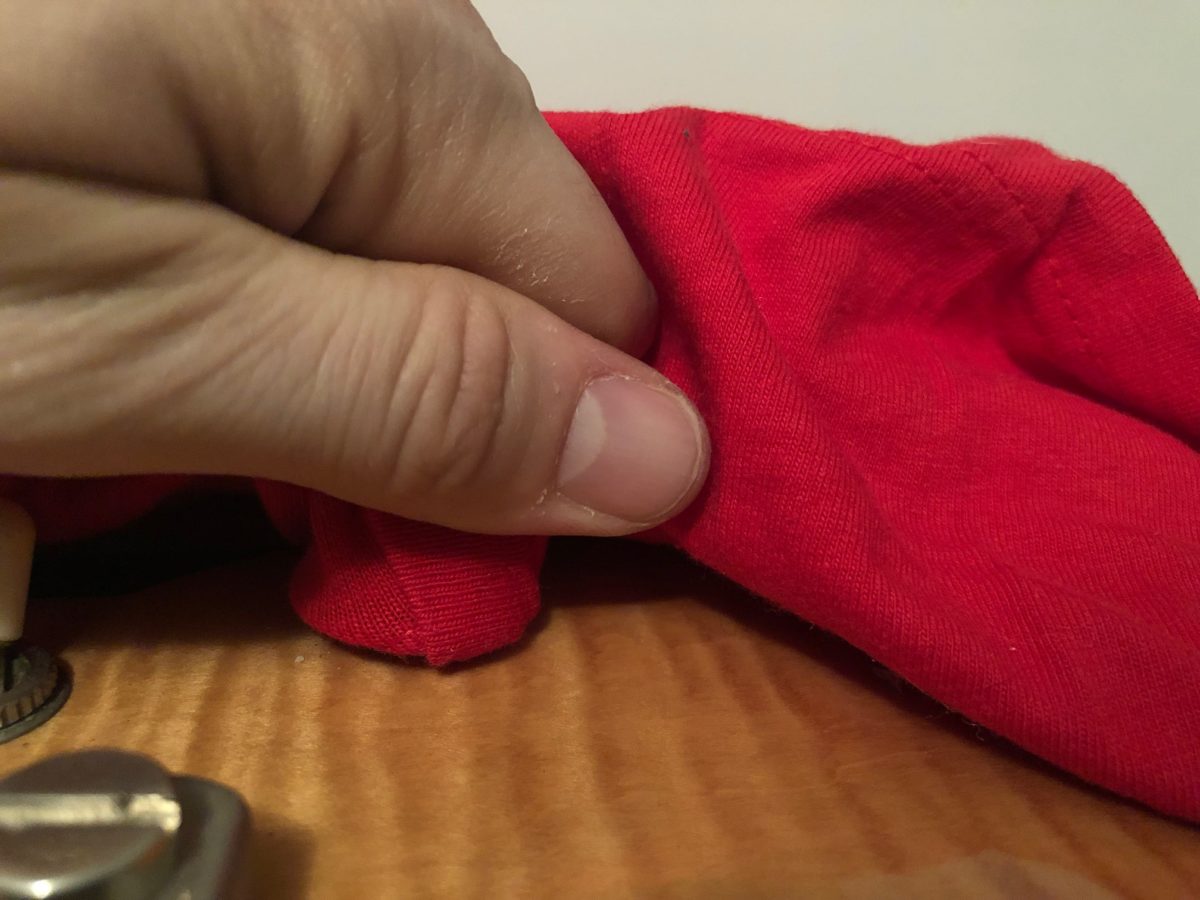
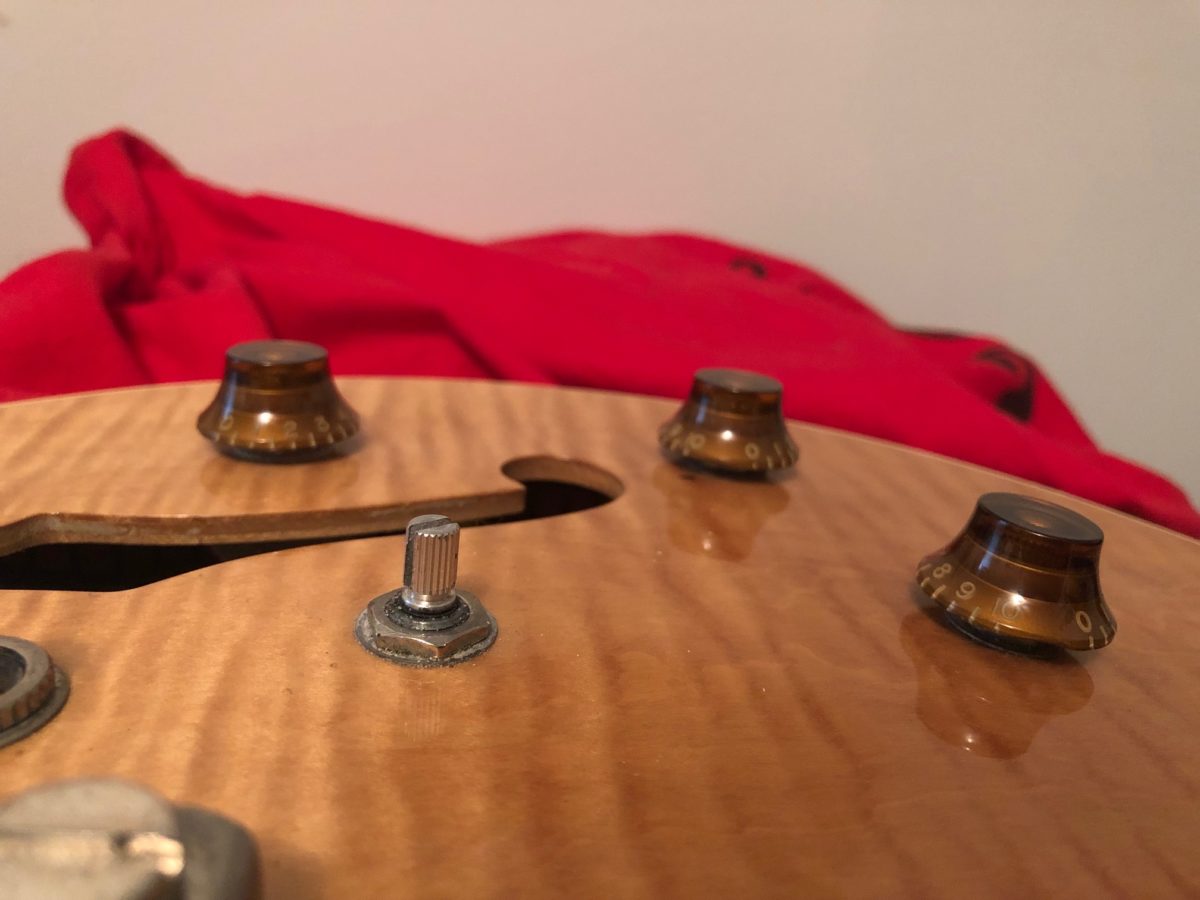
The trick here is a sturdy but forgiving piece of fabric — in this case an old work t-shirt that has been relegated to the rag bin. Firstly you’ll want to get the edge of the shirt slipped on the back half of the knob. Next, bring the edges of the shirt around to where they not only meet, but overlap a little to secure the shirt around the knob. Finally, with a firm grip – and maybe a little guidance from your free hand – pull the shirt straight away from the top of the guitar.
The Heritage 335 that I am working on in this post needed only a new input jack. I had initially hoped that I could take this part out alone and leave everything else intact, but the wiring was too prohibitive. This was looking to be an all-or-nothing case where access to one part was going to require removing everything. For this reason, you might consider switching out all of your components when one is showing signs of age to save you some bench time. Luthier prices also often reflect this, when the initial fee to replace one part can be steep, but the price of changing additional components is comparatively small.
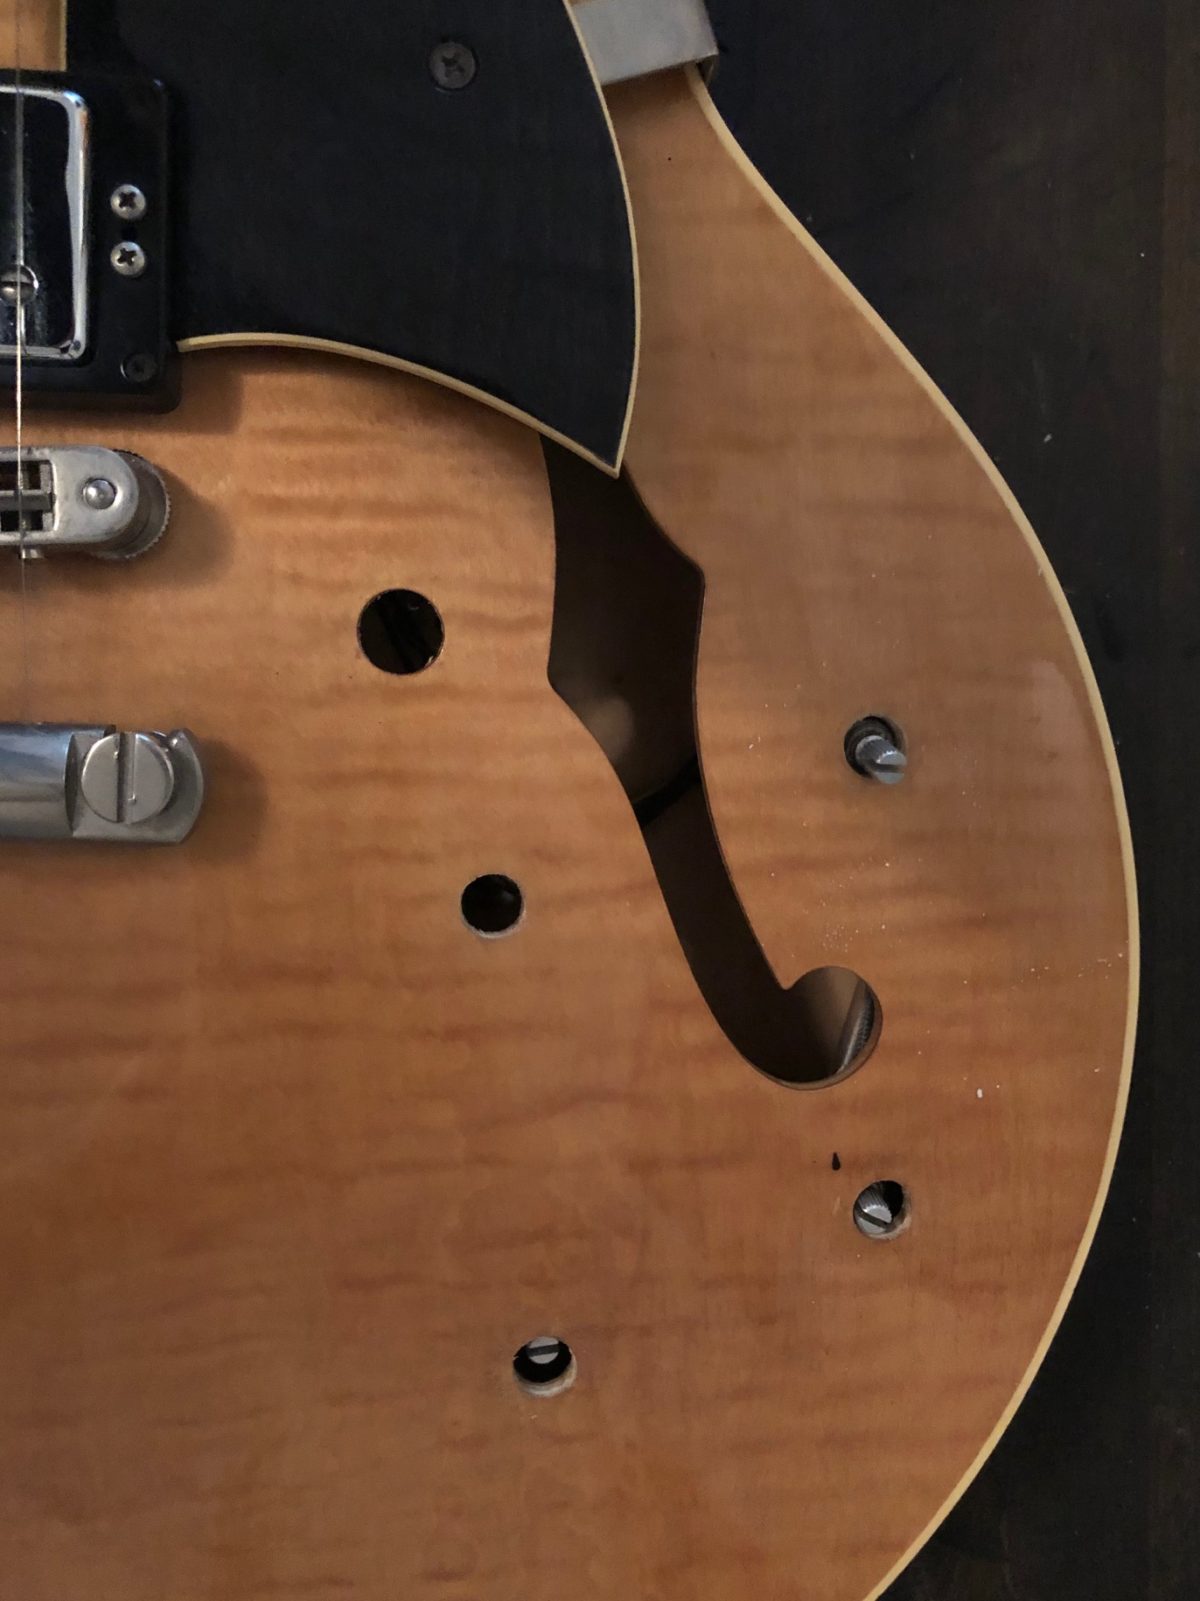
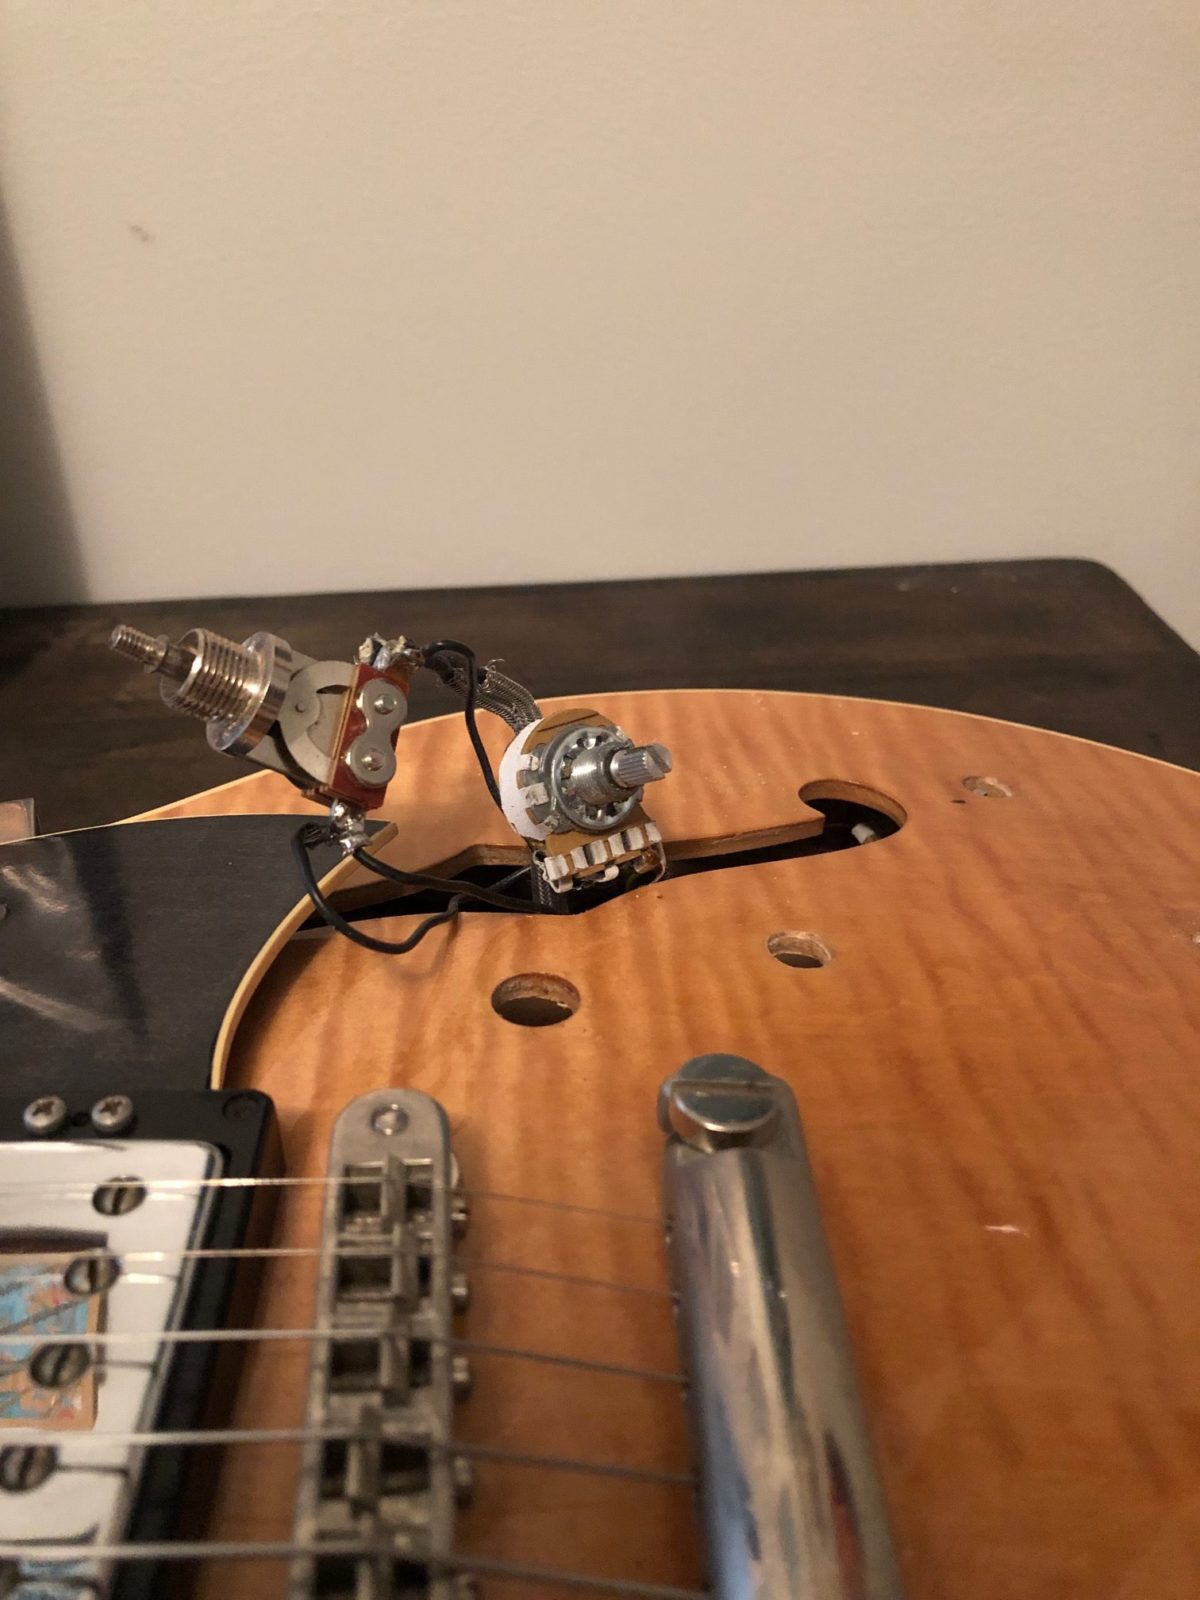
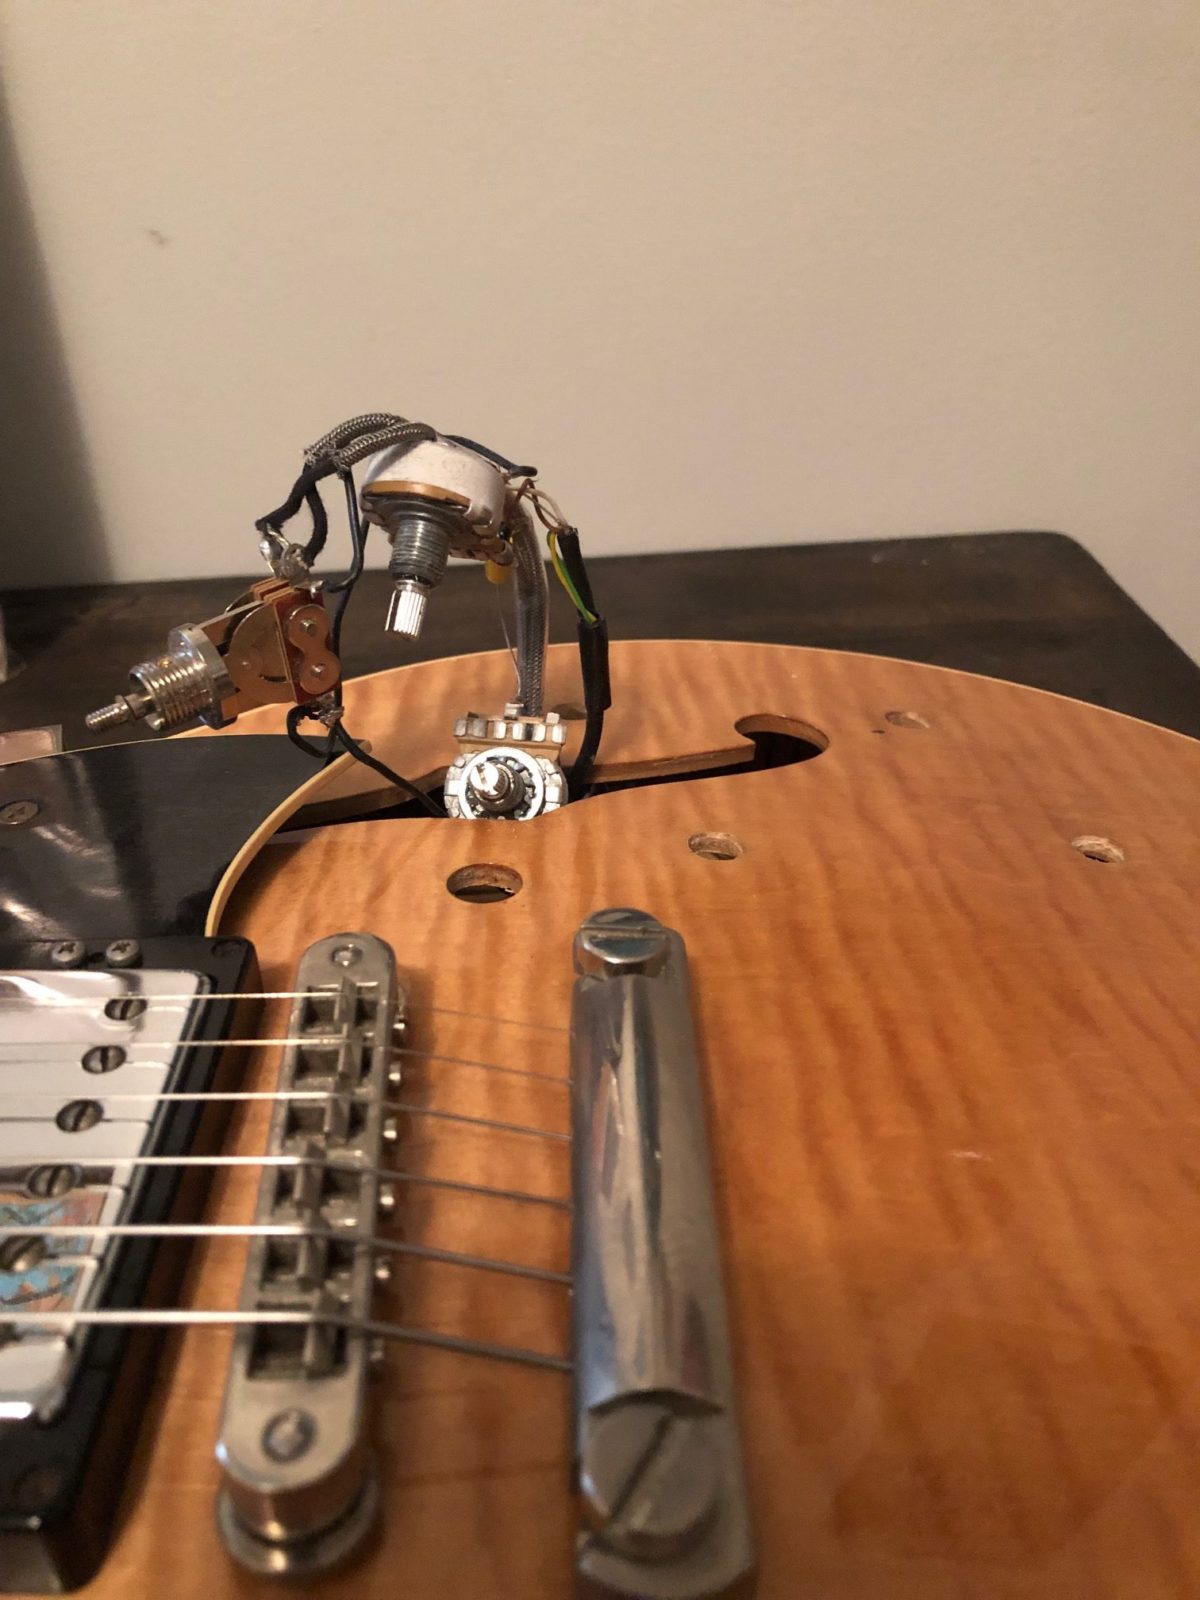
With all the knobs, washers and nuts removed from all of the components, it is time to take the plunge and get everything out into the open. The aforementioned sound hole is going to be key to taking everything out, but more specifically, the center of the “F” is the only spot wide enough to accommodate most components. Size and space wise, everything seems to be designed to just barely fit, but with your best geometry skills from moving day, you will be able to maneuver everything through. Just remember, it had to get in somehow, so it can definitely get out.
With everything out of the guitar, it is worth taking a minute to appreciate how the wiring is organized. When it comes time to re-install, you will want to be prepared to find the easiest route that also does not leave any wiring exposed. Chances are it is already set up that way so it’s worth taking a moment – or even a picture – to appreciate the artistry initially put in to wiring the instrument so you are ready for later.
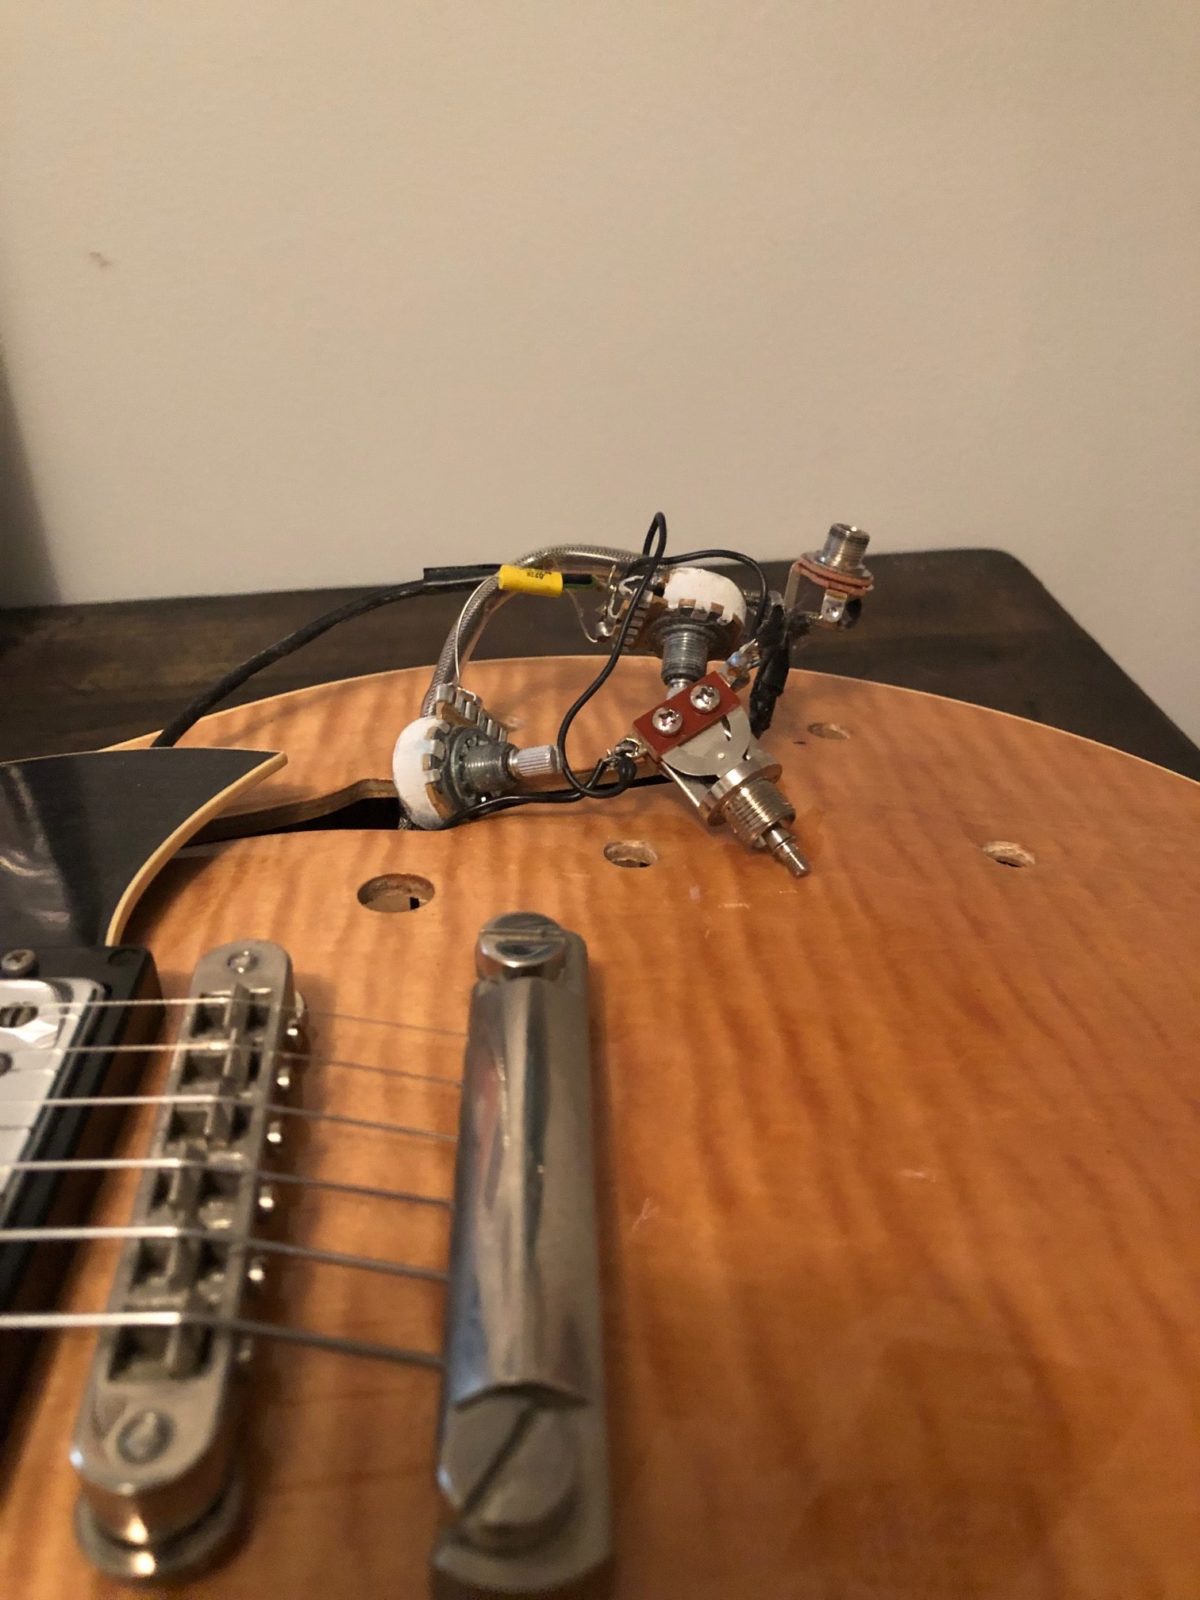
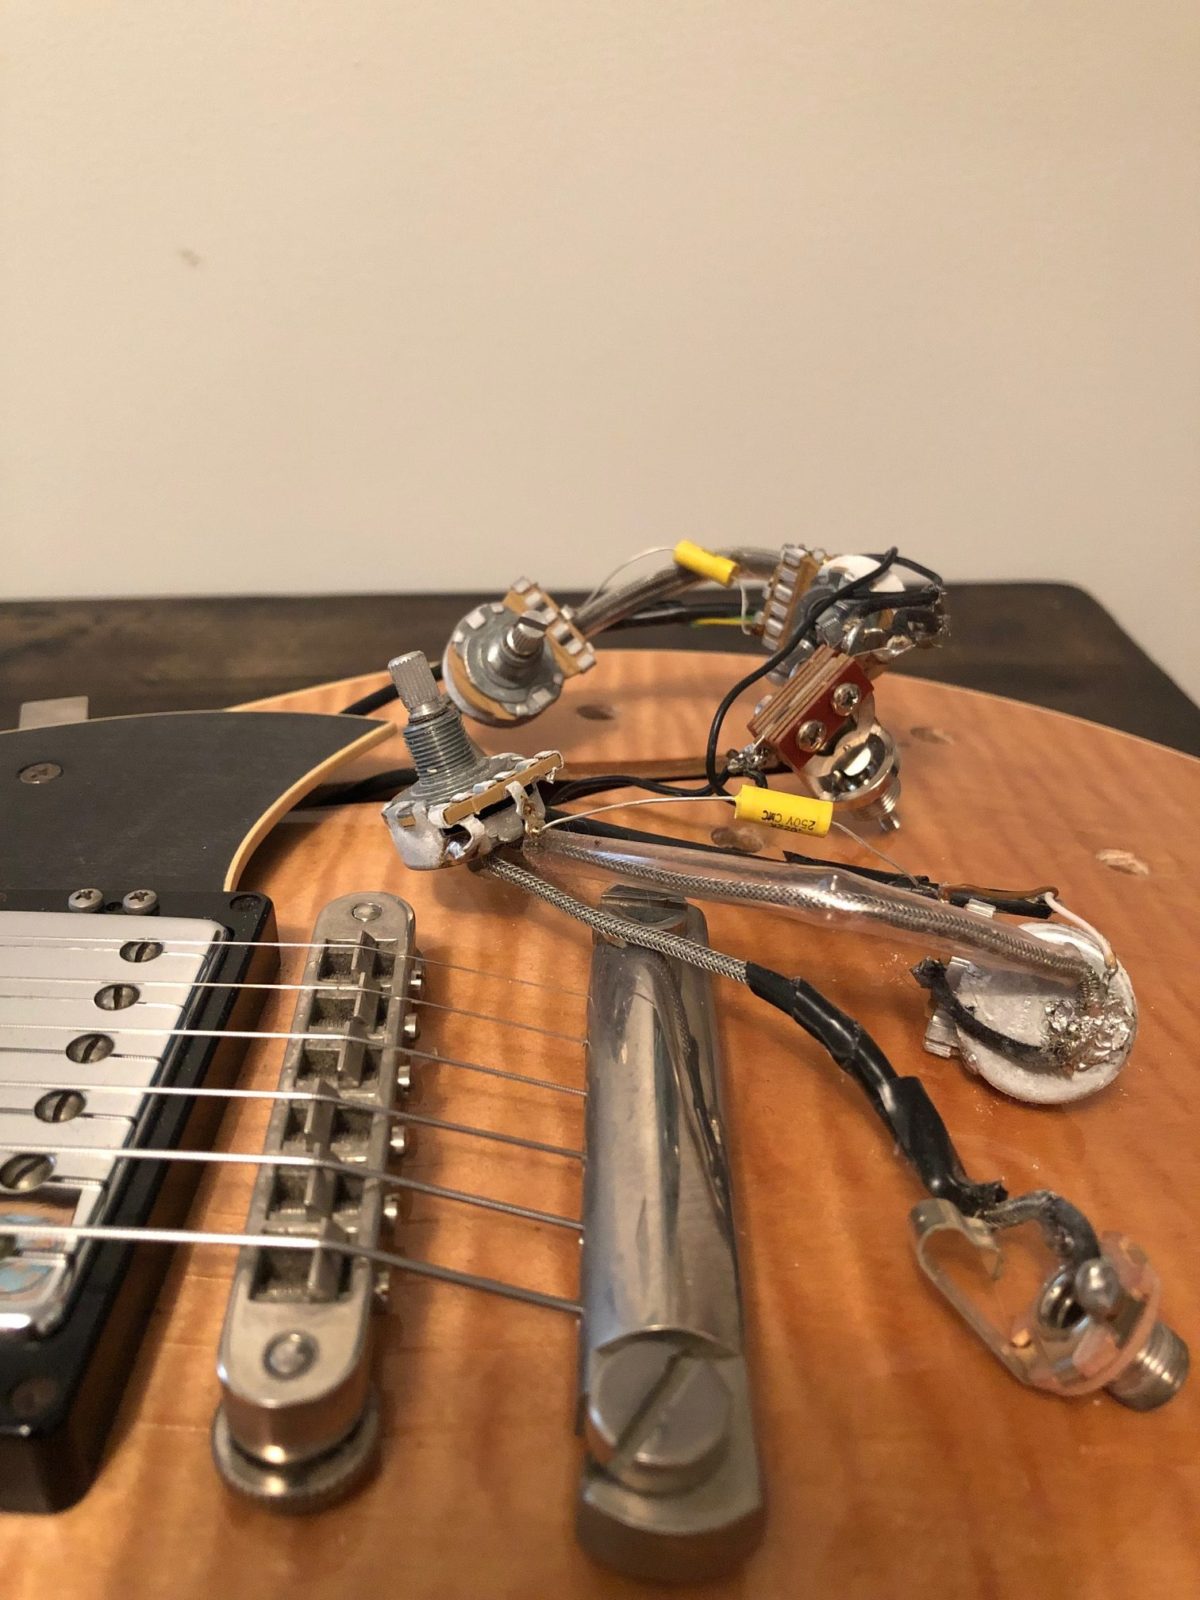
You might also want to plug in just to make sure you know exactly what everything is. Make sure to spend a little time turning some knobs so you still are sure which knob does what. It is exponentially better to find these mistakes now than after you have spent time putting everything back in the guitar. Chances are things got a little messy on the way out, so I like to lay all the components out in a similar way to how they are organized while installed in the instrument.
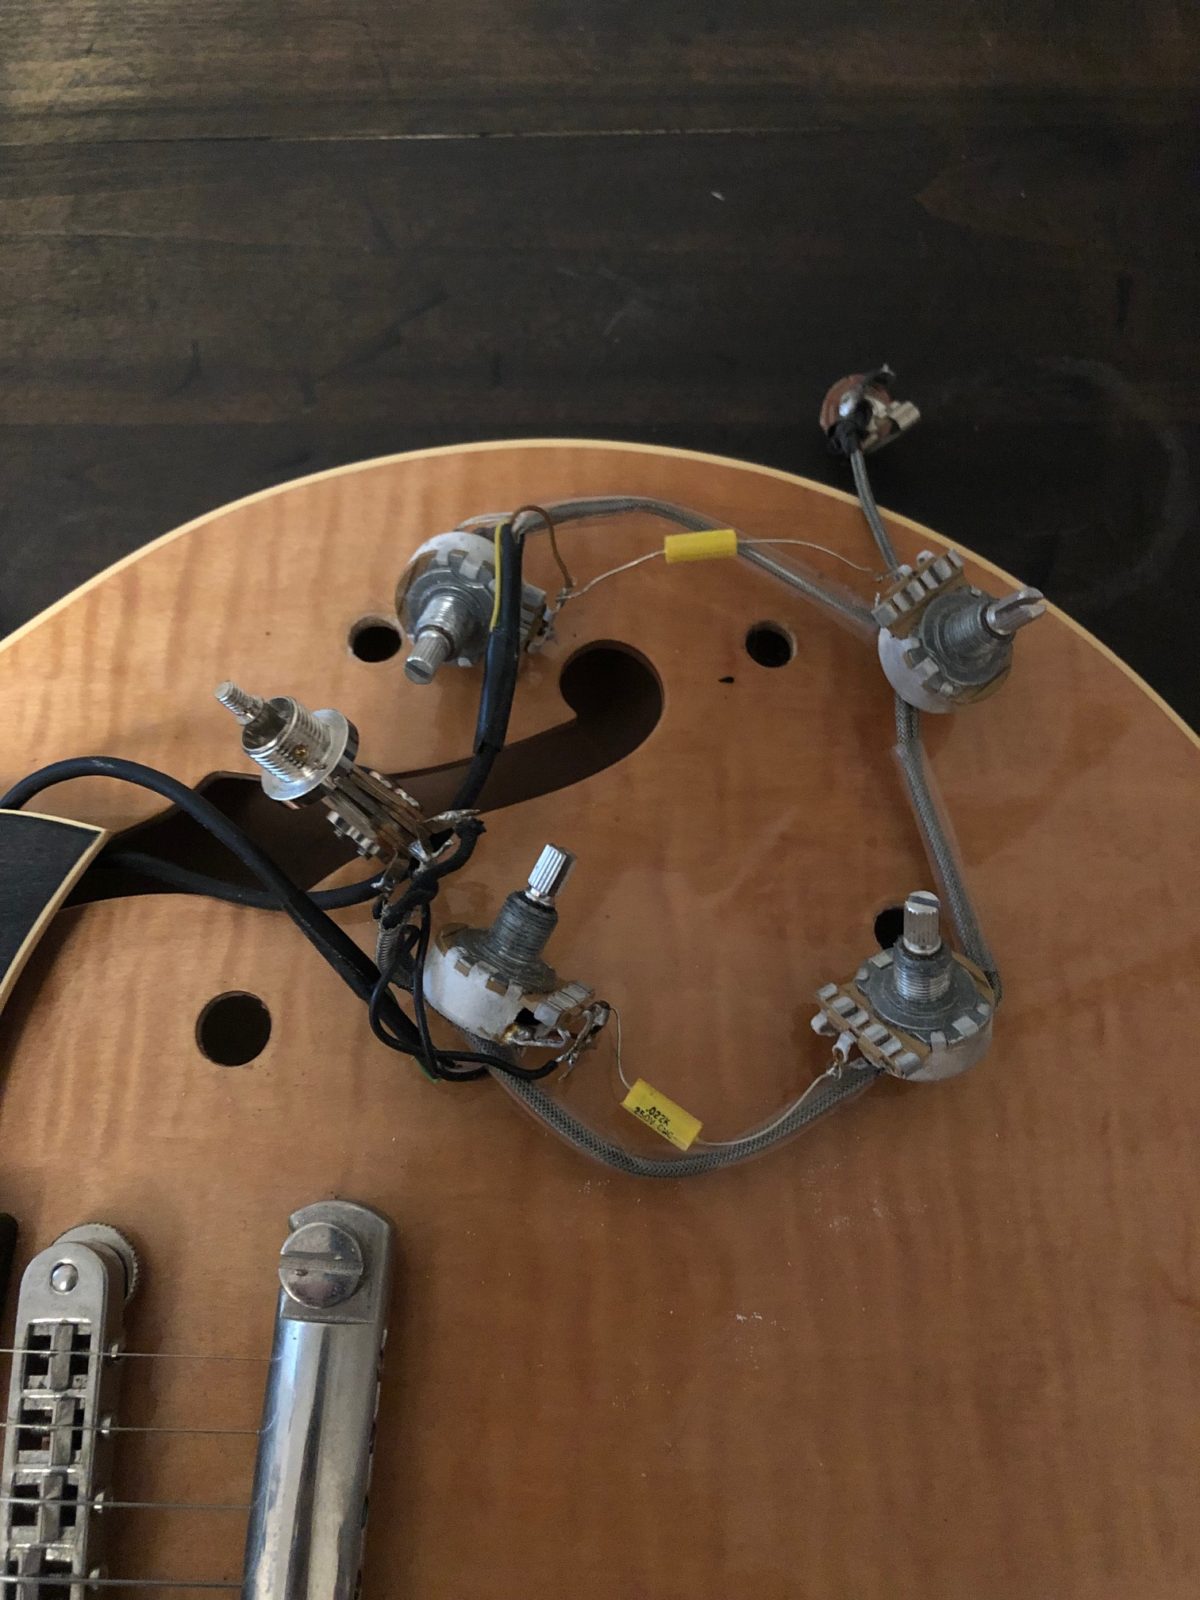
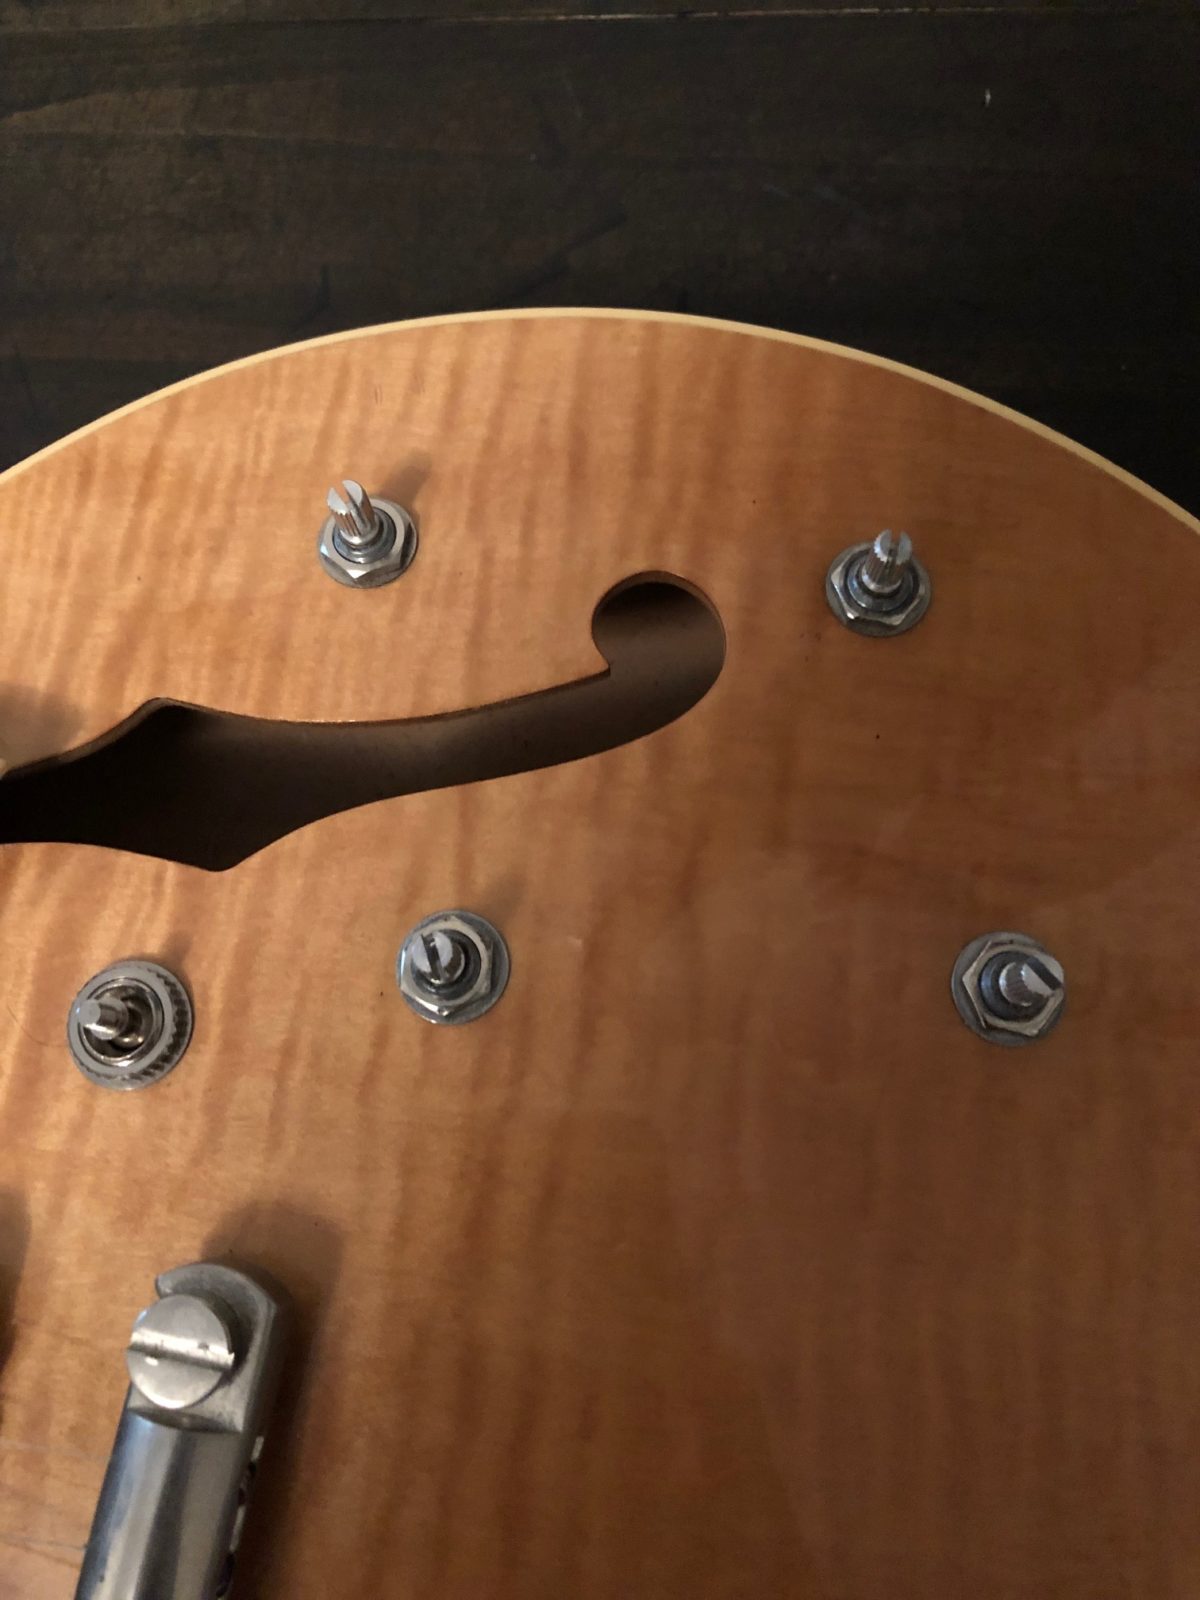
Everything laid out in a similar way to how it is inside the guitar.
One of the largest ironies in this process is how little time it takes to complete the actual task that brought you to all of this work. In this case, the jack in question only had two solder points, so a couple minutes later I had a new one installed and ready to go. This post is not focusing on the actual steps needed to change these parts — the soldering technique here is identical to any other electric instrument — but I will say this: check your work. Similarly to the pre-check before you start replacing parts, you want to know about any errors, or potential errors, now, because you will not want to do the next few steps twice.
In this case I wanted to make sure the jack was functional for one, but I was also looking at some concerns with fit. Does the cable plug into the jack successfully or is something physically prohibiting it from making a snug connection? Is the wiring clear of the jack tip and sleeve, or is something making a physical connection that is causing the signal to cut out or not come through at all?
It turned out that in this case my soldering was ideal, and I was ready to embark on the final part of this journey which is getting everything back in. It is the kind of thing that is kind of difficult, like taking everything out, but also requires precision and accuracy with little to no space to work, so we might call it something like… very difficult.
The one silver bullet in this case is the same thing that will help keep your teeth clean, but also had Frank Zappa moving out to Montana: dental floss! You could grab your pygmy pony and head out to the dental floss bush, or your local drug store will do.
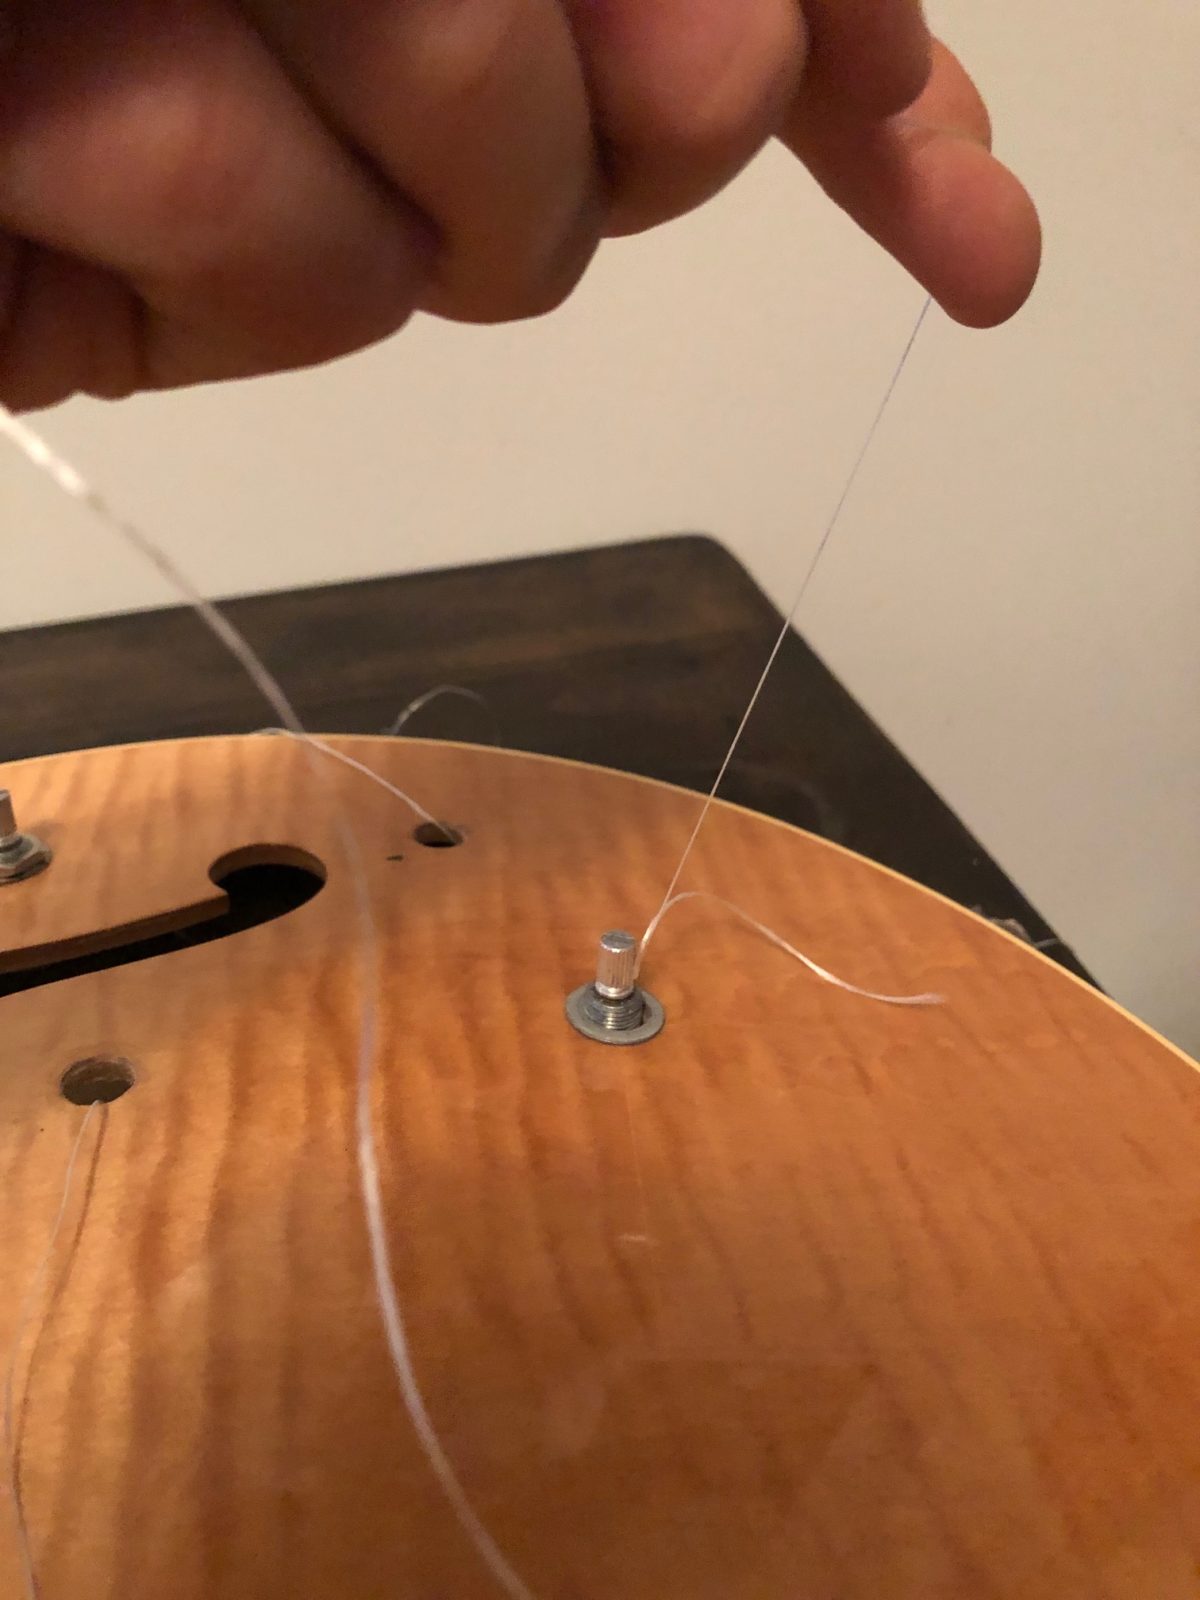
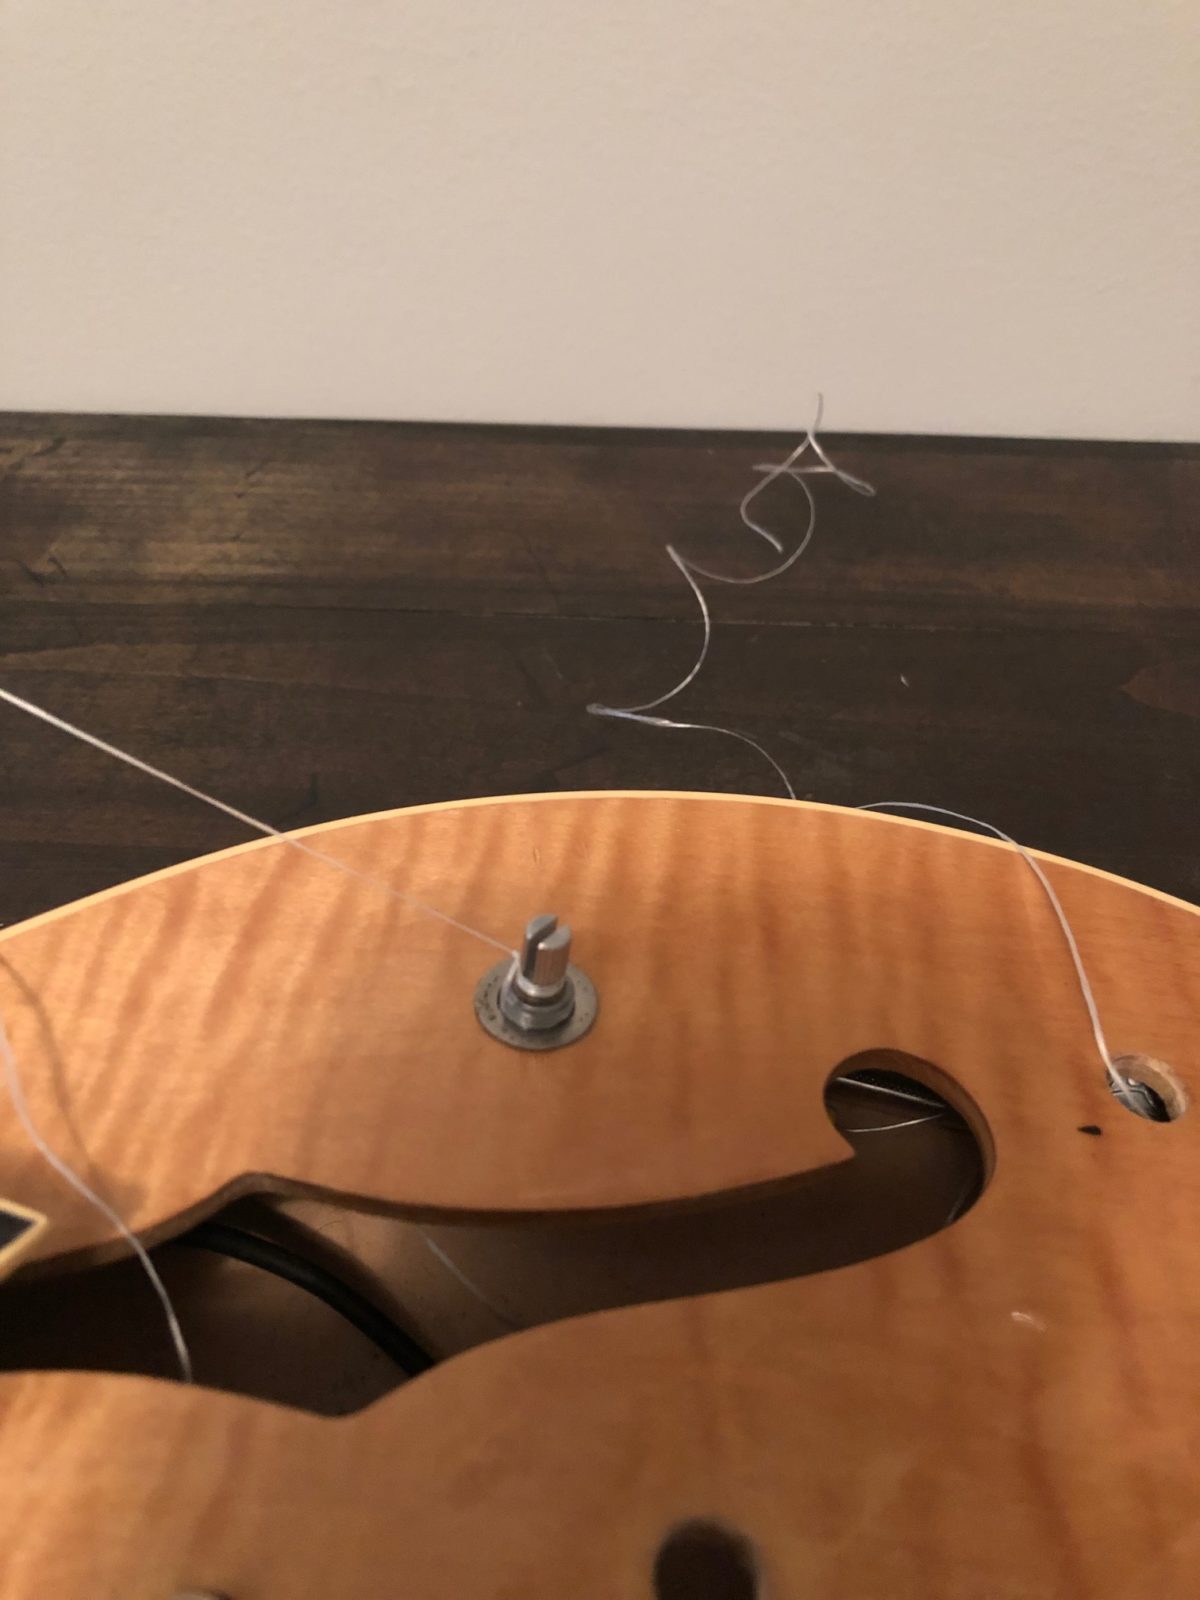
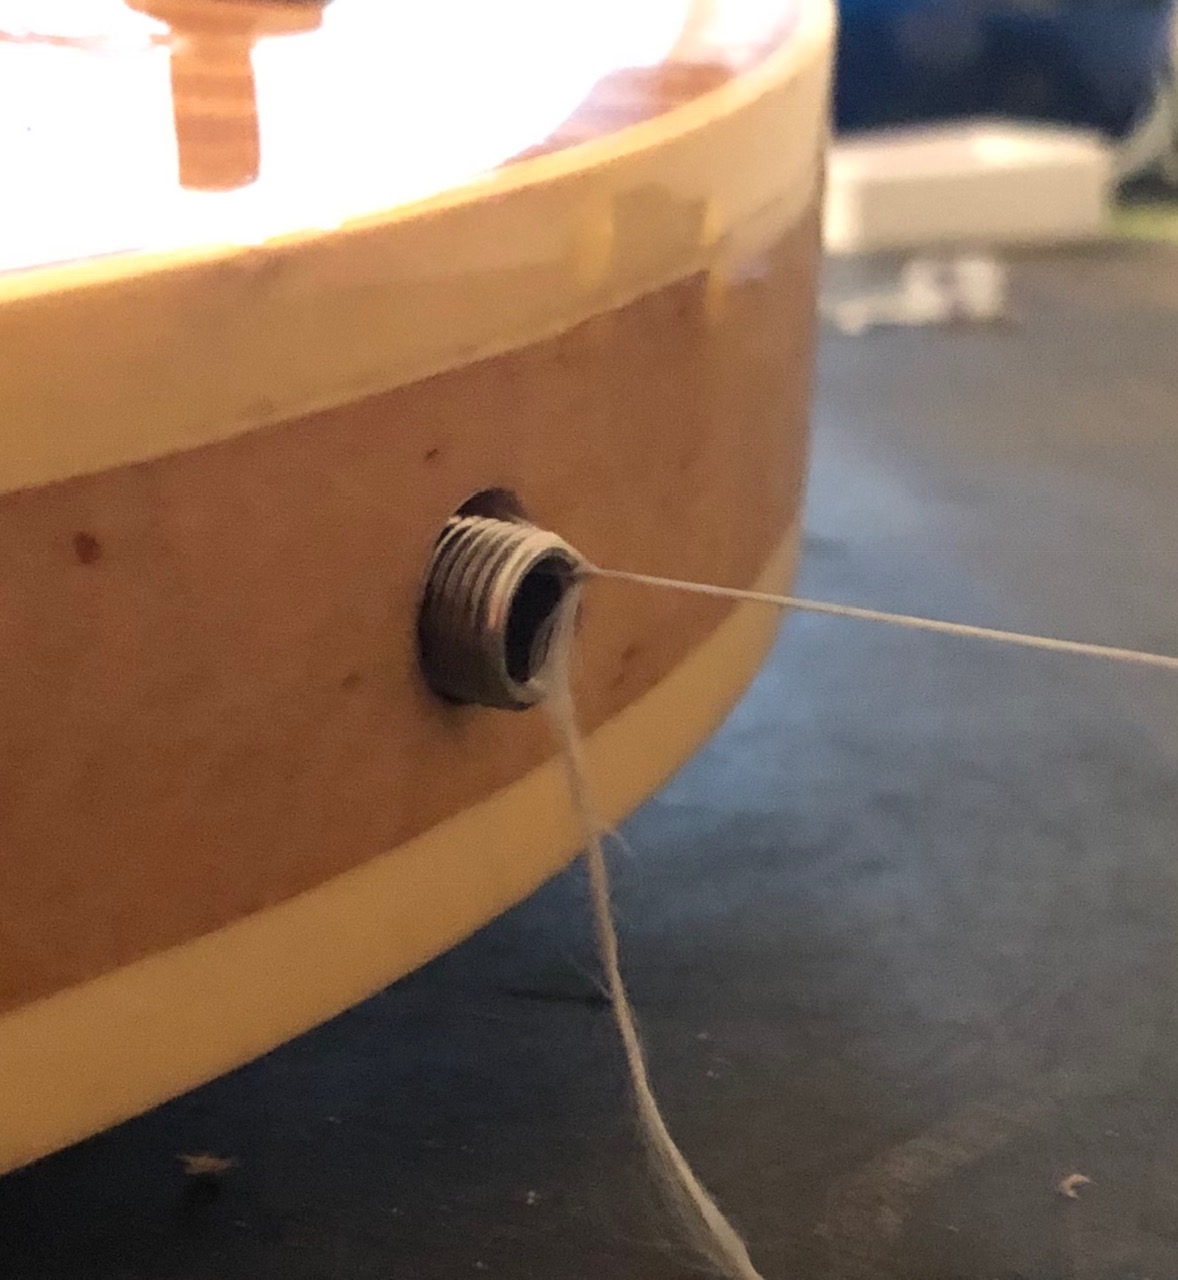
The logic here is simple, but also might require a little bit of technique. What we are looking to do is have all of the components back in the guitar but this time there will be a small bit of floss tied to them which leads out of the applicable hole for mounting. I prefer to thread the floss into the guitar and then pull it out of the instrument. It also proves out that it is easier to tie it off to each component before feeding it back into the guitar.
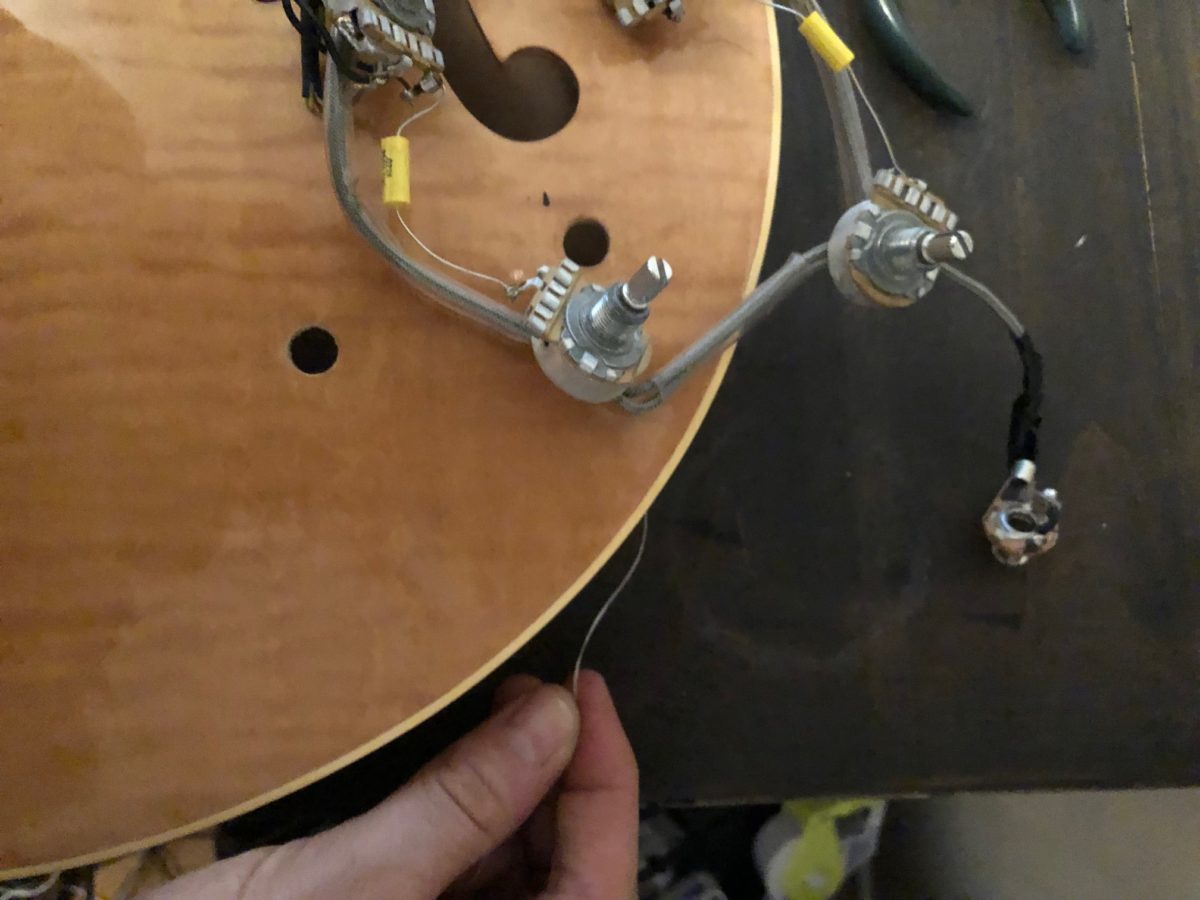
Threading in… 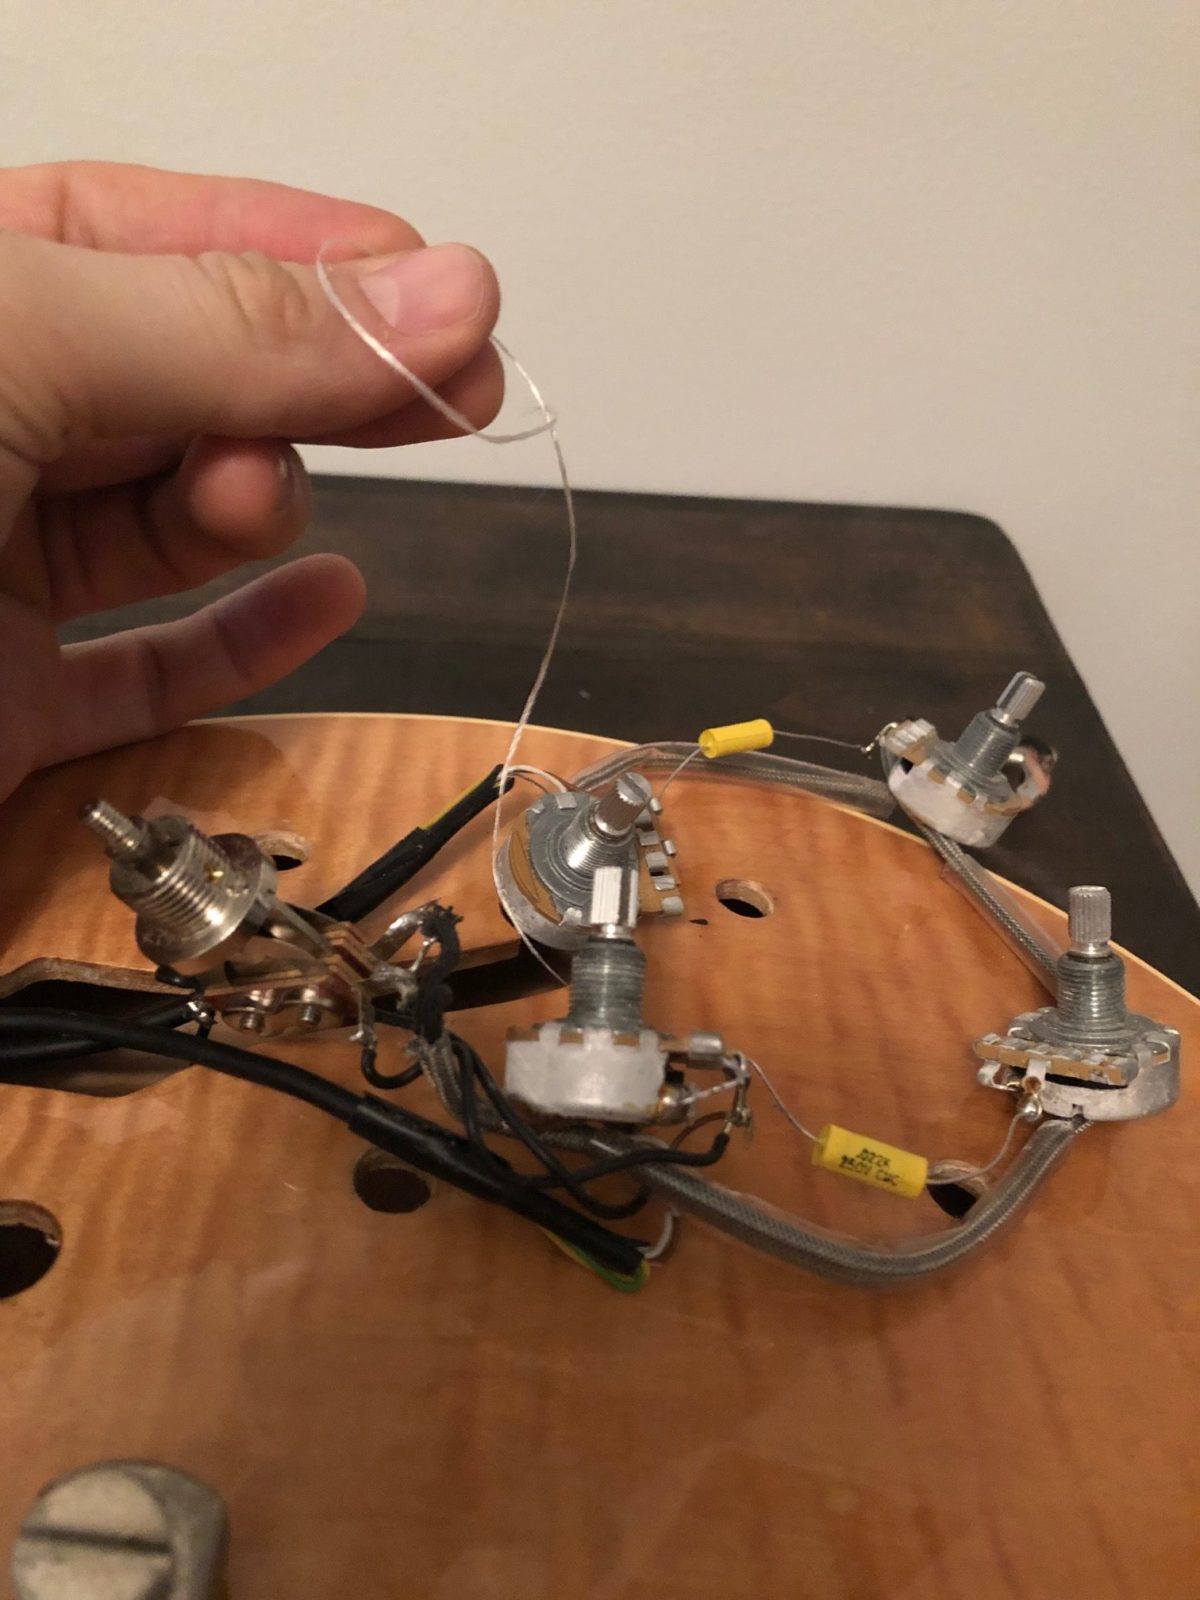
Threading out…
Thinking ahead, you will want to tie the floss to the component in a way that is both secure, but will also allow you to re-install the nut when you are ready. Remember that this is all-or-nothing, so if you have three of six components re-installed and lose connection to the fourth, fifth or sixth in the instrument, you might have to start all over again. In other words, double-knot it, and test it to make sure you will be able to apply some significant pressure when it comes time to fish everything back out of the guitar.
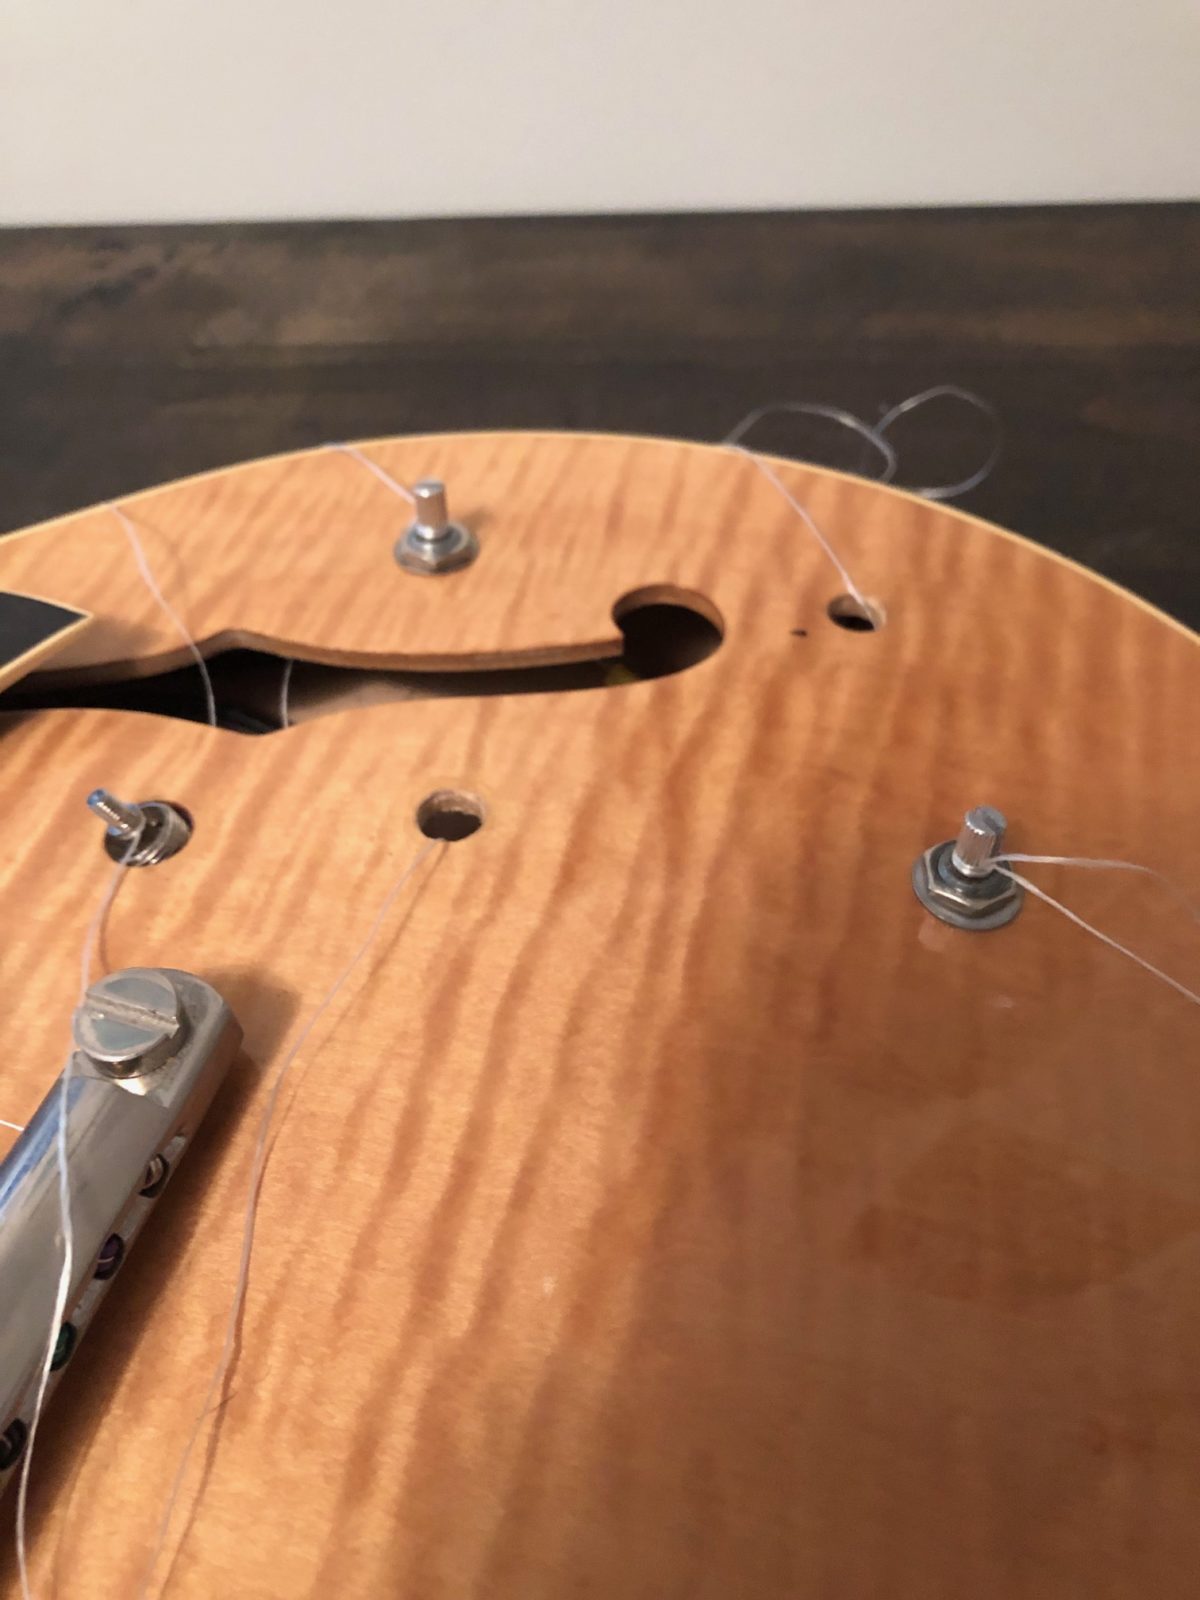
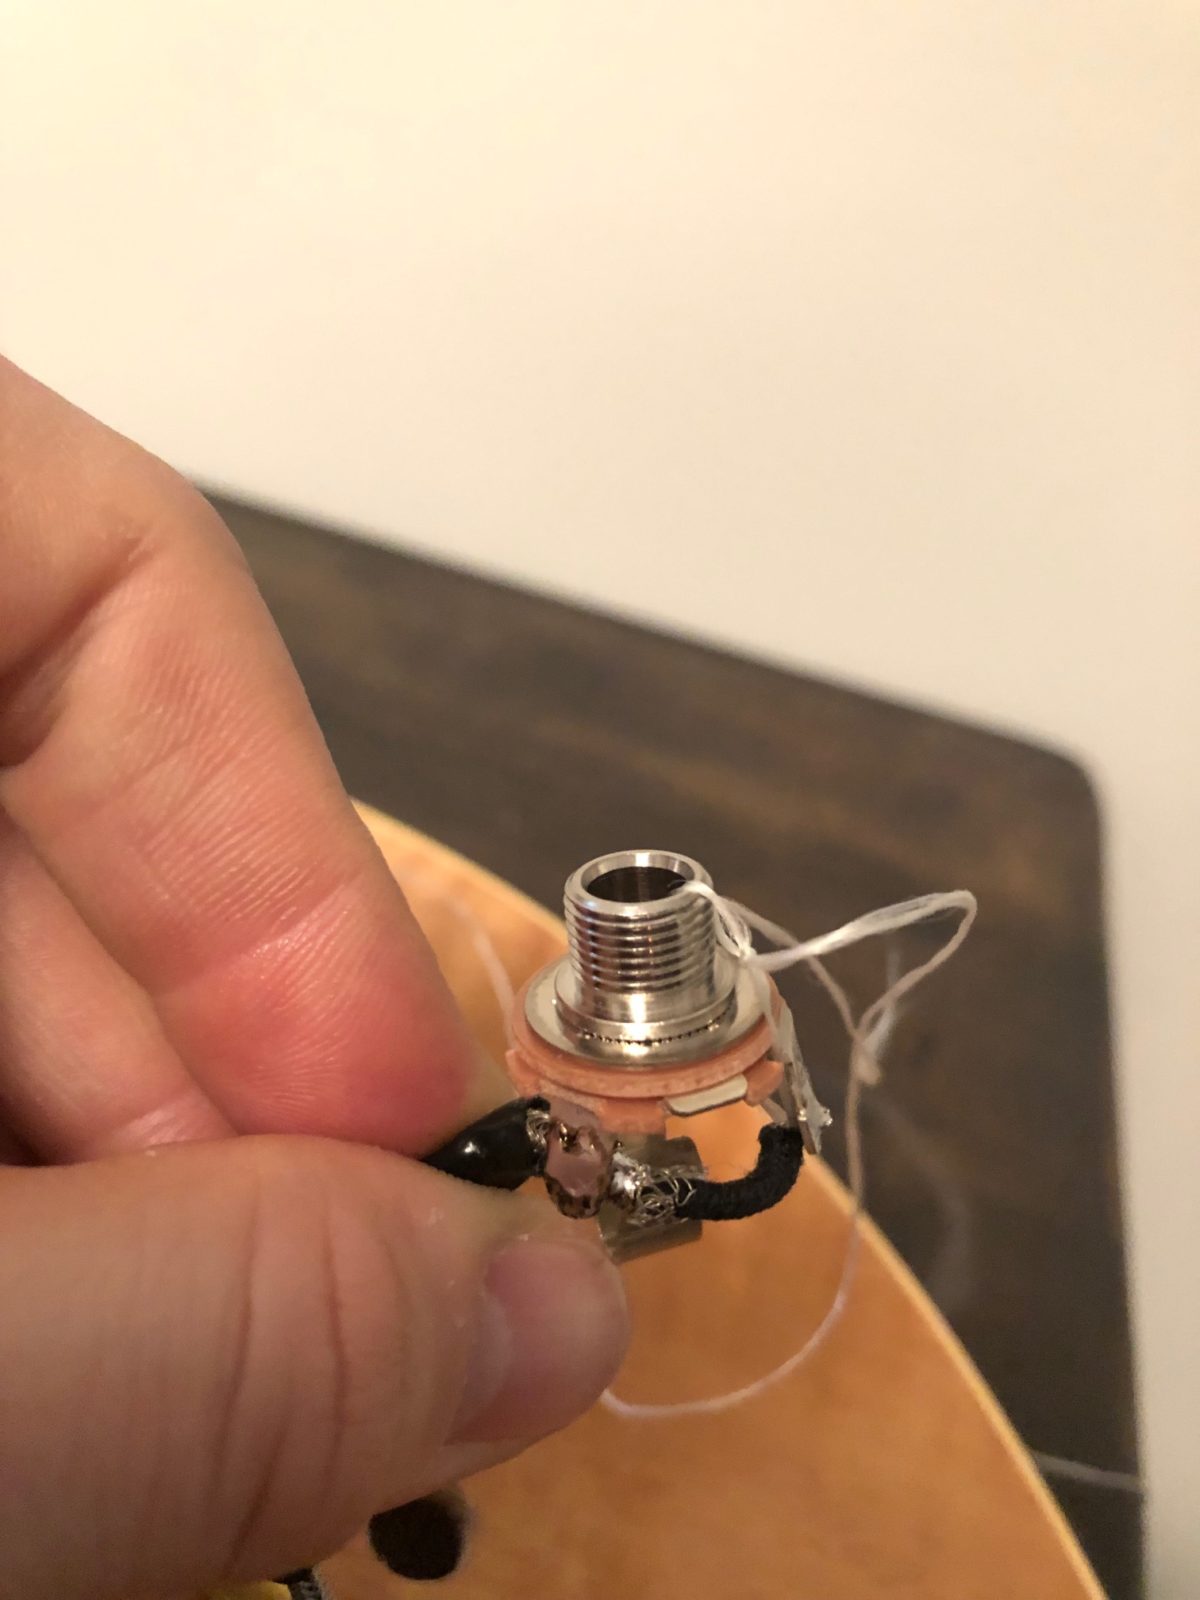
In this case I started with the jack itself since it was traveling the farthest distance inside the guitar. Once I had it most of the way, I went ahead and tied off both tone pots as they are next in line when thinking about physical location. These split-shaft pots have a little “canyon” so to speak right underneath the knurled section which proved great as a gripping section for the floss. I was able to tie it securely in this part of the shaft without it slipping off the entire end. With both of these inside the instrument, I was ready to tie off and migrate the final two pots back into the instrument along with the pickup selector switch.
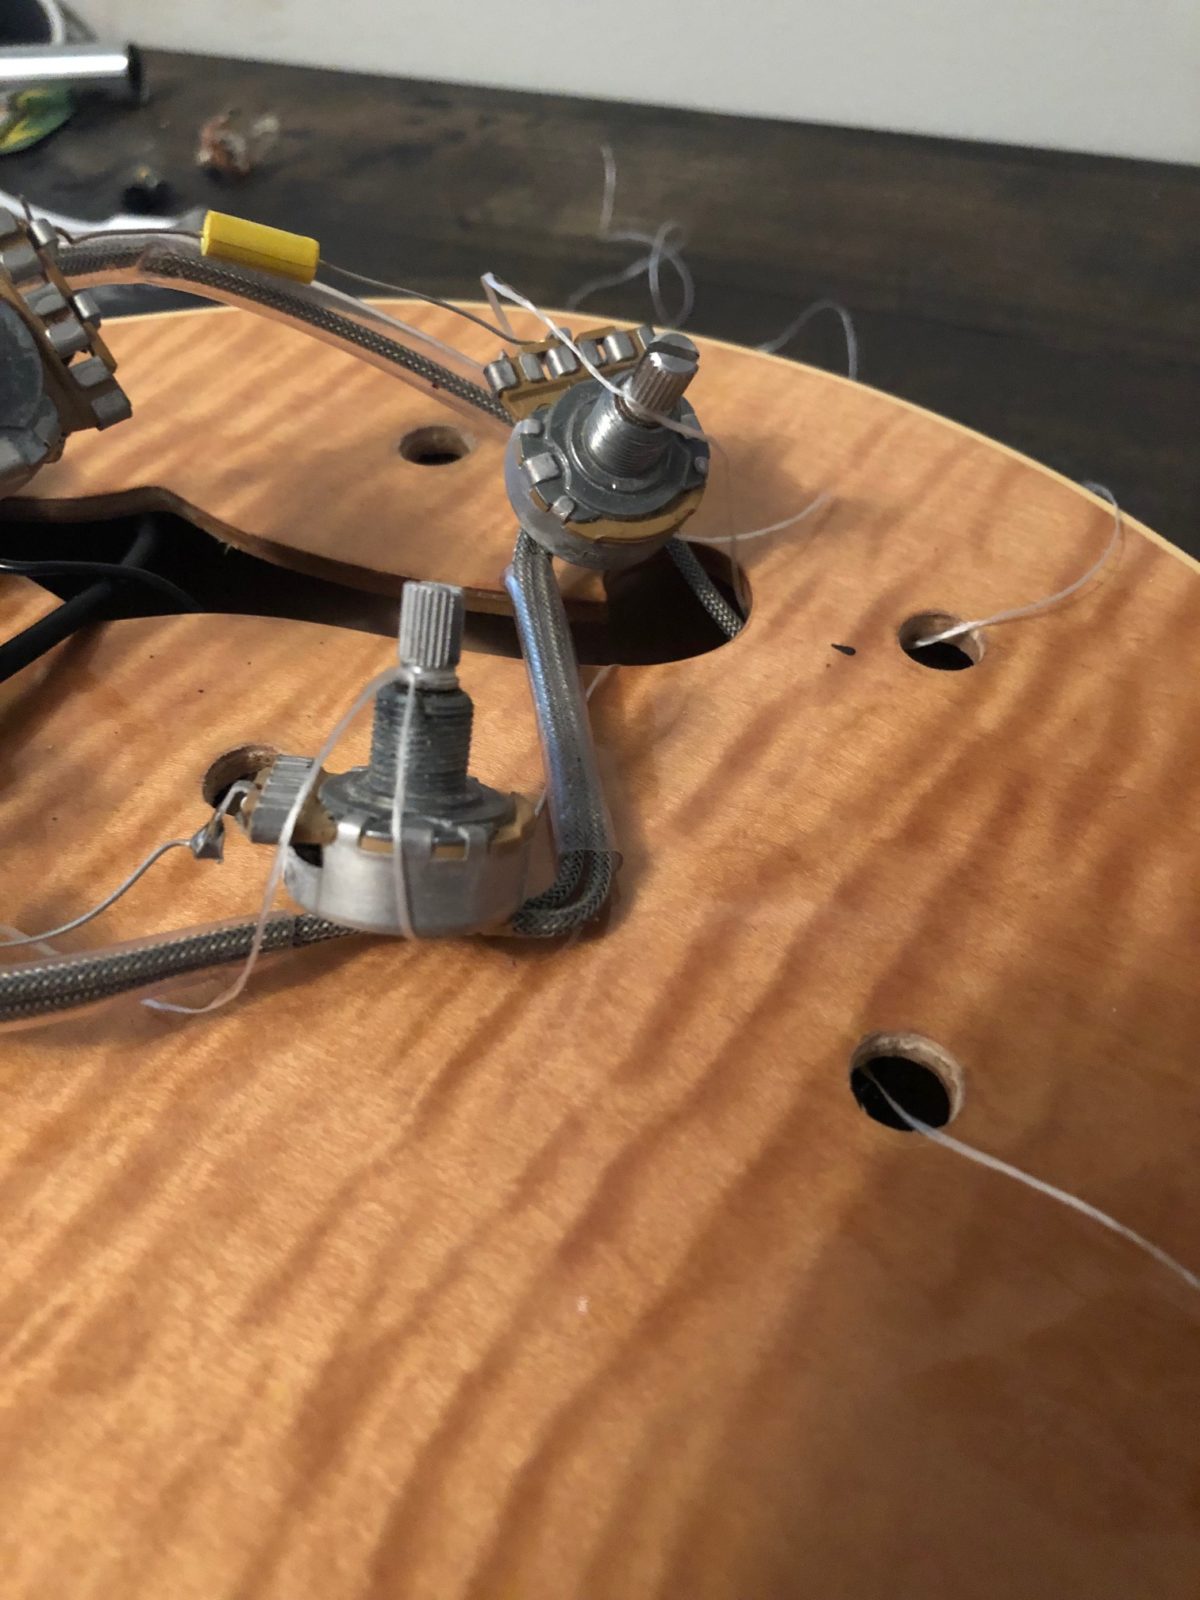
Tone pots tied and threaded. 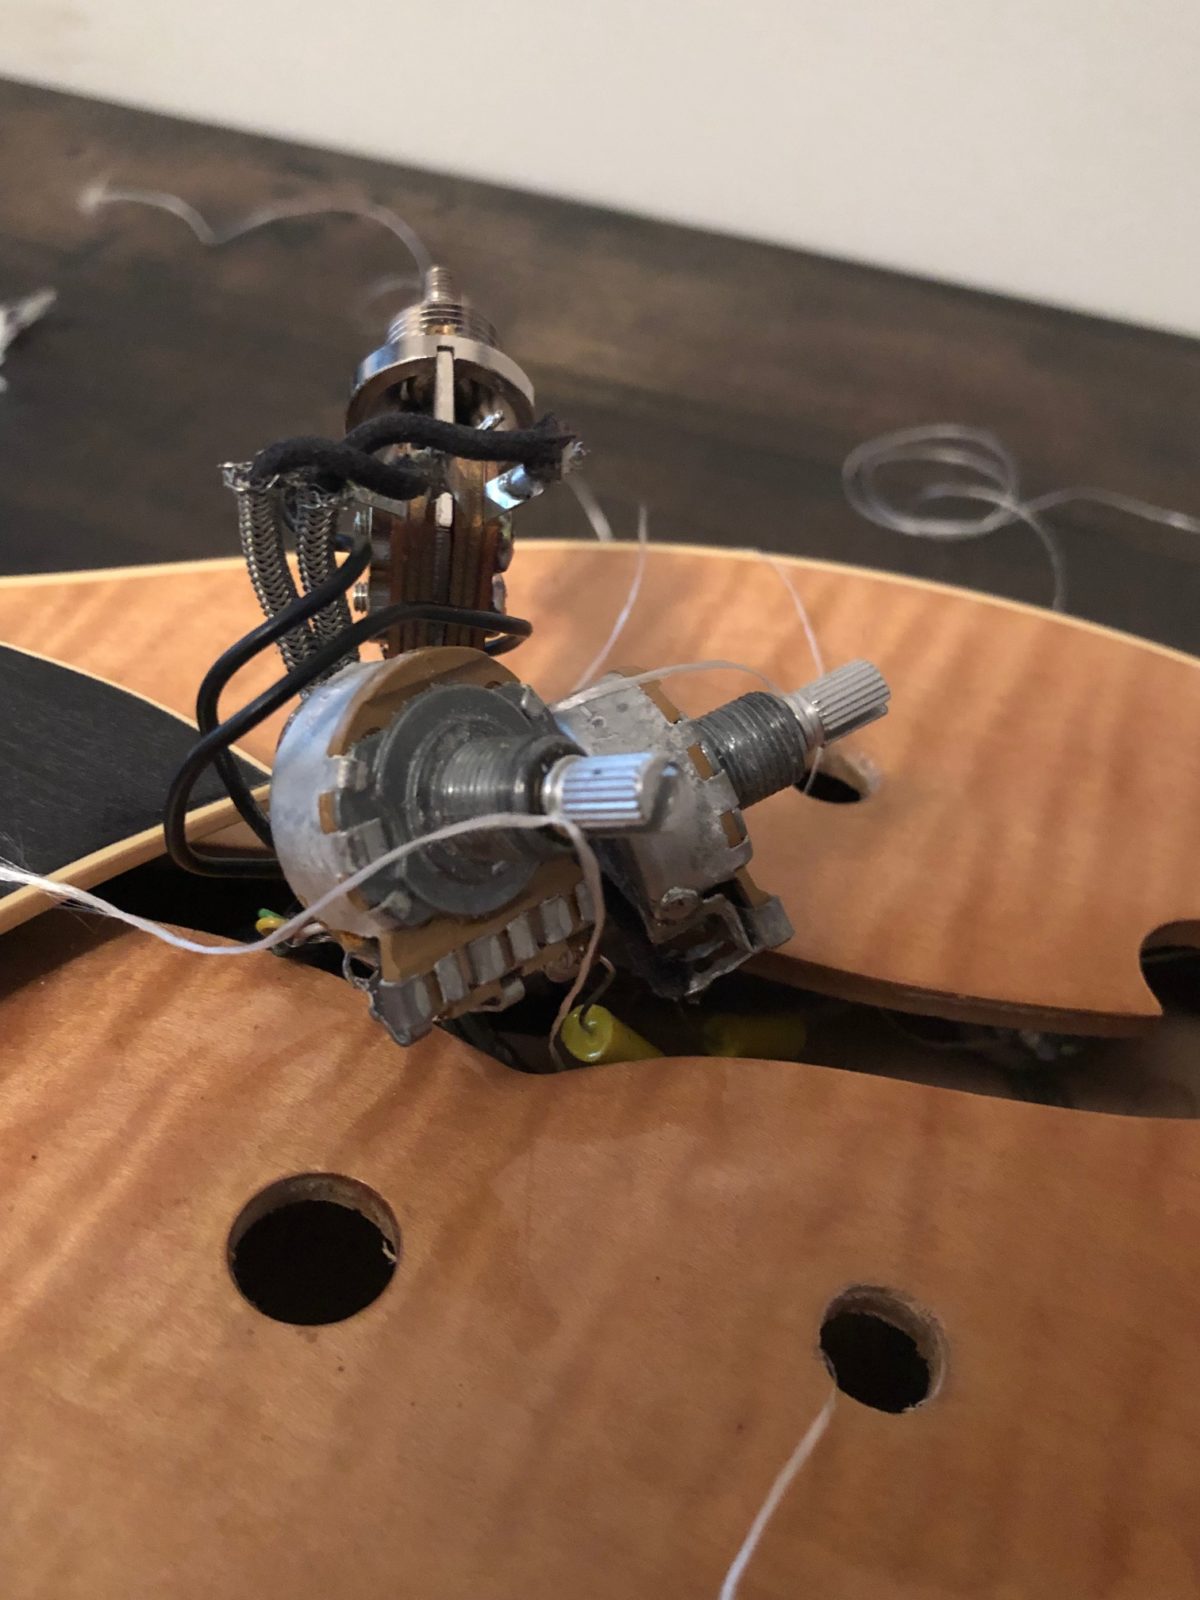
With everything back inside the instrument, it’s time to fish it back out through the hole. This can be the most nerve-wracking, considering the potential for time wasted on do-overs, but with any luck, the work and consideration put in before this step should add up to a successful first try. I like to start by approximating all of the components loosely inside of the instrument before trying to pull any one through. This way you can ensure that the wiring is laid out correctly and will not show after you are done.
From here everything should be set up for you to simply pull the parts through. I like to give them some loose tension until I can see the top part of the component through the hole. You might find yourself reaching in with a finger or screwdriver just to gently guide it or correct the angle. Once you are confident that everything is lined up, you can give it a pull and it should pop on through.
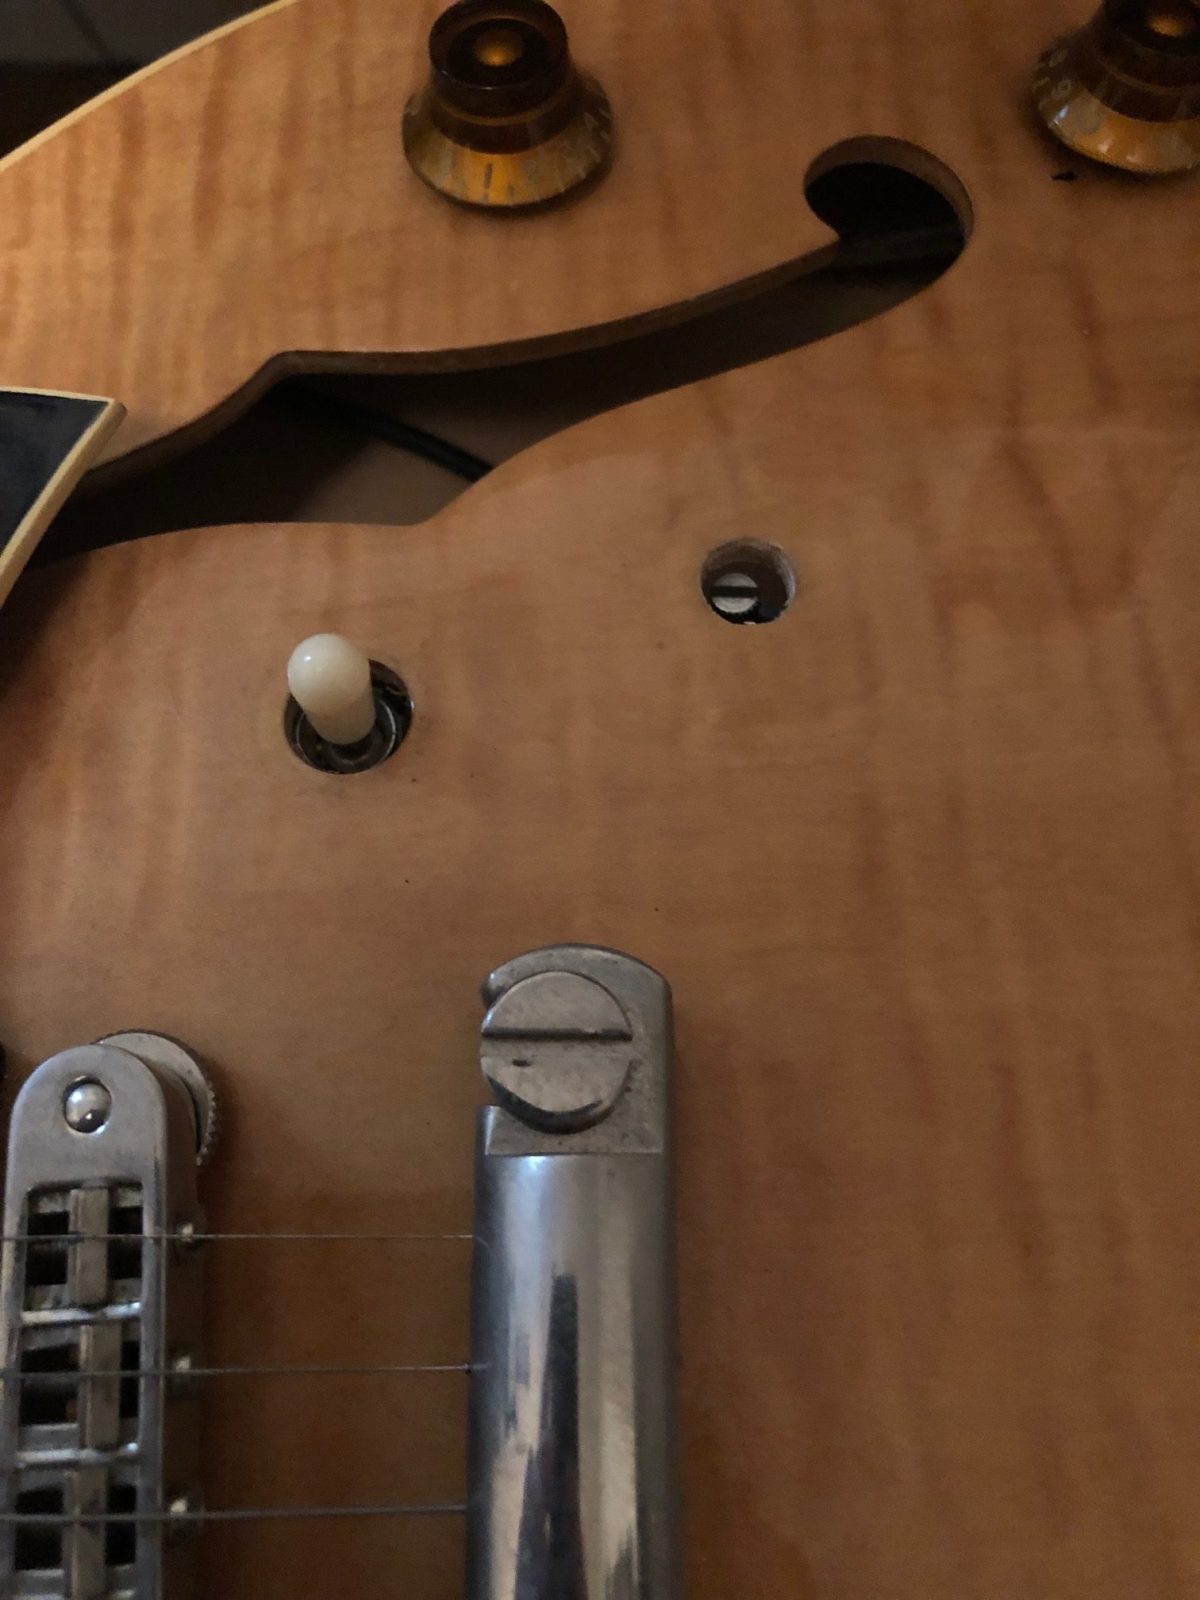
Most of the pots and the switch are close enough to where you should now be able to reach a finger in and press it up against the top with a finger while you install the washer and nut. Another safe way to do this is to actually thread the floss through the nut and washer in case the component falls back in and you need to fish it out again. Because we did not tie the floss around the threaded part, the nut will fit back on without having to remove the floss. Right now I am only loosely hand-tightening the nuts so that I have a little give on the wiring as I install the other parts.
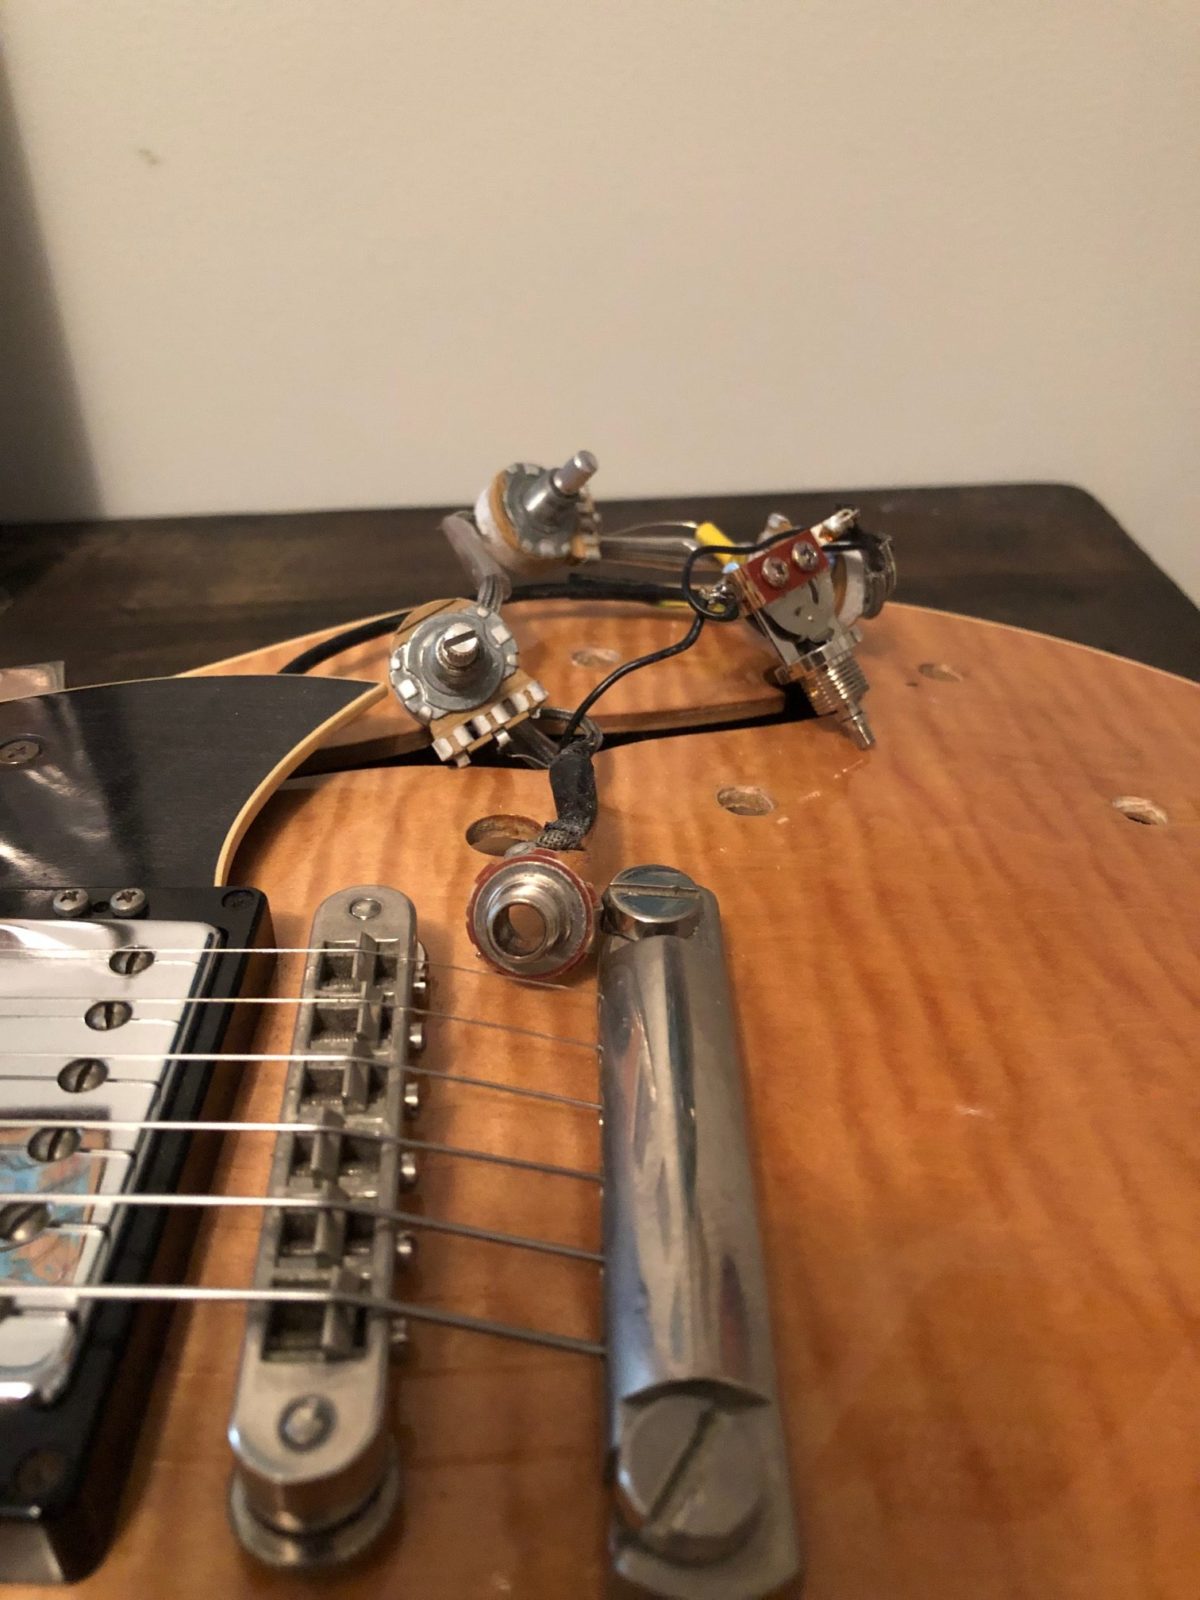
The jack will take a little additional care given the way I decided to tie it. The floss in this case is tied across the threading so it will have to be removed before re-installing the nut. If at all possible this is a good component to hand-tighten first given the margin of error.
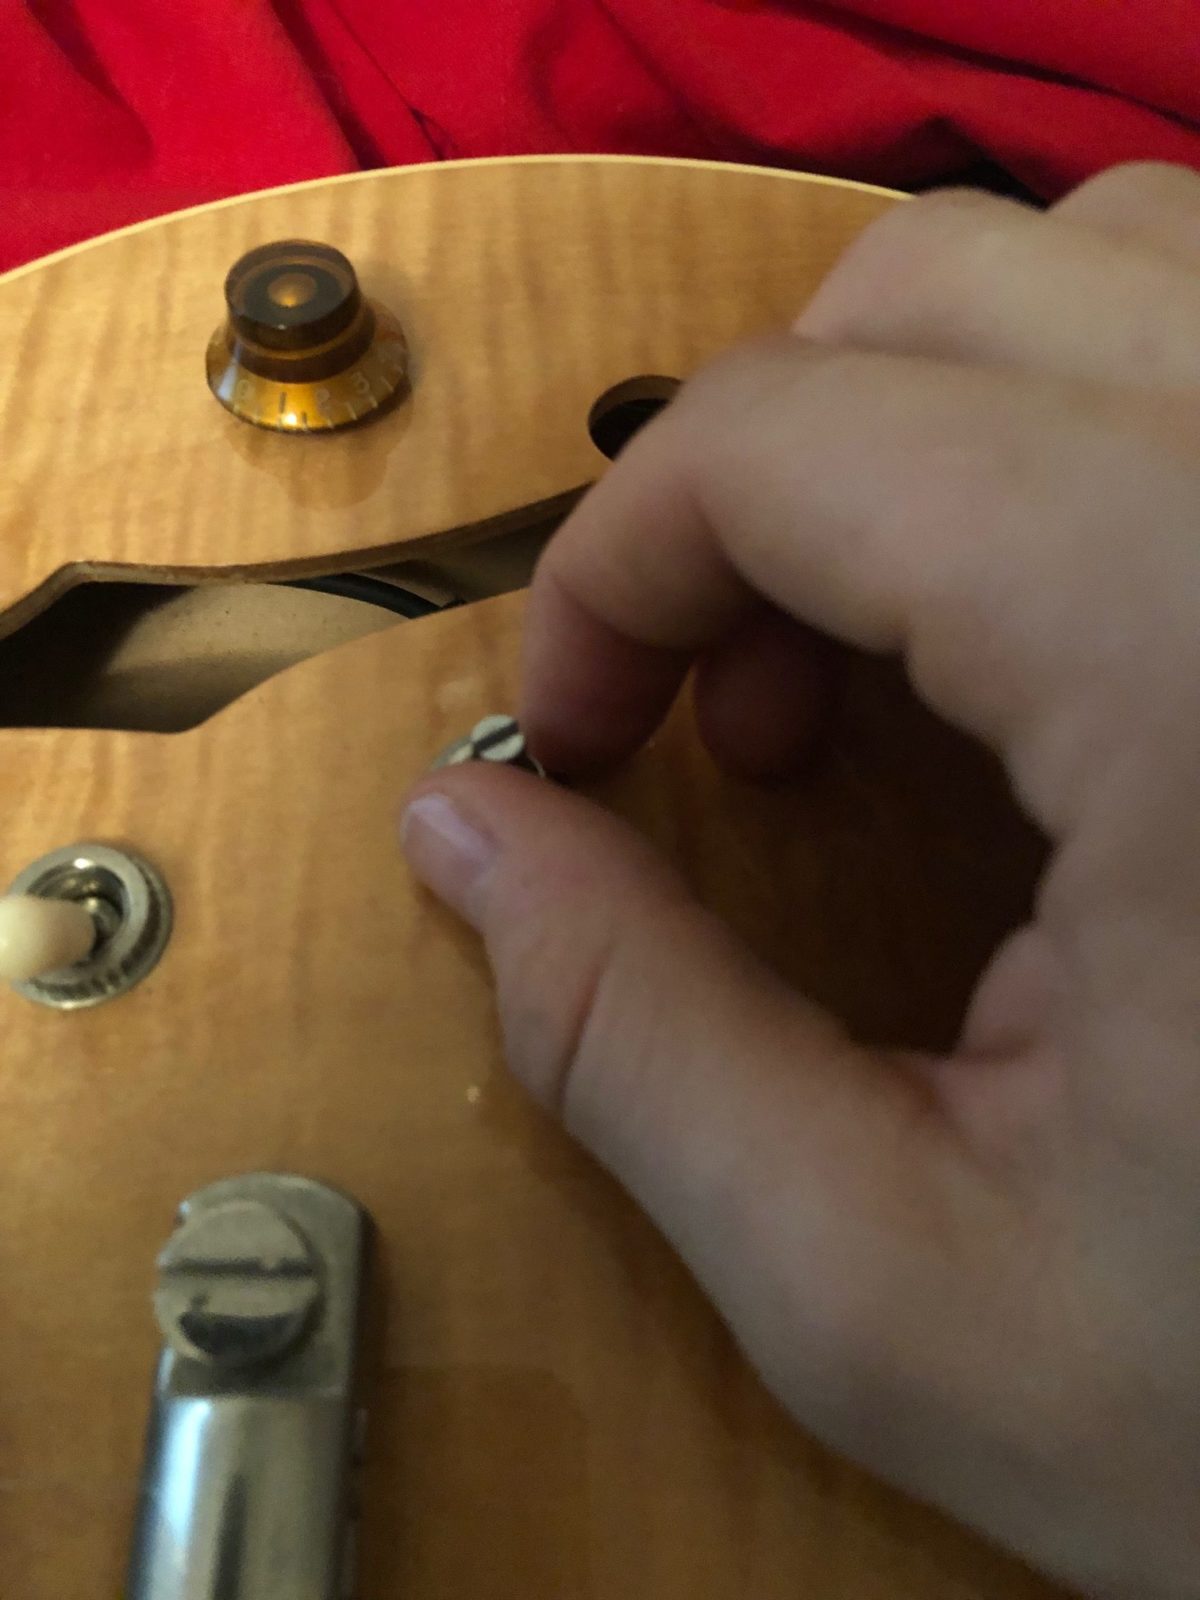
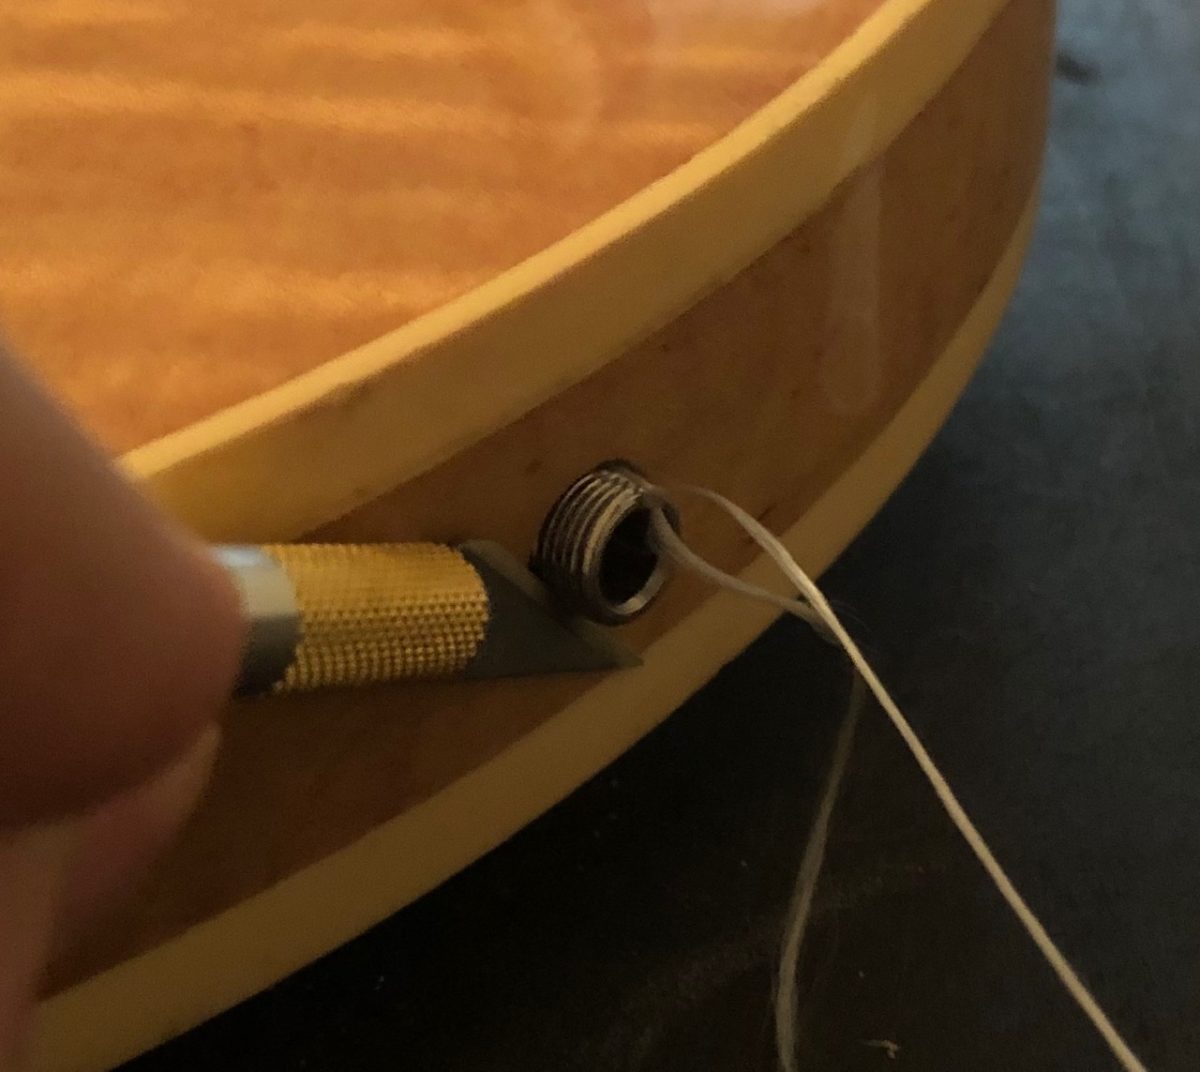
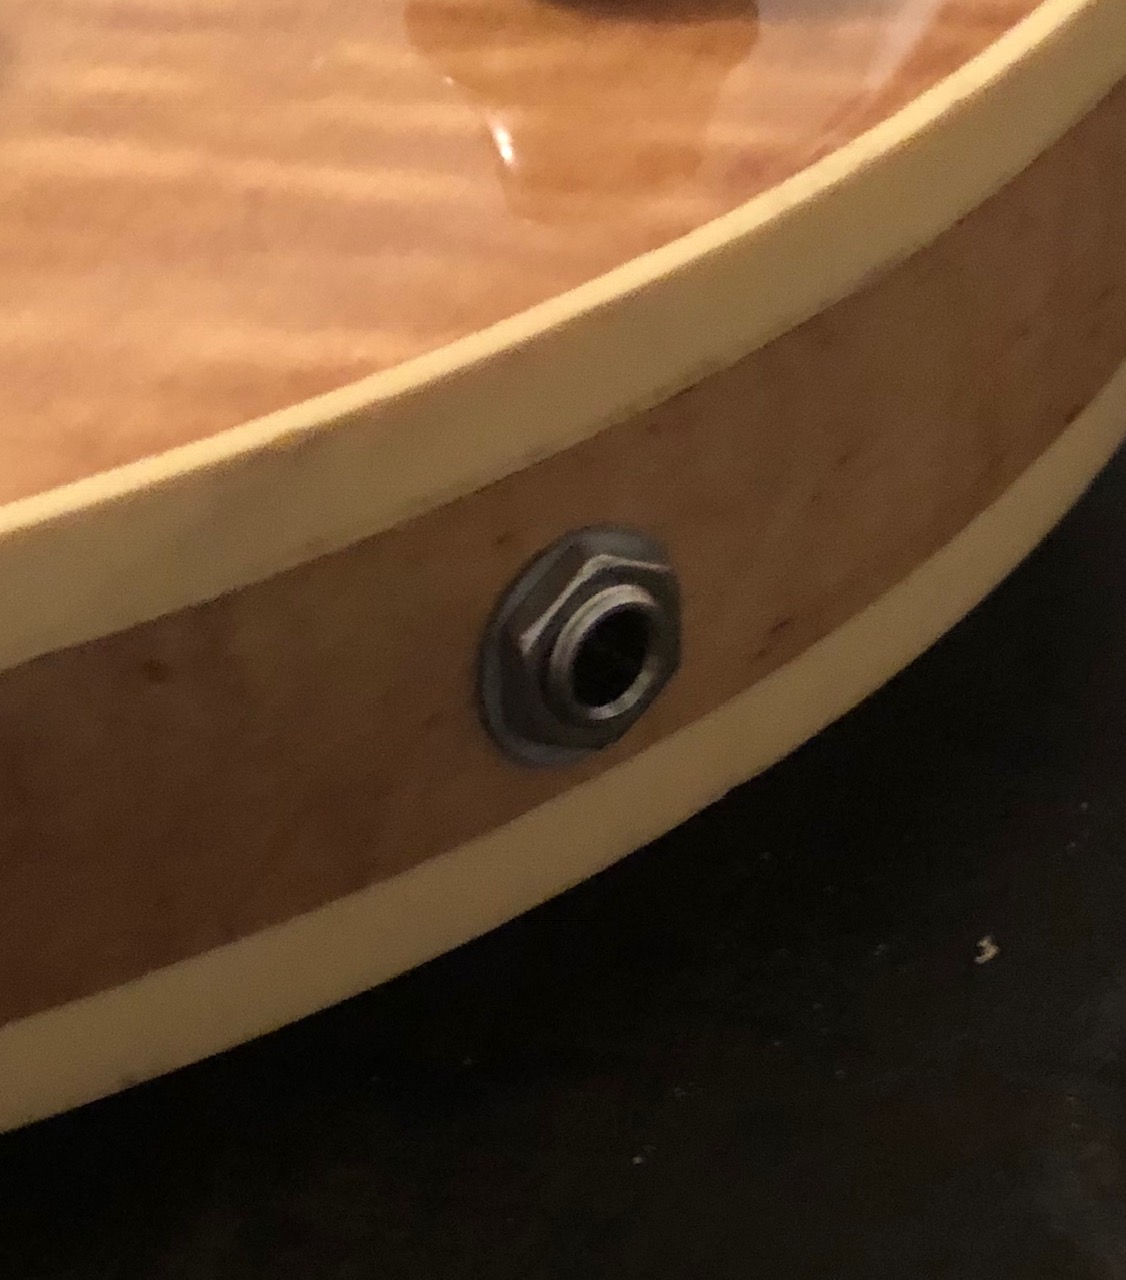
With the jack pulled through its hole, I was able to hold it in place using an Exacto knife pressed firmly against the thread. Once you feel ready, you can use your free hand and another blade to cut away the dental floss. With the floss out of the way you now have enough threading to put the washer and nut back on.
It isn’t an impossible job, but one that commands a little respect when it comes to some of the more specific and tedious considerations and techniques that go into it. Like with some other more involved guitar repair issues, I would say the key element is patience. Schedule some time on a Saturday morning or your day off when you know you aren’t working against a deadline and you have time for breaks, or setbacks. Keep this in mind and your semi-hollow body guitar will be issuing its characteristic sweet and warm tones in no time.


