If you’re a beginning guitarist, you’ll quickly find that playing through a real amp is exhilarating, but can also be frustrating, especially if you have neighbors close by. There’s almost nothing like the sound of a real guitar amp, but digital options have come a long way in the last decade. Playing guitar through a digital audio workstation (DAW), like Pro Tools or GarageBand, has plenty of advantages, namely silent practicing with headphones, and the ability to quickly record song ideas as you think of them.
To play guitar (or bass) through your computer, you’ll need an audio interface, as well as a DAW. Most computers these days will come with a simple DAW that will easily handle this task. If your computer doesn’t have a DAW, there are plenty of free options, and of course, plenty of options to buy high-powered, professional DAWs.
To all beginners out there, this how-to guide is just for you. I’ll be using Pro Tools for this tutorial, but these steps are translatable to pretty much any DAW you might use. Of course, this is only the tip of the recording iceberg, but you’ve got to start somewhere! Without any further delay, let’s get to recording and playing guitars through computers!
1. Create a Blank Session
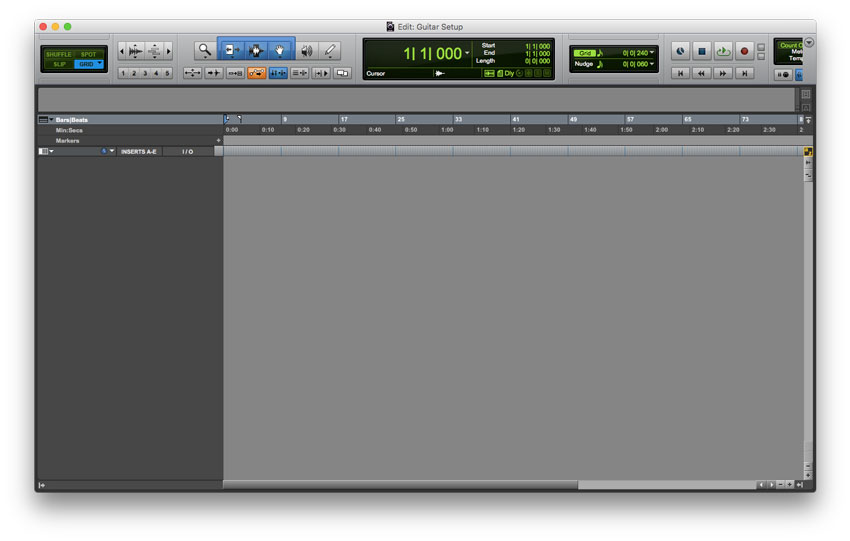
Just like most any other type of software, such as word processing or spreadsheet apps, you’ll need to open a new file from scratch. After launching the program, Pro Tools opens up a dialog box from which you can choose to open recent sessions, or create a new one. Obviously for this example, we will create a new session without a template.
2. Create a New Track
Once you have this blank session open, you’ll want to create a track for your guitar. In Pro Tools, I use the keyboard shortcut Command+Shift+N to do this. This will open up the New Track dialog box. In this box, you can choose how many tracks to create, whether it’s a mono or stereo track, and finally, the type of track.
For this example, we will keep it nice and simple. As you can see in the image above, we’ll only create one mono audio track. Once you’ve selected all the appropriate options, just hit the Create button and a new track will appear.
3. Choose the Input Source
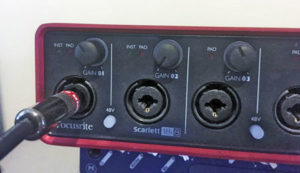
- Plugged into Input 1 on my Focusrite Scarlett 18i8
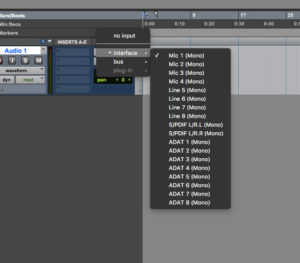
- Choose the input source of your track.
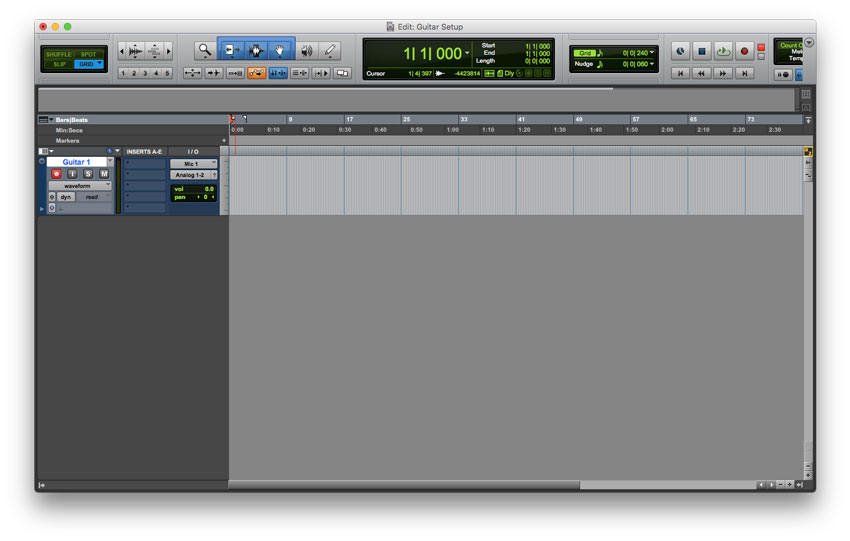
Under the I/O column for your new track, there will be options to choose your input and output. These input and output options should directly correlate to the audio interface your guitar is plugged into. The top dropdown menu on your track under the I/O column controls your input. Select this option, choose Interface, and then set your input to the same input that your guitar is plugged into on the interface.
In this example, I’ve plugged my guitar into Input 1 on my Focusrite Scarlett 18i8. As a result, I’ve chosen Mic 1 as the input I want to use for this track in Pro Tools.
Typically, you won’t have to adjust the output setting for a simple audio interface setup. Just make sure it’s set to Analog 1-2 and there shouldn’t be any problems hearing your guitar through the interface’s headphone or monitor outputs.
4. Arm for Recording
So at this point, you’re plugged in, the track’s been created, and you’re finally ready to make some noise. To record or or even hear your guitar through monitors in Pro Tools, you’ll need to record arm the track. As you can see on the left side of the track, the universal symbol of recording, the circle, has its own button. Click that and you’ll notice that it will start blinking red. This means that your track is armed for recording, and you should be able to finally hear your guitar through the monitors.
If you were to actually record, the record arm button will stop blinking and stay a solid red, indicating that the track is being recorded.
You might also have noticed that I’ve changed the label of the track from the default “Audio 1” to a less generic “Guitar 1.” Just double-click the label and a dialog box will pop up, allowing you to change the name of the track. I would advise getting in the habit of re-labeling each individual track on every single session you create to describe what’s been recorded on there, especially if you’re just getting into recording. This results in less confusion over which track is which when it comes to mixing, and if anyone else ever works on your sessions they’ll know exactly what each track contains.
5. Check Your Levels
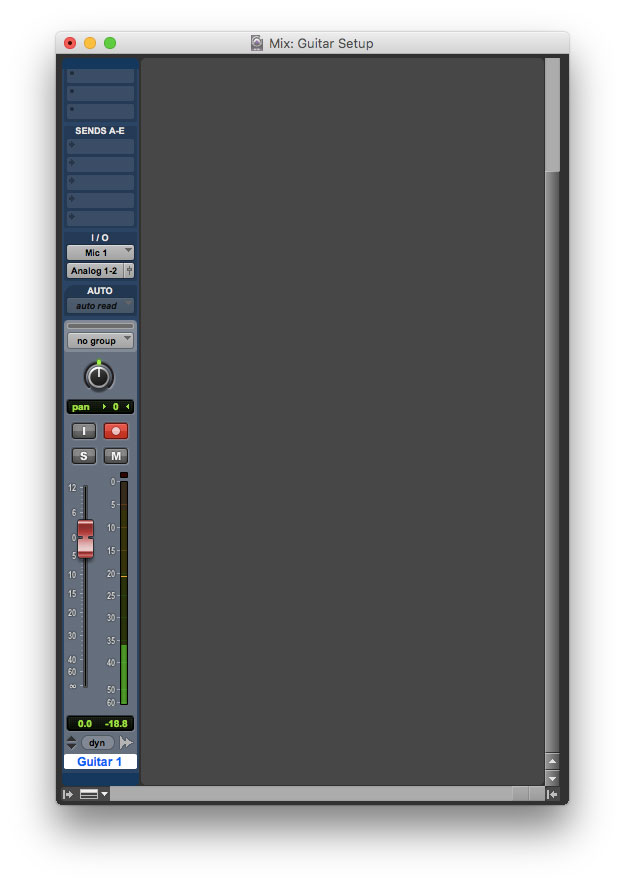
As you play your guitar, take notice of the metering on your track. In Pro Tools, it’s easier to monitor on the mix window. A keyboard shortcut to the mix window is to just hit Command + =. Play the hardest you can on your guitar, and adjust the gain knob on your interface so that your level doesn’t go into the red. This keeps your guitar’s signal from distorting the preamp on your interface, or even worse, clipping the A/D converter.
A general rule of thumb is to try to keep your levels around -18 dBFS on average. This preserves a large amount of headroom so that peaks in your signal don’t accidentally clip, causing nasty digital distortion in what could otherwise be a perfect take.
6. Rock Out
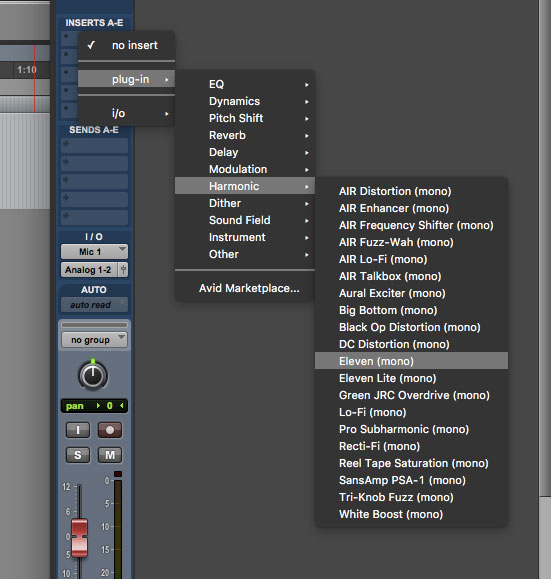
Once you finally start playing guitar through your DAW, you might notice it has a flat, sterile sound. To make the tone more realistic, just open up any amp simulation plug-in. Most DAWs will come with at least some sort of basic amp sim, but many others are available for purchase. Spending a little bit of money on an amp sim will be worth the investment, especially if you tend to play your guitar mostly through the computer. These premium amp sims not only produce a more realistic sound, but will offer more features, such as choosing amp heads and speaker cabinets, with some even simulating various microphones and how they record guitar tones differently.

