Yamaha made a splash in the drum miking game when their SKRM-100 SubKick collaboration with session drummer Russ Miller was released in 2004. The practice of wiring a speaker in reverse to act as a transducer has been around for a long time in production, but was made widely accessible with the SKRM-100 release. Ever since the SKRM-100 was discontinued, modern producers and engineers have gone the way of boutique companies or homemade solutions for their SubKick needs. The following guide shows the truly DIY way that any home producer with a soldering iron and a dream can obtain the sought-after SubKick sound!
Items Needed
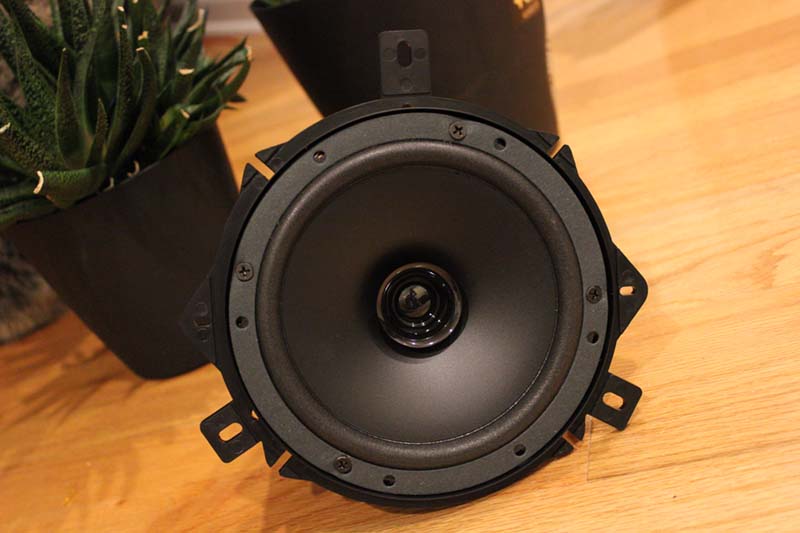
Even though this is a very DIY solution for building a SubKick, a few materials and items will be required during construction. One of the obvious items is a full-range speaker, and sizing does matter a bit (the original Yamaha SKRM-100 Subkick uses a 10″ woofer) when it comes to frequency range, but any speaker you have handy will work to capture sub frequencies (below 100hz.) Along with the speaker, an XLR male-to-female cable and wire strippers are required.
Beyond that you could also solder your connection points for a permanent hold, which in turn requires a soldering iron and any solder for use on electronics, in most cases, 60/40 works the best for this application due to it needing less heat to flow properly and to get a great, shiny joint.
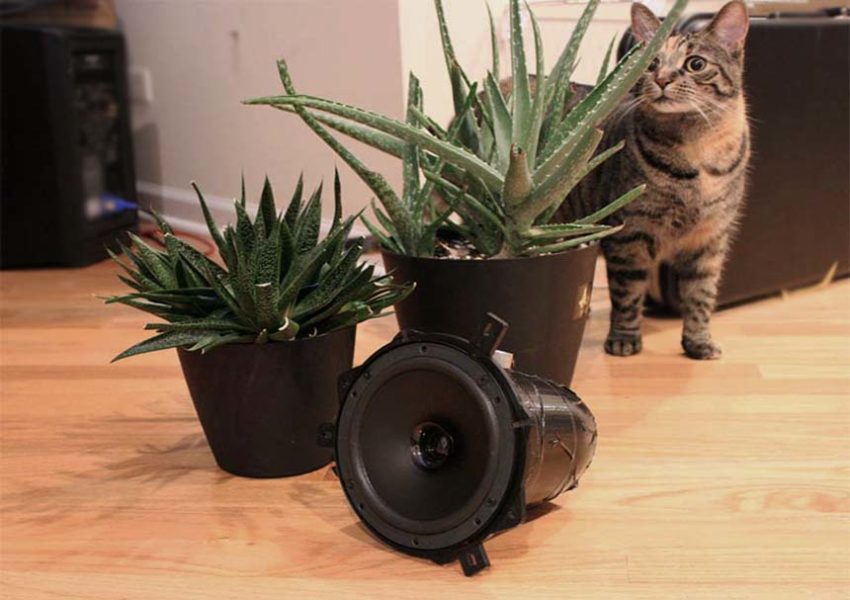
Going above and beyond in this build doesn’t require too much effort, but something like a dedicated speaker mount/casing, mic stand adapter or an XLR male adapter terminal brings an added attention to detail to the DIY build. Even grabbing a cheap, plastic water pitcher and cutting it in half to mount your speaker in works well!
Construction
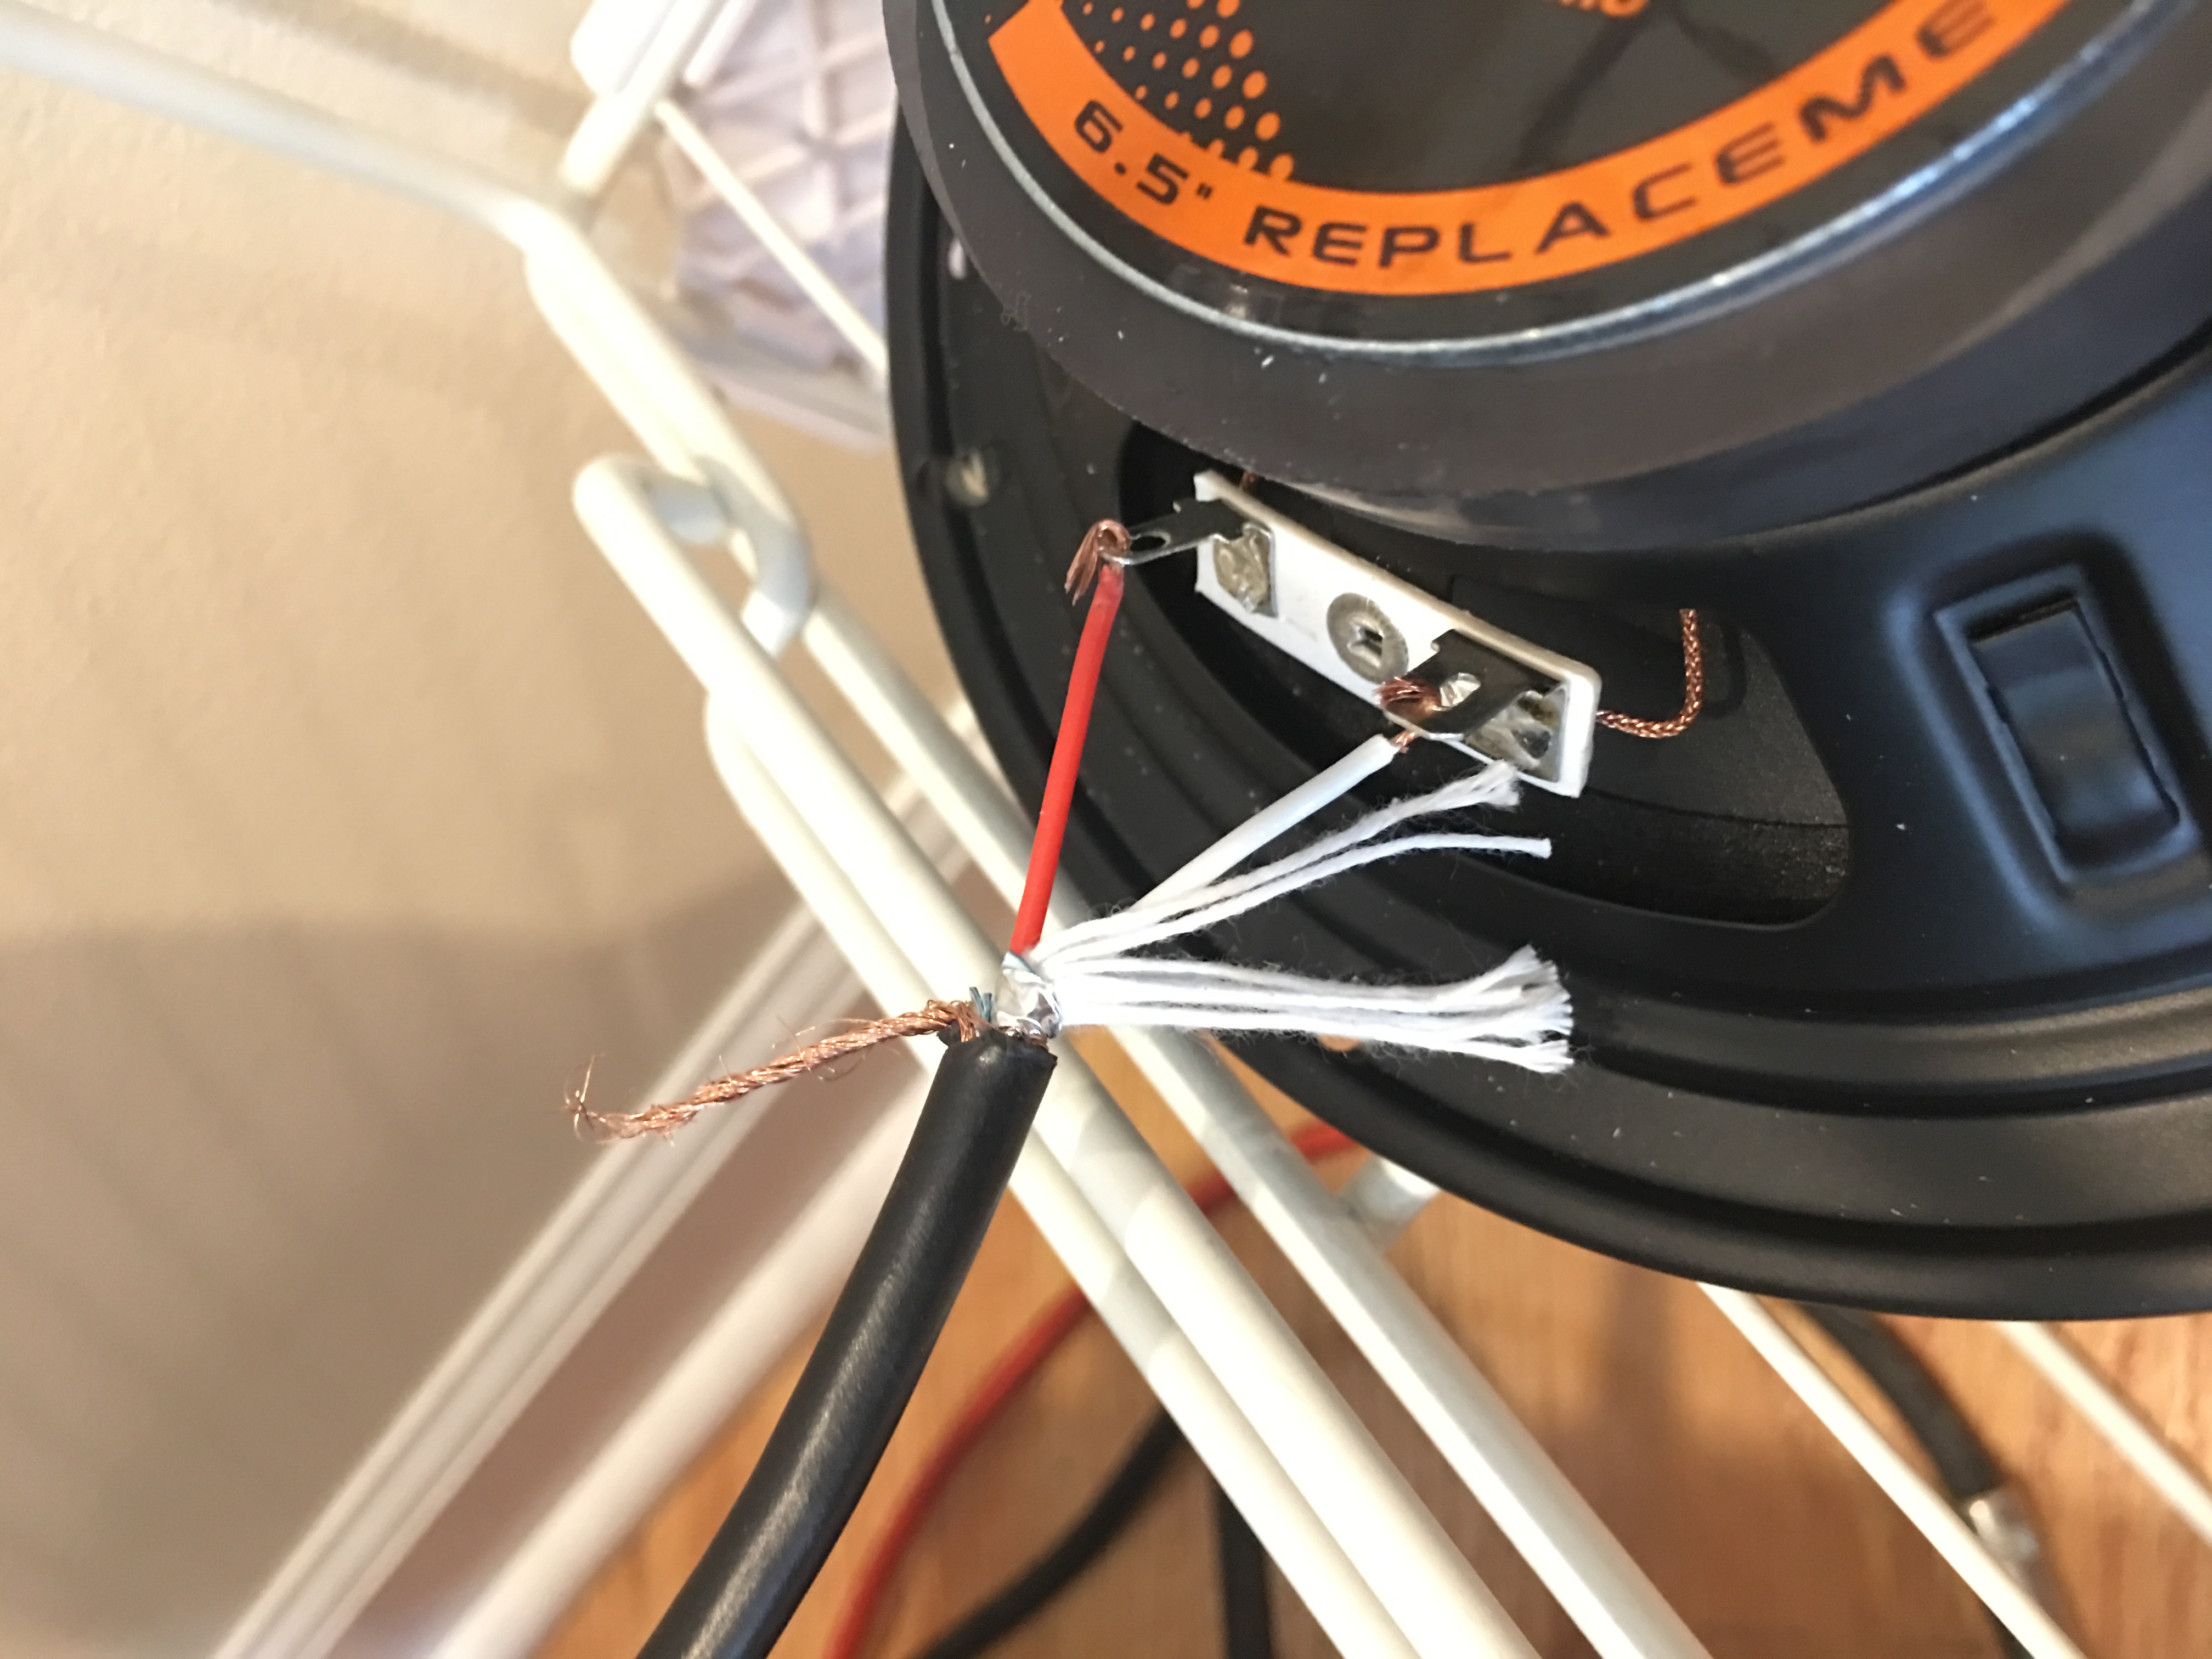
Once you’ve obtained all necessary parts of your build you can start by cutting your XLR cable at the male end and stripping off a portion of the rubber cable and metal shielding which acts as the ground. It’s important to keep the male end adapter intact unless you plan on wiring a male adapter XLR terminal to your build. Once the cable is cut and stripped, you will see two wires — these are the positive and negative connection wires and typically are a combination of red, white or black depending on what type of color coding the manufacturer goes by. If you are unsure which is which, simply submit an online search query about your cable manufacturer’s wiring schematic, or you could truly embrace the DIY spirit and test both options on your speaker’s wire connection terminals while the XLR is plugged into a PA speaker or mixer. A subkick is only a regular speaker until it’s wired in reverse polarity, this means positive (+) on negative (-) and negative (-) on positive (+). This connection makes the speaker cone a large diaphragm microphone capable of capturing the sub-frequencies of whatever you put through it!

Always test and identify which lead is positive(+) and which is negative(-) before soldering.
Now that you’ve found which connection points work and have tested the whole setup on a powered speaker or mixer, it’s time to make the connection permanent with solder or by crimping the wire in a spade terminal and mounting it on the speaker connectors. Either way you may want to seal the connection with solder to ensure a solid hold that will last many studio sessions. For more info on soldering check out YouTube or how-to guides online It’s a popular topic and tutorials won’t be hard to find.
And with that you are done! One issue with this build is the lack of a dB pad for the very hot signal output. This can be solved by building an attenuator pad into the XLR jack or by simply using a line input on your interface or mixer which typically gives a pad of 10-20db. Anything additional is totally optional, such as mounting the speaker into something more manageable and sturdy, or bolting on a mic stand mount. The options at this point are nearly endless: some have even 3D-printed custom speaker mounts complete with logos and XLR terminal mounts.

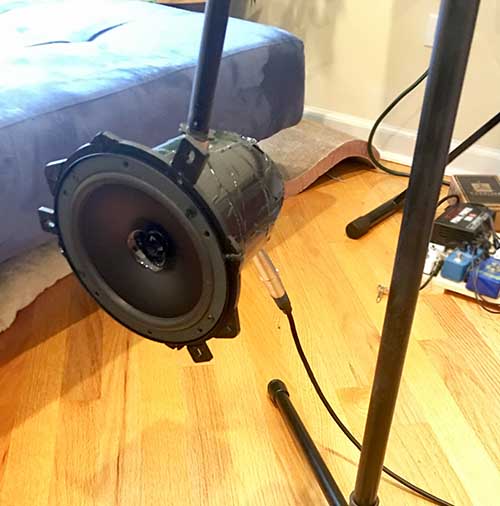
The finished D.I.Y. SubKick mounted on a boom stand, ready for studio action!
The SubKick is a useful and fun tool to have in studio when recording drums. When Russ Miller designed the SKRM-100 with Yamaha he said “I was looking for a way to capture the actual, uncolored sound of my kick drum, both on tape and live” and that’s exactly what the SubKick captures, a truly real kick drum tone that’s full of resonance and low-end frequencies. Combining your SubKick with a traditional kick drum mic like the Shure Beta 52A or AKG D112 and throwing a low-pass filter on the SubKick and a high-pass filter on the internal bass drum mic can lead to some really great mixing option that provide a ton of attack (from the internal mic) and low-end resonance (from the SubKick.)
The most important thing in DIY recording and building projects is to experiment and have fun, and the SubKick is one of the most fun tools that you can build yourself.


Leave a Reply