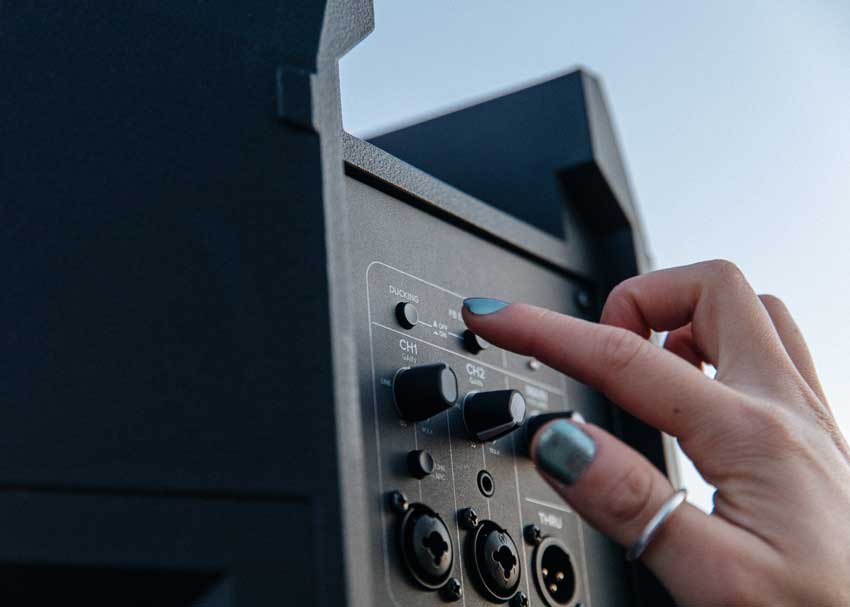
If you’ve got a portable PA speaker or all-in-one PA system with a mic input and a music playback channel, you may have a button or switch on the back labeled something like Ducking, Music Ducking, Mic Priority, Voice Priority, Talkover, or Voiceover. So, what does that button do?
The automatic music ducking/mic priority feature found on some PA speakers, systems, and karaoke mixers lets a presenter’s voice take center stage. When the music ducking/voice priority feature is switched on, and the system detects someone speaking into a mic, it automatically lowers the volume of the background music. This ensures that every spoken word is heard clearly — without having to manually turn down or pause the music.
The ducking feature uses a sidechain compressor that “listens” for speech coming through the microphone, and lowers the volume of the music. When the speech is over, the compressor disengages and the music automatically returns to its previous level.
How Do You Use Music Ducking for Live Sound?
Here are a few common real-world use cases for ducking on a PA system:
- DJs and event MCs can make quick announcements without having to reach for the faders or hinder the flow of the music: “Let’s welcome our guest of honor to the dance floor!” or “Hey, party people, we will cut the cake in 5 minutes!” or “Cocktail hour is ending in 15 minutes — please make your way to the reception hall.”
- Fitness/spin/dance instructors can lead a class without having to yell into their headset mic to be heard over loud music.
- Tour guides, camp counselors, or activity leaders can play background music on a portable PA, while making occasional announcements.
- In a retail store or restaurant, staff can make announcements without touching a mixer: “Register 3 is now open” or “Your attention please — we’ll be closing in 15 minutes.”
Essentially, the Music Ducking button is useful anytime you want to make a short announcement without manually pausing the music or riding the music levels. It’s great for folks who prefer not to mess with faders and knobs — and it’s also a time-saver for experienced DJs, MCs, and sound techs.
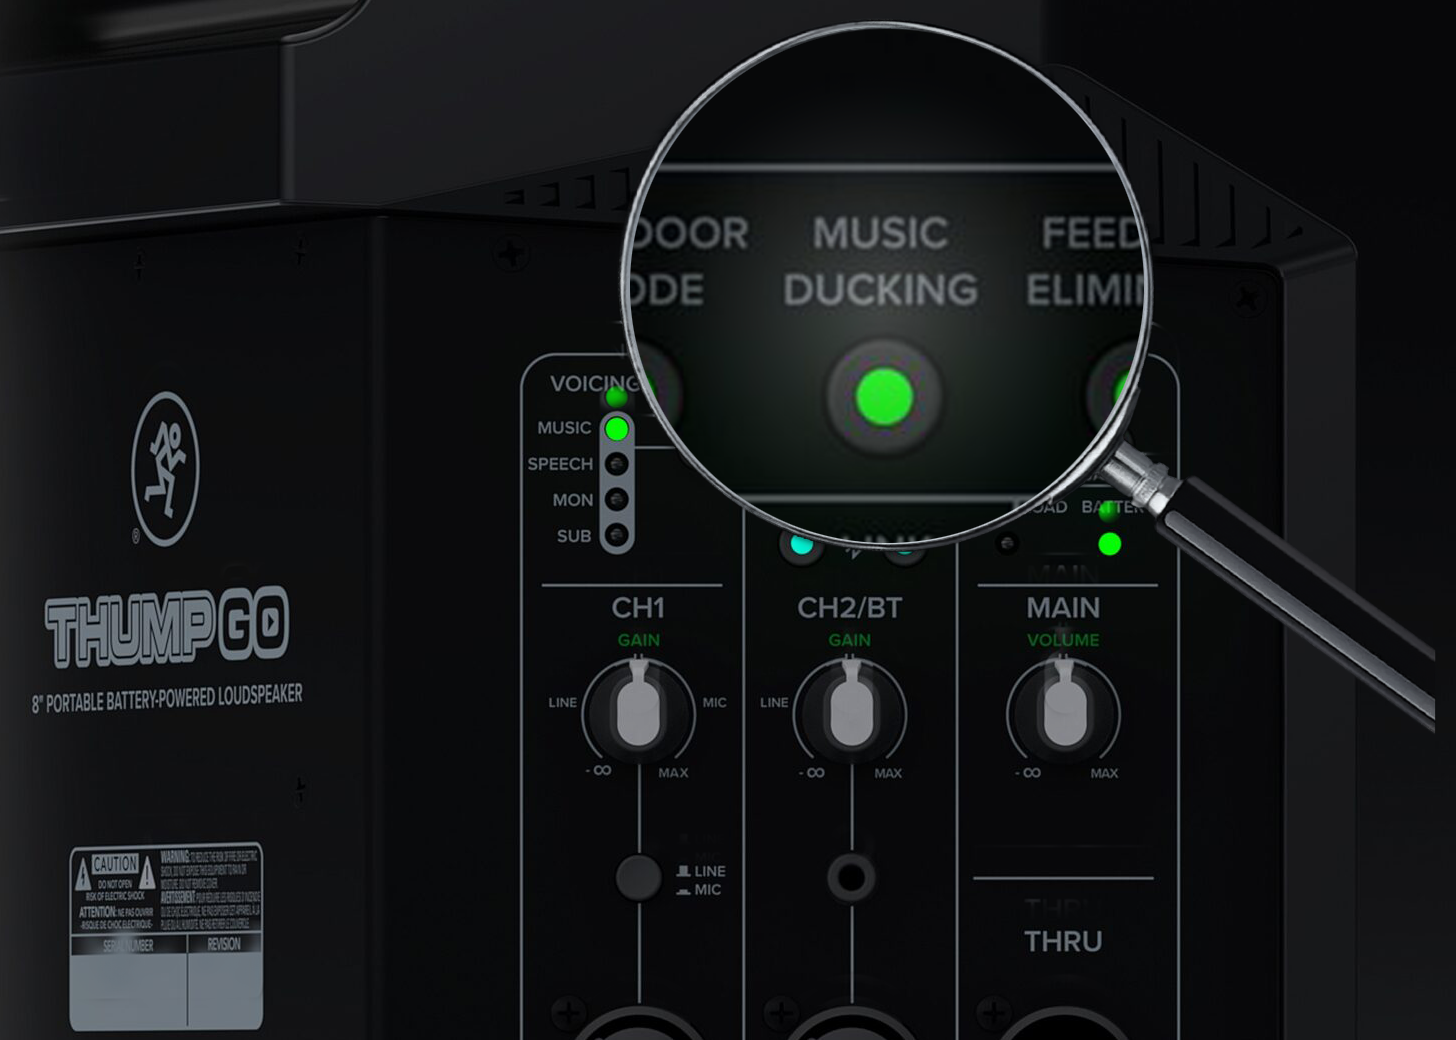
Look for a button on your system labeled “Ducking” or “Music Ducking,” like this one on the Mackie Thump GO…
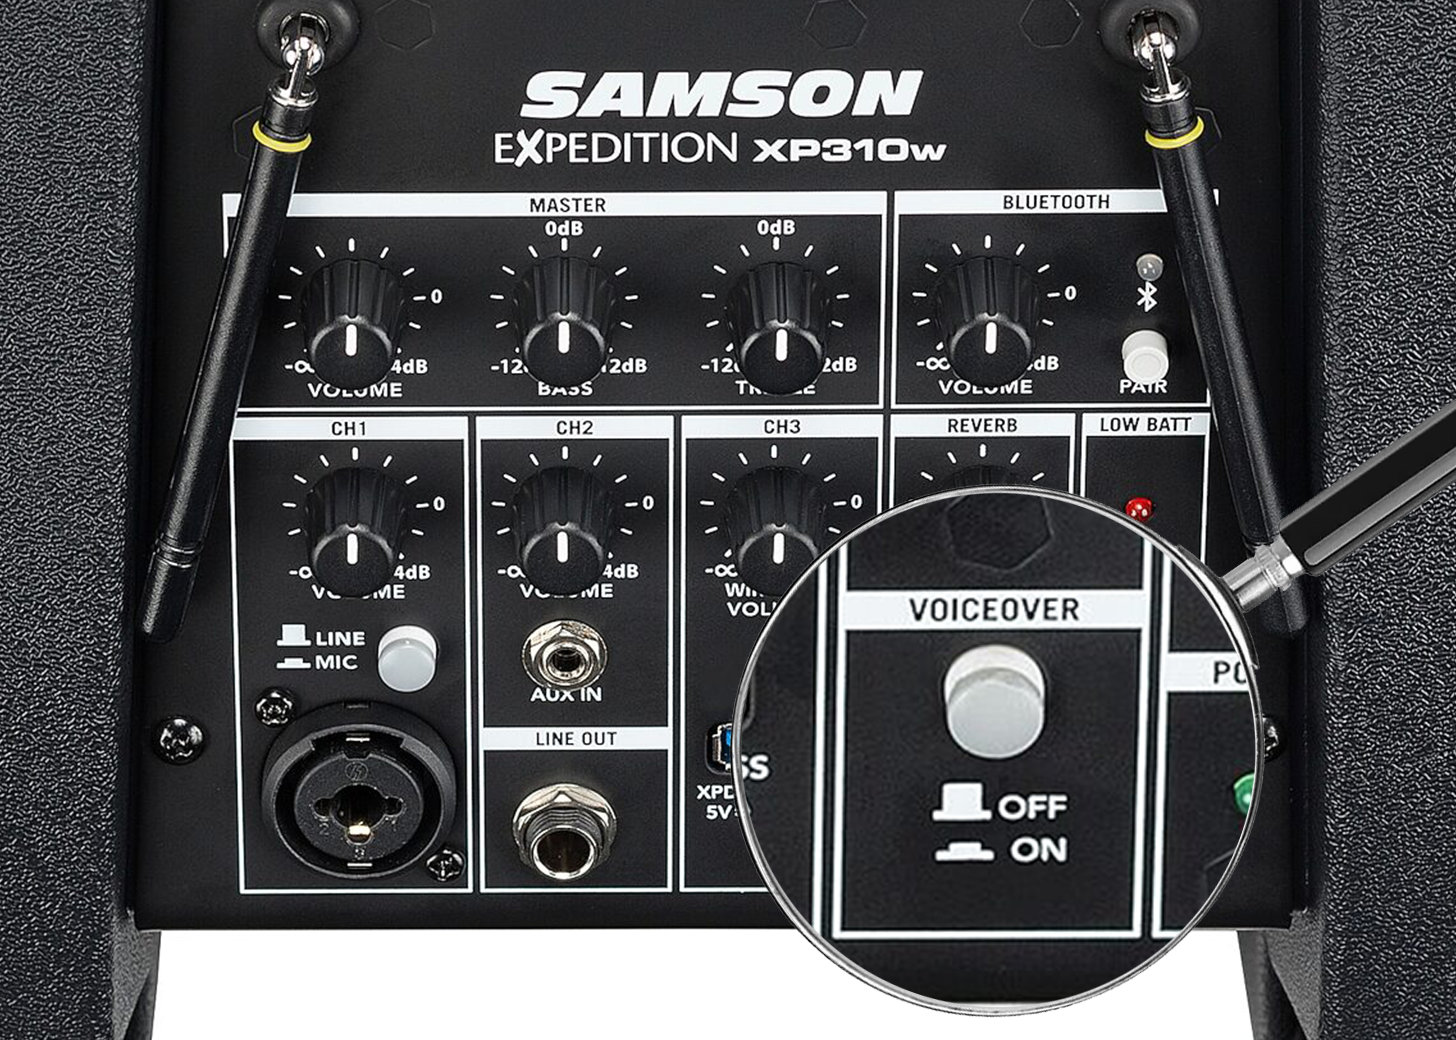
…or look for a button labeled Voice Priority, Mic Priority, or Voiceover, like this one on the Samson Expedition XP310w.
Which PA Systems and Speakers Have a Music Ducking Button?
Ducking is not a standard feature on all PA speakers. So, here’s our list of select speakers and systems which include an easy-to-access ducking/mic priority feature. Each of these models includes a dedicated “Ducking” hardware button, switch, or knob you can enable with one touch — no menus or apps required:
- All Mackie Thump series PA speakers, including the Thump15v4, Thump12v4, Thump210, Thump212, Thump215, Thump212XT, Thump215XT, and Thump GO battery-powered speaker, have a dedicated ducking button. Press the button labeled Ducking or Music Ducking. The button lights up, and channel 2 will automatically turn down whenever you speak into the mic on channel 1.
- JBL’s IRX108BT and IRX112BT powered loudspeakers have a Music Ducking button on the back.
- The JBL EON ONE Compact has a Ducking button as well.
- QSC CB10 portable loudspeaker: Turn the Presets knob on Channel A to “Speech (Ducker)” mode to activate ducking with a microphone plugged into Channel A.
- Samson Expedition XP208w, XP310w, and XP312w: Samson calls this feature “Voiceover control with priority ducking,” and you turn it on by pressing the button labeled “Voiceover” on the mixer section of select Expedition portable PA systems. (In this case, the button doesn’t say “Ducking,” but it works exactly the same way.)
- This feature can be found on karaoke gear, too. For example, VocoPro’s WiFi-Rocker karaoke system has a “Mic Priority” switch, and the VocoPro KJ-7808RV karaoke mixer has a “Talkover” switch — allowing the KJ/DJ to make announcements over background music.
What if My Speaker Doesn’t Have a Ducking Button?
If your PA system doesn’t happen to have a dedicated hardware button for ducking, it may still have a ducking feature you can access via a menu on the speaker’s back panel display. For example, the Electro-Voice EVERSE 8 and EVERSE 12 battery-powered PA systems have a versatile ducking function that you can enable via this menu. When you enable the Ducker on channel 1 or 2, it will reduce the level of the signals on the other input channels by -12 dB. Using the menu on the EVERSE, you can even adjust the Ducker’s detection threshold (the lowest level of mic input where the ducking kicks in).
Some other portable PA systems come with smartphone apps that let you control the system’s built-in digital mixer. If your setup includes any kind of digital mixer with DSP, you likely have the tools to DIY your own ducking compressor. Setting up ducking this way is much more fiddly than using a one-touch button on the back of a speaker. But it can provide more polished results than “one-size-fits-all” ducking. For example, you may want to adjust the ducking depth (exactly how much should the music be reduced?) or the attack/release time (how quickly does the ducker kick in when you start to speak, and how quickly does the music volume come back up when you finish speaking?)
Ducking in the Studio
Beyond the live sound world, ducking music to prioritize speech is a go-to mixing technique for broadcast and streaming/content creation. Think of the radio-style “talk over music” workflow for speaking over a music bed or intro without manual mixing. You’re hearing a sidechain compressor that the vocal mic triggers. It ducks the music, then lets it swell back up when the voiceover ends.
And of course, there are all kinds of other applications for sidechain compression. For example, in the music world, there’s the classic “use the kick drum to trigger compression on the bass” effect — in this case, instead of a voice ducking the music, the kick drum is ducking the bass.
For yet another application of sidechain compression, check out our post on Ducking Vocals With Sidechain Compression During Live Broadcasts to see how the zZounds crew uses a guitar signal to duck an open vocal mic, which greatly reduces the guitar amp’s “bleed” into the vocal mic, resulting in a cleaner, tighter guitar sound on our live videos.

