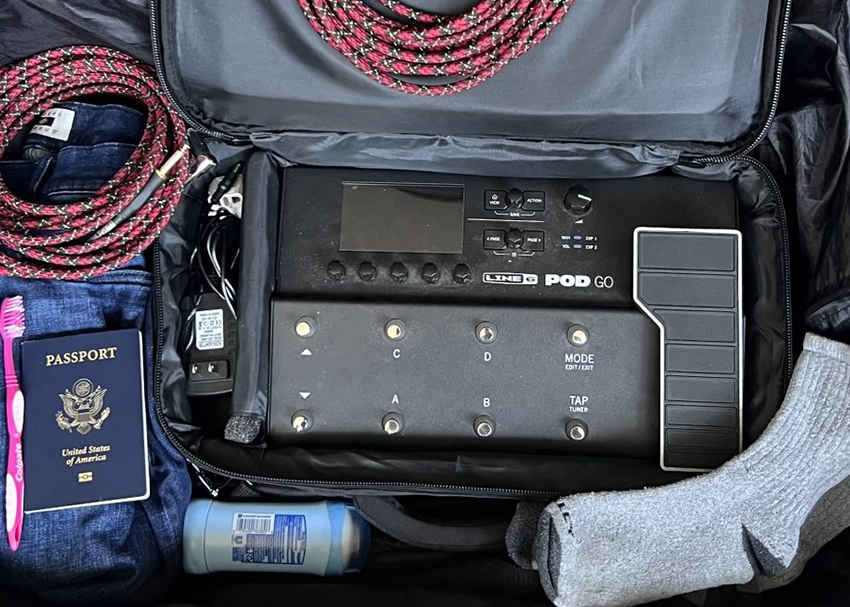
Since the dawn of touring, bands have used vans to get from show to show, stuffing gear and luggage alike into trunks like a game of Tetris. In 2022 my band planned a tour that would see us traveling across Europe, but we ran into some interesting challenges along the way. Those challenges had me going down a gear path I never thought I would. So..what happened?
The Tour
Back in early 2022, my band Blaqrock began planning our first European tour. The plan was to visit Europe for a month and play about 30 shows spanning 5 different countries. This was exciting, but a tour of this magnitude required a lot of planning. The first big thing we needed to figure out was what gear we could bring overseas.
That’s where our booking company came in. They allowed us to rent the pieces of gear that we could not travel with overseas. Things like bigger drum pieces, amp speakers/cabinets, etc. This meant all we had to do was bring the smaller complementing pieces. For me, this meant my Victory Countess MKII amp head that I bought specifically for being able to do air travel with. I would pair it with a 4×12 cabinet our rental company had, put it in our rental van, and be on my way.
…Or so I thought.
The Problem
I don’t know if it was just bad luck, but we could not find a van for our tour. Without a van, we had no way to travel with our gear. So, what do we do? Do we sacrifice drum parts since those tend to be the biggest pieces? No, we couldn’t do that. Realizing that I needed to be flexible with my gear, I started working on solutions.
The Solution(s)
The first problem we needed to solve was getting any vehicle regardless of size so that we could at least get around. We ended up renting two hatchbacks, so half of the band would drive in one, and half would drive the other. Problem one was solved, but it ended up creating another issue. The hatchbacks were far too small for me to fit a 4×12 cabinet into. This meant using my Victory Countess would no longer be an option.
I had to move away from trying to find an alternative amp to use that would replicate the sound of the Victory Countess. The options that were available for us to rent were just not close enough to my specific sound. I needed something that would allow me to perform in any and all venues regardless of the live sound set up, with my specific sound, while taking up virtually no space in our small vehicles. If this problem sounds like something a floorboard amplifier could solve, you would be right.
Now I just had to figure out which floorboard amp would be the best to invest in. With so many options and so little time to decide, I had to create some criteria to narrow my search.
Do size and wattage really matter when it comes to amp choice? Why it may be time to reconsider everything you thought you knew! | Read »
What was I looking for?
The process I went through is one I know many guitar players can relate to. I looked at what I did and didn’t need in a pedal board and narrowed my options down from there. I settled on the following criteria:
– Reasonably priced (Around 500 dollars or so. Something like the Victory v4 Countess pedal would be ideal but was a bit out of my price range.)
– Small physical footprint (I didn’t decide on specific measurements, just something that would generally be regarded as “small to medium sized”).
– A board that didn’t have a steep learning curve (I didn’t have much time so I needed something I could learn how to set up, program, and operate quickly)
– A board with great amp tones and solid amp simulators.
After deciding on this criteria, I set out to try a number of boards that seemed to meet these requirements on paper. After testing 4 different options, I decided that the Line 6 POD Go would best fit my needs for this unique situation.
Tour Programming
I had two main goals in preparing the POD Go for tour. The first was to replicate my sound as closely as possible with the POD Go’s amp and cabinet simulators. Since I would essentially be doing a blind rental for a combo amp in Europe, the virtual amps of the POD Go would allow me play with my sound regardless of the amp it would be played through. I spent a few days trying to shape my tone on the board itself until I realized that I was honestly really bad at it. That’s where the CustomTone site and POD Go Edit desktop editor software came to the rescue.
CustomTone
The Line 6 CustomTone website allows users of the POD Go and various other Line 6 products to upload presets they’ve created for others to download and use. This is perfect for those who just want to find a cool tone and play without having to spend too much time configuring them from scratch. Many presets are defined by an artist, band, or genre, making it easy to find what appeals to you.
I went with a preset named “Neal Schon” for my distortion channel and “Fender Clean” for my clean channels. From there, I would download the presets to the board which thankfully is a very quick and seamless process. You connect the board to your computer via USB, then click and drag the downloaded files into the editor. This is where POD Go Edit came into play.
POD Go Edit
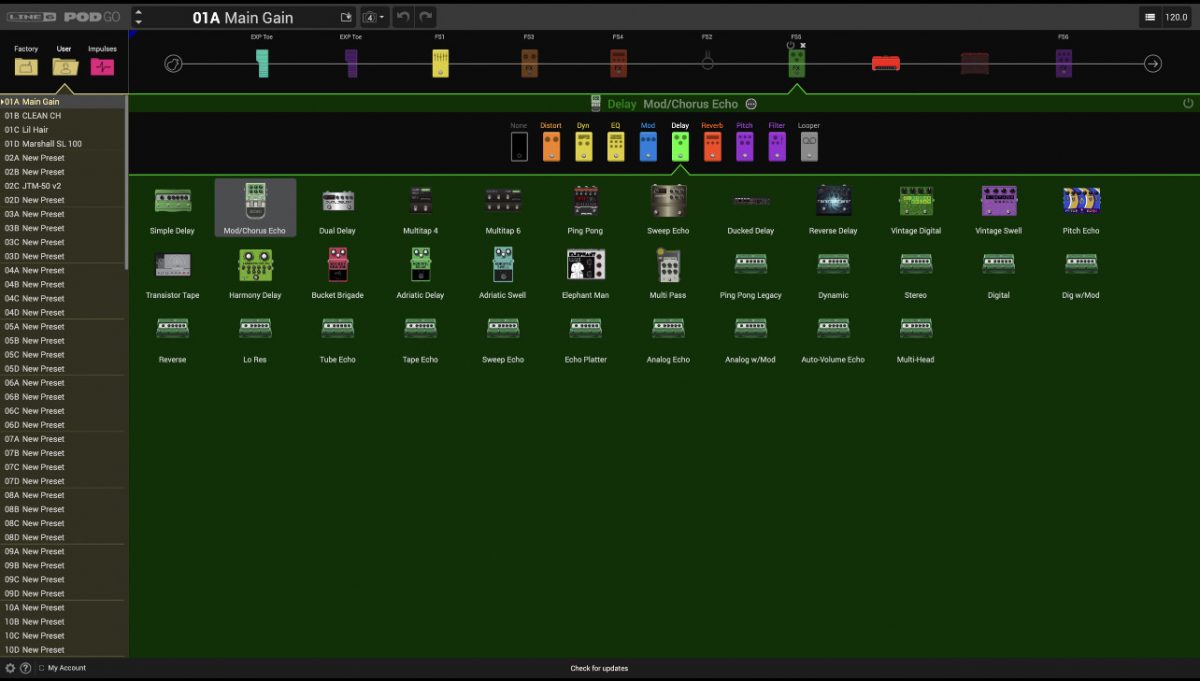
You can edit presets just fine directly on the board, but sometimes it can be difficult to do in-depth editing on the small LED screen the POD Go has. With POD Go Edit, I was able to mold my presets on my much bigger computer screen. I would recommend using POD Go Edit any time you aren’t editing on the stage. The way it seamlessly works with CustomTone and features an organized intuitive layout for editing makes this the definitive way to set up your POD Go just the way you want it.
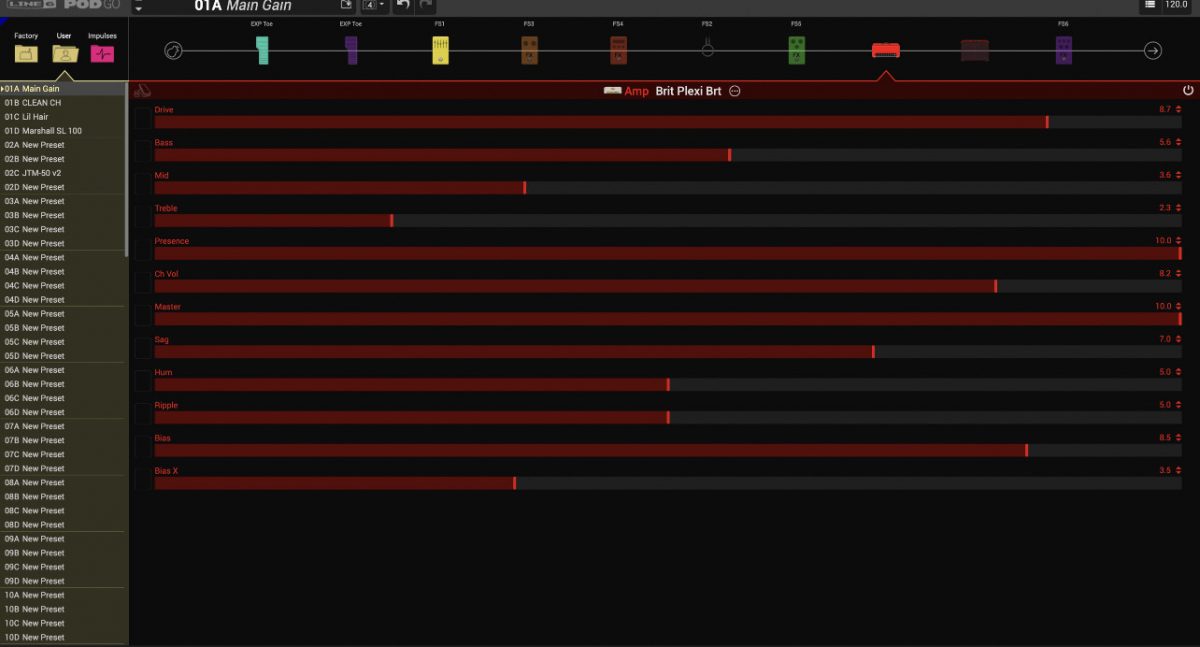
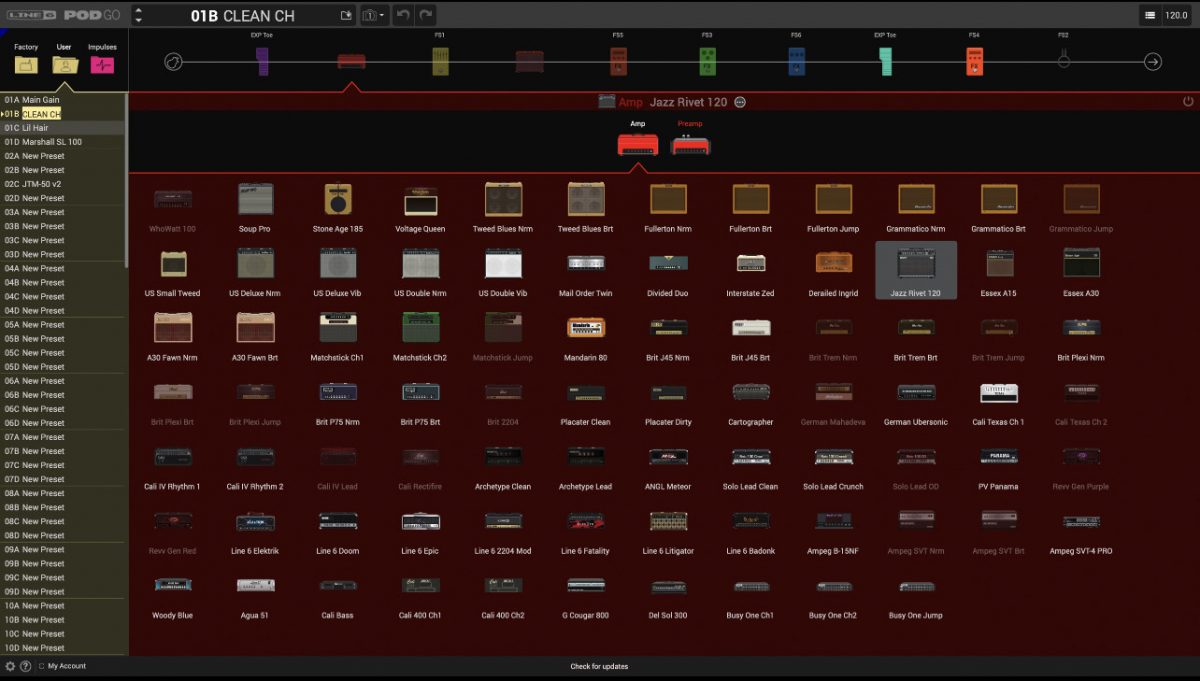
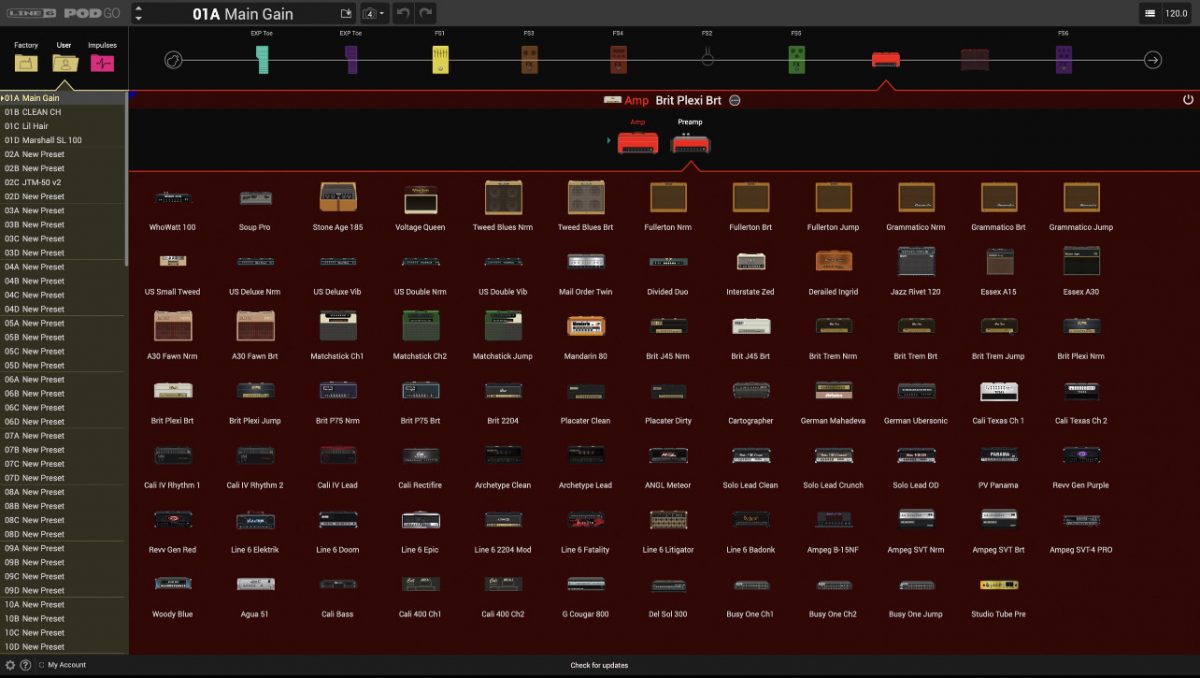
If you’re building your preset from scratch, the amp layout makes it easy to identify popular amps in order to make more informed tone choices. To me it was very similar to trying amps in a guitar store. You can cycle between both amps and preamps to create very authentic sounding amp presets.
Similar to the amp layout, the effects layout uses popular pedal icons that make it easy to select presets you like. The list is extensive enough for you to have access (at the very least) to every basic effect you could want to use.
Sound Testing for Tour
An integral part of preparing the POD Go for tour was sound testing. In these tests, I would simulate every live situation I believed I would find myself in. I would either be playing through a mic’d amp or through DI.
Amp Test
For this test, I ran the POD Go through the front of a Marshall DSL 40C clean channel. I kept all of my EQ channels at 12 o’clock to mirror how I would set up the EQ on my tour rental amp. Before recording, I made sure to switch off the cabinet simulator to bypass the signal to the Marshall amp. I was immediately blown away by how realistic this configuration sounded. In addition to that, I felt that the tone of my presets were close enough to my Victory Countess that I could lock them in after my initial test.
The distortion sounds punchy and had that “weight” I was looking for to mirror my everyday tone.
The clean channel came out very warm and present. Adding a bit of gain gave it the subtle “clean grit” I was hoping to achieve.
DI Test
I was a bit unsure about this test because I didn’t know how the presets would sound through simulated cabinets. For the amp test, I had some idea of what I was dealing with because I was very familiar with the amp I was running it through, but not so here.
Since I didn’t have a PA system or stage monitors at home to test this, I instead ran the POD Go through my PreSonus Eris 3.5 BT desktop studio monitors. Here’s what it sounded like:
I will admit, I could immediately hear the solid state tone quality that came from using both a virtual amp and cabinet. Regardless, I was actually still pretty happy with it. Tonally, it was the same as what I heard from my amp test. The virtual cab did add a bit of high end treble, but not to the point where I thought I needed to adjust it. The gain setting was articulate, punchy, and had that weight I was looking for.
I was immediately happy with this preset. The only difference I could hear between the amp and DI was that a bit of the gain had been rolled off. The clean channel was buttery smooth, but it lost that grit that I preferred from the amp test. This wasn’t a huge deal to me, so I decided to leave it alone.
Tour Prep and Travel
The POD Go shoulder bag – an essential item for those traveling anywhere with the POD Go. This bag is lightweight but made with durable closed cell foam padding for easy carrying and maximum protection. Carry it over the shoulder or like a briefcase with the handle and you’re good to go. This gives you a lot of options for handling the case while traveling.
Thankfully, the case has enough space for the board and a number of accessories. I was able to pack two instrument cables, two XLR to 1/4 inch cables, and two power adapters. These are what I consider the essentials needed for this board and the POD Go shoulder bag allowed me pack all of these things comfortably.
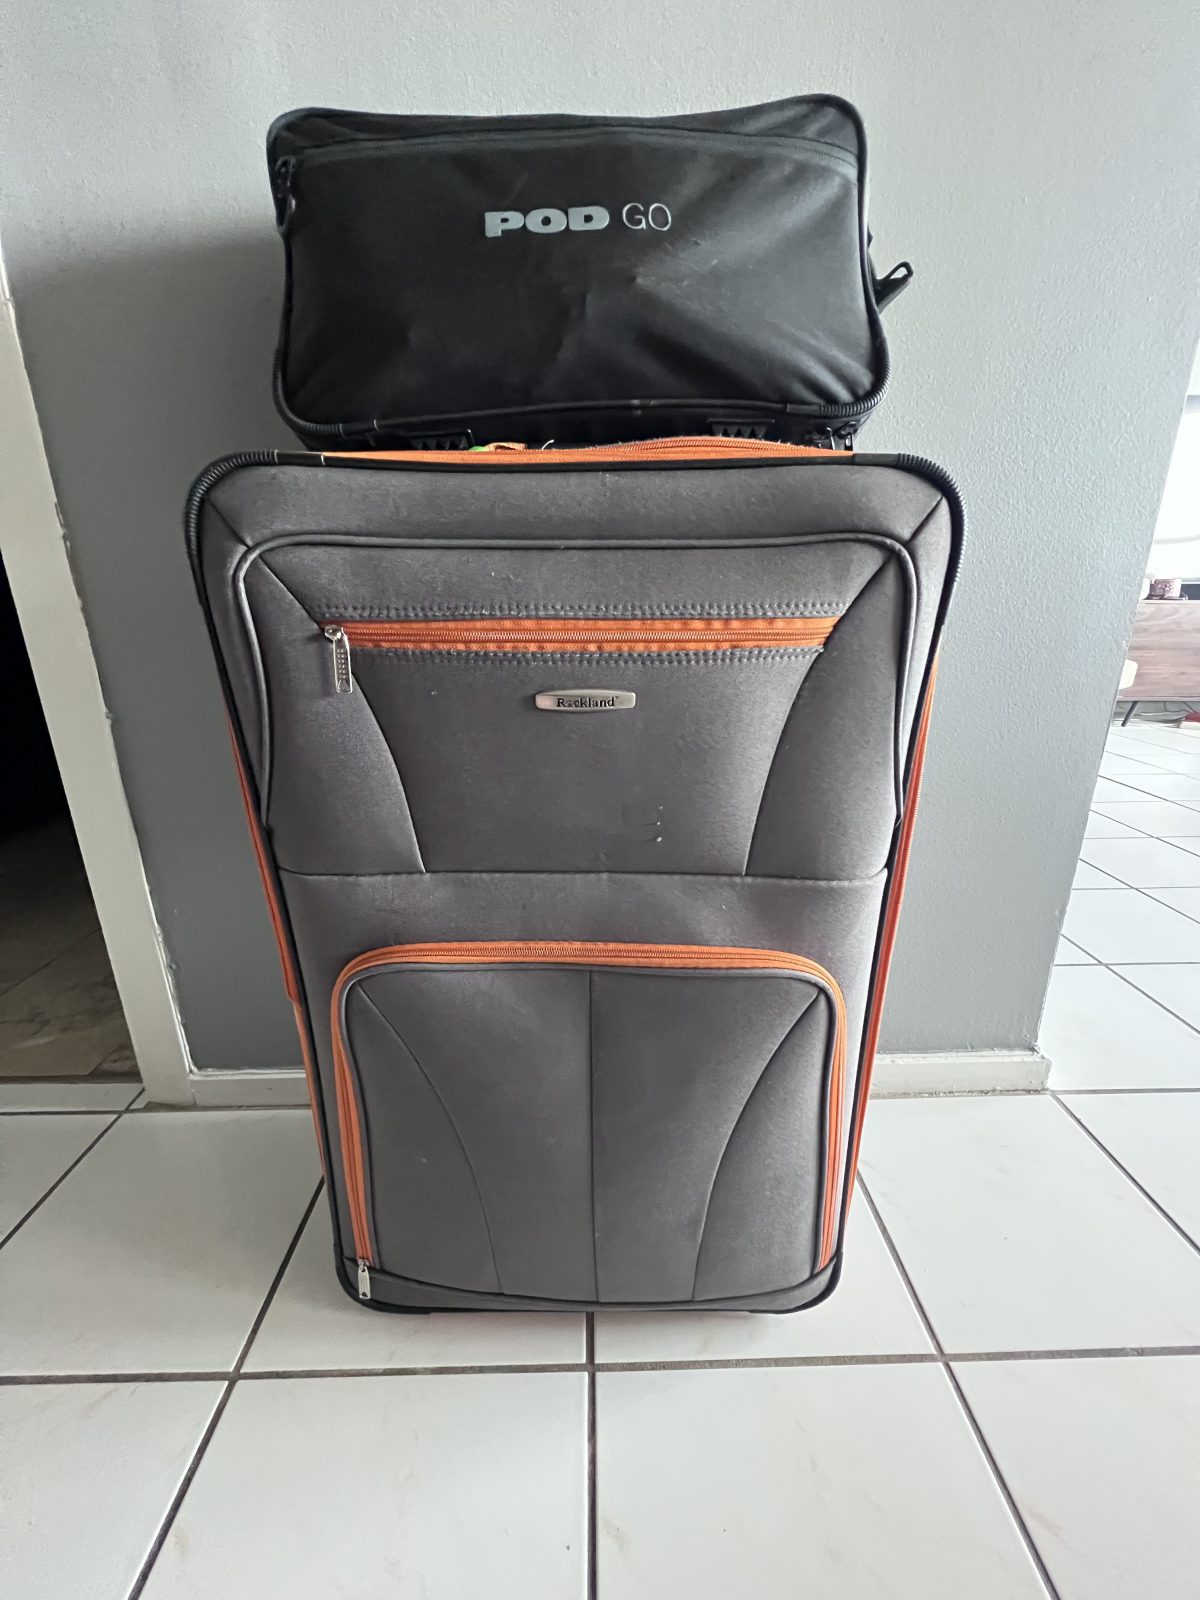
This shoulder bag also makes it incredibly easy to go through the airport. And while it can easily be used as a carry-on, I opted to travel with it a different way. I packed POD Go and its shoulder bag in my mid sized suitcase to protect it during the flight. The amount of packing options the size and build of this bag enables makes traveling a breeze for any player.
Time to Hit the Road
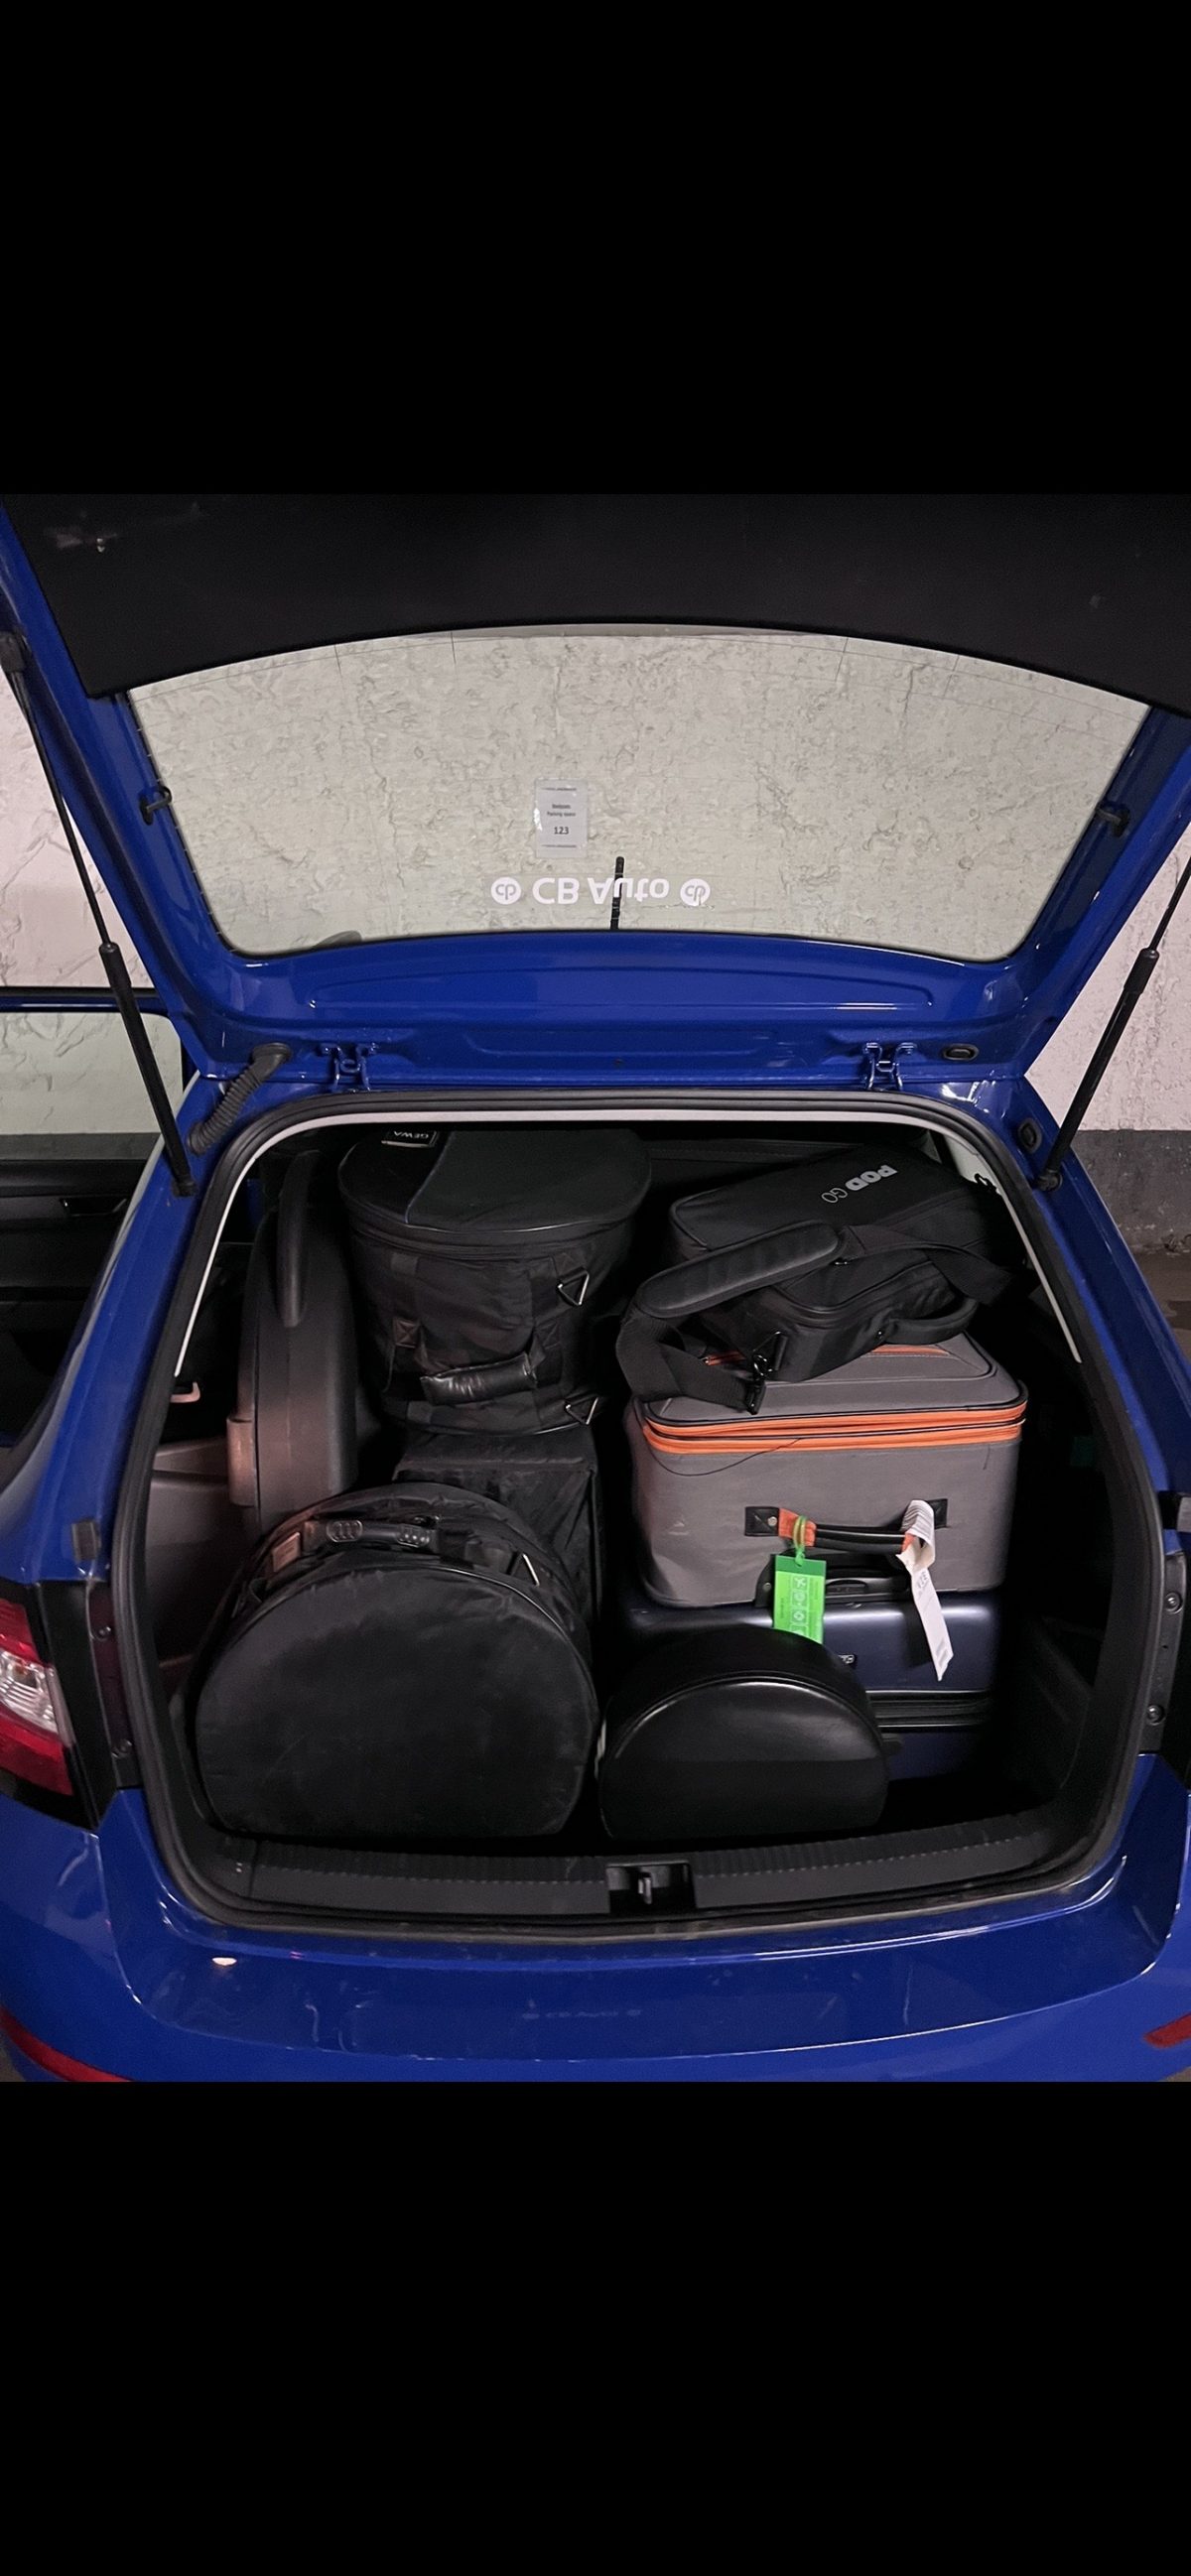
It wasn’t until tour actually started that I would know if I made the right choice buying a floorboard amp. My amp/DI tests certainly gave me some peace of mind, but I knew I wouldn’t feel comfortable until I was putting it through its paces on stage. Thankfully though, my first concern was settled pretty quickly: I was able to pack the POD Go in our car with an entire drum set and luggage. Even though we would have to play Tetris with our gear the entire tour, I could do it knowing that the small footprint of the POD Go allowed us to fit everything else we needed to travel with.
Tour Performance
As we arrived at the B72 in Vienna, I was pretty nervous unloading my gear. I spent so much time preparing and hoping this set up would work, knowing the whole time I wouldn’t really know until I hit the stage at the first show. Needless to say my worries were gone by the time sound check was over. When taking the stage, I plugged the POD Go straight into the amp, turned it on, and the exact sounds I programmed back home came out of the speaker. Of course, this is how it’s designed to work, but I couldn’t help but feel relieved. I had no experience using this type of gear so I was ecstatic to know it would work exactly how I needed it to.
Menu diving did take a bit of time to get used to though. Timing is the key to making this work on the POD Go. With my old setup, my channel switching and FX were separate. Having the FX tied to the actual amp channel streamlined any switches. This is where memory came in handy. Some FX would stay on certain channels so that when I switched to them, it would already be set up. By the end of the tour, I essentially had the entire show memorized through real time menu diving.
Adapting to Different Situations on Tour
I played most of our shows with my POD Go running through a mic’d amp, however, this was not the case at every venue. Due to lack of stage space/ festival logistics, I sometimes had to forgo the amp and use just the POD Go.
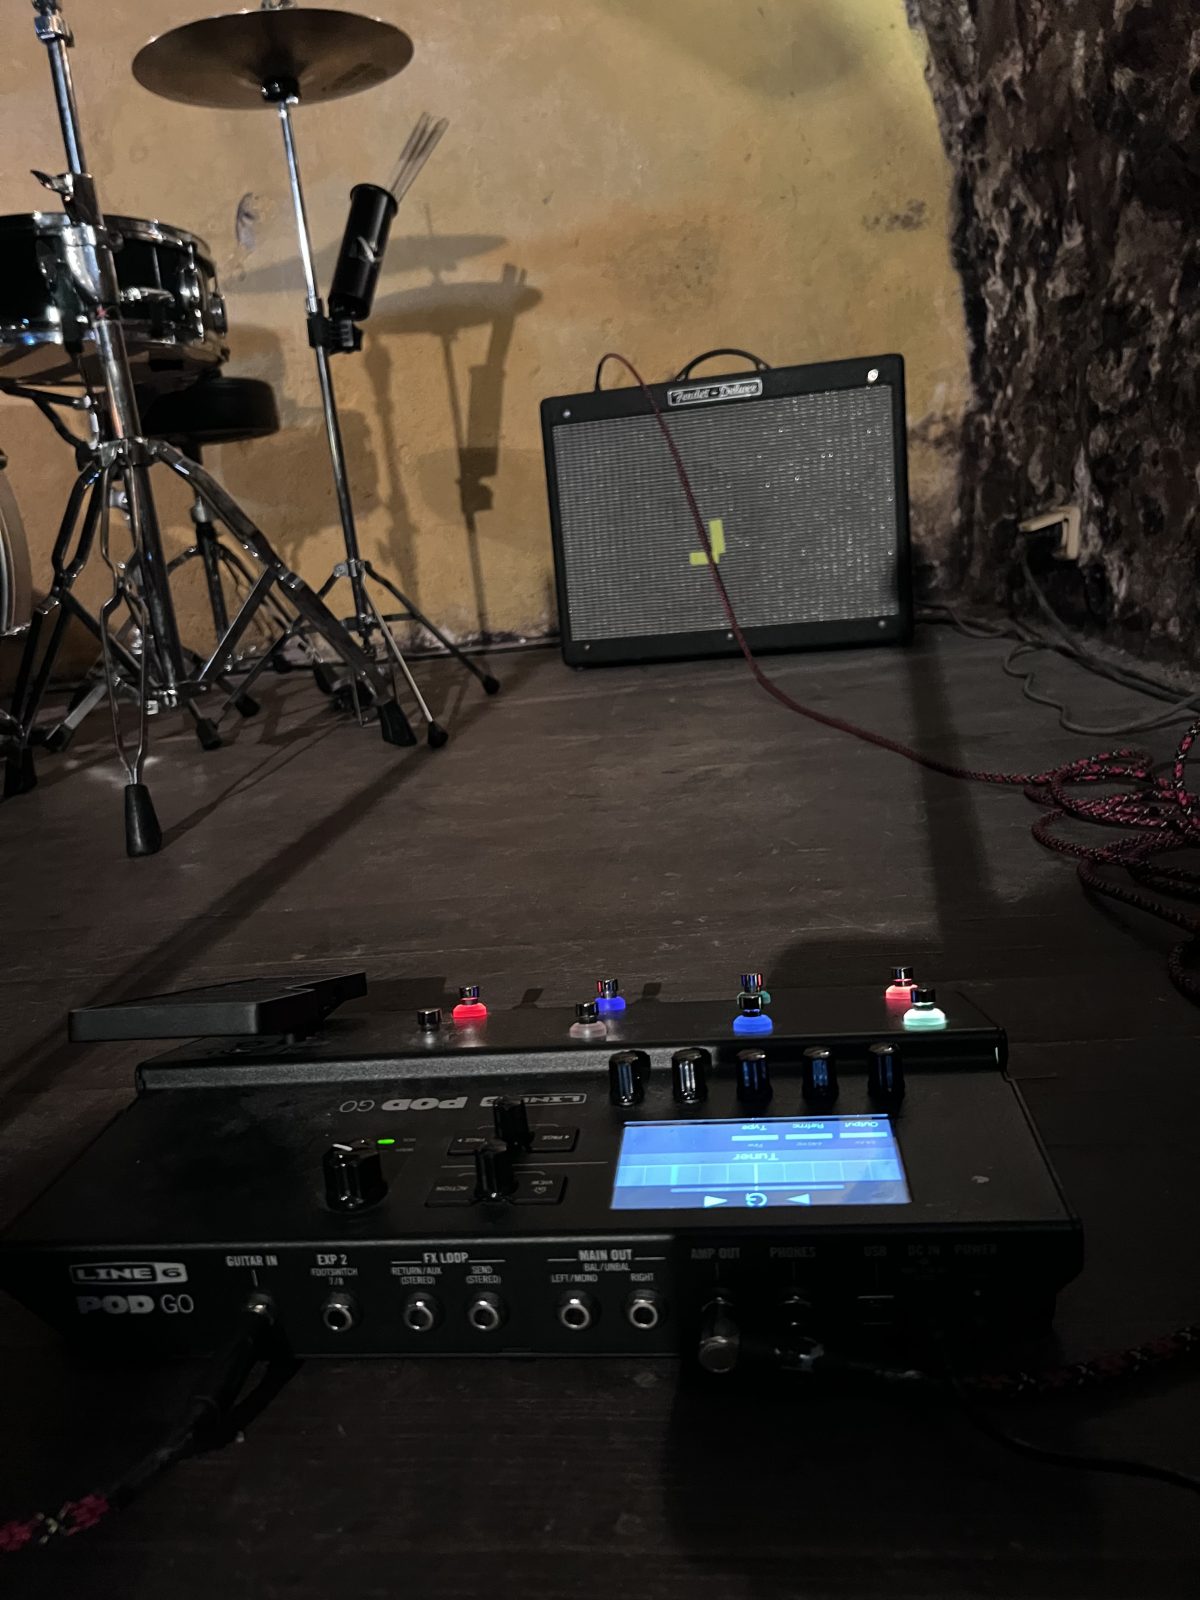
For these shows, I went DI into the PA, engaging the cabinet simulators so that my tones would come through properly. At these shows I noticed the difference in warmth immediately. This was okay though; the tone itself was still great and I was able to confidently perform.
At the Open Air Festival in Hartberg, Austria, they only had Marshall cabinets for the guitarists to use. Since I wasn’t traveling with an amp head, this meant I would need to go DI into the PA using my 1/4 inch to XLR cable.
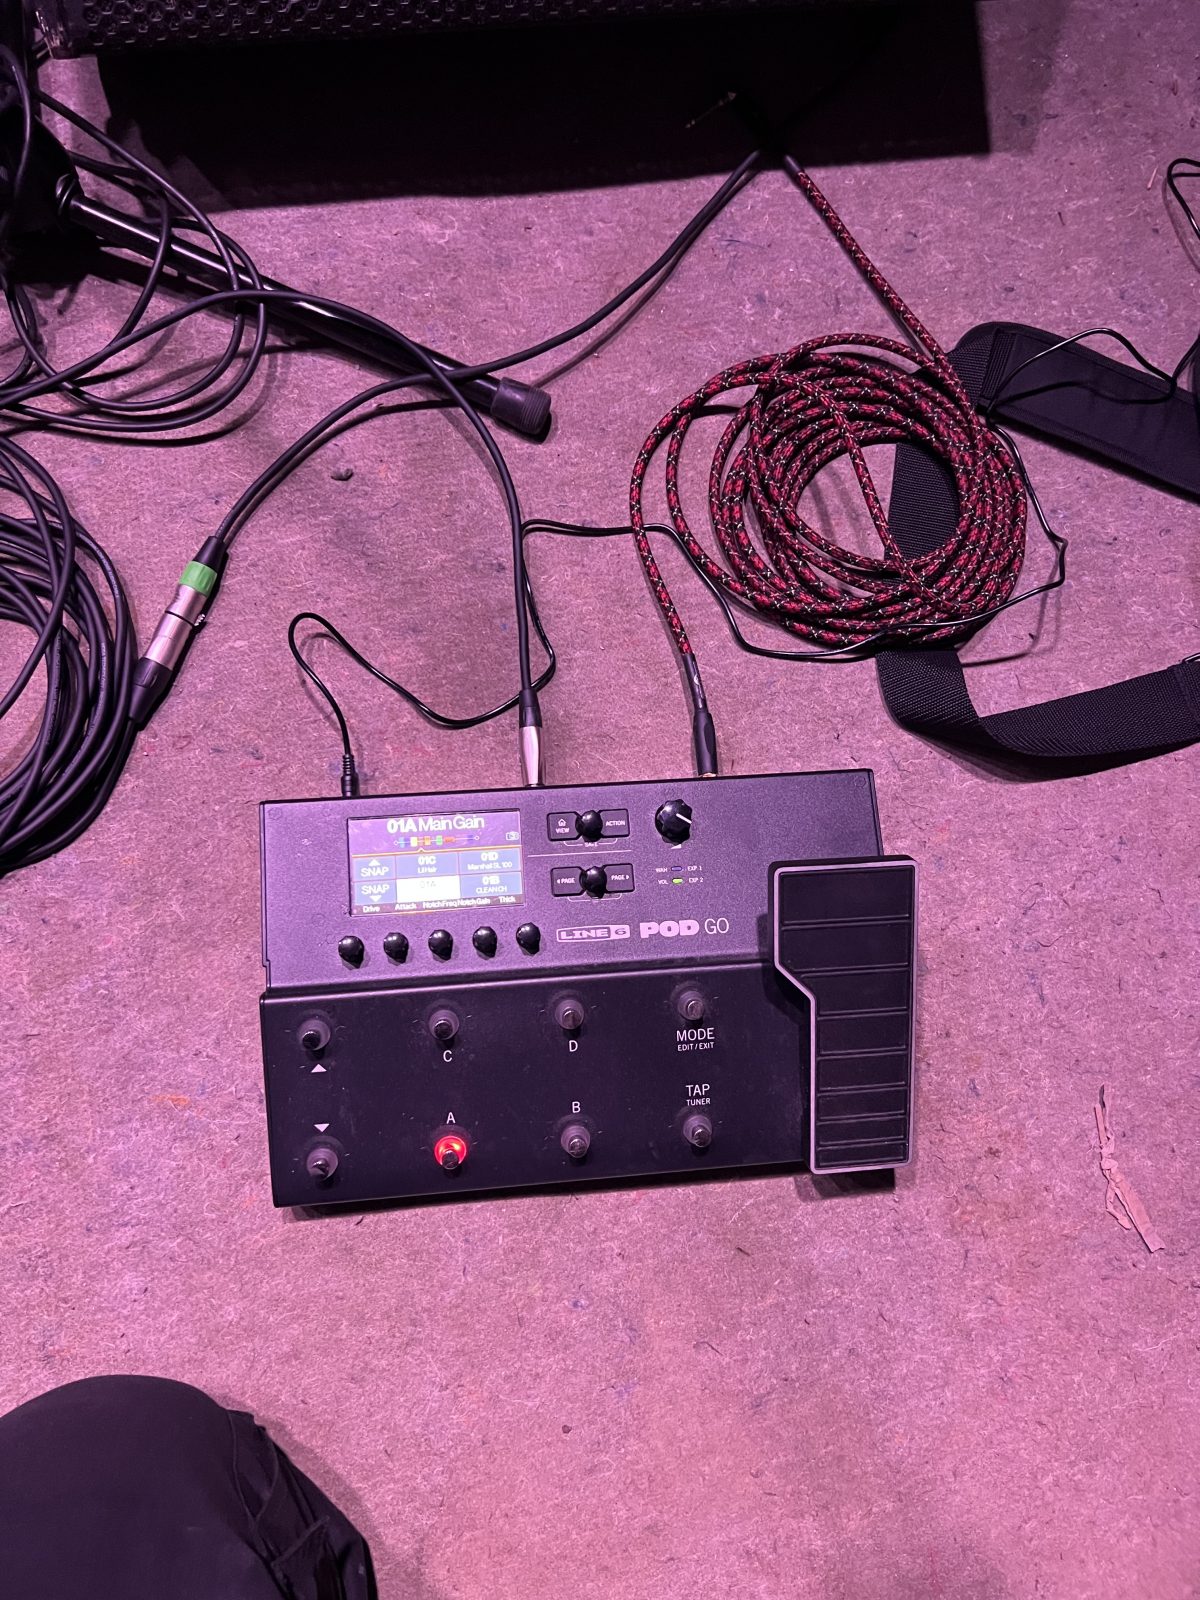
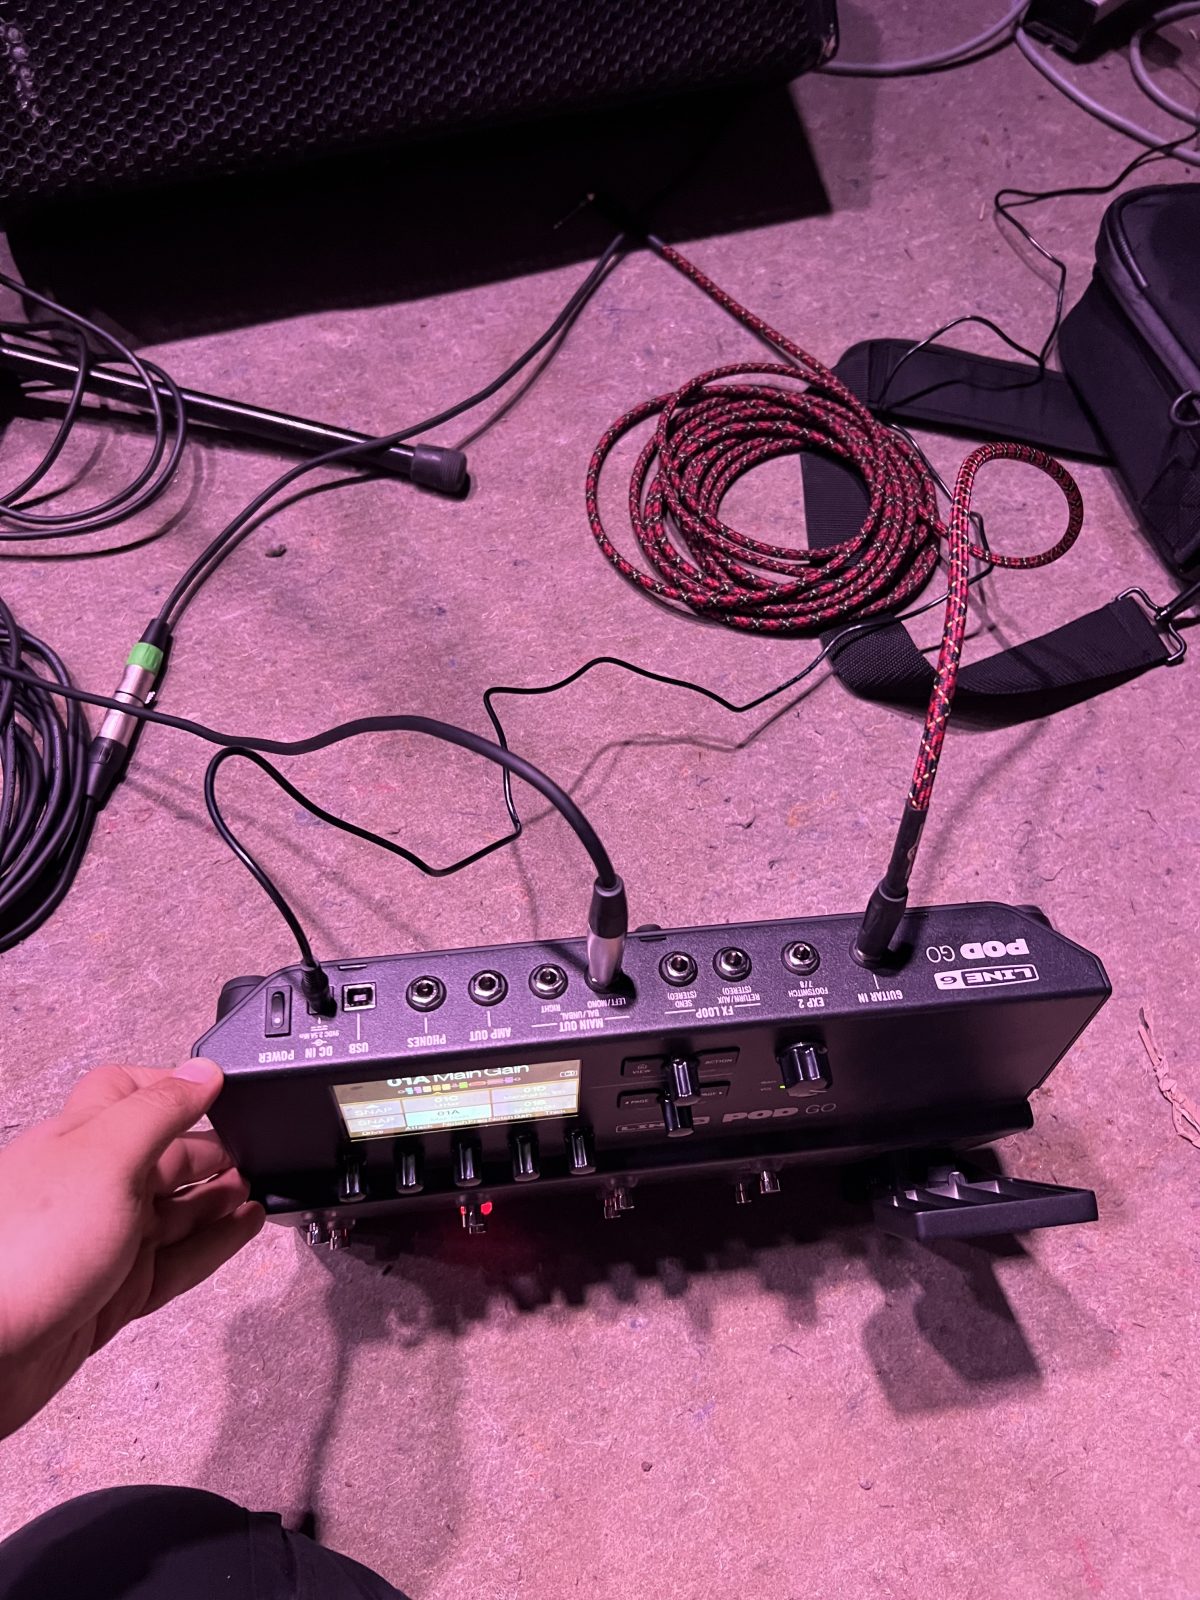
Hear how POD Go sounds going DI live at a large festival:
Adjusting on the fly
Could I take my rented Fender Deluxe Reverb into my hotel room and tweak things between shows if needed? Sure, but not a single hotel patron would be happy with me doing that. After our second show in Klagenfurt, Austria, I wanted to make some changes to my chorus and reverb FX. When we got to the next hotel, I pulled out the POD Go, plugged in my headphones and started editing.
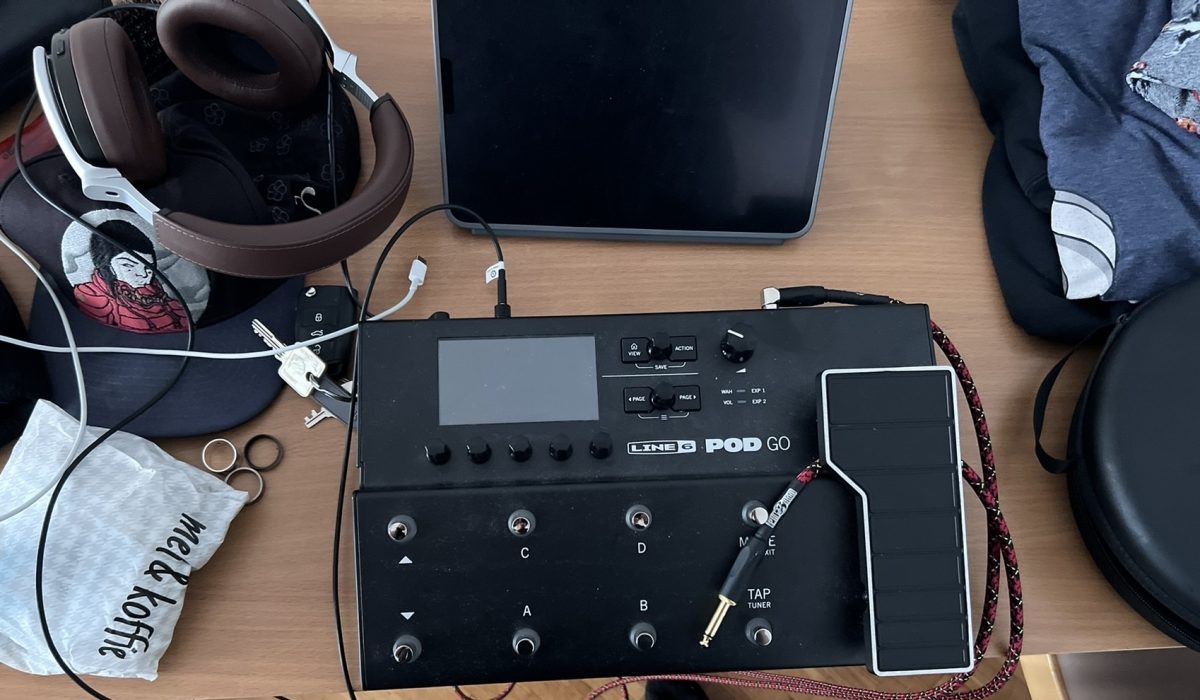
I didn’t have POD Go Edit on tour, so this is where the versatility of the POD Go really shined. I edited my FX on the LCD screen on the top left of the board without issue. For me, this was perfect for simple edits. When we played the show that night, the edits I made on the board really made a difference. I would do this a handful of times throughout the tour. Thankfully, I didn’t have to do it too much thanks to the preparation done in POD Go Edit before tour.
Conclusion
To those considering downsizing to a floorboard amp, whether it be for touring, experimentation, or otherwise, I highly recommend it. While this post centered around the POD Go, in reality it was an endorsement for floorboard amps in general. Hopefully this story helped you make a decision if you were on the fence about investing in something like this.
Oh, and if you go on tour, make sure you get a van regardless of the amp you bring.

