While re-amping used to only be achievable at high-end studios, re-amp boxes have become very affordable and accessible for musicians and home recording enthusiasts alike. All you really need is the re-amp box, an audio interface, and a couple extra cables to get started.
What is a Re-amp Box?
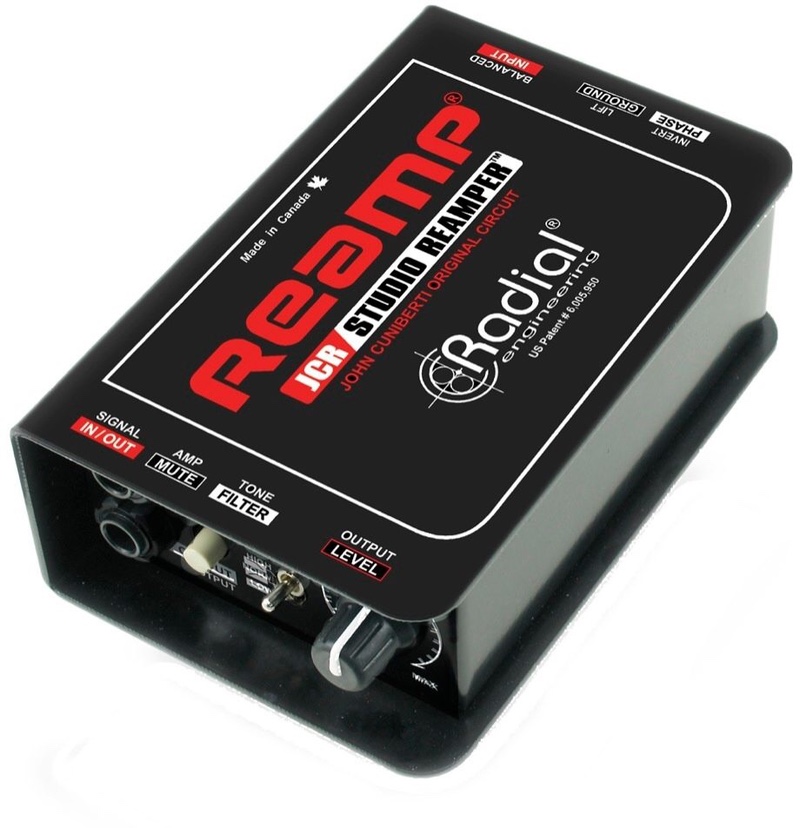
A re-amp box essentially converts a low-impedance, balanced, line level signal into a high impedance, unbalanced, instrument level signal. They are mostly used for re-amplifying a guitar track (hence the name re-amp box) but can really be used to send ANY line level signal out of an interface or mixer, and into guitar amps, effects, and anything else that takes a high impedance signal.
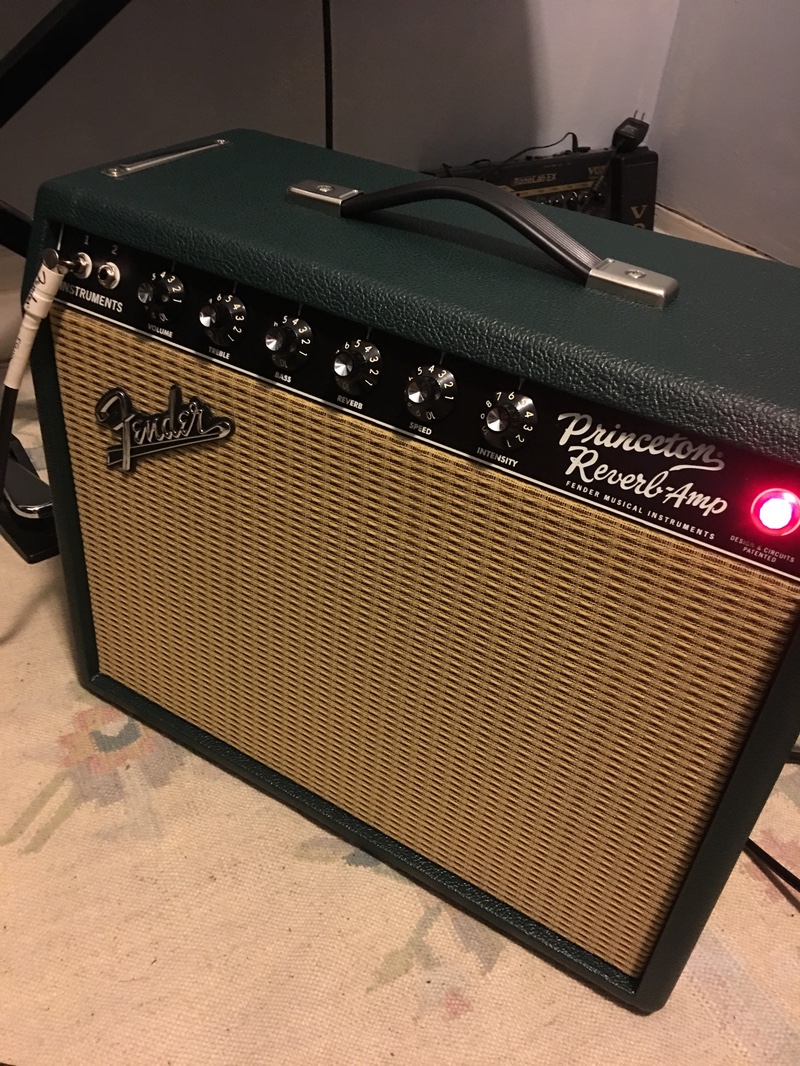
Today, I’ll be walking you through a few different uses I have found for this box. Aside from re-amping a guitar, it can be used to send just about any track out to guitar amps and effects. The main gear I will be using is my Apollo Twin Interface, 710 Twin-Finity Preamp, Princeton reverb amp, a few guitar pedals and of course, my Radial Re-amp box.
Traditional Re-Amping
Why Reamp?
The most common use and main purpose of a re-amp box is to re-amplify a guitar signal. For those of us recording at home, we aren’t always able to crank up our amp at 3 AM due to neighbors and family. But this is where a re-amp box comes in handy. By recording the DI signal direct from guitar to your audio interface, you can nail that take when inspiration strikes and later send it through your favorite amps and effects.
Another huge advantage to recording guitar this way is being able to dial in your tone in the production stage. Nothing is worse than getting the perfect take and then being unsatisfied with the tone, or how it sits in the mix. While re-amping the signal, you can find the best mic placement, dial in effects, and even double-up your guitar part for a bigger sounding track.
How to Reamp
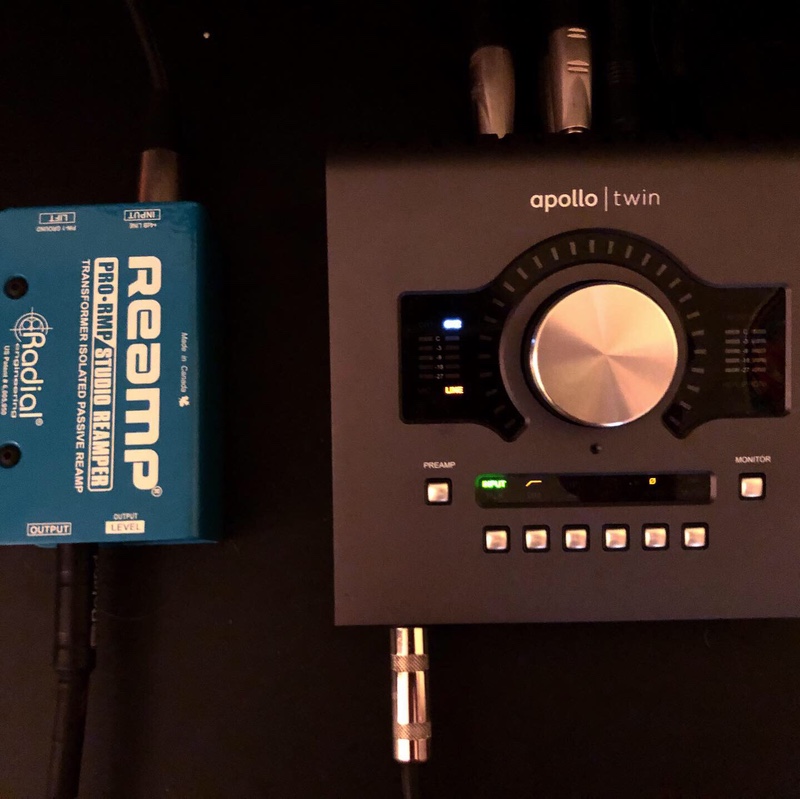
There are a few basic steps to follow when re-amping. The first step is to record the DI guitar signal. You can either go into a direct box or a high-impedance input on your audio interface. I will be using the Hi-Z input on my Apollo to record my guitar directly into Logic Pro X. Below, I have included the DI’ed guitar track to help walk you through the process.
Now that the guitar has been recorded, it’s time to start re-amping! The first step is to set up a send and return track in your DAW. While I’m working with Logic Pro X, this process should be similar for most major DAWs. First I set the output of my DI guitar track to LINE 3, which is the corresponding output on my Apollo that I will send to the re-amp box. Next, I will create a new track that will be set up to record my miked up guitar amp.
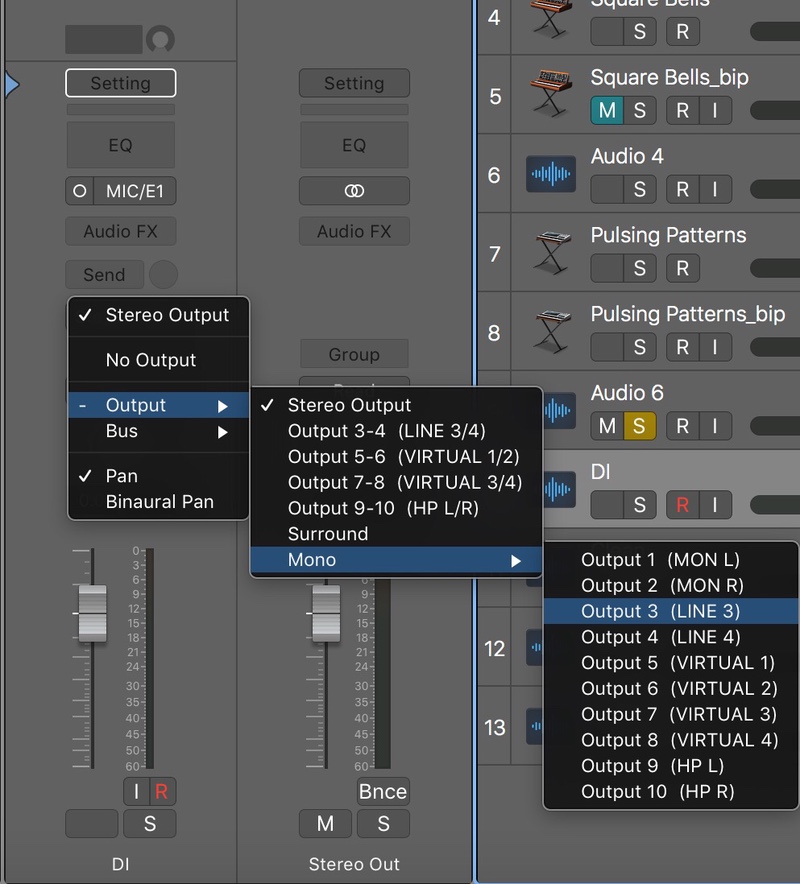
Be sure to test all of your cables ahead of time, double check your signal flow, and test all of the levels. Most re-amping boxes will have some sort of volume control and some will even have options for phase cancellation, ground lift, and more. Once your re-amped track is recorded, be sure account for any latency that may have occurred during the process and adjust your re-amped track’s position if necessary.
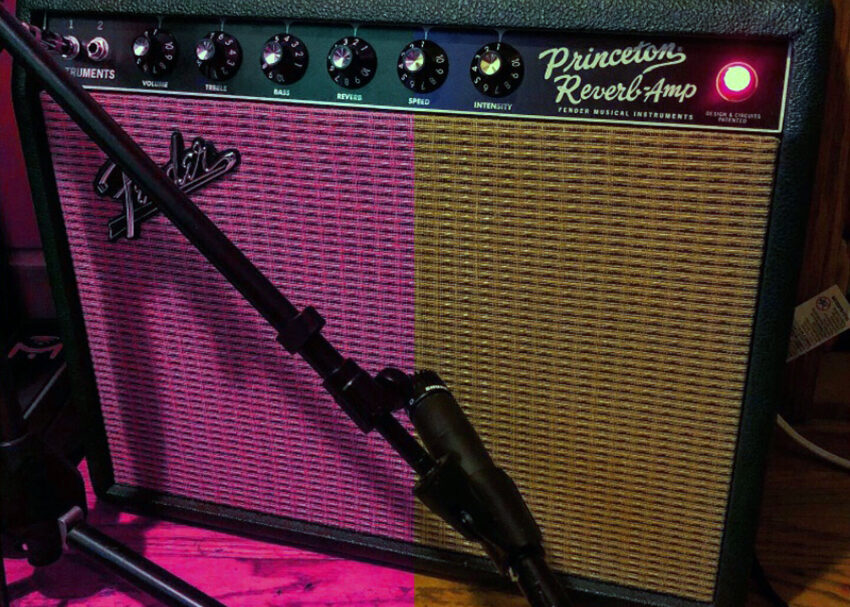
For my re-amping process, I will be running from the LINE 3 output on my Apollo interface out to the Radial Re-amp box, and then out to my Fender Princeton Reverb. I’m miking the amp with a Shure SM57 and recording back into my Universal Audio 710 Twin Finity Preamp. All guitar parts were recorded with my Fender Starcaster Reissue pictured below.
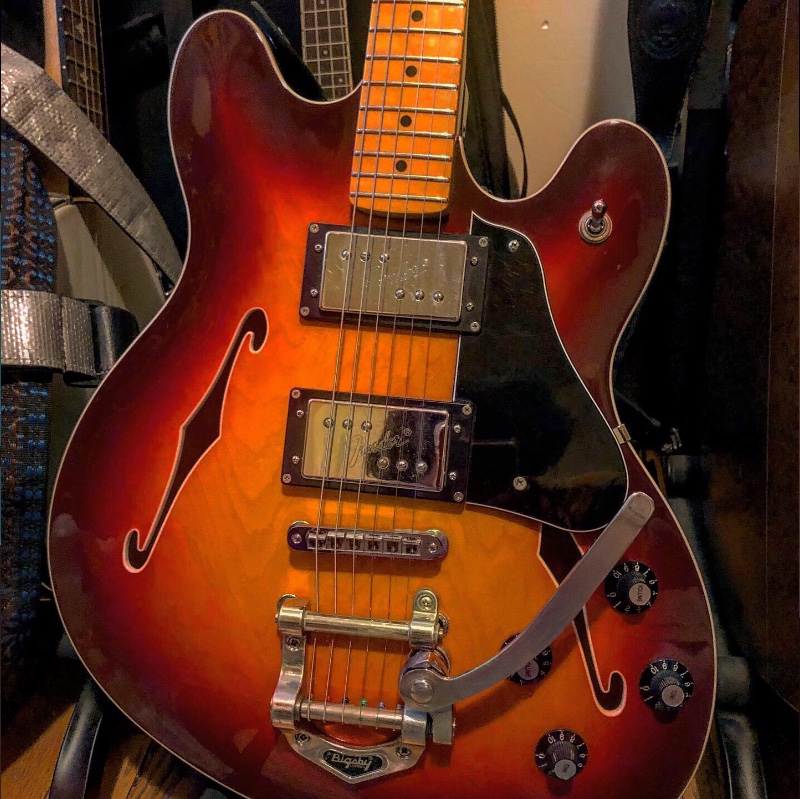
I have included the audio files from my re-amping journey. I re-amped the guitar once clean, once with distortion and amp tremolo, and once more with the Walrus Audio Julia and reverb to get a faux-rotary speaker sound. Recording this way gives you options to see what tone is going to fit best for the song and listen to your guitar tone from a different angle. It’s a great way to get that perfect take and not have to commit to a certain sound until the mixing stage.
Non-Traditional Re-Amping Techniques
Aside from re-amping guitar, I have found many other uses for this DI box in my home studio. As someone who doesn’t own a lot of expensive studio gear, I try to work with what I’ve got and have experimented using my guitar gear as outboard effects. With the re-amp box it is easy to take just about any track and send it out to amps, pedals, and more.
Re-Amped Electric Piano
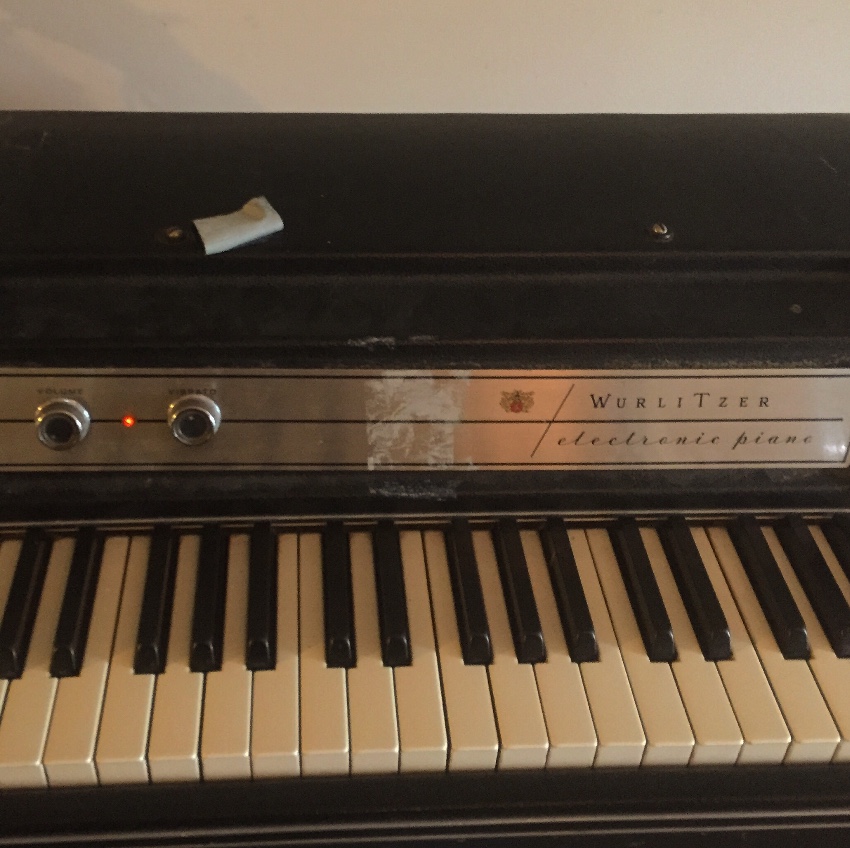
The world of modeling has come pretty far these days, but most people tend to prefer the real deal. For this next example I tried running a Wurlitzer through my Princeton amp. I’ve always loved the sound of an old electric piano through a Fender amp, and while I may not have a Wurlitzer lying around, I thought I would try running a software version through my amp. Below I have included the basic Wurlitzer track and then the re-amped track. I ran this track through my Phase 90 and then into the Princeton with reverb and tremolo on.
Fuzz Synth

While I don’t often jump into the world of synth music, I thought this would be a good chance to experiment a little bit. I wrote out this basic arpeggiated pattern using one of Logic’s synth presets, then ran it through my EHX Big Muff Pi w/ Tone Wicker, and directly back into the interface. While there are several plugins for distortion and fuzz out there, nothing’s going to beat the Big Muff. It really saturates the sound and adds some character to an otherwise stale sound.
Guitar Amp as a Reverb Send
For this next example, I tried using my Princeton reverb as my “reverb send” on a song that I was working on. Again, the idea was pretty simple: send some of the acoustic guitar and vocals to an auxiliary track, send that auxiliary track’s output to the re-amp box, send the re-amp box out to the Princeton, and then mic up the Princeton and record back into Logic.
For this method I cranked the reverb almost all the way up and then blended it with the original dry tracks. This way I got a “dry” and “wet” track to mix together and get a really cool Lo-fi reverb. Below I have included the dry tracks with no plugins, the reverb feed on its own, and then the two mixed together with some basic EQ and compression added in.
Layered Bass
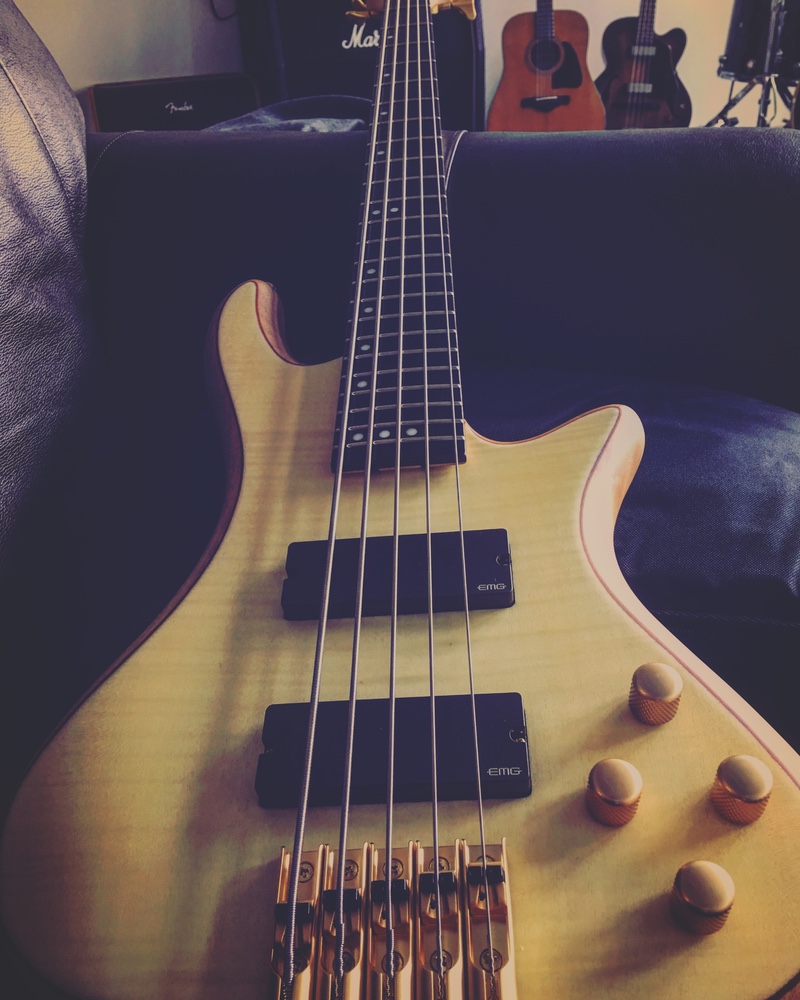
I used a similar technique on this song for the bass track. I first recorded straight into my UA 710 Preamp and then to Logic with a Bass Amp emulator and some basic EQ on the channel strip. Next I re-amped the signal out through my Tube Screamer and then back into the Hi-Z input on my Apollo. Then I blended the two together and EQ’d them a little differently. This way I was able to get the clarity of the clean track and the beautiful warm saturation of the Tube Screamer. Below I have included the clean, distorted, and mixed bass tracks. All bass tracks were recorded with my Schecter Stiletto Custom 5.
All Together Now!
Just for fun I thought I’d include the first verse of this song with all of the instruments so you can hear how these tracks sit in the mix. It’s still a work in progress, but I think using the Princeton as a reverb send added some character that I wouldn’t be able to get just mixing on the DAW.
Well that’s all I’ve got for today! Hopefully this article gave you some ideas on how to get the most out of your gear. I’d love to hear other people’s ideas so feel free to leave a comment on this post!



Leave a Reply