Have you ever gone to a concert and been completely floored by the light show? Believe it or not, it was all intentional and run with a DMX controller. Live concert budgets often have a huge chunk reserved for lighting, but you don’t need a major budget to create a great and effective light show. DMX controllers can be intimidating and a bit confusing at first, but they really are not that hard to maneuver through — with just a little practice, you can get a great custom light show going! This series of posts will go over some basic features of a DMX controller and hooking up and using a DMX-capable lighting fixture.
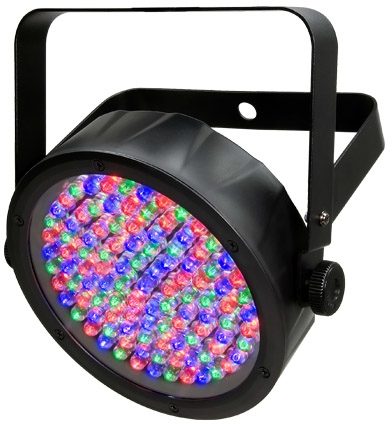
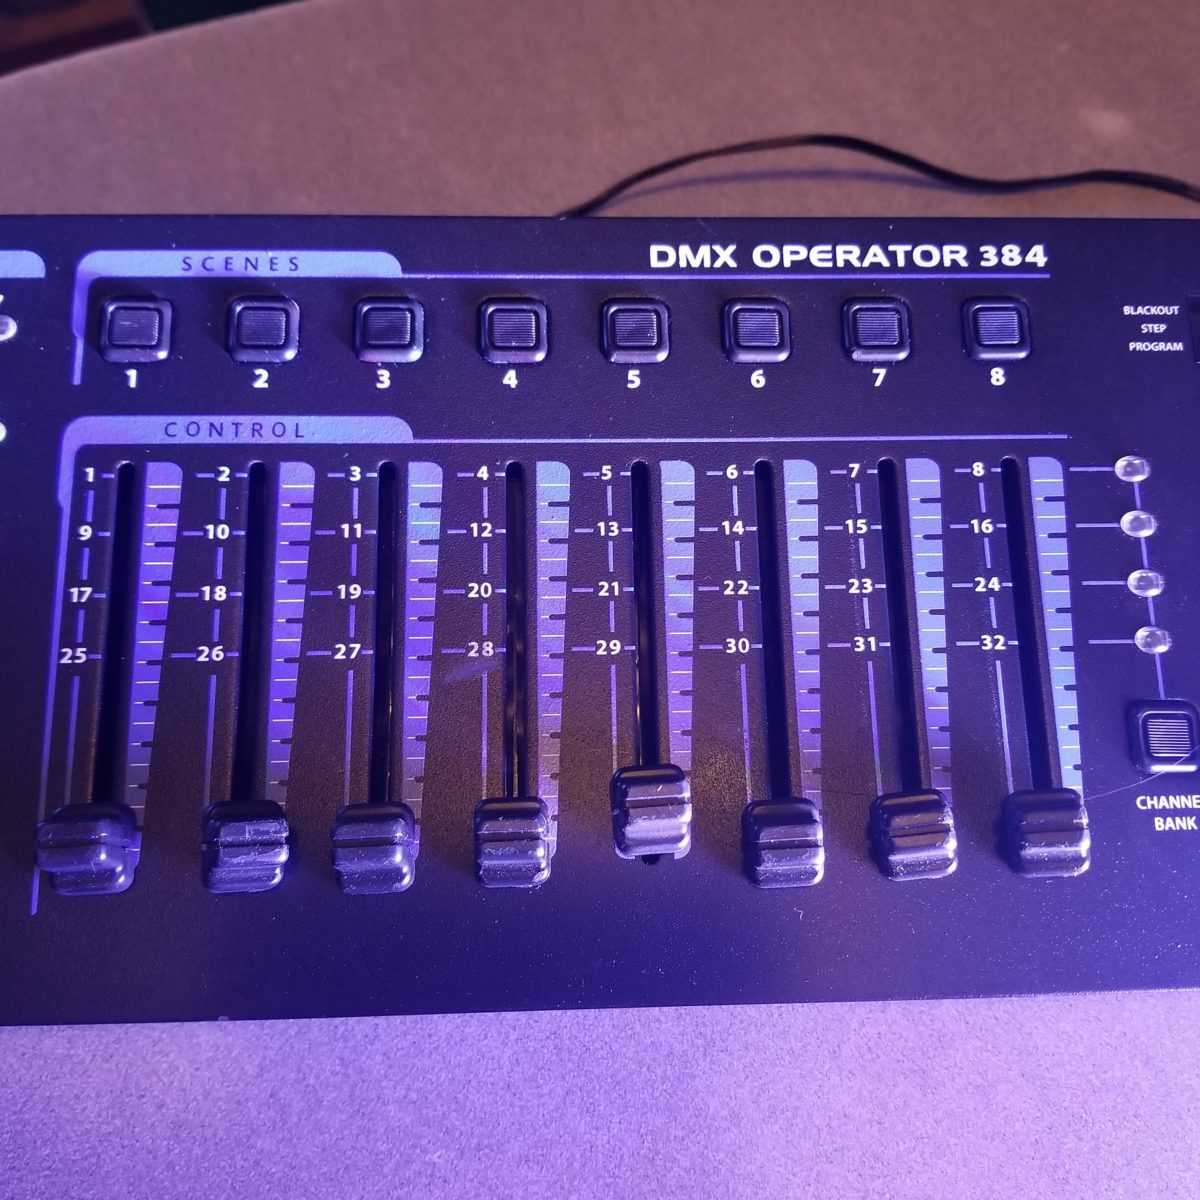
For these examples we will be referencing the ADJ DMX Operator 384 and a Chauvet DJ SlimPar 56 LED Light.
What is DMX?
DMX (or DMX512) stands for Digital Multiplex and is a data protocol that is used to control and utilize the many features of DMX-capable lighting fixtures. DMX512 gives you 512 DMX channels (which equal one universe) that can be divided up depending on how many lights will be used and how many channels the light will need. All DMX controllers big or small will have at least one output with varying amounts of channels depending on how many lights the controller can handle.
DMX Controllers
There are different types of DMX controllers, but for now I will focus on the ADJ DMX Controller 384, because its layout is very common among simple DMX controllers available. This controller has a 3-pin output connector that looks exactly like a XLR output. Please note you should not use XLRs when linking lights up, only the appropriate DMX cable.
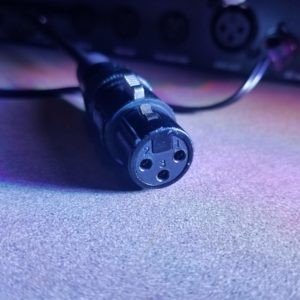
A 3-pin DMX Cable
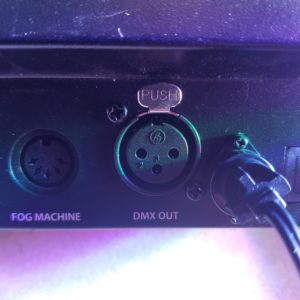
The DMX 3-pin output.
First lets cover the Lighting Fixture Section. There are 12 buttons that can be used to select each fixture assigned to them. With this particular controller, each button has 32 channels that can be controlled with the faders next to this section, which we will cover in a bit. In order to assign each light fixture to each button one-to-one, you need to address the light to a specific DMX channel. For example, the first light would be assigned to DMX Channel 001. This would allow that fixture to be controlled when the button 1 is engaged.
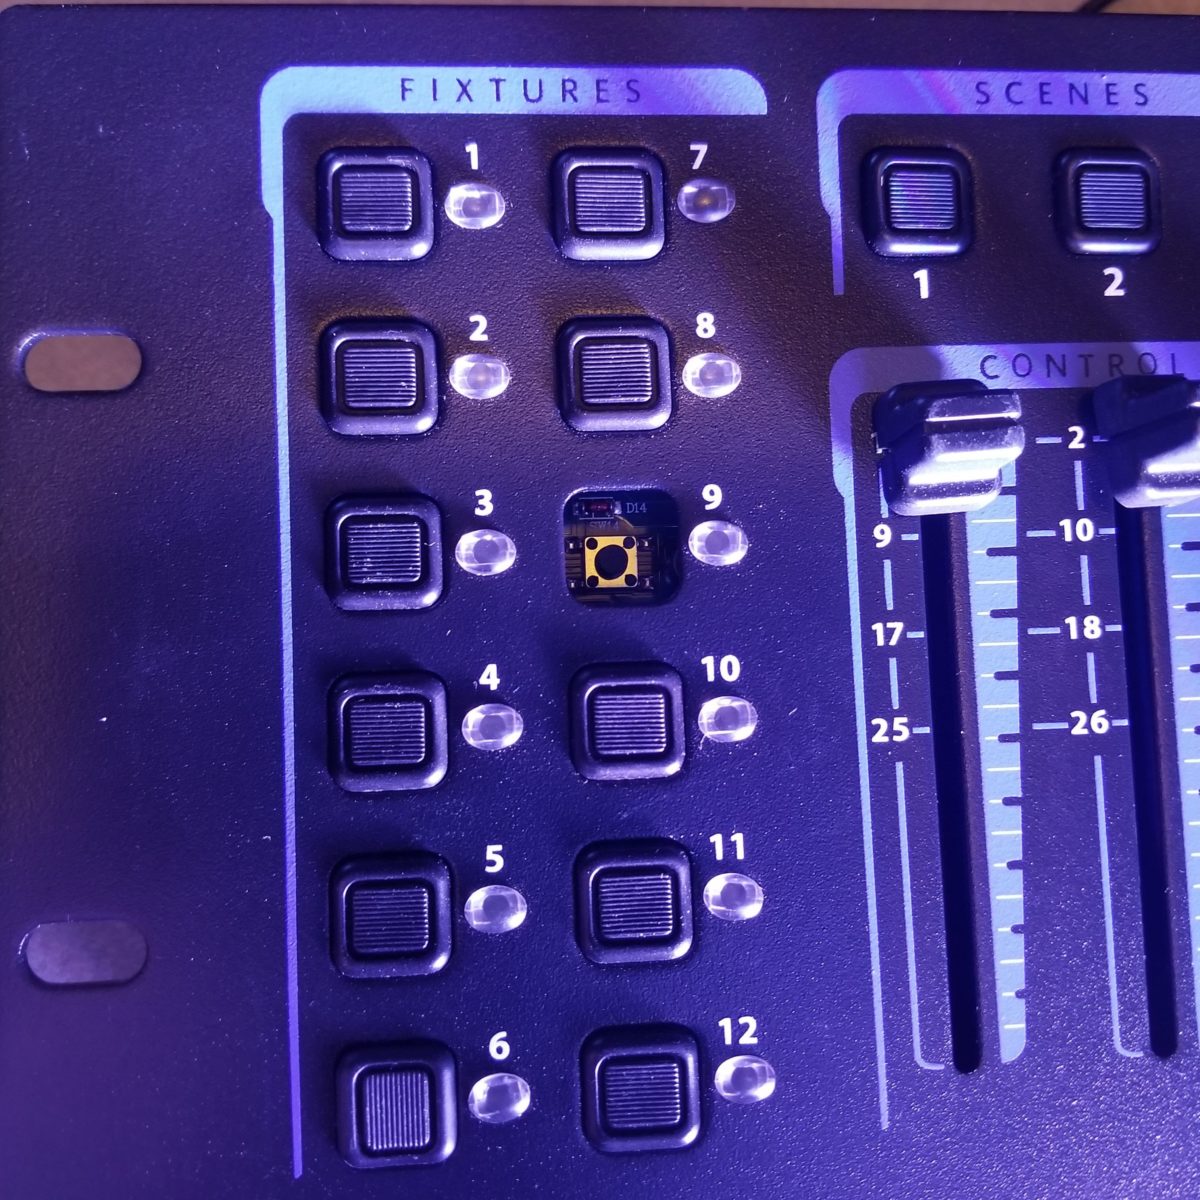
Fixture section of the controller. Allows you to select the fixtures assigned to that number when needed. You can select more than one at a time.
Your Light Fixture
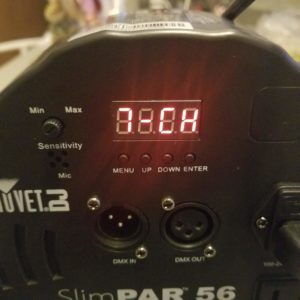
Next let’s talk about the light fixture, which in this case is the Chauvet DJ SlimPAR 56 LED. This light has two different DMX Modes, 3-Channel and 7-Channel. This can be adjusted and changed on the back of the fixture. There are three buttons: Menu, Up/Down, and Enter. Press the menu button until you see 3 – CH, and then 7 – CH. for this example we’re going to use the 3 – CH. Then by pressing enter, you get to the DMX channel assigning section. Since this is the first fixture, it would be assigned to DMX Channel 001 which, on this fixture, is displayed as d 001.
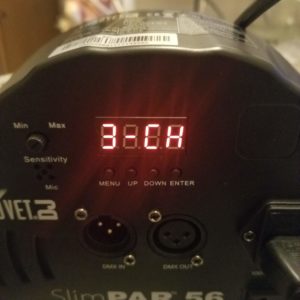
3 Channel DMX option
7 Channel DMX option
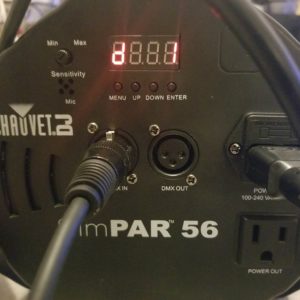
DMX channel assigning menu. This Fixture is assigned to DMX channel 001
Now lets talk about the Fader Section. There are 8 faders that are used to increase and decrease the values of the channels set for the fixture. This controller has 32 channels that you can toggle with the channel bank switch right next to the faders. Each fader has a different function, especially when the light has multiple channels and can trigger many effects like strobes and macros.
Since we selected the 3-channel mode, only the first 3 faders will work as the dimmers (controls the Value from off, 0% to on 100% depending on what that channel is supposed to do). For this specific light, on the 3-channel DMX mode, the first fader is the red dimmer, 2nd fader is the green dimmer and the 3rd fader is the blue dimmer. When all the faders are up, it creates a white color.
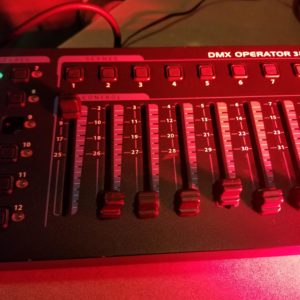
1st Channel fader up controls the Red LED value.
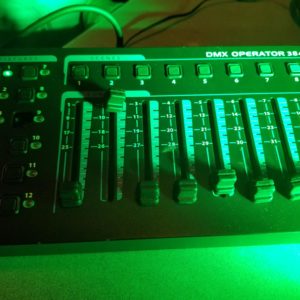
2nd channel fader up controls the Green LED value
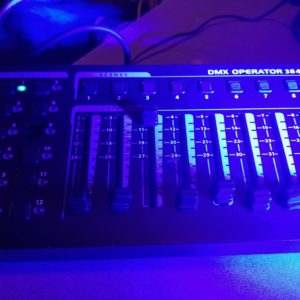
3rd channel fader controls the Blue LED value
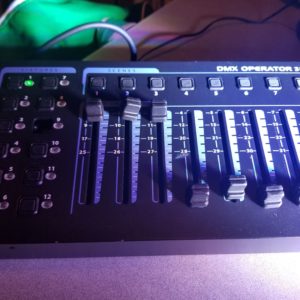
All channel faders up result in the “white” Color.
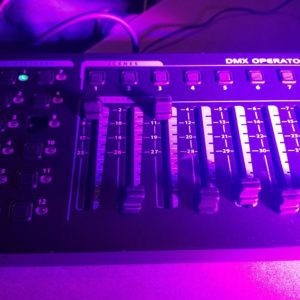
Color mixing is possible by raising faders at the same time.
This is just scratching the surface on what you can do with DMX and DMX controllers. They are a great way to make your show pop and keep the audience wanting more. In the next post we’ll be covering the other half of the controller and how to make scenes and cues, and linking multiple lights together.




Leave a Reply