Whether it’s cars colliding with cavernous potholes, or football opponents colliding with “Bear weather,” Chicago is a city known for its winters. It is also true that instruments are not safe from the grasp of Old Man Winter, which can expose the mortality of even the “elite.” While winter has proven capable its ability to take the lives of even your best instruments, they, like the first blooms in spring, can be reborn with a little help.
This at least was the hope when one of our guys at zZounds brought this American Elite Telecaster to my attention. Fender had left the instrument with us so that we could try it out and use it for some demo videos, but it was clear that during this time it had fallen victim to one of those notorious Chicago winters. There was a prevailing view around the office that it was beyond repair, but I had my suspicions that there was another spring in store for this guitar. A simple setup may fall short in bringing it back from the dead, but maybe if I went to the depths of my play book I could find a pathway back to its elite status.
Play the Guitar First
When I first get my hands on an instrument that I’m about to work on I have always have an initial impulse to dive in and start working right away. My first instinct for a long time was to detune and cut the strings to make way for new ones, or strip the guitar down to where I can start working on replacing some hardware or dropping in a new pickup that I just received in the mail. The urge to throw out the old and pave the way for the new would often have me up to my knees in old strings and hardware right away.
Over time I started to appreciate an added step before this, which was a more gentle handshake with the instrument that preceded anything more invasive. Play some rhythm parts in the lower and upper ends to see how it feels. Run some of your favorite lead lines as well to see how the instrument responds. Meet the instrument halfway so-to-speak, and it will take the opportunity to tell you what’s wrong, how it could be better and where you can take the instrument.
Chances are that after you spend a little time playing the instrument, it will reveal to you the things it needs the most. You’ll find any dead frets or buzzing/loose hardware right off the bat, instead of much later in the process. I will sometimes go as far as trying a few different curvatures on the neck or bridge adjustments to give me an idea of what I’m working with, and where it will end up.
At first glance, this Elite Telecaster was telling me that it needed a lot of help. The action was a lot higher than its namesake would suggest, and it had some signature dead spots that were buzzy and didn’t sustain very well. In addition, I heard some telltale buzzes and rattling that you wouldn’t get from this instrument normally.
A quick check of the neck’s curvature told me that it was far too bowed to get an action out of it that I would feel comfortable playing. The guitar spent the winter out of the case in a room whose temperature and humidity were not well monitored and maintained, which I’m sure was a big contributor to this. I was able to bring the instrument back quite a bit after humidifying it correctly in the case for some time, but it was still a little bowed, which meant it was time to play around with some different truss rod settings.
In my experience, getting the neck as straight as possible without killing some notes and creating some excessively buzzy spots is the name of the game with the truss rod. Shoddy fretwork or overall craftsmanship on a guitar might force you to leave a little extra relief in the neck, but I had a feeling that I could push this Elite Telecaster to the limit. My initial test on the neck relief showed a decent amount of space between the strings and frets, but my gut was telling me I could get closer. I’m talking about close enough to where you might hear or feel the string make contact with the fret, but not necessarily see it.
A couple quick adjustments later on the truss rod wheel I had the neck adjustment I wanted. After strumming a few chords and running a few scales I found a couple trouble spots, but overall I was impressed. When you factor in the wear on the frets, which I was about to address, and the age of the strings, I felt confident that I was going to be able to get away with an “elite” level truss rod adjustment.
Examining Fret Height
One additional step to take initially with an unfamiliar instrument is to get an idea of how level the frets are. My suspicion was that an instrument of this caliber would have only the best fretwork, but given its history and the winter it had just endured I wanted to check.
The measurements and distances in this process almost literally equates to splitting hairs. If we’re really going to get down to it we want to check for even the most minuscule differences in fret heights. You can slum it out with any flat object – a halved length of pen, a reliable block of wood, etc. – but you’ll need a specialty tool to really get it right.
My choice here is StewMac’s Fret Rocker, which provides four ultra-level surfaces for checking for any high frets. I usually make a point to check the instrument from lowest frets to high, but also check different parts of the fret horizontally. It could be that a certain fret is OK on the first string but high on any of the other five. To my relief, it proved out that this instrument did not need any fret leveling. It had been built with the elite level craftsmanship of its namesake, so much so that the fretwork had endured. This was another early sign that informed me that I could still get the best out of this instrument.
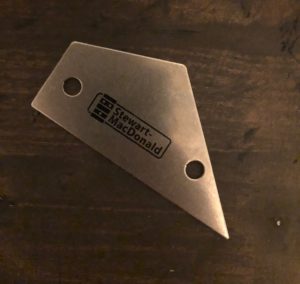
StewMac Fret Rocker tool.
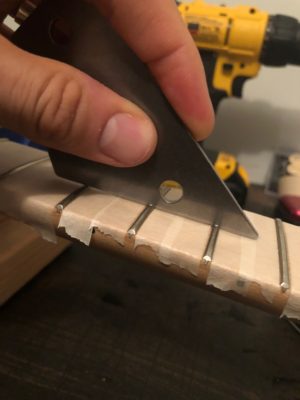
Fret Rocker in action.
Crowning the Frets
A quick glance at the frets themselves was evidence that this was also somewhere that I could bring the instrument back quite a bit. It was clear that this instrument had been put through quite a lot of playing, and that a lot of fretting over time had flattened the frets in a lot of places. When you imagine a string being pressed against a flattened, or “plateaued” fret top it’s easy to see how the string makes contact in a way that creates buzz. What we needed to do was sand and polish the frets back to where the string was able to contact only the top of the crown of a rounded fret, almost like a tangential line you would draw in high school geometry class.
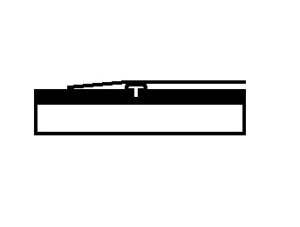
A flat fret which will create buzzing where the string lays across the fret.
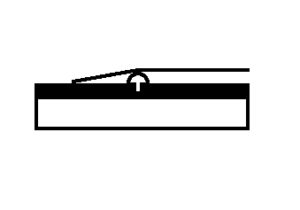
A well crowned fret which will cause no buzzing.
Masking the Fretboard for Maple Instruments
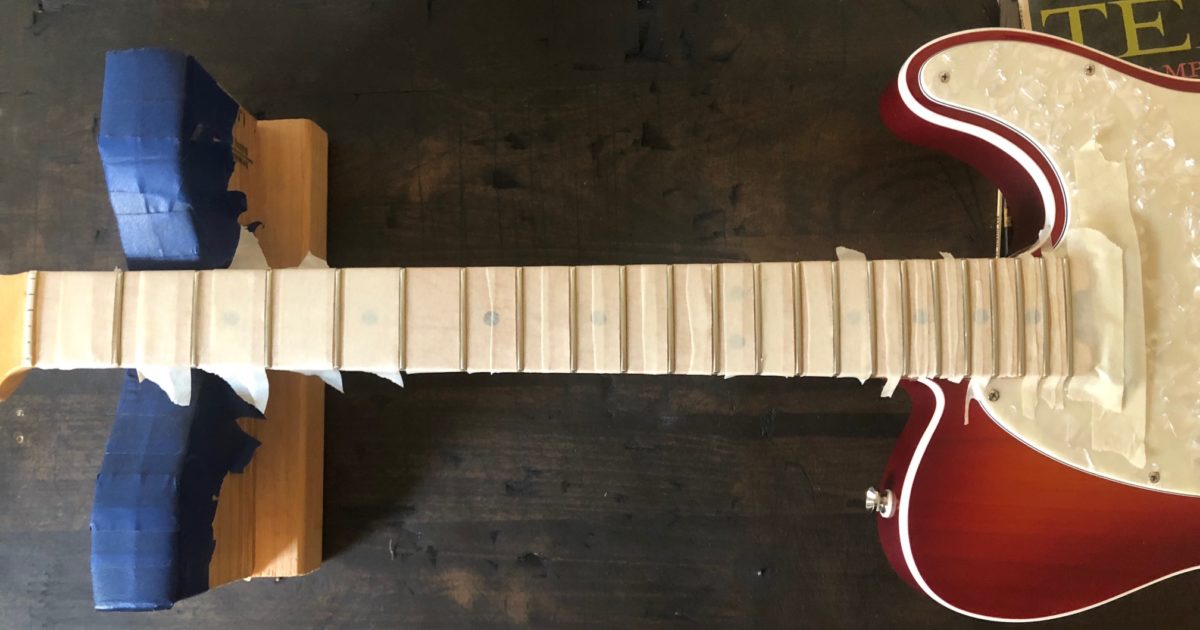
Before I was ready to dive in and start sanding frets, I wanted to take a quick, or honestly not-so-quick, extra step and mask the fretboard. You can sand rosewood fretboards for the most part to your heart’s content with confidence, but my experience with maple has told me to proceed with caution. Rosewood fretboards are often not treated as thoroughly, so any marks left after polishing the frets can generally be sanded and oiled out. Once you scratch the finish that often shows on a maple fretboard there isn’t really any going back without a more invasive procedure. This neck didn’t have the sheen of the thick gloss coating you might see on some maple necks, but I still felt like taping it down would be a good precautionary step to take.
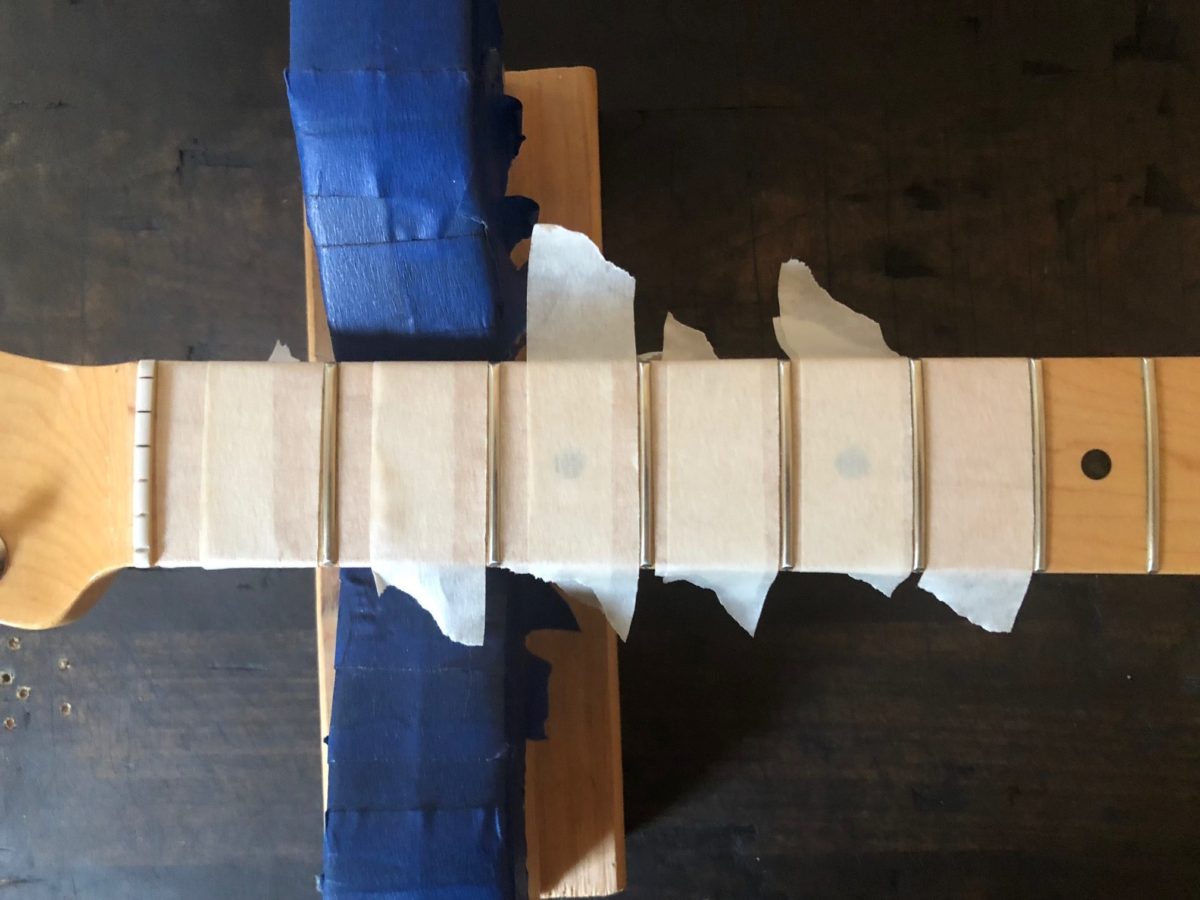
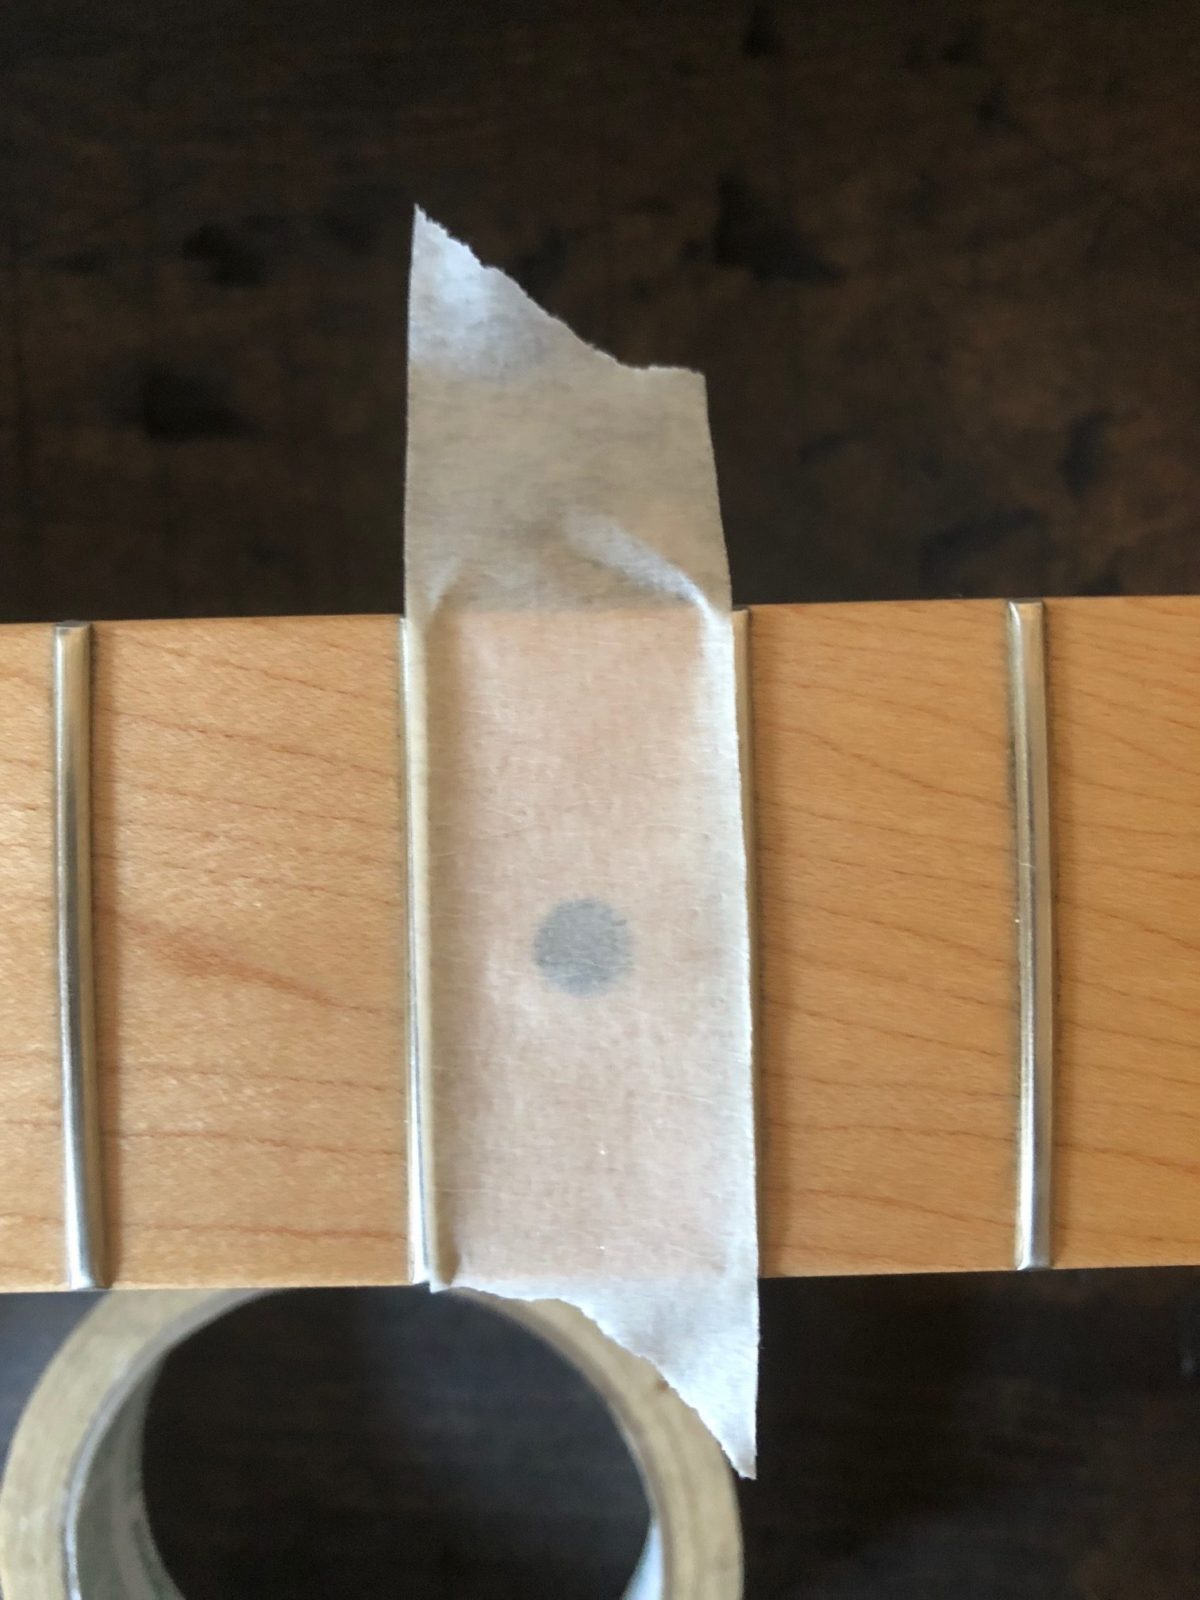
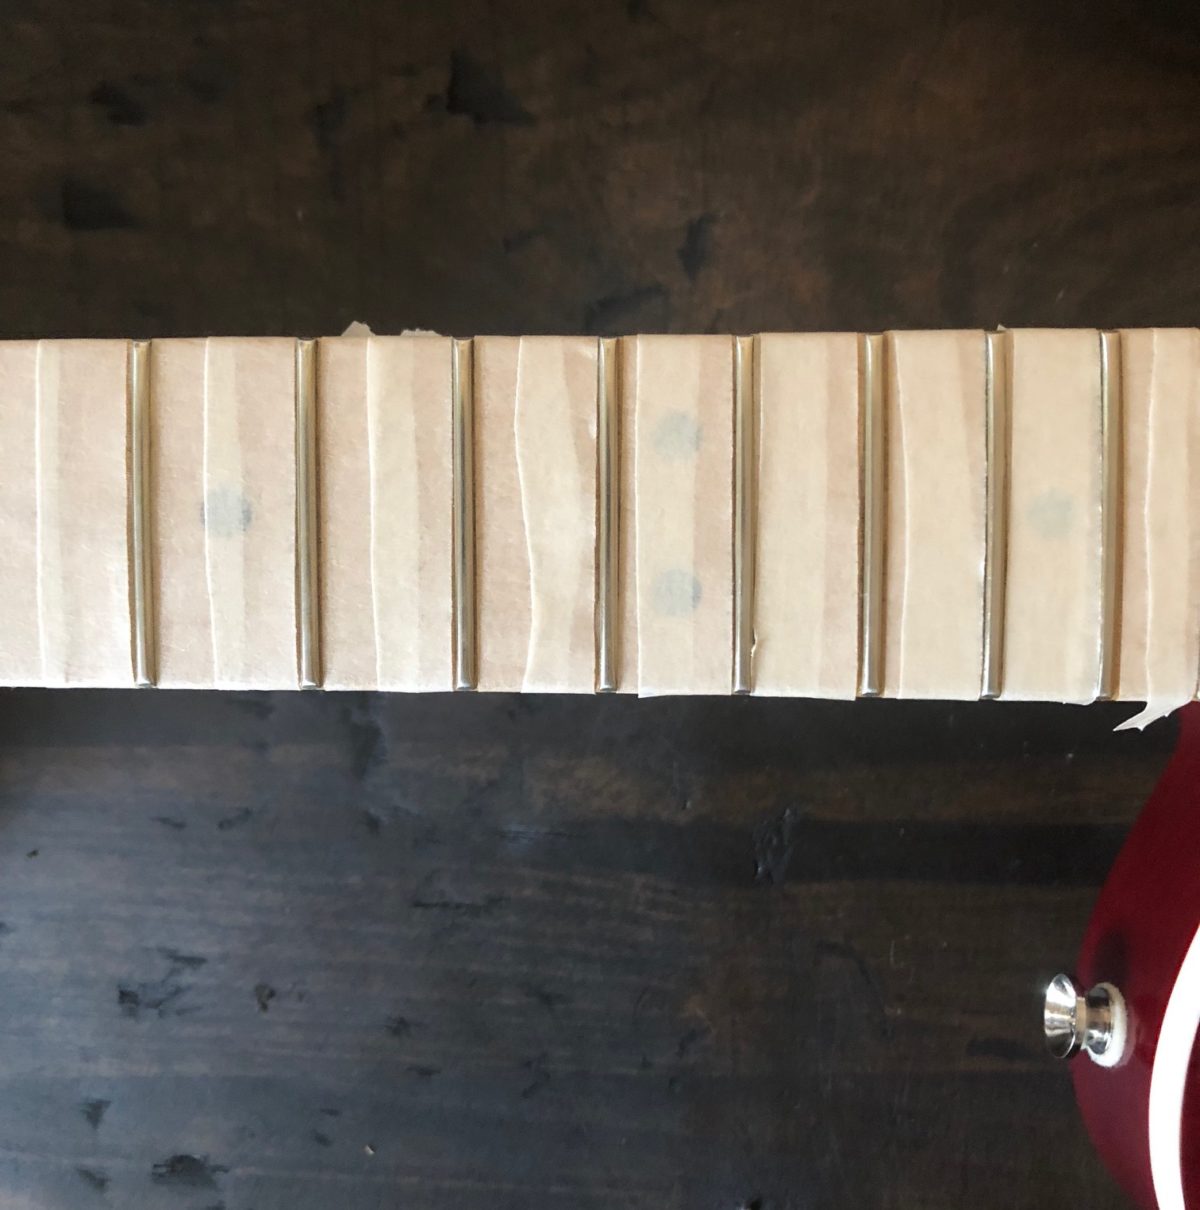
The process is simple enough. Take out your favorite roll of masking tape, and start cutting small strips to cover the wood in-between frets while leaving the metal of the fret exposed to the sandpaper. Taping frets one through six is normally a quick enough process since they are wide enough apart to accommodate a full strip of tape, or even two strips overlapped.
- The frets are wide enough here to accommodate full width masking tape.
- A little higher up the neck and the tape is too wide.
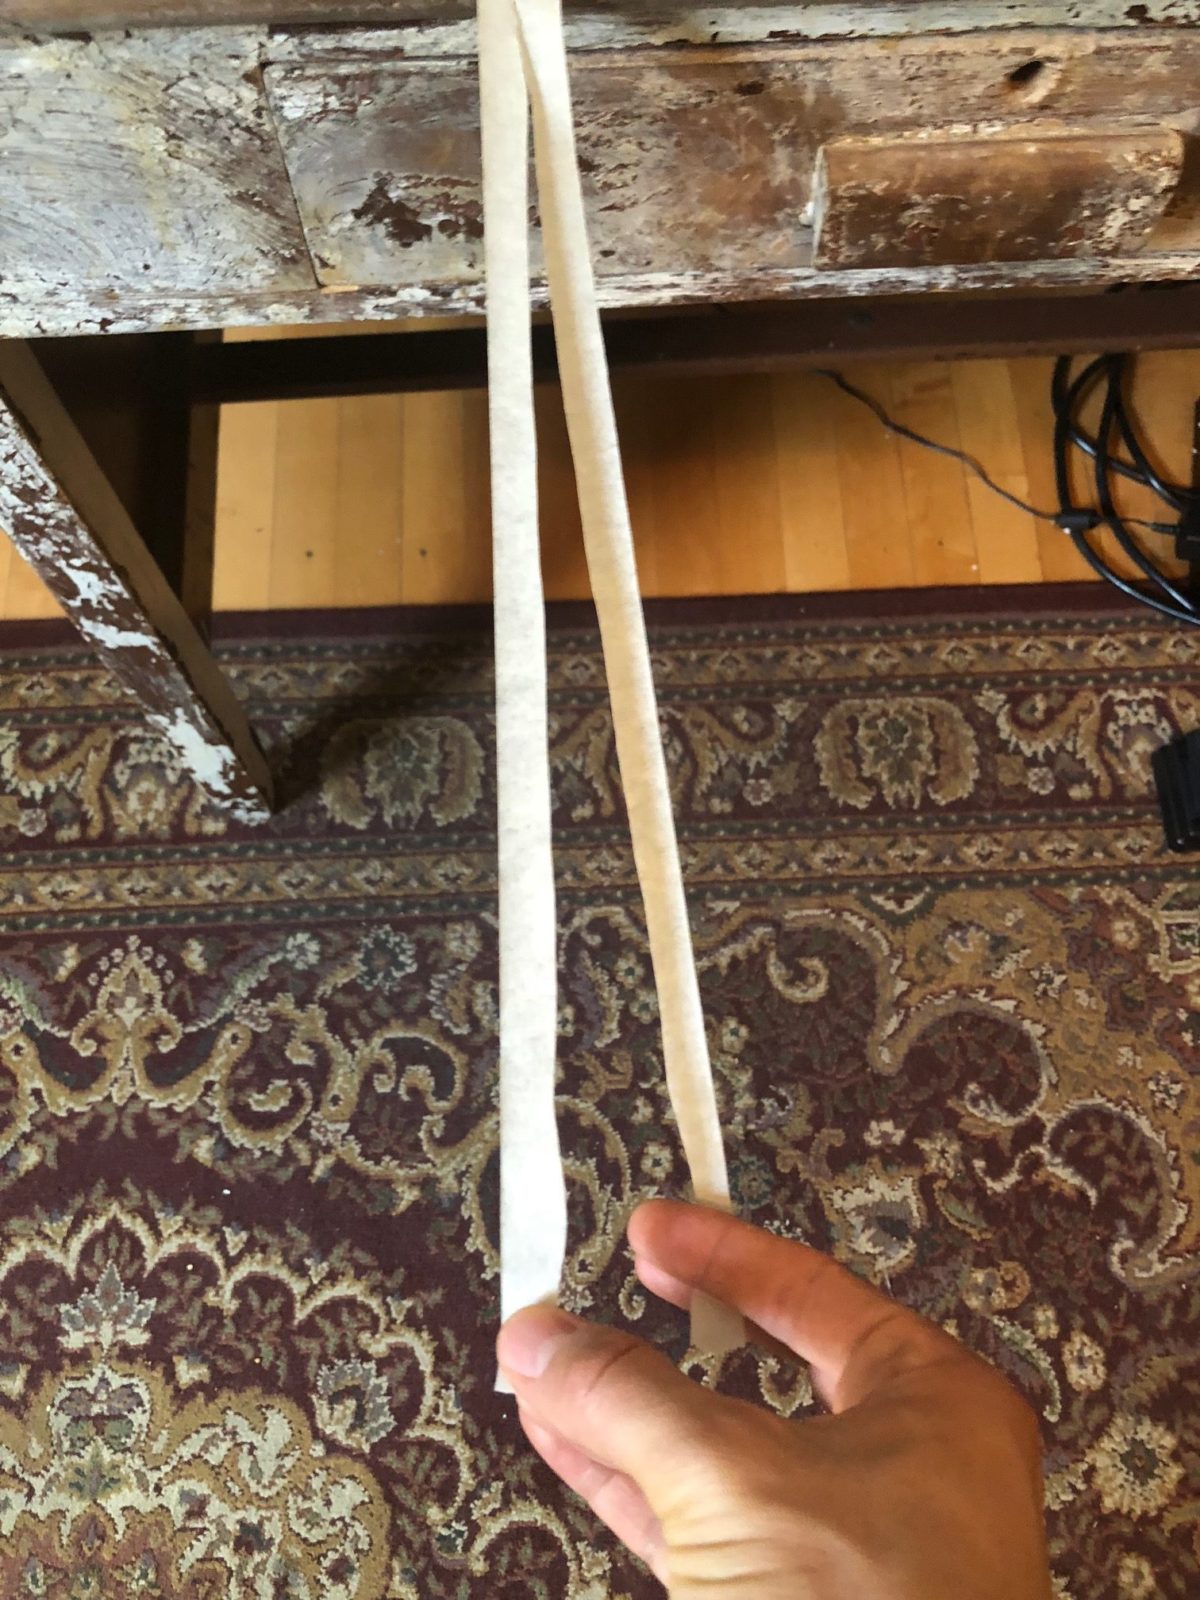
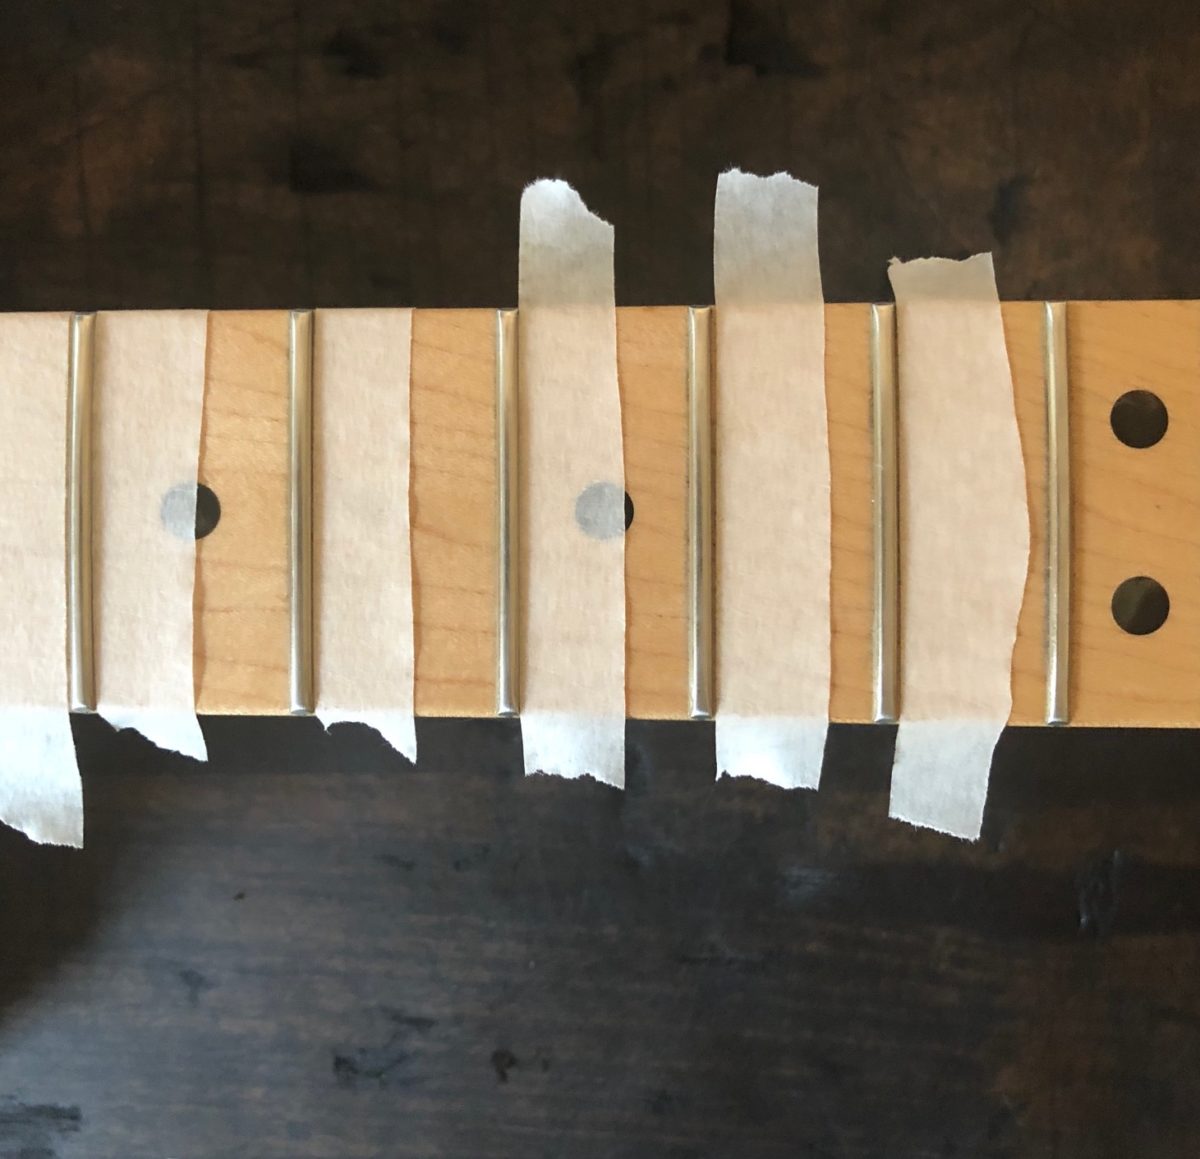
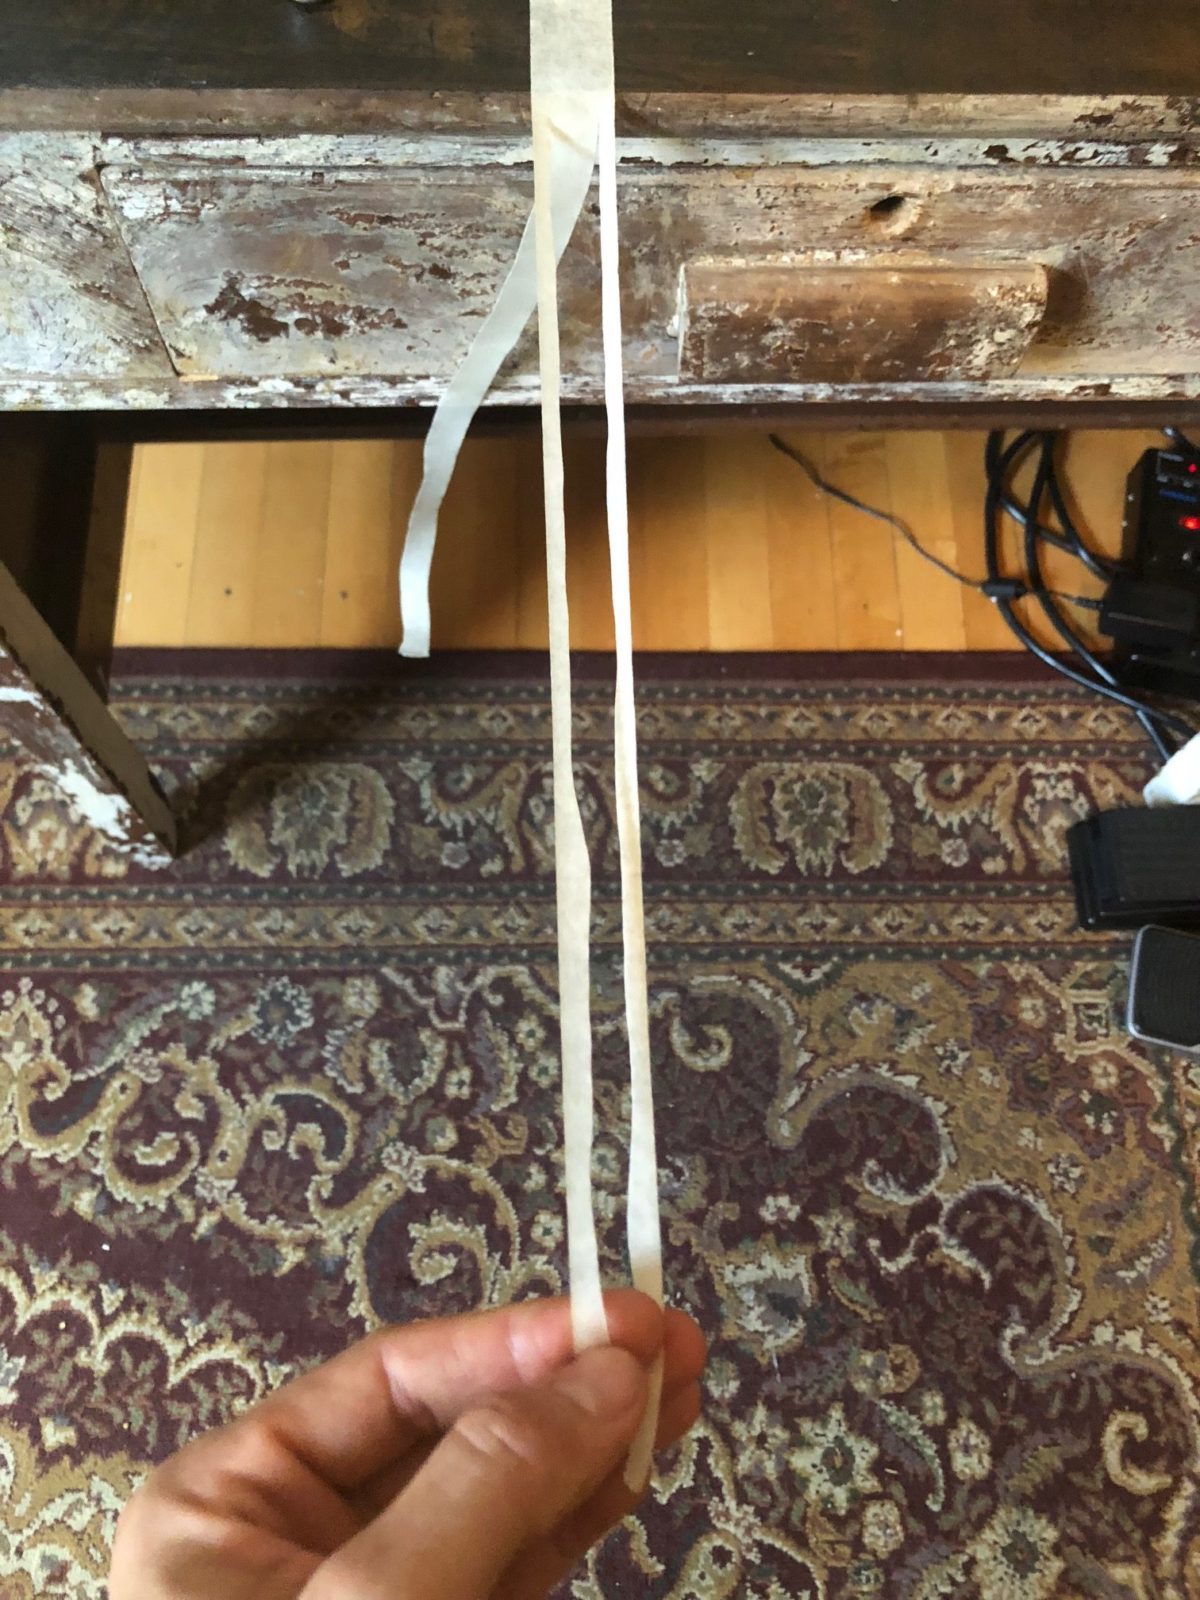
After that is the “honestly not-so-quick part,” which involves somehow getting tape to fit once the frets start to get too close together. A prepared and well financed luthier might already have a collection of fretboard masking tape of varying widths. I personally am OK spending a little time with a razor and splitting my full-width masking tape in half. When you get to the end you’ll find that even your halved masking tape is too wide to overlap, but a little resourcefulness and handy tape cutting should get you the narrow enough widths you need at the end of the fretboard.
- Cutting the tape in half for the higher frets.
- Half covered frets with halved tape.
- Skinny strips for the highest frets.
- Fully covered high frets.
- Fully masked neck.
Fret Polishing
With the fretboard fully masked it was finally time to dig in and get a fresh crown on the frets. The first half of the process involves running pre-cut strips of your average Home Depot sand paper across the fretboard in the direction of the strings. You can purchase specially made blocks to wrap the sandpaper around and get a good grip, but for the DIY luthier, a small block of wood with a well-taped piece of circular insulating material should do.
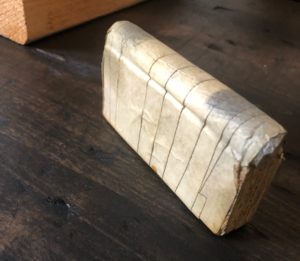
My trusty old sandpaper block.
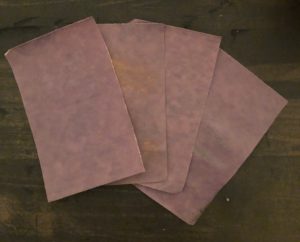
Sandpaper cut down into strips for my sanding block.
I start with a relatively course, for fretwork, grit of 320 for my first passes across the frets. This is the part that removes most of the fret, and tends to go the farthest in re-crowning flat frets. The back and forth movement of the block, parallel with the string direction, allows the sandpaper to hit the sides of the frets and bring the fret back to its ideal rounded form. Once I feel like I have gotten around enough with the 320 grit, I follow up with a few passes on 400 grit and then 600. This helps wind back some of the more invasive parts of the process and bring a polished sheen back to the frets.
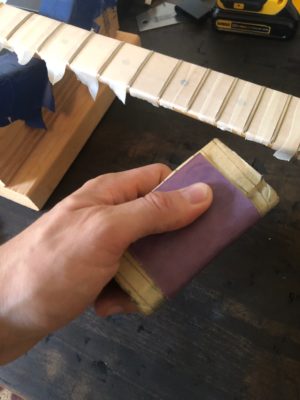
Proper sandpaper block form.
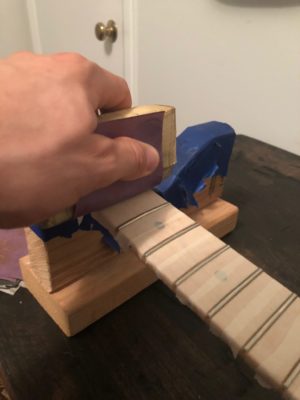
Sandpaper block in action.
The second half of the polishing process involves working with some more extreme grits of sandpaper, or more specifically, micro mesh. You can find this ultra-fine sanding material in grits ranging from 1,200 to some ridiculous heights of 12,000 and more. Micro mesh comes in small, square-to-rectangular pieces, which you can use to polish frets two by two all the way up the fretboard. I generally start around 1,200 and pick a couple in-between grits until maxing out at around 4,000. By that point you have some mirror-like frets that you could style your hair with, so going any farther might not be a great use of time.
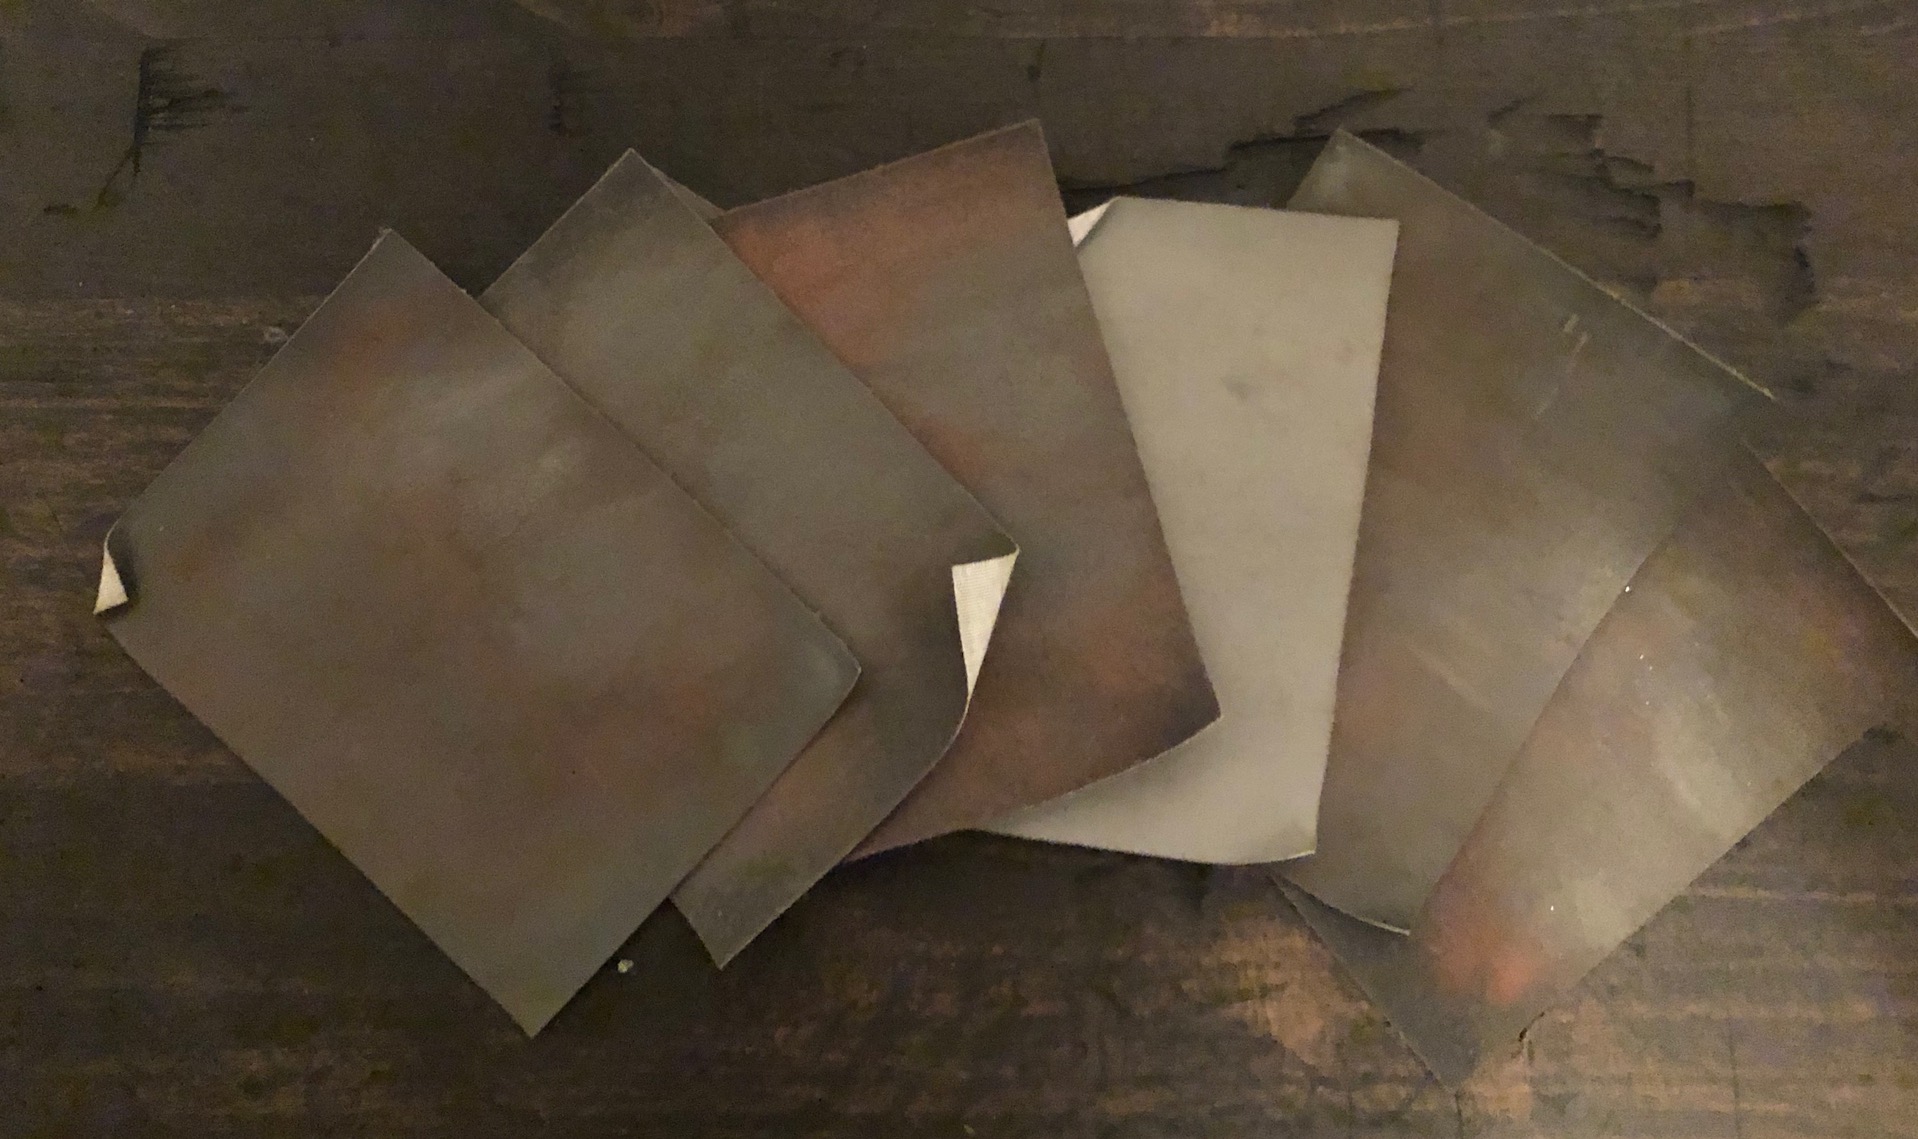
Micromesh (A little coppered up from another housework job.)
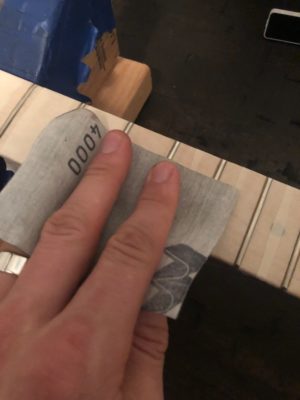
Technique for sanding low frets in pairs.
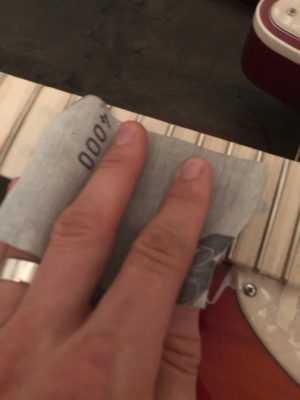
Alternate technique for sanding high frets.
Cleaning the Fretboard
I’m generally so stoked about the status of my newly polished frets that I’m ready to throw some new strings on and get playing. Before getting to this point though it’s best to take this opportunity to clean and treat the parts of the guitar that you normally wouldn’t have access to.
With the fretboard itself I like to give it a specific alcohol treatment that gives me a clean playing surface and an oiling process that leaves me with a happy fretboard to boot. For the cleaning portion I prefer Naptha alcohol, which smells great, and which you can apply liberally with any old rag or defunct shirt. Once I have gotten out all the applicable grime, I’ll go back and rub in a dab of boiled linseed oil, which also smells great, with a different, clean rag.
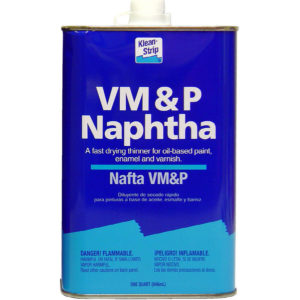
Smells great in a bad way.

Smells great in a more legitimate way.
Cleaning Where you Normally Can’t
Having the strings off the guitar also gives you a chance to get around to cleaning some other hard-to-access places. The pickguard on the instrument had collected some dirt and dust over the harsh winter, as did the metal plate metal plate where the bridge pickup, and the bridge itself, were mounted. There are a lot of great products on the market for this part of cleaning, but I always come back to the Gibson Guitar Pump Polish and Cloth Combo Pack. One container of polish can usually last the better part of a year, with a cloth that can last about as long with some consideration and care. I also appreciate the unique trademark “citrusy but still musky” scent of the polish. Also noteworthy to clean at this point are the headstock near the tuning machines, and the guitar body on the whole.
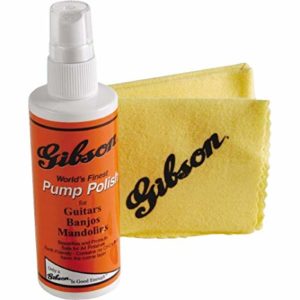
Creates a complex aroma when combined with the linseed oil for complex musicians.
Tightening the Hardware
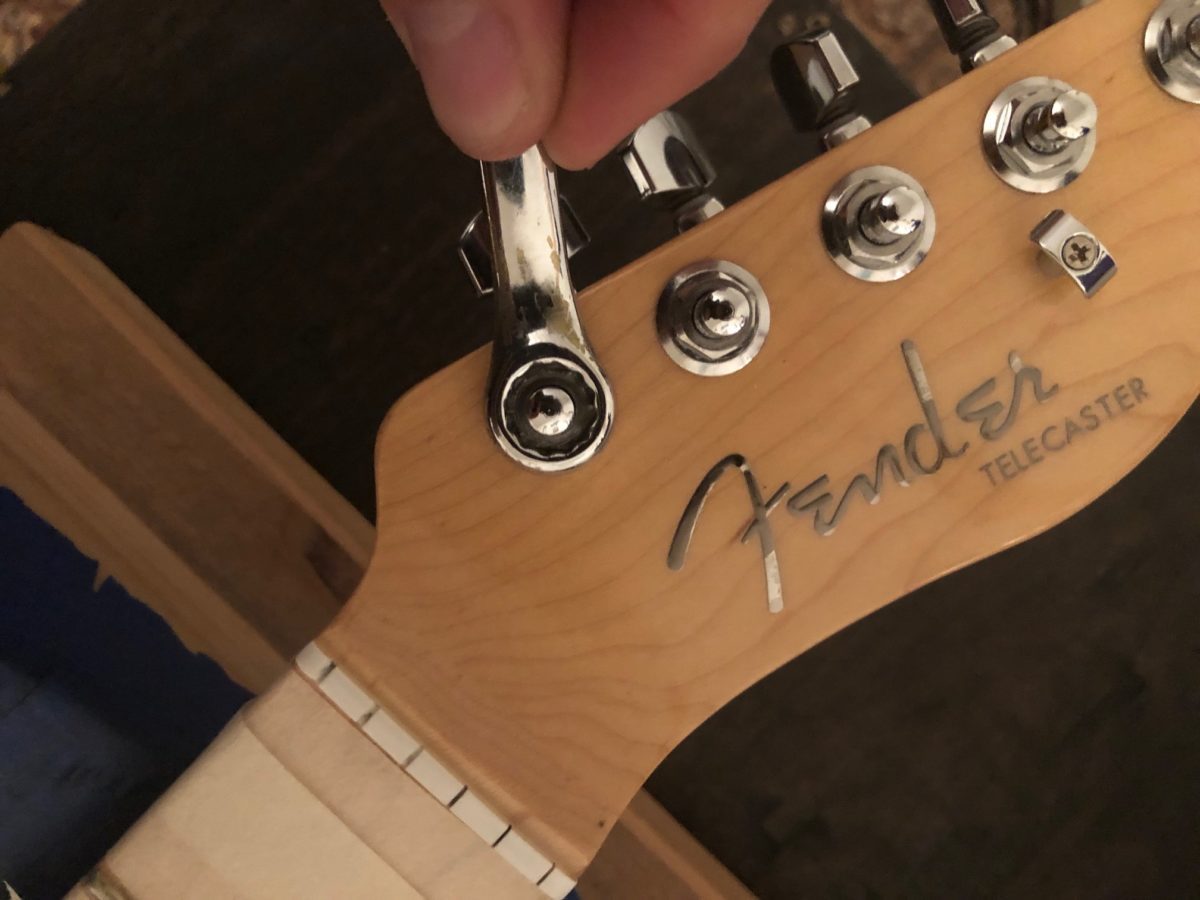
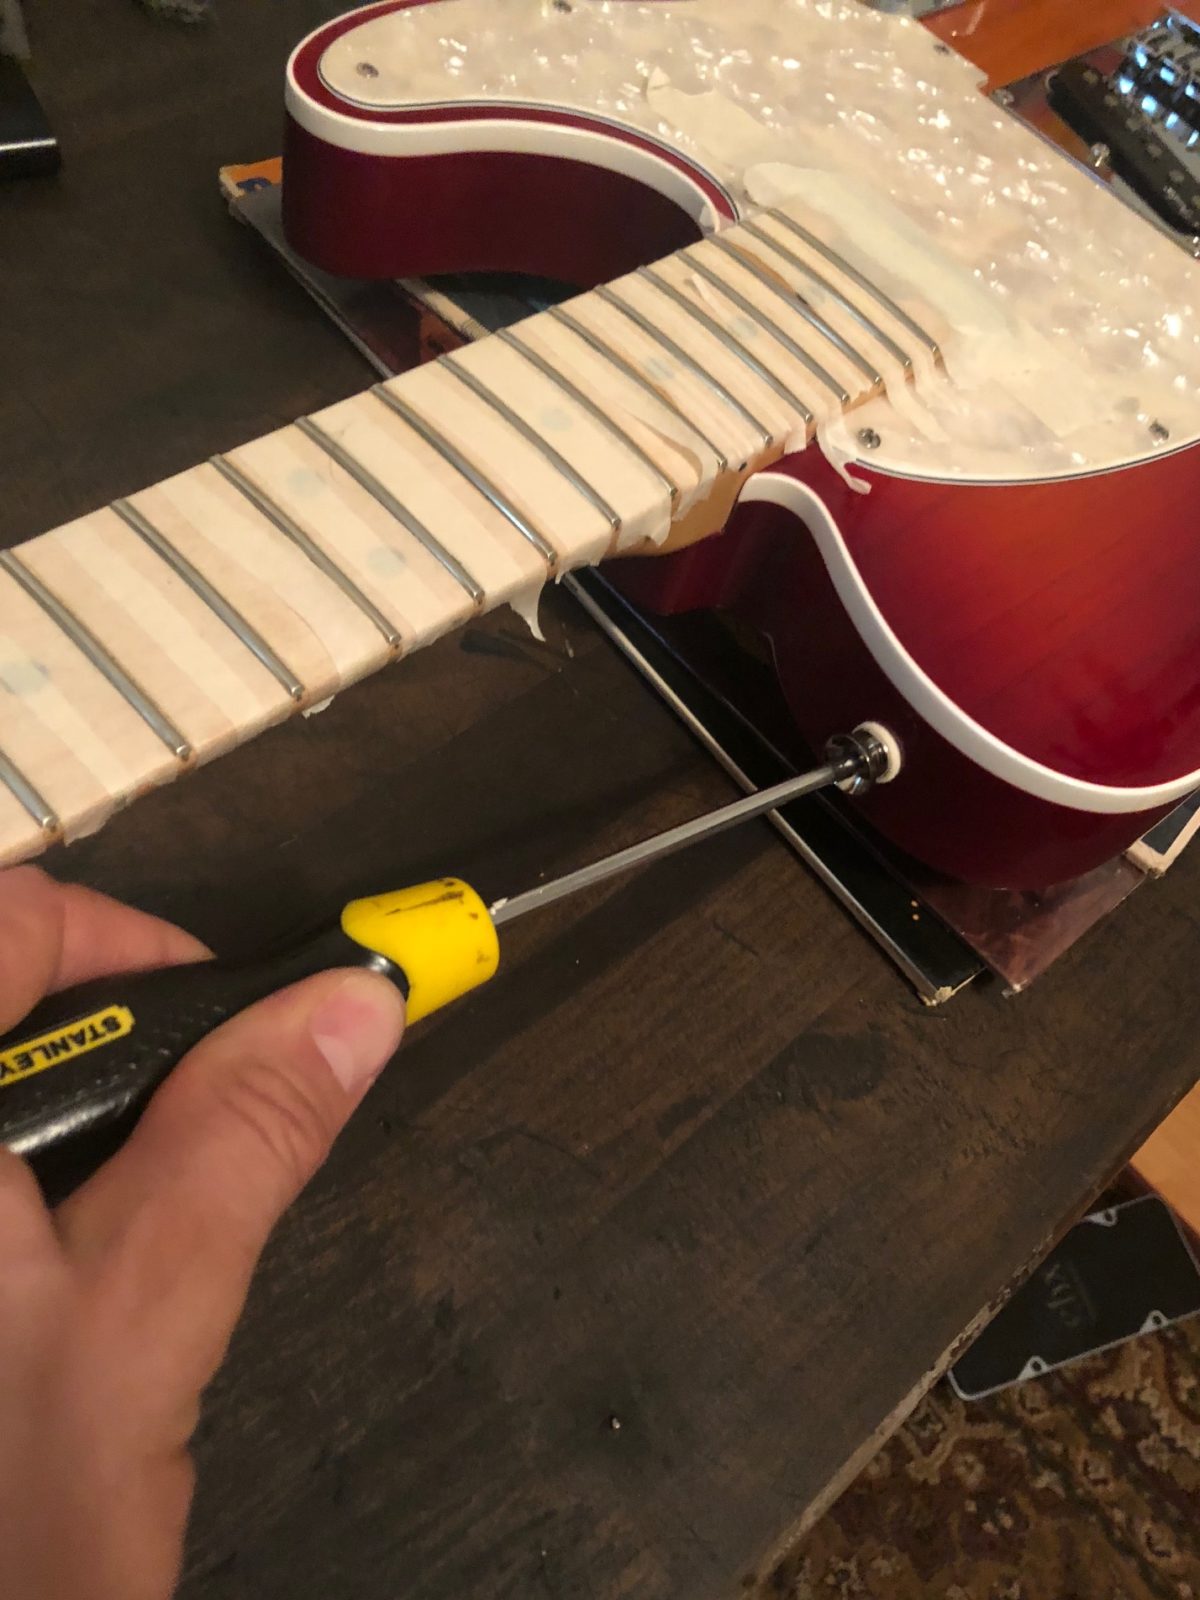
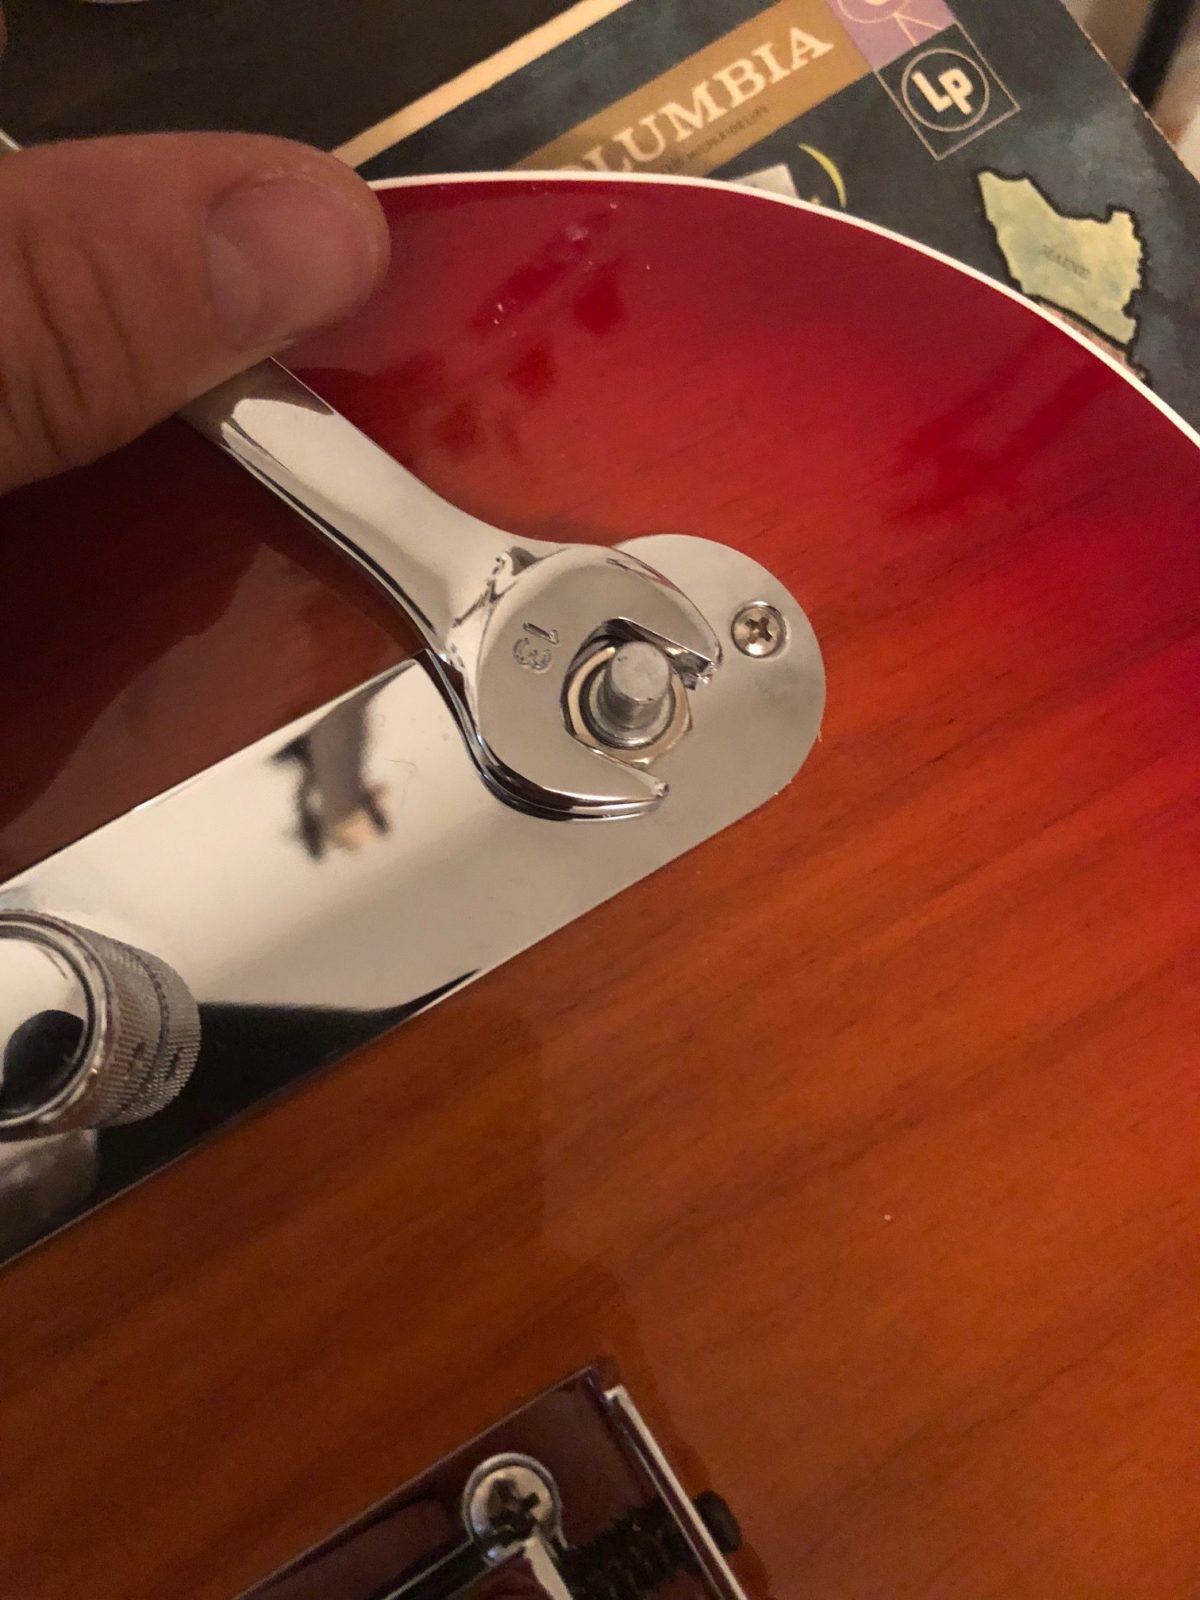
Playing the instrument at the beginning of this process had alerted me to some rattling sounds, and cleaning it had confirmed my suspicions. The use of this instrument, and likely the vibrating of the strings, had rattled some of the hardware on the instrument loose over time. An everyday Phillips screwdriver made quick work of tightening the strap buttons. A few of the tuning machines had come loose which was also a quick fix.
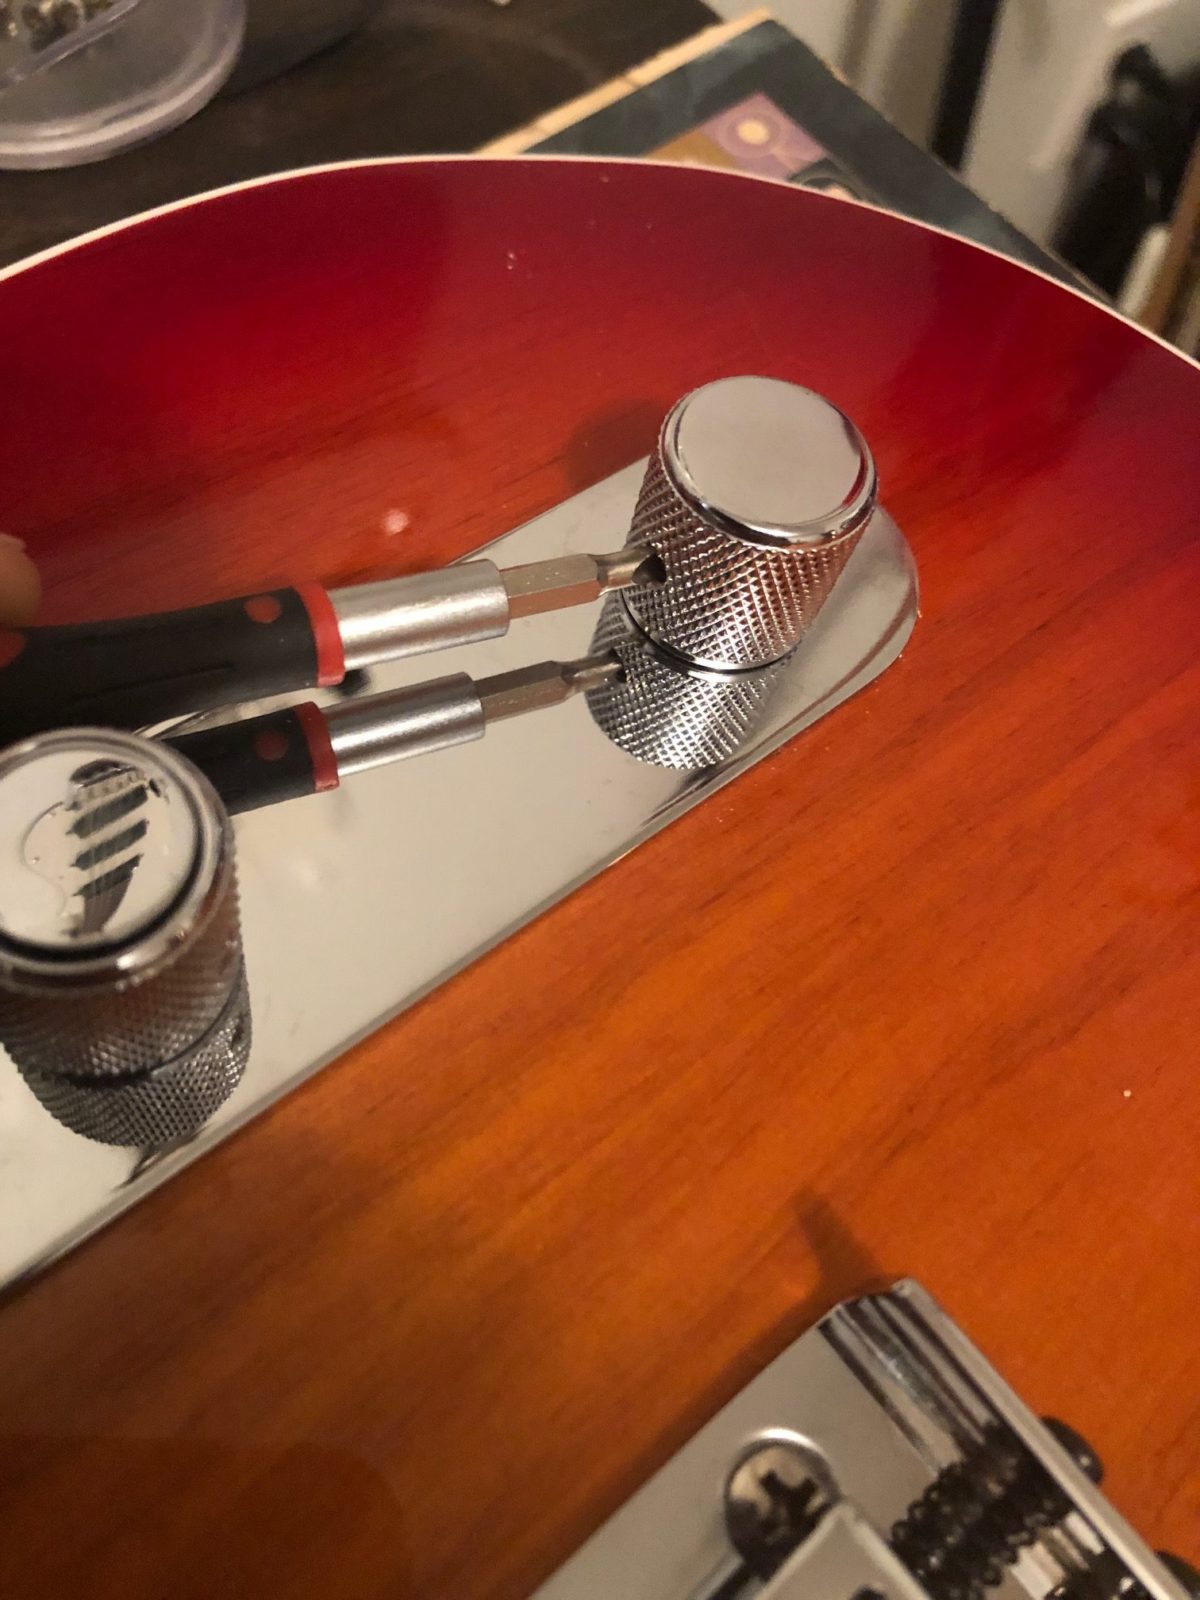
Noteworthy are any knobs or input jacks that have come loose. It wasn’t a problem on this guitar, but ignoring these things can create some major headaches down the line. I have seen plenty of neglected input jacks fall into the body on a chambered guitar, or 3-way Les Paul selector switches that have needed retrieving. I have also seen electrical connections on jacks and potentiometers which have been worn down and broken due to loose components. Imagine the wire carrying your guitar signal as a paperclip, which gets bent a little bit every time you plug in or adjust your tone or volume. A few dozen bends back and forth later and that connection is no more, and requires a whole new fix.
- Tightening tuning machines
- Tightening strap buttons
- Tightening pots
- Tightening the knobs themselves
Take a Break, You Deserve it
Now that we’ve been through the nitty, and incidentally the gritty as well, you are fully green-lighted to move forward and restring the instrument. That being said, there is still one more step that I personally like to add. Chances are that after all the sanding, oiling, cleaning and even exposing yourself to some crummy old corroded strings, you have yourself become an oily and gritty mess. I like to give myself a break here at this juncture for my sake, but this can also be beneficial to your guitar. Touching your pristine, freshly cleaned instrument with grimy hands will probably just bring it back to where it started, or worse, so getting cleaned up here allows you to move forward without taking a step back. I’ll maybe get a set of strings on the guitar to restore tension to the neck, but I often times give myself an hour, or evening of break time to get myself fresh to finish setting up the instrument.
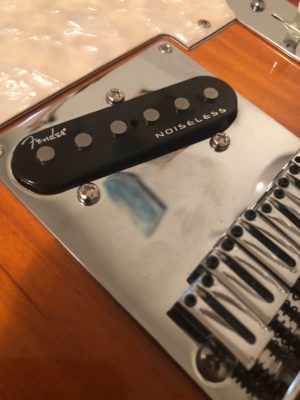
Messy hands make messy work.
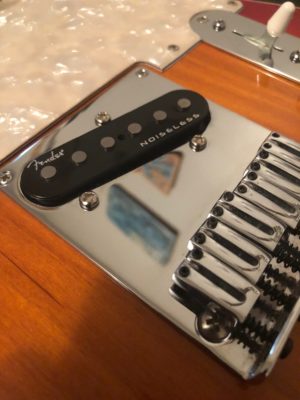
A little antibacterial hand soap later and we’re ready for that professional sheen.
Wrapping it up
There was a time when the next part of the process was an entire second half to setting up an instrument. Without the aforementioned advanced knowledge of the instrument, I was, in a way, back to squa
re one, even after all the time I had already invested in the instrument. Setups like these, where I had truly taken the time and consideration to sleuth out what the instrument is really able to do, turn out to be a breeze once I have the instrument cleaned and restrung.
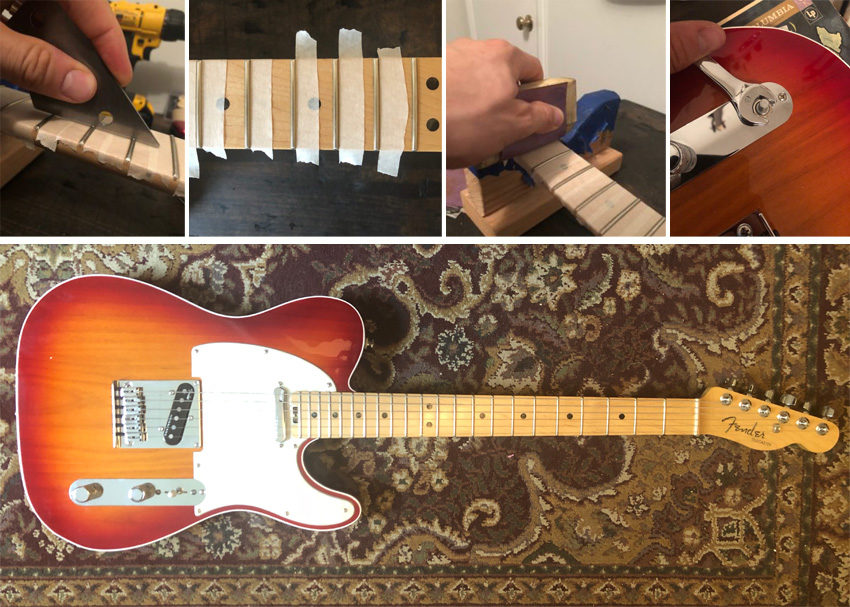
The truss rod was already set from step one, and didn’t need another adjustment. The steps I took to polish the frets, get a fresh set of strings on and tighten any loose hardware had removed any lingering imperfections in the instrument’s playability and sound. Per my reconnaissance on the state of the fret height I decided that instead of going modest on the string height I would try the lowest action I would conceivably try on an instrument like this. A few minutes later and I had a Fender Elite instrument that once again played up to its name.



Leave a Reply