There is no magic bullet. That’s a point that this piece should get across first and foremost. That being said, learning about what boosting and cutting frequencies can to do to a mix is incredibly important for your engineering skills and satisfaction when recording drums.
Any drum recording is only as good as the sum of its parts. If you’ve got an incredibly tight snare track and the kick is singing, but your toms are flat, you’ll always hear that terrible tom sound every time a groove or fill includes them. Each drum gives off a plethora of frequencies, and each reacts differently to certain frequencies, (i.e. sympathetic buzz) creating a harmonic phenomenon totally unique to your drum kit. That’s why the following frequency ranges are guidelines to get the gears turning in your head about what frequencies work best in any particular mix.
Magic frequencies do indeed exist for every drum, but the real job is finding them and exploiting the full potential of your drum kit in any mix. The following frequency guidelines are my personal “go-to” EQ settings for boosting and cutting when I start a mix. I’ll reference these same settings whether I’m using a DAW’s stock EQ or the latest and greatest EQ plug-in from Universal Audio, FabFilter, or another brand.
Rack and Floor Toms
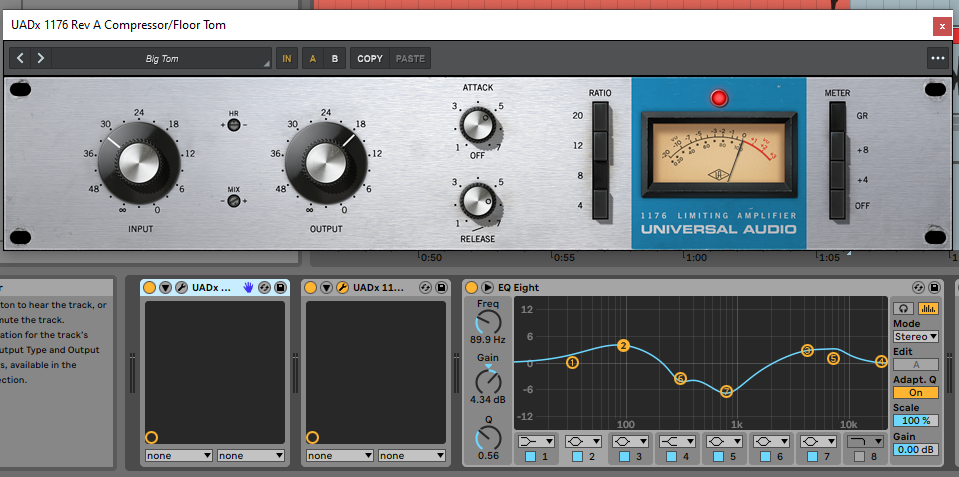
The number one questions I get when I talk to other home studio engineers or aspiring engineers is “how do I make my toms sound less boxy?” If you’ve ever tracked a full kit, you’ll notice that even with dedicated mics on each tom you’ll still capture a sound that isn’t exactly useable in a mix. It lacks sustain, flavor, and like I mentioned before, it can just sound like a cardboard box. You can get closer with your mic selection but for the most part, you’ll always have to throw some EQ and compression on your tracks for them to come alive.
Starting with equalization, floor and rack toms come to life with a bit of a low-end boost. As mentioned before, a dry microphone recording will typically lack sustain and it’s all hiding at the low end of the frequency range. Boosting frequencies in your EQ plug-in from 120-200 Hz on rack toms, and 70-90 Hz on floor toms will bring out the sustain your ears hear when you’re behind the kit or in the room with a drummer playing. Start with a wider Q within those frequency ranges and pin-point your tom’s sweet spot. Once it’s sounding better, start honing in on your drum’s magic frequency. I often go really wild with boosting frequencies at this stage, just to see how far I can push the low-end before it gets too overwhelming.
Related: The ’70s Are Back: Here’s How to Get a Fat Snare Drum Tone
That thick, fat, ’70s-esque snare tone can elevate an entire song. Read on, and we’ll show you how to get that thick snare goodness from behind the kit in your home studio! | Read »
Now you’ve got a ton of low-end sustain in your mix but the attack is still paper thin. Move up the spectrum for the areas around two frequencies: 4.5 kHz and 8 kHz both provide a more defined “attack” when boosted. Depending on the size, ply count, and the heads you’re using on your drum, these numbers can change a bit. But it’s a great frequency to start boosting at with a wider Q set.
Your low-end and attack frequencies have now been boosted — you’re sitting on a ton of sustain and each hit sounds crystal clear, but there’s still a ton of muddy lows and that cardboard box sound hasn’t gone away. This is where frequency cuts come into play.
Because it’s typically the main issue with tom recording, I’ll start my drum mix by cutting these pesky frequencies. From 700-900 Hz is where the boxy tones live. Just as mentioned before, your exact frequency numbers will vary depending on the drum you’re using but start your hunt in this area. You can test your results in a mix by completely eliminating these frequencies with an EQ plug-in (even your DAW’s stock EQ will work for this.) As for the low-end mud, you can start around 150-300 Hz and begin cutting. Rack tom mud will sit closer to the 300 Hz mark, while floor tom mud begins much lower.
Now your drums have been EQ’d and sound much clearer in the mix, giving you a ton more versatility and ability to boost in the mix without peaking. Plus, the kit just sounds better.
Kick Drum
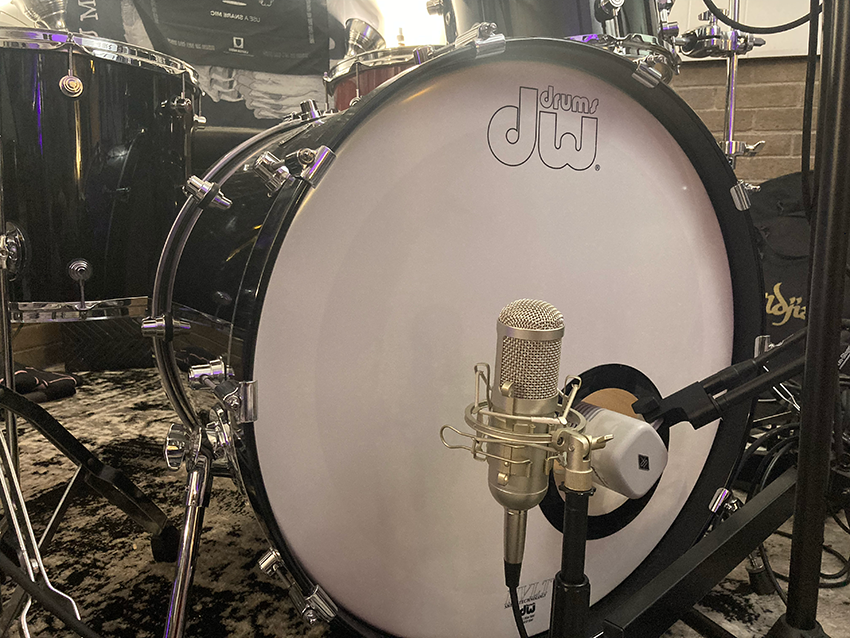
Your kick sound is the heartbeat for the entire mix. I typically use two mics on the kick, one internal like a Shure Beta 52A or a Universal Audio SD-5, and one external condenser or ribbon mic that sits within a foot for the batter head. Even if you use 3 mics, these EQ settings will work for you. You’ll simply have to apply them to more channels and work a bit more to find your track’s frequencies.
Let’s start with EQ cuts this time. If your kick track is sounding a bit muddy, the solution is very similar to low toms. Cutting from frequencies 150-350 Hz will clear up each note and give you a ton more room to boost your kick in the mix. Moving higher up the range, if your kick sounds a bit like a basketball bouncing on the court, you can cut frequencies in the range of 700-900 Hz.
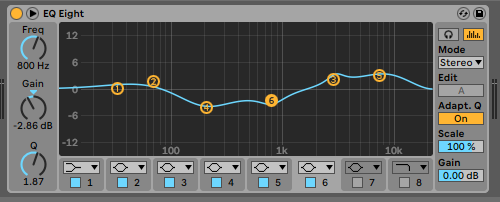
Moving to EQ boosts, hitting 50-70 Hz on the low end with a boost will bring out a ton of kick drum sustain and crushing low end to your entire mix. Remember, the kick drum is the heartbeat and the louder and more low-heavy it is, the more intensity it will bring to your entire track. From 2.5-4.5 kHz, you’re looking at the beater/head slap frequency. And moving way up to 8 kHz puts your beater’s pure “attack” sound at the forefront, for a more defined sound that’s great for dialing in an internal microphone sound.
Snare Drum
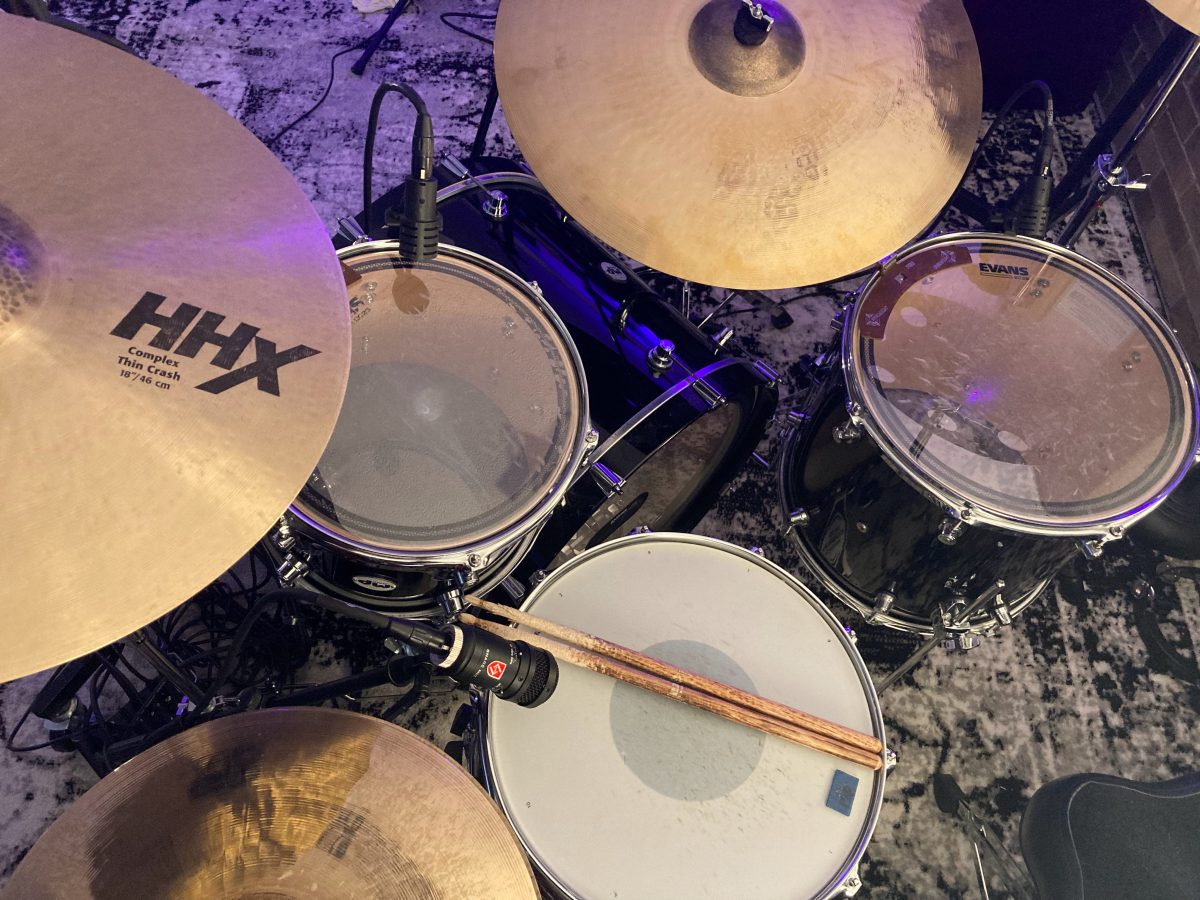
If the kick drum is the heartbeat, then the snare is the voice of a kit. Out front and loud, a snare gives the entire track a flavor whether you like it or not (St. Anger anyone?) Immediately cutting 500-700 Hz will eliminate boxiness from your snare tone and give you a more clear idea of what frequencies you’d like to boost to better serve the song.
Sitting at 8 kHz (give or take) is all the crack and snap your snare gives off, and will be the leading edge of your kick sound that everyone hears. For more mid-range attack, boost around 2.5 kHz, and to bring out the low-end tones you can hit 200 Hz. Something like an 8″ snare depth sings at the 200 Hz frequencies, so don’t skimp on the low end, even with snare drums!
And since it’s pretty important for sitting in the mix, sit your compressor at a slow attack and fast release for snare tracks. Slower compressor attack speeds will always make your drum’s attack more pronounced, while faster speeds soften transients which contradicts the purpose of a snare track (most of the time.)
After going through each of your drums then boosting and cutting as you see fit, you should notice that there’s a ton more room in the track, it’s easier to discern what’s being played, and you’ve gotten closer to your kit’s true potential. Now you can start messing with compression, effects, and automation that’ll really make your track sing.



Leave a Reply