
Zoom handheld recorders like the H6studio and H4essential are great tools for recording audio outside of the studio. But what if you need a recorder with more features to use for on-location audio, for example in a video shoot? In this post we’ll take a look at the Zoom F6 “professional multi-track field recorder” and see what makes it great for capturing live performance and audio for video.
Layout
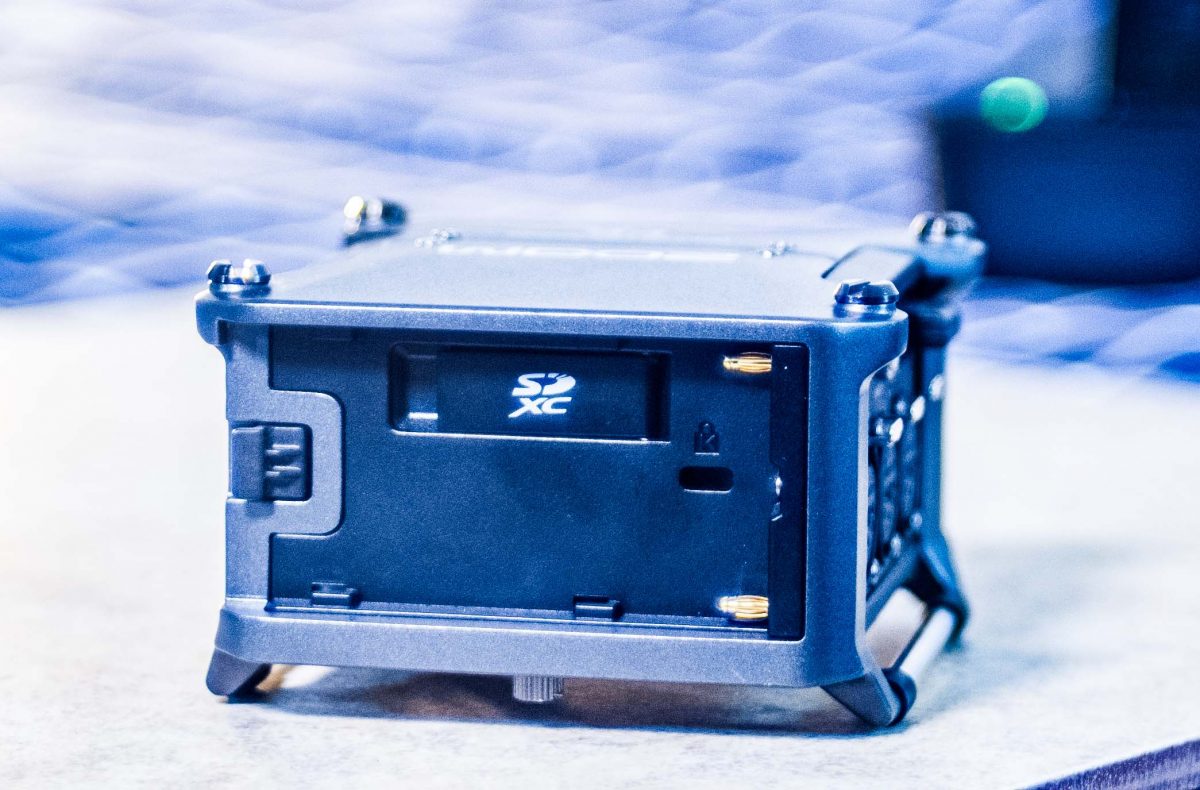
The Zoom F6 measures just 4.7 in. x 4 in. x 2.5 in., but in that small space it fits six XLR input jacks, headphone and line outputs, an AC power input, and an SD card slot, plus a front panel with recording and menu controls and a separate physical knob for all six inputs. You can also add Zoom’s BTA-1 Bluetooth adapter for wireless control. The bottom of the F6 has a standard camera screw mount, so you can easily attach it to a camera or tripod.
Using the Zoom F6
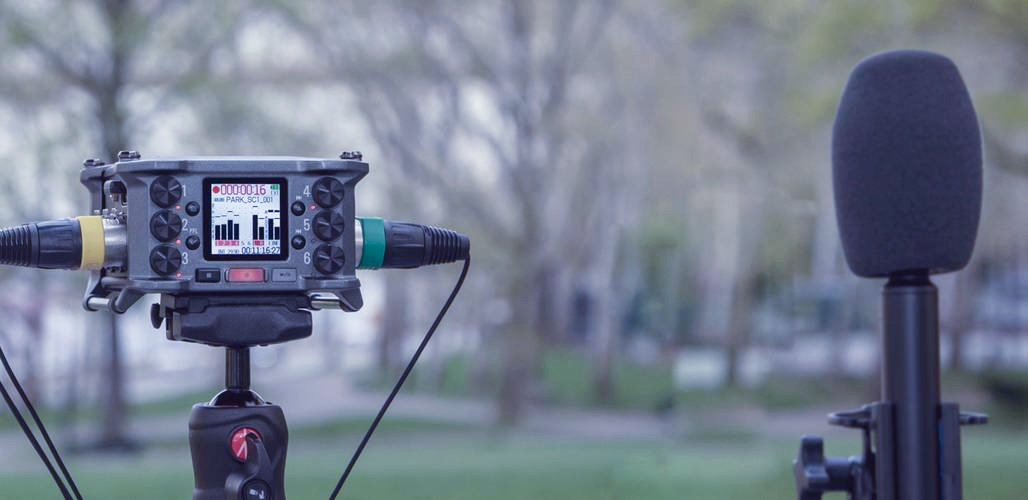
I recently used the F6 to record audio during a 5-day video shoot which involved several interviews and two live music performances. This gave me the opportunity to see how it would perform with a variety of different recording setups — and to see how easy it was to use without any prior experience in situations that don’t leave much room for error. Luckily, the F6 is remarkably easy to use if you have some audio recording knowledge (and not too hard to learn even if you don’t).
32-bit float
A very nice feature of the F6, and many other recent audio recorders, is 32-bit float capability. When you record 32-bit float audio you don’t have to worry about clipping (audio levels being too loud). The reason for this is a bit of clever engineering that uses two A/D converters instead of one to deliver even more dynamic range than 24-bit recording. With 32-bit float audio, if you’re clipping on a recording, you can simply lower the audio level in post-production and recover anything that got distorted. This works similarly for audio recorded so quiet that the low noise floor of 24-bit audio is actually audible — just raise the level in post and your audio is saved! Pretty cool, especially for location recording, documentary work, and anything else where it would be inconvenient or impossible to go back and re-record to get better levels.
Related: 32-Bit Float Recording: What It Is and How to Use It
32-bit float recording offers a vast dynamic range with an extremely low noise floor. Learn the science behind this incredible tech in this post! | Read »

PFL and More
Speaking of nice features, let’s take a look at a couple more things the F6 does to make field recording easier.
Automix
Automix is a setting that you can enable on any input channel which does a rough adjustment of level based on what’s coming in. This basically amounts to reducing the level if it gets too loud, and turning the level down when it detects a specific channel is not in use (e.g. in an interview where the mic’d person is not speaking at that moment). This will not do any detailed mixing work for you, but it’s nice to have if you’re on-location and don’t have a dedicated crew member to deal with levels. It’s worth noting that this will affect the fader level in the F6 mixer, which will affect the audio output (line out and headphones out) and the LR mix that you’re recording, but will not affect the gain of the individual tracks — so if you’re planning on doing the real mix later but just want Automix to help with monitoring at the time, it’s great for that.
One common use is to have a boom mic with Automix disabled, and use Automix on lavalier or other close mics, so it can ride the levels if someone gets significantly louder on their lav mic without blowing out the recording. This can be advantageous in a live setting, especially with multiple speakers who are wearing lavaliers or are otherwise close-mic’d.
PFL
The F6 has a handy feature that Zoom calls “PFL”, which stands for Pre-Fader Level. PFL lets you listen to any individual track at full volume without having to change the level on the mixer. This is similar to the “solo” button on a mixer or in a DAW, but it also gives you the full volume level of the track, allowing you to hear it properly in order to make sure it sounds good, adjust the gain, etc.

On the project where I used the F6 for audio, our first shooting day involved recording a live performance with a singer who also played piano, in a restaurant full of customers without much space for equipment or cables. I used a Rode Wireless PRO system for two channels of wireless audio, one for the piano and one to use as a “room mic” to capture the audience and some room ambience. I also had a Sennheiser MKE 600 shotgun mic pointed at the singer and a line out from his PA system, which he was using to amplify his vocals and run some backing tracks including a drum machine. So that’s five channels running into the F6, all through the XLR inputs.
Setup and sound check were complete in less than an hour, and by that time I had everything running with clear audio coming from each channel into the F6, and wireless control with the Zoom F Control app via Bluetooth thanks to the BTA-1 Bluetooth adapter (sold separately). The app allowed me to see the levels of each input and to access the record functions (record, stop, play) and mixer. Even when I was standing right next to the F6 and listening to the audio with headphones, I found it easier to make mixer adjustments using the F Control app, including panning certain channels left and right for easier monitoring.

Setting Everything Up, Zoom F6 Menus
This shoot was the first time I used the F6 for a several-hours-long, in-depth session and it was thankfully headache-free. It was not headache-free to mic a piano that has a glass top so that customers can use it as a table and put drinks and food on it — but that wasn’t the F6’s fault!
Setting up everything with the F6 was pretty straightforward. After the channels were all connected to it I set the levels using the knobs on the front, which is made easier with 32-bit recording (clipping is not an issue). The menu is simple to navigate, with an Input menu that allows you to set Mic or Line levels for the source, add an HPF (high-pass filter) or limiter, invert phase and add a small delay to the signal if needed, and pan left or right for monitoring purposes (or final mixdown, if you plan on using the stereo file generated by the F6 with no post-mixing). In the Input menu you also have phantom power settings, Link settings for linking inputs together to make stereo pairs, and Auto Mix.
In the Record menu you can select 32-bit or 24-bit record modes and sample rate. There is also a File Format option which includes Poly and Mono/Stereo. Poly creates multi-track WAV files which give you a single WAV that includes all the channels you record, plus a stereo L/R mix, all automatically lined up. I found this format to be the easiest to work with in post-production. The Mono/Stereo option gives you individual mono WAVs for each channel plus a stereo L/R mix.
In the Output menu you have two options, Headphone Out and Line Out. In the headphone section the Routing menu lets you choose any combination of outputs to monitor via headphones, including the entire stereo mix. You also have a digital boost level, volume curse selection (linear, A curve, or S curve), and alert volume. The Line Out section gives you similar routing and level options with the addition of an optional limiter, which is great if you’re running that output into a camera.
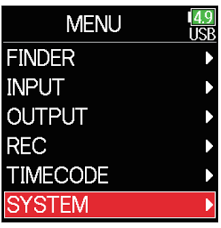
There is also a Timecode menu for timecode settings (I didn’t use timecode during my sessions with the F6) and a System menu. The System menu has settings for the SD card, USB, Bluetooth, general system settings, and firmware and language. In the USB section of the System menu you find options for using the F6 as an audio interface, which can be done simultaneously with SD card recording, and the Bluetooth section is where you connect to the F6 control app.
Under Settings you can configure the brightness of both the screen and the LCD lights for each input to save battery power, and there is also an Outdoor Mode, which makes the display easier to read in bright light. I found Outdoor Mode to be essential when using the F6 outside in direct sunlight.
Checking Out the Audio Files in Post
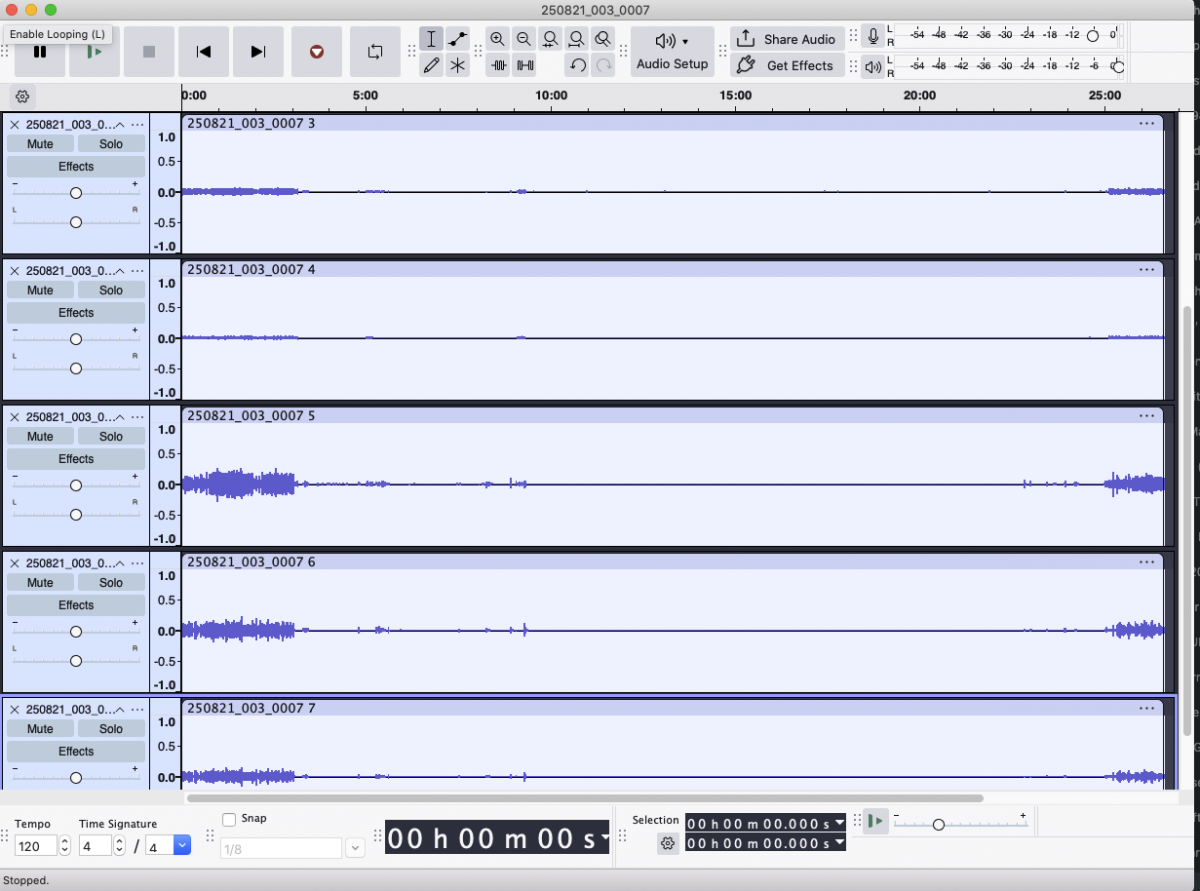
Reviewing the audio files after this first recording session, I was happy to find that everything had been recorded properly and labeled clearly by the F6. The audio came through great, and there was no clipping because I had set proper levels, but if there had been it would have been easy to simply lower the level of the 32-bit float waveform and recover the distorted audio. A number of applications can be used for this, including Audacity, which is free.
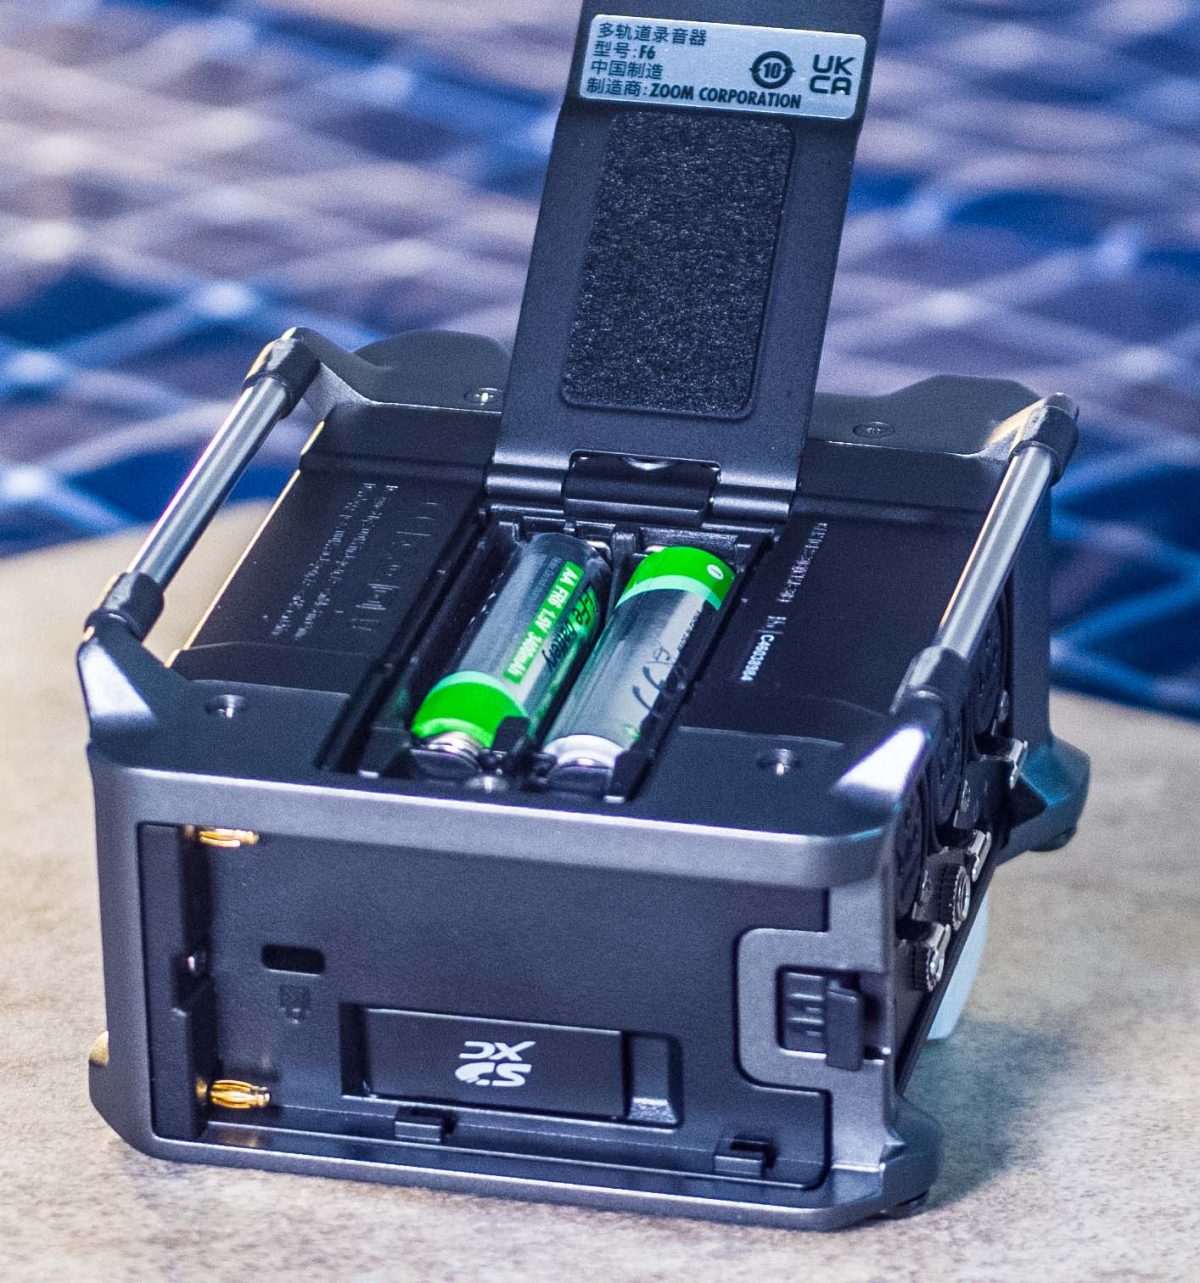
Batteries
On subsequent recording sessions during the shoot everything went just as smoothly. The F6 is able to record several tracks at a time with headphone monitoring and line output without using much battery at all. The menu display lets you know how many hours of recording you have left in the top right corner where the battery icon is, which it calculates based on which battery type you’re using. If you’re using AA batteries, the System menu lets you select alkaline, Ni-MH, or Lithium and adjusts the estimated recording time accordingly.
When you’re setting up and monitoring multiple mics as well as conducting interviews and everything else that comes with being on a small video crew, it’s nice to not worry about running out of battery, and the F6 delivers on that front. Note: if you’re using the phantom power for one or more mics you will be draining your batteries significantly faster than if you don’t.
Zoom offers other multi-track recorders at lower price points, but with the F6 it’s all the extra features that make a complex on-location recording run smoothly. And as anyone who’s tried location recording or audio-for-video can attest, small headache-saving details can make all the difference.


Leave a Reply