Why a rubber bridge? When I bring up in conversation that I’ve been fiddling with this old parlor acoustic guitar, it’s usually brought to some general confusion. For the last several months, I’ve been on the search for a cheap acoustic guitar with a floating bridge with a trapeze tailpiece, to change out the conventional bridge for a rubber counterpart. The rubber bridge guitar has been gradually making its way into popular music from Taylor Swift’s Folklore record to Wilco’s Ode to Joy. Newer artists like Madison Cunningham used one during a Tiny Desk Concert with NPR a few months ago. As far as I can tell, the originator of the rubber bridge idea was a guitar shop called Old Style Guitar Shop in Los Angeles, California. Other shops like Fretworks in Chicago, also do a similar setup. Even though it would be pretty easy for me to drive over to Fretworks, I thought it would be fun to do it all myself.
Finding the Right Guitar
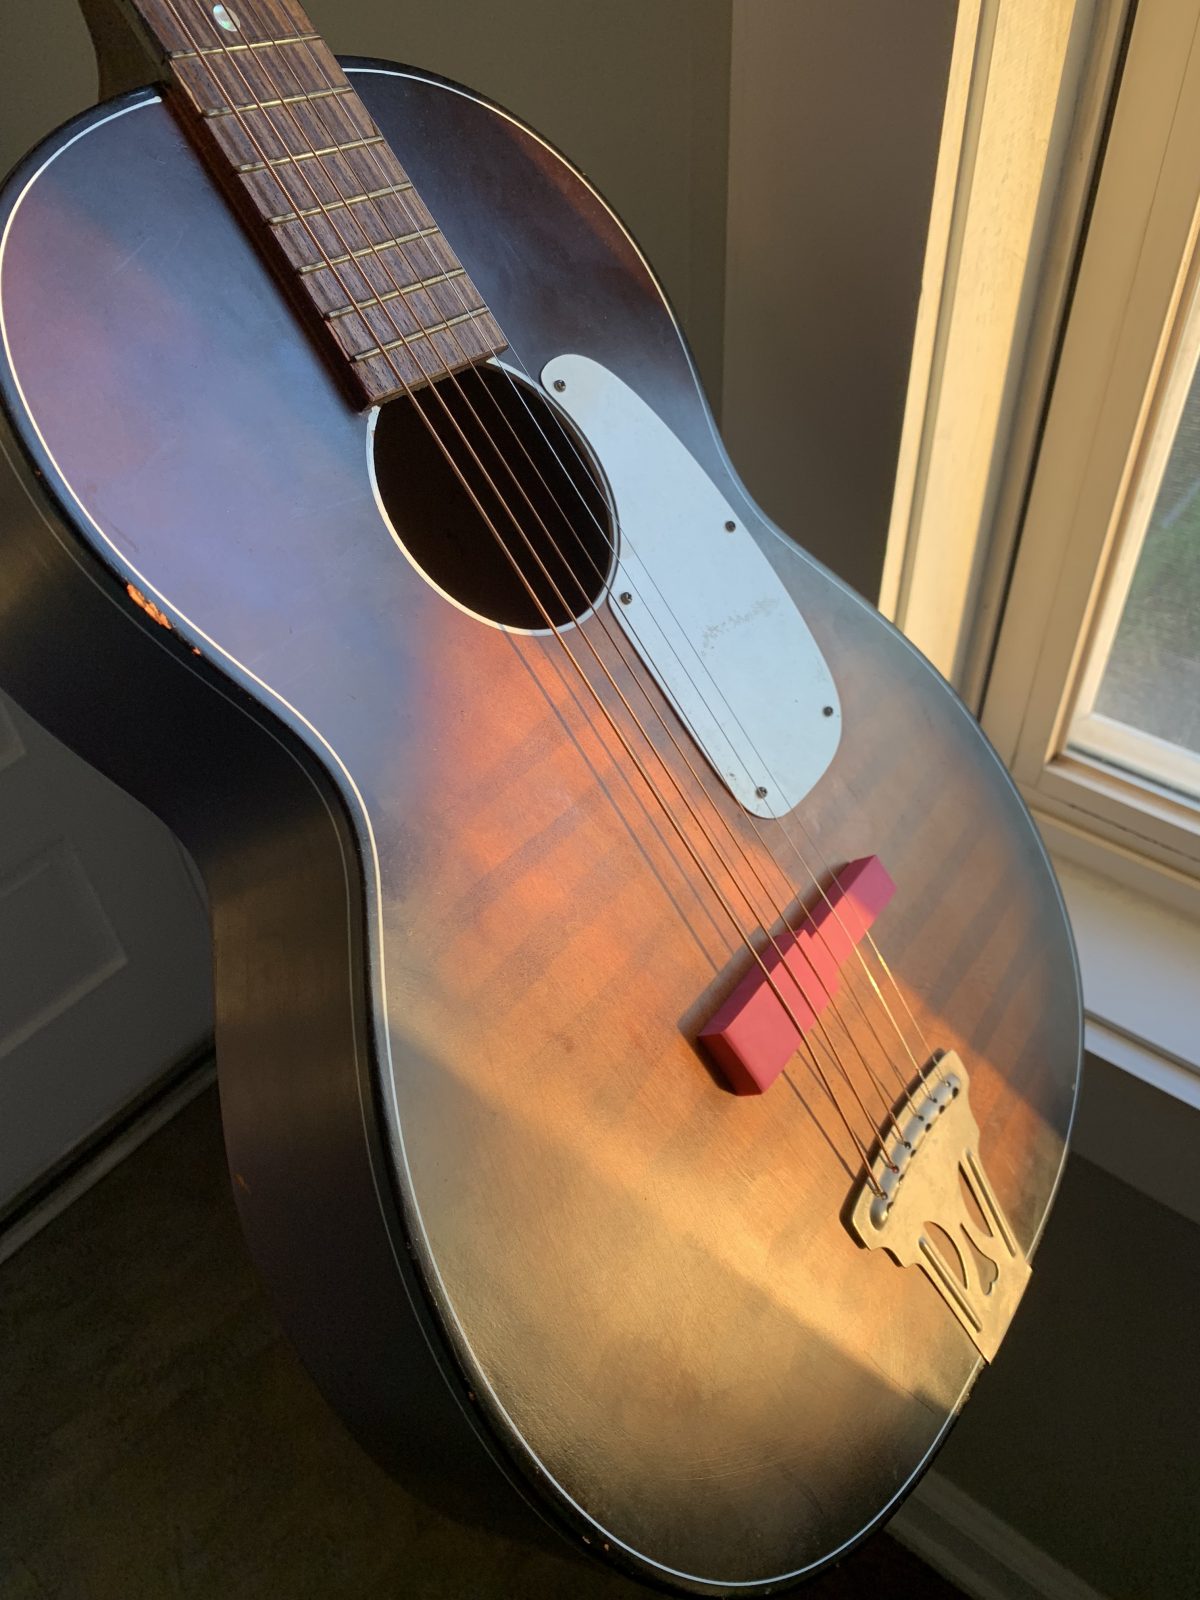
Finally, this Kingstone acoustic guitar from an unknown year came up online, so I had to scoop it up. The neck is huge, the frets are small, the fretboard is completely flat (it has no radius), and the tuners were nearly ceased when I got it. After some TLC, the guitar was playing pretty smoothly with the stock bridge, and it actually sounded pretty good. The best part about this little modification is that it’s completely reversible, so you don’t have to go ruining a vintage guitar just to make it sound more mellow (in a good way).
How do you make the bridge?
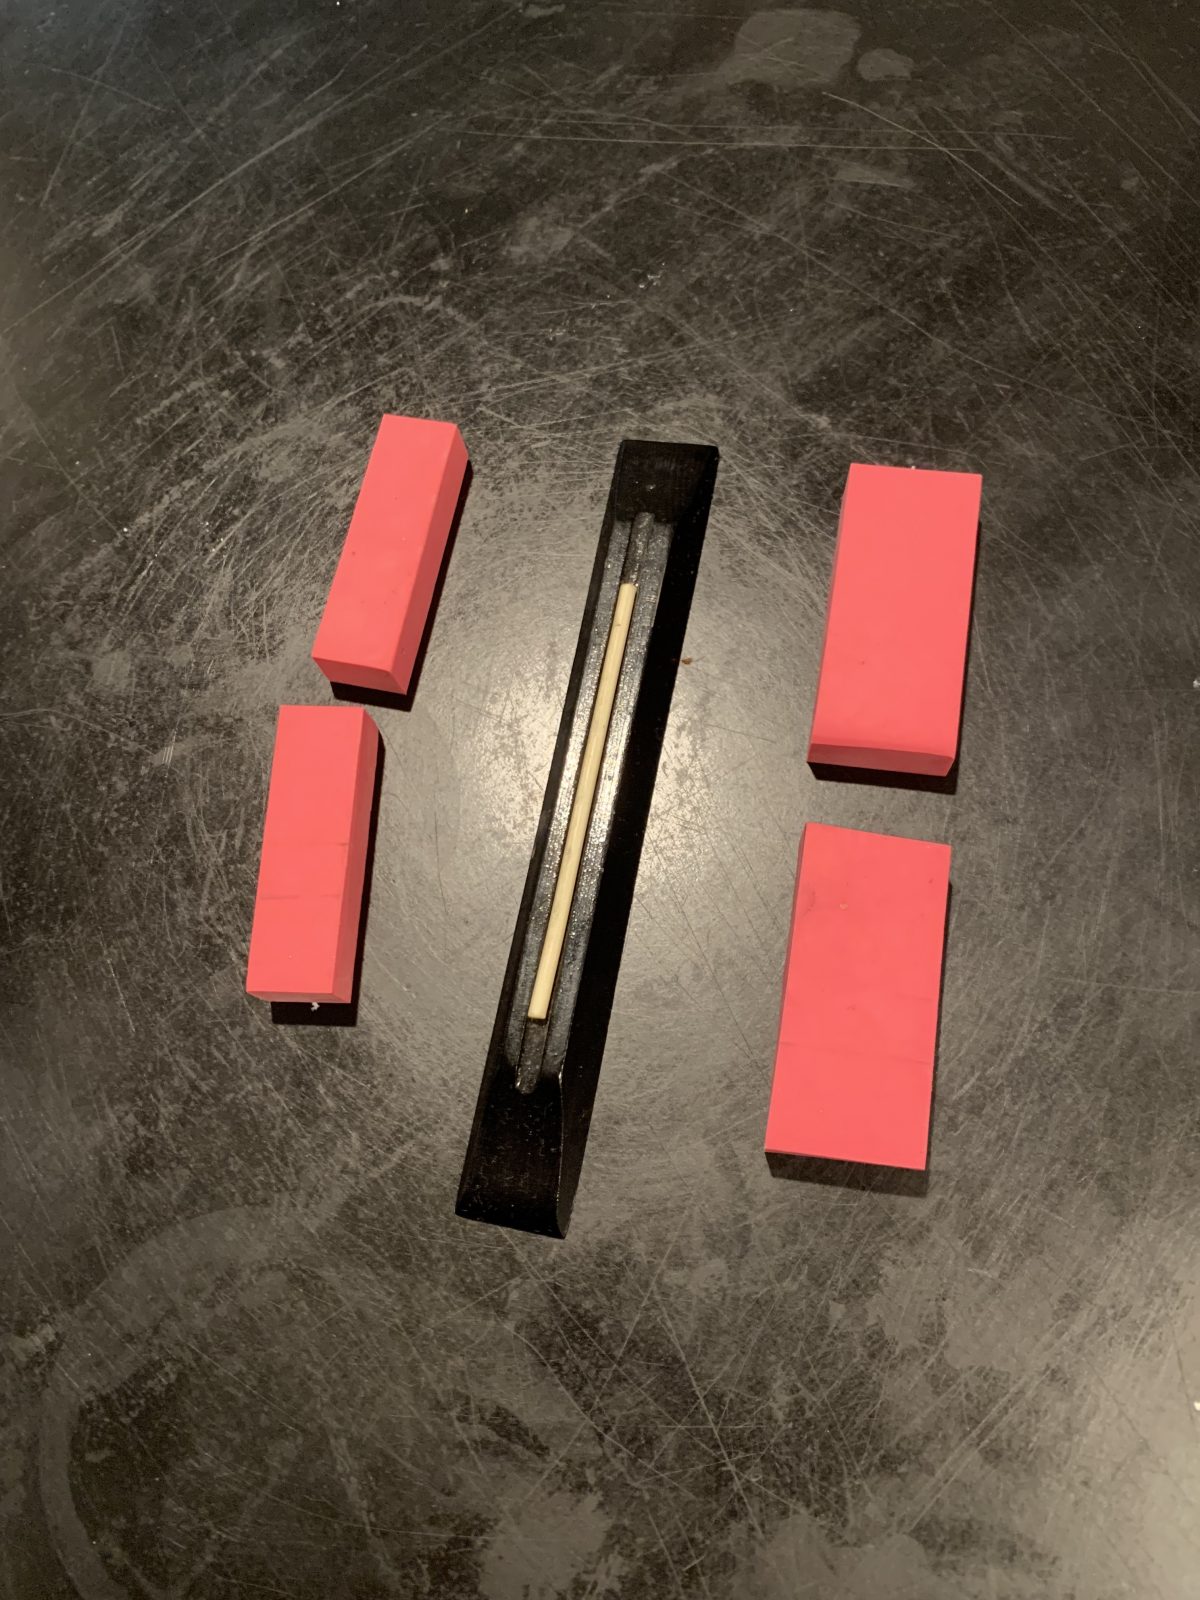
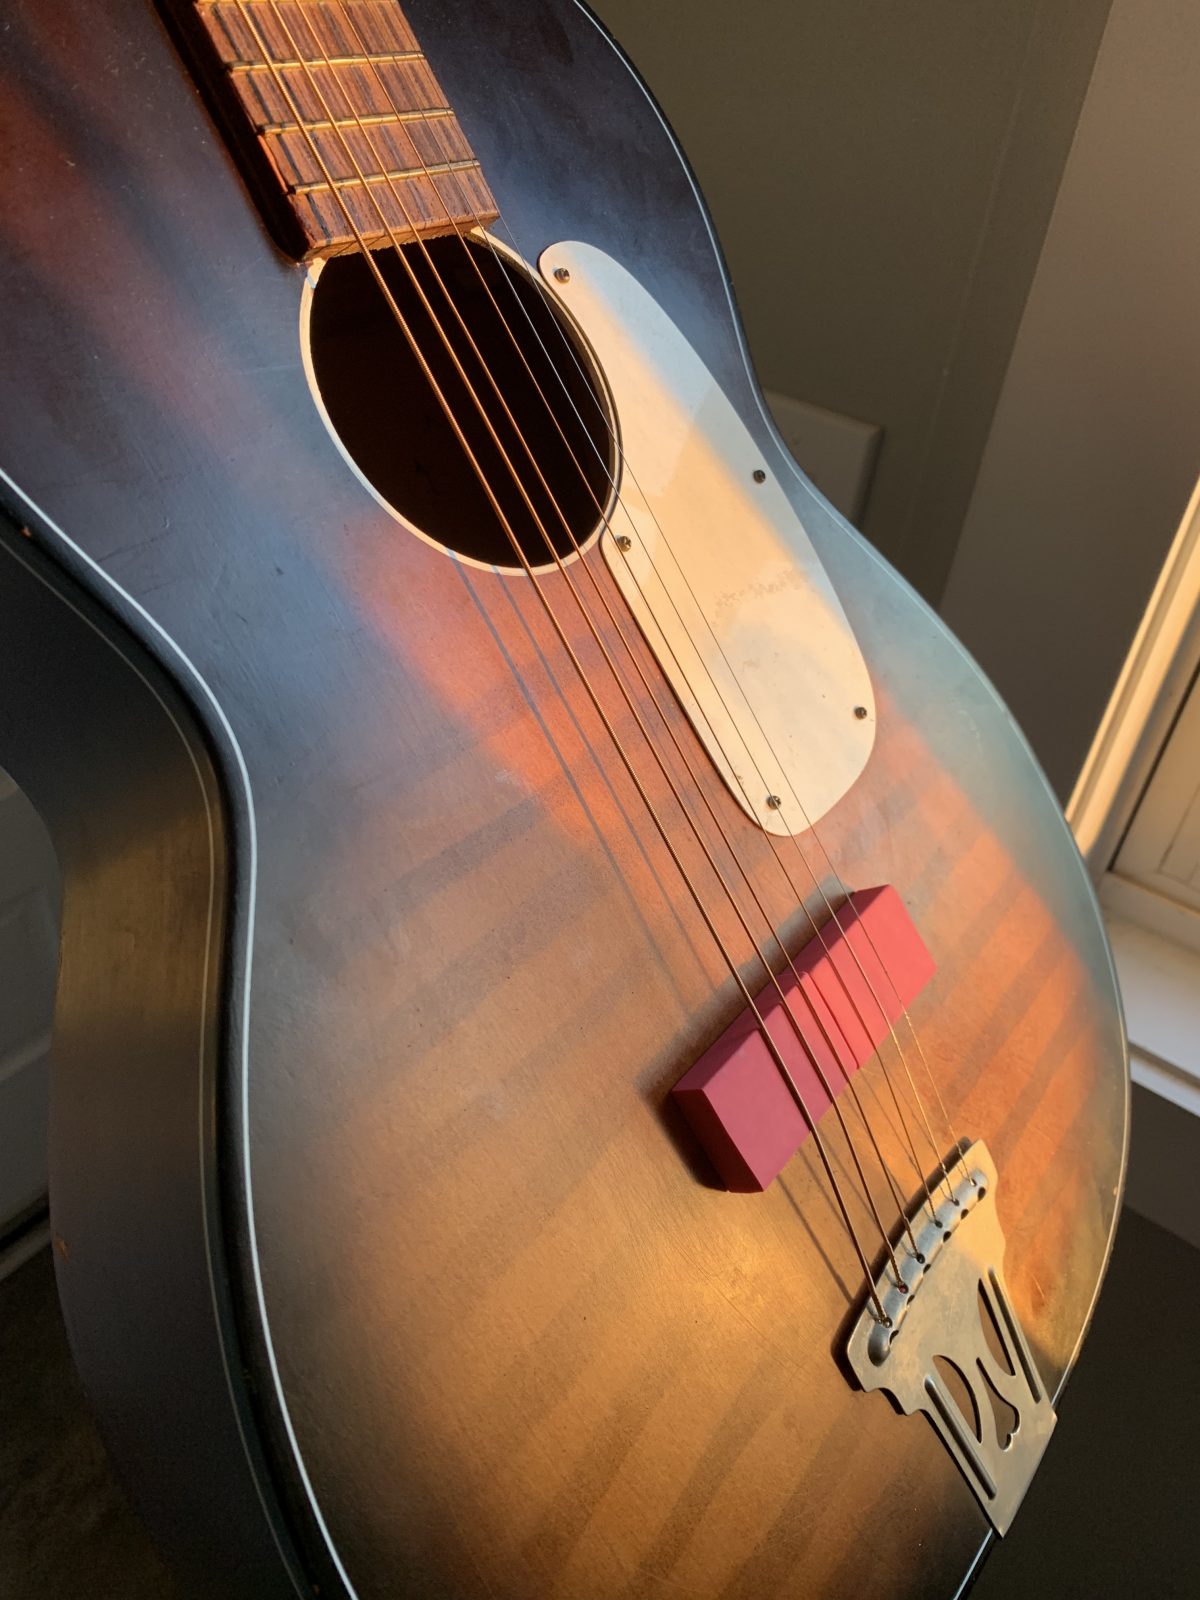
Now where do you find a solid piece of rubber that is just a hair under 3/8″ and long enough to be a bridge? After wandering around Home Depot, Michael’s, and Hobby Lobby, the best solution I could find was a simple rubber eraser. Thankfully, the pack I picked up came in a two-pack since one wouldn’t be long enough. To swap out the bridges, you don’t even need to change the strings. Just slack tune the guitar, take off the bridge, and slide in the eraser where the stock bridge used to be.

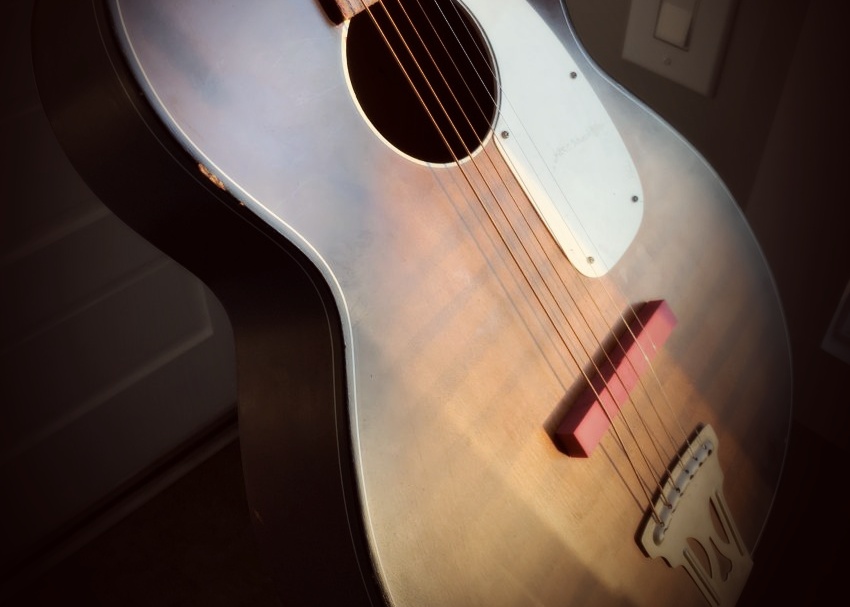
The solution honestly works pretty well. Of course, all guitars are different so the best solution for you might not be a couple of erasers for a dollar. But after paying $50 for the guitar and $1 for the erasers for a total investment of $51, it’s a pretty good deal. For me, I plan on using this guitar for textures rather than a solo instrument. Whether it’s finger-style or with a pick, this guitar brings out different songs and ideas than a conventional setup would inspire.

What does it sound like?
Since I chose to make my own bridge rather than buying one, it’s very easy to start experimenting. I recorded three clips, all with different bridge setups. The first one is the most narrow bridge, which gives the guitar more sustain, but still sounds like the guitar has dead strings. The second is a wider bridge, which has the least sustain and most deadened sound. The third is where I used the wider bridge on the bass strings and the narrower bridge on the treble strings. This is probably my favorite layout since you get the strong thump from the low end, but the highs peek out just a little bit more.

What’s next?
In the future, I’d like to mess around with shaping the bridges to be more of a tube shape rather than just a rectangle. What would really make this guitar more of a studio weapon would be to add a pickup. Adding a pickup would unlock a bunch of sounds with pedals, overdrive, and different amps. It seems like the most common solution is a goldfoil pickup over the soundhole, but hopefully it won’t be too difficult to drill into the guitar. More and more people are making rubber bridges for guitars that don’t have floating bridges. The most recent trend I’ve been seeing is a drop-in rubber bridge for Jazzmasters and Jaguars. That is certainly something I would be interested in as well. At the end of the day, this is a fun little project that I’ve been interested in for quite some time. I’m just glad that I get to share the story and maybe inspire someone else to dive into this weird little world.


Leave a Reply