Top-level recording studios all over the world have control rooms filled to the brim with expensive outboard gear, like compressors, preamps, and rack effect processors. Our home studio spaces are not as gear-filled but there’s still a ton of potential in them to track fantastic sounding records. A key to this potential lies at your feet on that pedalboard you haul to each and every gig: guitar pedals.
These days, for a surprisingly low cost, musicians can access a world of sonic possibilities by building out a pedal board full of stompboxes. Pedals, after all, are just signal processing preamps, compressors, or effects built to be hauled around from gig to gig. It’s like your perfect little outboard effect circuit wrapped into a bullet-proof enclosure. Today we’ll take a look at how you can unlock an entire outboard rig with those little boxes on your pedalboard to spice up your drum recordings.
The Outboard Setup
Transforming your guitar pedals into outboard recording gear isn’t very hard, as they are already built to affect the electrical signal that’s passed through them. But there are some prerequisites to take care of before we can start tweaking those knobs. This process is nearly identical to the that of re-amping a DI-tracked guitar recording out to an amplifier. The name of the game at this stage is signal levels and understanding which levels you’ll be working with.
Related: Traditional and Non-Traditional Re-amping Techniques
While re-amping used to only be achievable at high-end studios, re-amp boxes have become very affordable and accessible for musicians and home recording enthusiasts alike. All you really need is the re-amp box, an audio interface, and a couple extra cables to get started. | Read »
Instrument level and line level will be at play during this outboard-style tracking and it’s important to know what’s what during each step of your signal path. Instrument level is the level at which DI boxes, guitar pedals and amplifiers are built to receive. It is typically pretty quiet and needs some sort of amplification, this is why some guitars and basses use active pickups. A hotter output can fundamentally change your tone as well as the signal your interface is able to capture. Think of plugging a guitar or bass into an amplifier: the amp is receiving an instrument level signal from the guitar and amplifying that signal out of a speaker cabinet.
Line level is quite a bit louder than instrument level. Because of this higher signal strength, line level is used at the end of recording chains by your interface. For instance, the level going into your computer is converted into line level by your audio interface. Additionally, any signals being sent to “Output” from your DAW to a hardware “out” on an interface are set at line level. This is why you need a re-amping box or reversed DI box during re-amping to process the instrument or line levels into the proper level for sending or receiving signal.
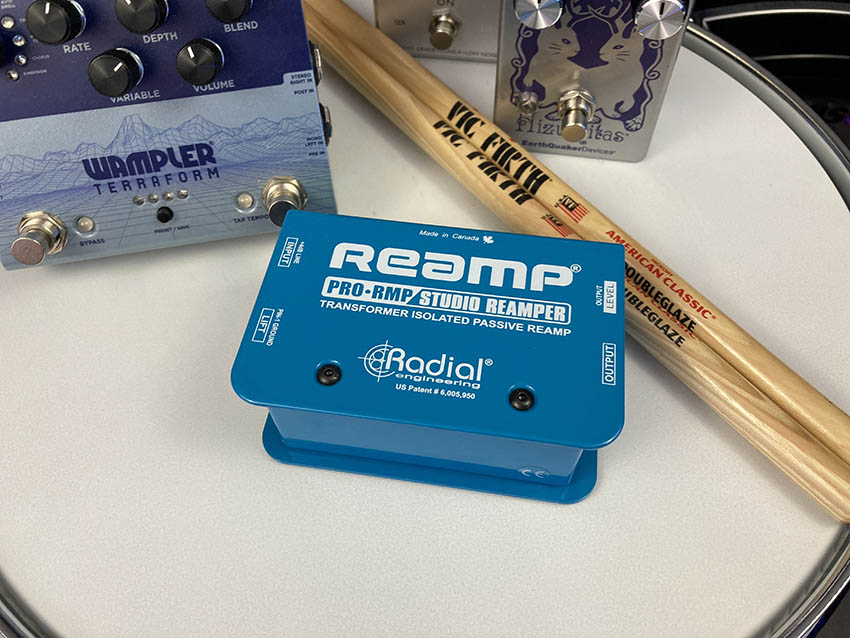
Now that we understand what signal level we need for each step, we can move on to routing. First, within your DAW you’ll want to select a hardware output on your interface for the “dry” signal to go. This output can be any you aren’t currently using. Some interfaces only have two outputs for monitor speakers; that doesn’t mean you can’t re-amp though. You simply have to unplug one of your monitors and use the output (1 or 2 in your DAW) for the line level re-amp signal. Then that output signal needs to go into your re-amp box changing the “line level” from your computer to “instrument level” that will be sent to your pedals. Connect whatever pedals you’d like to use, in whatever signal path you’d like and then feed that signal back into your DAW via a DI box or directly into your interface’s instrument jack. This final step converts the “instrument level” coming out of your pedals back to “line level” and fed into the computer. All that’s left to do is to create an additional track in your DAW that will receive this processed line level signal, and hit record.
Adding Cali Compression
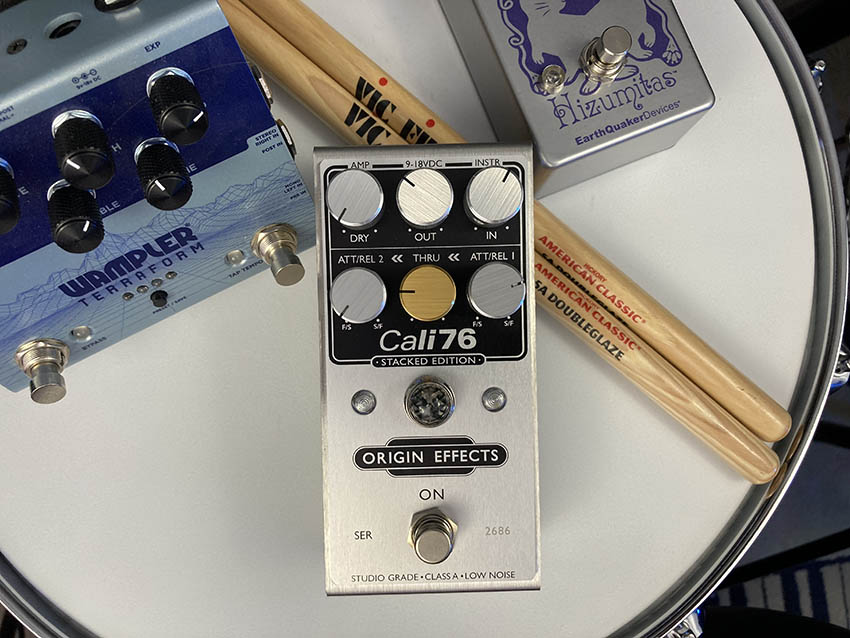
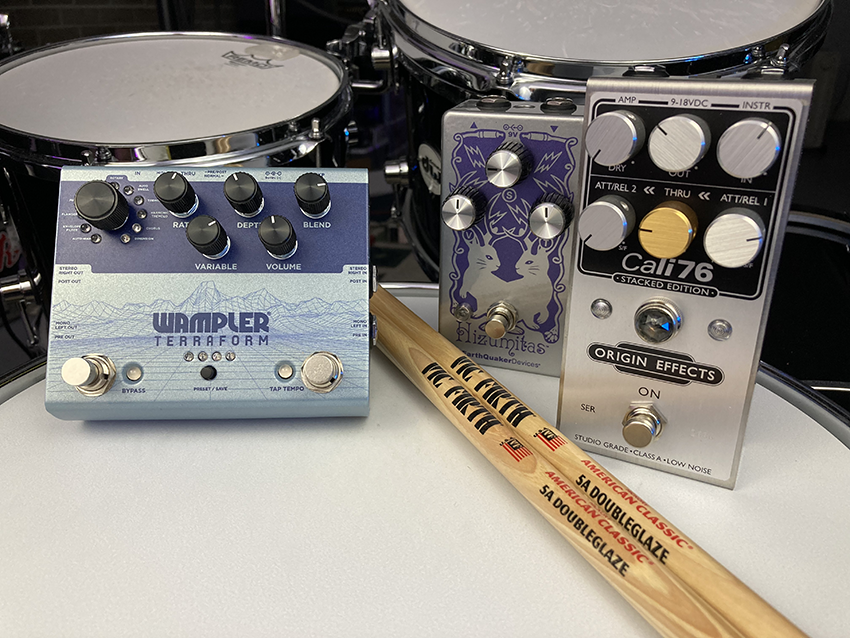
Outboard compressors can be some of the most expensive pieces of gear in any recording studio. Legendary compressors like the Universal Audio 1176 limiting amplifier can go for thousands on the used market. Today in studio we’re using the incredible Origin Effects Cali76 Stacked Edition to compress our snare drum. The Cali76 Stacked edition combines two distinct flavors of 1176-style compression into one pedal. It also offers a “THRU” knob that controls how much signal is fed from the first compressor channel to the second.
For the sake of hearing exactly what this compressor can do we’ve dialed up the stacked compressors to each handle a different, distinct job. The first compressor is tasked with evening out dynamics given off by the snare overtones and the second limits peaks in the sound wave captured by our top snare microphone.
You can hear the overtones and crispness of this snare drum so much more clearly now that it’s not buried by the overlapping tones of the entire kit. When dropped into a full mix, this snare tone will cut through nicely and act as an anchor for the entire rhythm section.
Expanding on this tone, we can even use the Cali76 as a clean overdrive if we’d like more volume without peaking out the signal going to the DAW (Digital Audio Workstation.)
Getting Real Weird with It
Compressors are more of a utilitarian tool in recording studios than an interesting effect. And even though they wrangle sound in ways that can be beautiful, they are more of a necessity than something popped on a track for fun. So we’ve brought in a couple pedals that will act more like an effects rack or preamplifier for our drum kit to really spice up our mix.
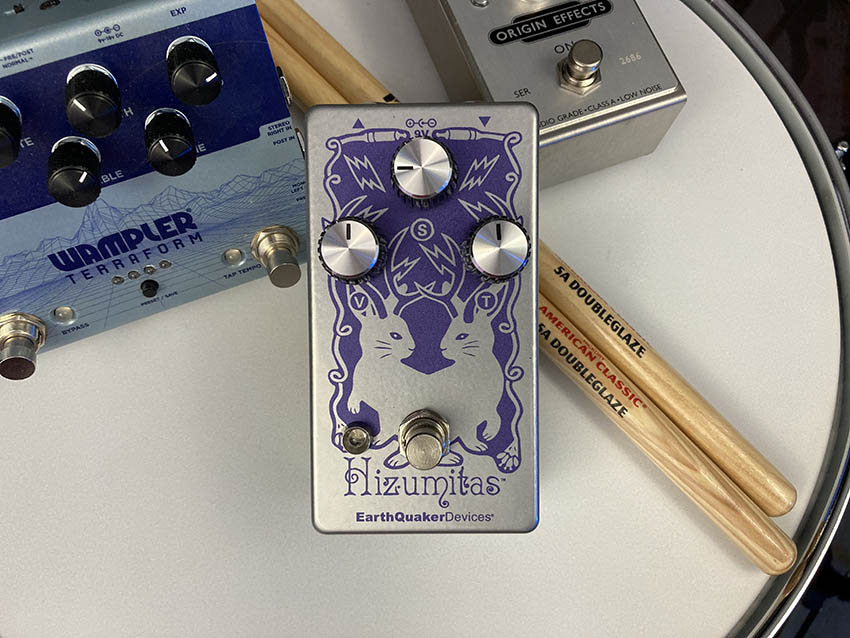
First up is the EarthQuaker Devices Hizumitas fuzz, a powerful, unique fuzz tone that bolsters the sustain of anything you throw at it. Popping this pedal onto our kick drum brings out frequencies on the top end of the spectrum, unlocking more kick pedal articulation as well as more of that sweet DW maple hardwood drum tone.
While on the bottom end, the fuzz is fattening up the “boom” of the kick, making for a much more “electronic” feel.
Next is the workstation-like effect, the Wampler Terraform multi-modulation pedal. This pedal is more like an entire rack modulation engine than a run-of-the-mill stompbox. We’re using this on our already compressed snare drum track with the Terraform running the “Dimension” program.
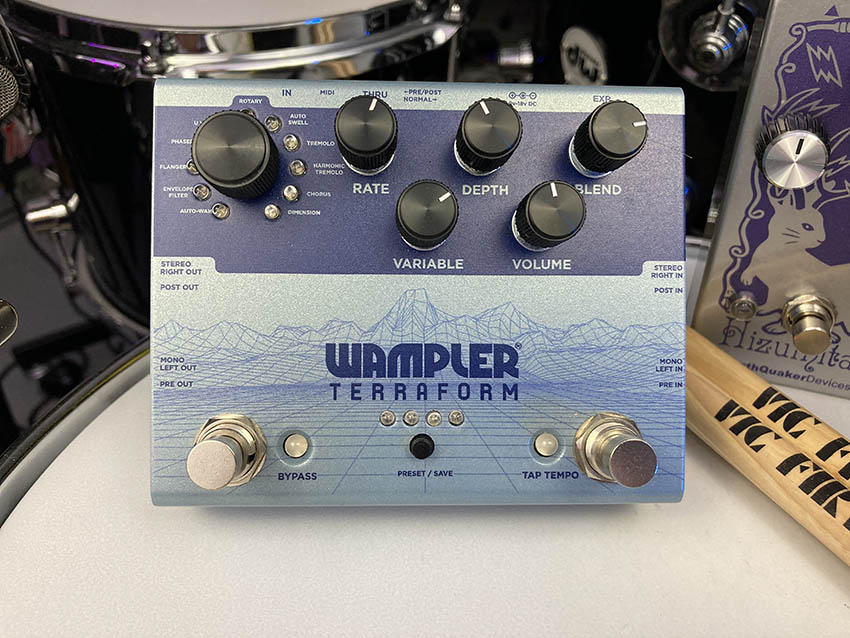
You can hear the snare kick up in the mix at high frequencies, but feels like it thins out. Modulation can be heard, but without a variance of tones from the source (a snare drum) we’re only getting a bit of what’s possible here. This would most likely be best used in conjunction with other effects like a delay or possibly some sort of octave pedal to maximize “weirdness.”
Giving the modulation more to work with is important for the ultimate in tonal variance if that’s what you’re trying to achieve. But from what we’ve captured today, this snare tone is most likely useful during a song transition where the drums need to stand out, or maybe you just want a weird, thin sounding snare that’ll pop on a recording.
It’s already easier than ever before to track a fantastic sounding record in your own home studio. With tricks like using your guitar pedals as outboard gear you’re taking the D.I.Y. mentality to the next level and processing signals through analog circuits just like the racks in high-end studios without all the cost. The ball is in your court now, don’t stop at just compressors or modulation pedals. Try anything you can get your hands on because recording should be an adventure, and you’ll never know what you’re missing unless your try it. Not only is that pedal-filled board at your feet an asset on the road, it’s an invaluable tool in your studio.



Leave a Reply