In light of the ongoing global pandemic, the vast majority of us now find ourselves forgoing any trip to a practice space, club or record studio. That doesn’t mean our musical escape ends at home, however. The largest struggle we’re facing creatively is how to deal with our current situation at home constructively.
Now is not the time to lose focus on music — if that’s your main, creative outlet. Now is an apt time to rethink your home studio and practice room. As we figure out creative ways to stay creative, I’ll share with you some tips I discovered for staying grounded, and making music at home. Today, we begin with that space itself.
Reduce Mental Clutter / Audit Your Space
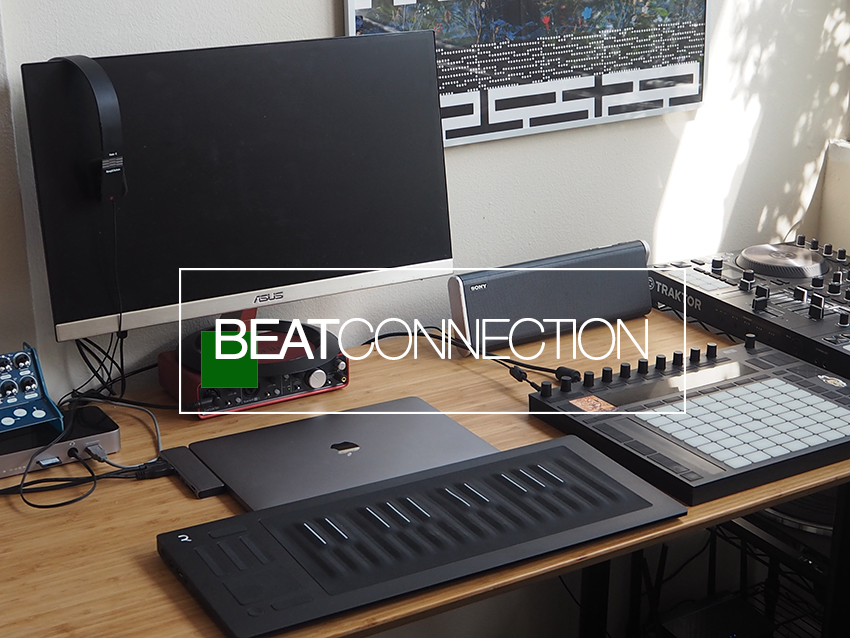
As any interior designer would tell you, the first step in feeling comfortable in any space is to make that space inviting. Here’s the first step I’d suggest: take a picture of your home studio and/or practice space.
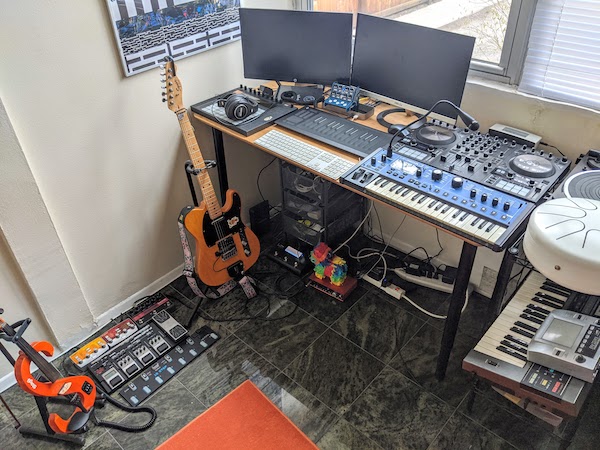
If you have an iPad, or are viewing that picture on your phone, step outside, go into your most comfortable room (if you have one) and turn a critical eye toward your setup. Look at your snapshot.
Does anything bother you outright? Perhaps a piece of gear is taking up too much space on your desk. Maybe there’s a collection of coffee mugs, assorted toys, and things, just strewn around. You might notice things that are either:
a. Gathering dust/scum from non-usage/over-usage
b. Spark you no immediate joy, (to borrow a famous bit of advice) or
c. Are in dire need of upgrade/replacement.
Things might have simply outstayed their welcome and you’ve been hard-pressed before, for various reasons, to do something about it. Now is the time to do so.
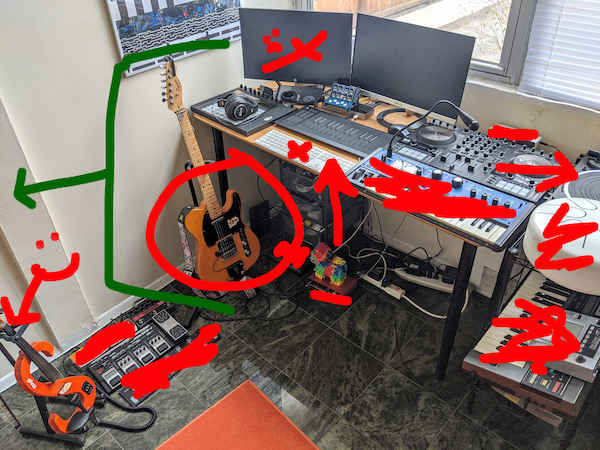
Immediately use whatever photo editing program you have on your portable device to start scribbling/scratching out all those things that fall in those categories. This first step is so simple, but it will yield so many dividends. Save that photo — we’ll use it later.
Organize Your Miscellanea / Unplug Your Studio
Now that we’ve taken stock of what we will act on, the first thing we must do is step back into our home studio/practice space and go directly to that place we all loathe: that cable drawer.
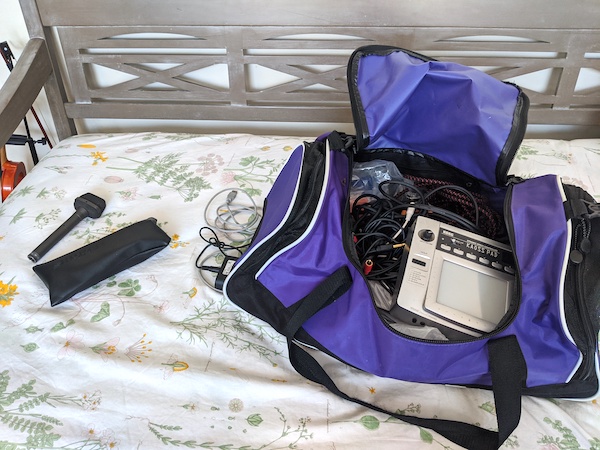
For some of us it might be some random shelving unit. For others it might be an old shoe box, gym bag, or closet space. However, I have a feeling we all have a space in our home where we tuck in a cornucopia of collected cables and assorted adapters we’ve accumulated from years of gear acquisition.
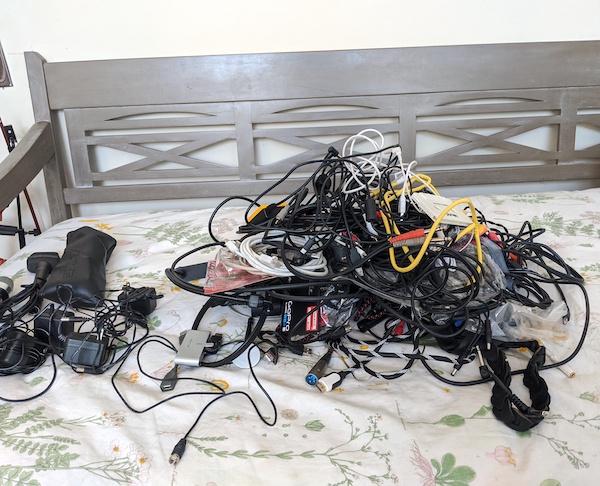
In some empty space — perhaps your sofa, bed, or clean table, lay out everything you have from that space and start sorting together like-minded ephemera. USB cables of one stripe go with USB cables of another stripe. The 1/4″ plugs stick with their kind. Same goes with XLRs and MIDI cables. It’s an arduous task but it must be done and you will do it here.
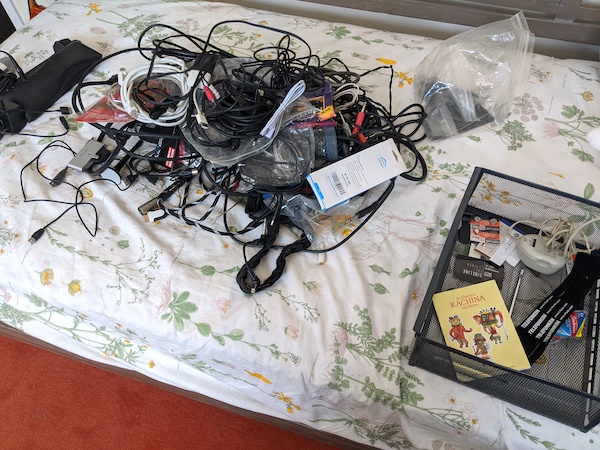
Next comes the hard part: start unplugging everything coming anywhere near the vicinity of your home studio or practice space. Yes, that includes computer cables and audio cables. The only cable you’ll leave belongs to your lamp — wouldn’t want you lose sight of your work (insert drum roll here). Leave everything, sans cables, exactly where it is. We’ll come back to them later.
Now with everything unplugged, start a new pile of cables made up of all your recently unplugged cables. Much like a Buddhist monk placing a single grain of sand on an existing space until they build a zen garden, so too must you start the original task anew and build a new nest of musical ephemera.
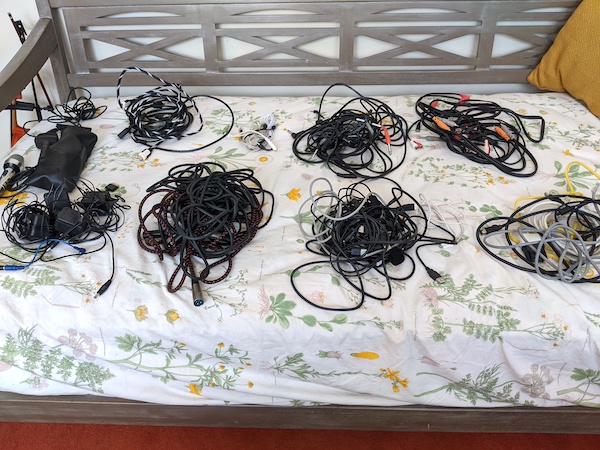
Now, one by one, start moving cables from this new pile to the old one, sorting them together like before, until you have no cables left to sort. Congrats! Feel the yin of purpose-driven action.
Finally, take stock of how many wall wart power supplies you have. Tally up your total for it will come in handy soon.
Gain By Subtraction / Goodbye Old Friends
Remember that photo you scribbled on? Bring it back in view. Without thinking twice, start removing those items you scrubbed out from your space. Move those to an empty cardboard box or somewhere you can revisit later — perhaps some other, even less trafficked space in your home.
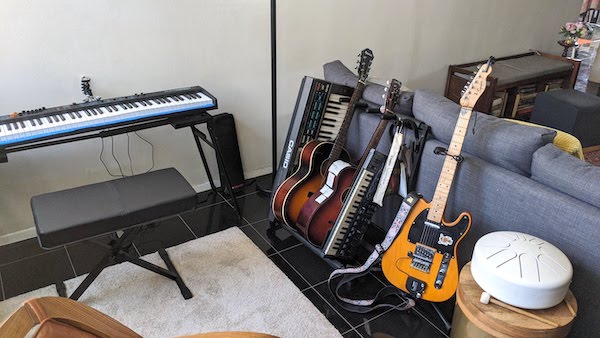
Once you have them moved to that elsewhere, take a picture of them in that area to memorialize yourself of their existence. Now, go back into your room.
With all the eye-level change in front of you here’s a pivotal point in our journey: are you happy with the way things are now? If you find this newfound space just your thing: congrats, you can move on. However, now would be the time to ask yourself: “Is this really all I need?”
Is your desk situated in a way that feels comfortable to you? Was there always something (spatially) about it that you felt was always lacking? Perhaps your chair, screen, or some other random thing was overcompensating, or vice versa, because of that previous lack of space. It’s easy to figure out what happens next.
Next, you’ll start making other hard choices — ordering new furniture, moving the desk closer to a more forgiving, open power outlet or situating it in a manner that feels more ergonomic for you — perhaps doing so in a way that is meaningful to that significant other you might be sharing a creative space with.
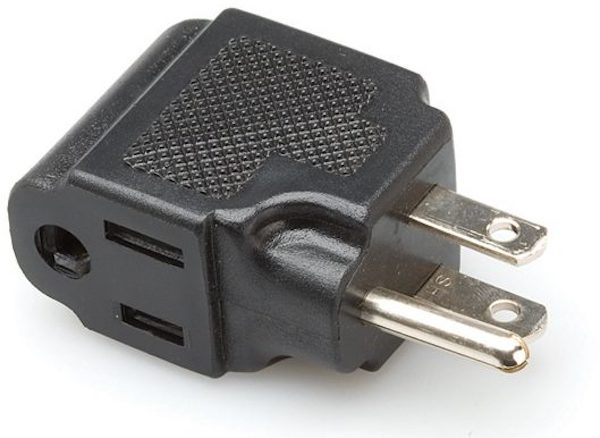
Now go back to that tally of wall warts you made. For every wall wart plug you have, add it to the quantity of foot-long power extension cables or right-angle power adapters you’ll buy.
Note: This section will be full of steps that might require more than a day or a few hours to do. However, the hardest thing is over: we’ve willfully accepted a change, slowly working our way toward this important step.
Tips for choosing a prime work desk location:
I can’t stress enough how big a role your environment plays in your creativity.
Not everyone can (or really) should function in a “dungeon-like” environment. Most will have the unenviable task of navigating through nearby HVAC ventilation, window-starved closet studio apartments, and other ephemeral spaces. We’re human and as humans we need room to roam. Don’t let your studio space confine you.
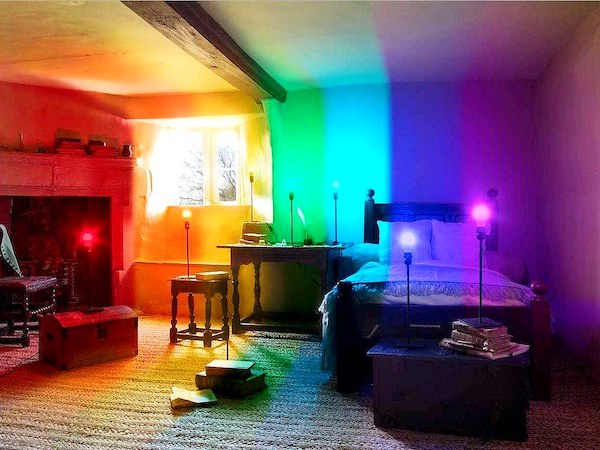
Whenever possible, move your desk away from any open artificial ventilation and/or boilers. Remember, ambient white noise is never your friend as it seeps into the most unwanted of sonic things (mics, instrument cables, and computer cables). The same goes for sources of electrical noise — fans, electric heaters, microwaves, etc.
Sources of natural light — other than being great sources of mood-lifting vitamin D — also contribute to better atmospheric enhancements you can take advantage of when working on video or streaming your next set. As any lighting director would tell you: viewing your visual work in a “natural” lighting situation is what appears natural to others.
Plus, you’ll be surprised how nice it actually feels to crack open a window when you need a bit of fresh air. You can always shut a curtain if you need some “me” time.
Bring It Back Together / Plug In Creatively
Now that we’ve situated our desk how we want it and moved our currently unplugged gear where we want it, it’s time to start making connections.
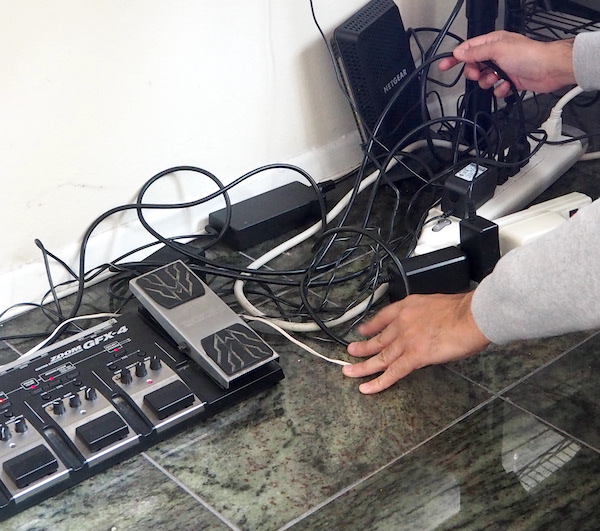
Go back into the pile of cables you have accumulated. Without regard to power adapters, begin grabbing one by one each digital cable (USB, FireWire, Thunderbolt etc.) you’ll use to plug one electric doodad to another in your studio hub. Do this, until you’re done connecting the digital side of the equation.
Now will be the time to get your cable organizers (this could be pro-level ones, or something as simple as twisty ties and/or wound painter’s tape) and start grabbing cables — without regard to make — from the “audio” pile until you’re done connecting the audio side of the equation to your studio hub. Start physically tying together cable runs that are closed to each other, whenever possible.
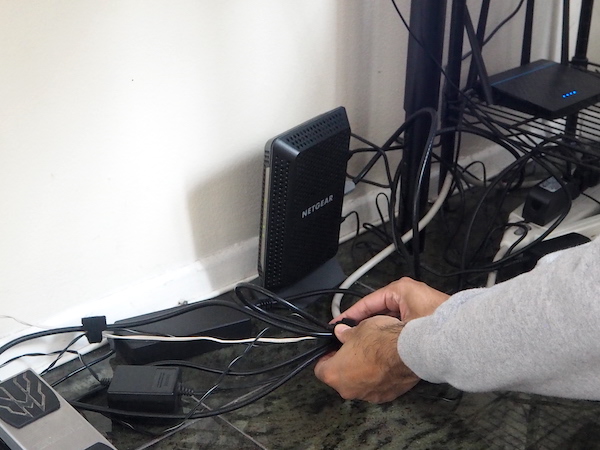
Afterwards, it’s time to go through our collection of power adapters. Don’t plug them in just yet. Simply begin to plug them to the input jacks of whatever respective device uses them. Once you’ve run out of jacks to plug into, try to logically make space for these plugs on your power strip.
First, plug in all two or three prong plugs directly to your power strips. Then, start plugging whatever 6-inch extension cables you need to any wall-wart adapters you’ll use. Once done, plug them in, too.
Before you turn anything on we must get rid of the old cable and miscellanea pile.
For this step, if you want to keep anything, I recommend buying 1-gallon resealable storage bags. From each sectioned-off cable pile, take just one cable from the mountain, and move it to a new pile.
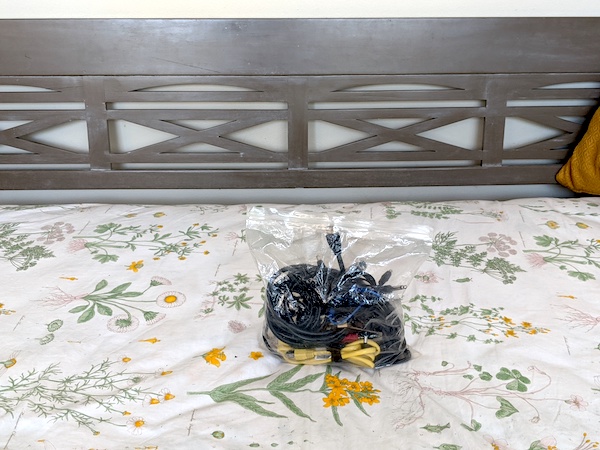
Once you’re done, all remaining cables can either be placed in a massive container that you can throw out or donate. If you want to keep any excess, use those 1-gallon bags to limit yourself to a few extra cables to have in case of emergency.
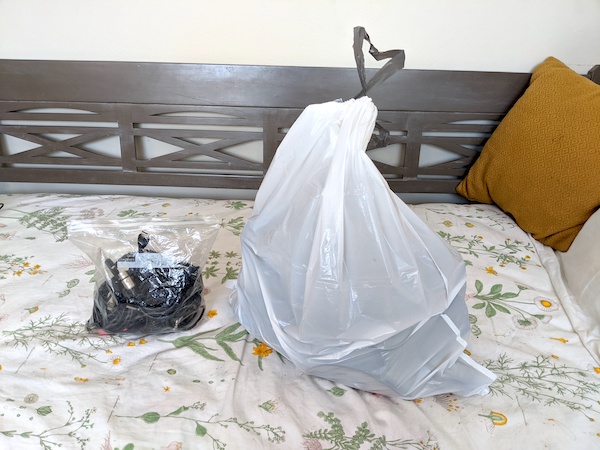
Our goal is to use that small 1-cable-per-section pile as the small grab bag we’ll maintain in the future. Those cables from that one pile should fit into one bag.
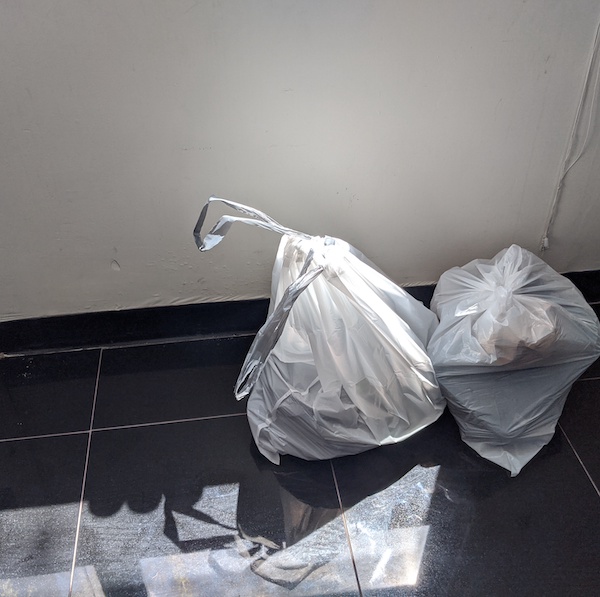
As for the remaining power adapters, stick them in the space or box you had for excess gear.
Sit Down / Turn On
If you’ve made it this far, now is the time to sit down and flip on all the devices in your new studio space. Congrats! Take stock of your new space…or better yet…take a picture of it. It should immediately feel different. Hopefully, it’s in a way that rewards your effort.
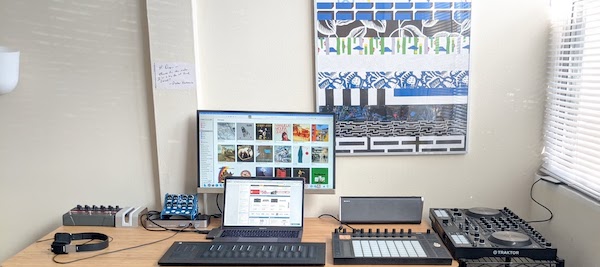
Add non-music-related things back to this space, too. Anything that adds personal value to your creativity should have some space to live, if it can live in this space.
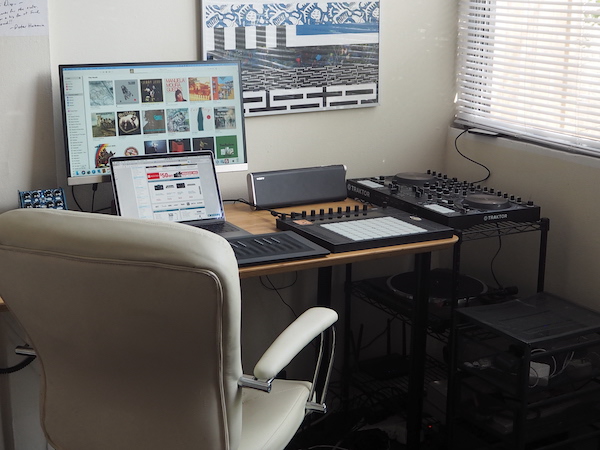
Now here comes your final responsibility: as you keep adding gear, periodically take another picture of your studio space. This should help you stay honest with yourself.
If things get hectic, go back to the steps you went through here. If your new picture lives with you — delete the old one and consider this your new starting point. Sheltering in your home studio now should sound as easy as pie, right?
All images and photography by author.



Leave a Reply