There comes a time in every guitarist’s life where carrying around that huge bag of pedals and cables to assemble at every gig becomes too much. Putting together a pedalboard is a great way to organize and transport your pedals while also cutting your set up time down to just a minute or two. Today I will be walking you through my own pedalboard build, while covering the basics that apply to every pedalboard.
Planning
Choosing Pedals
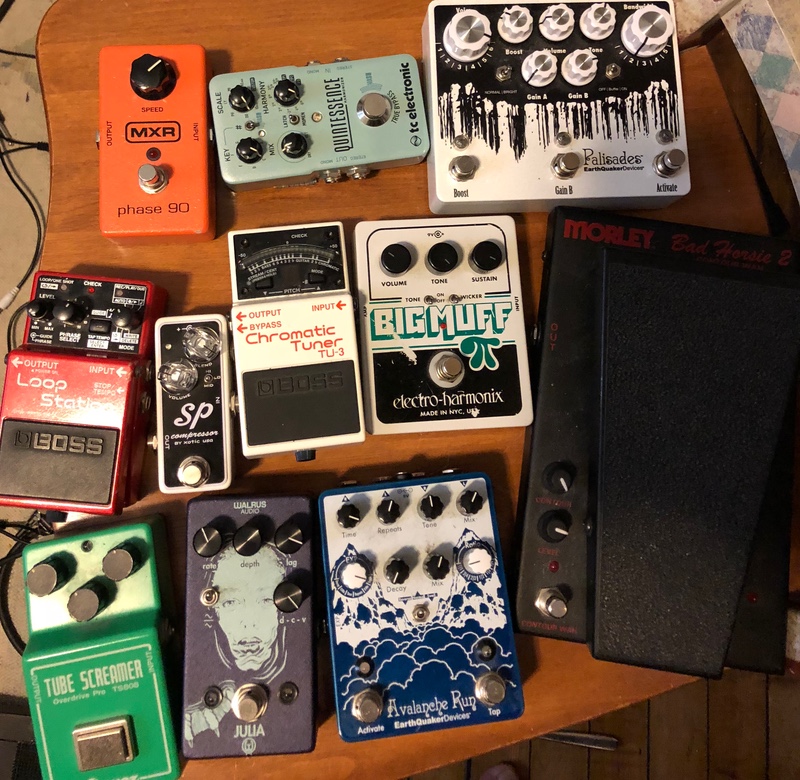
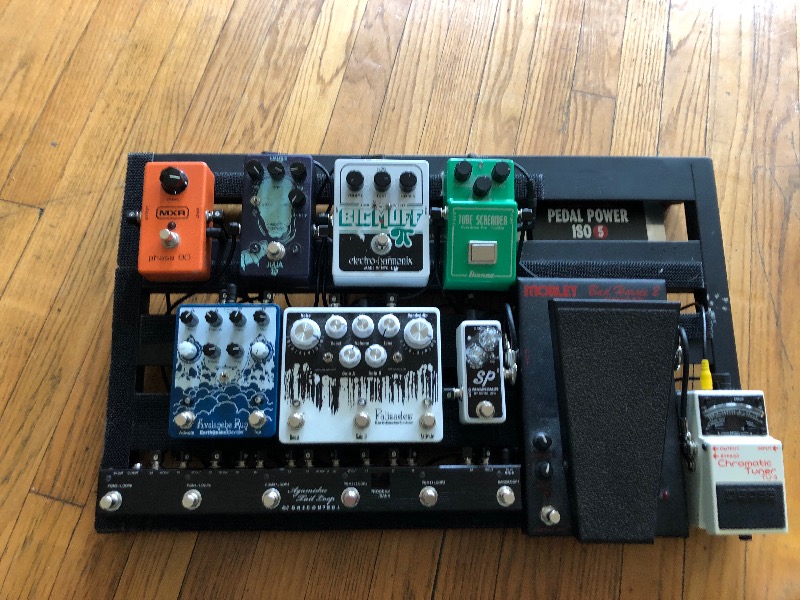
The first step to every pedalboard build is to decide which pedals will make it on the board. Picking out the right dirt pedals to crank your amp, or deciding which of your five delay pedals will make it on the final board — these are decisions that can keep guitarists up at night. Some artists will have separate boards that are dedicated to different bands they play in, and others prefer a massive board that can do anything they need. At this point I feel pretty set on the pedals I will be using on my new board. They are as follows:
Boss TU-3
Morely Bad Horsie 2 Wah
Xotic SP Compressor
Ibanez TS-808 Tube Screamer
EHX Big Muff Pi w/ Tone Wicker
Earthquaker Devices Palisades
Walrus Audio Julia
MXR Phase 90
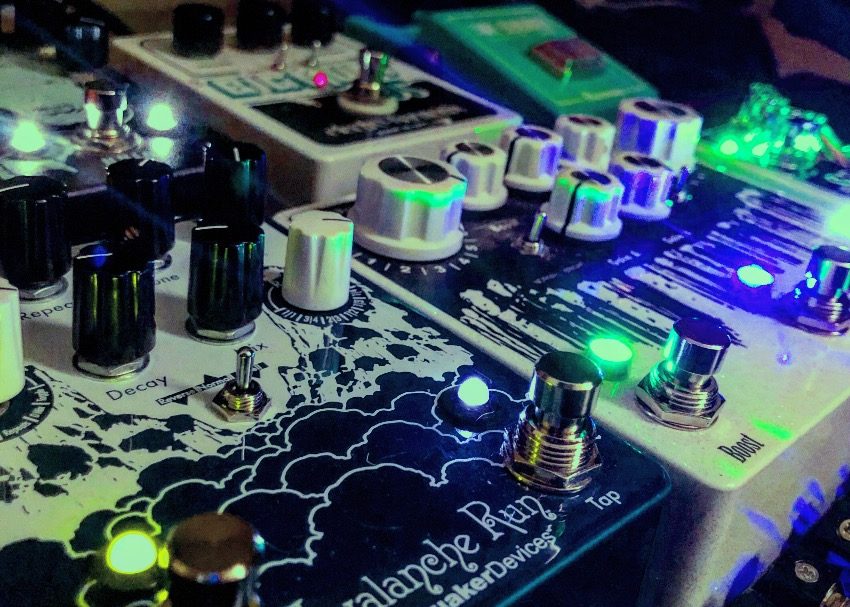
Earthquaker Devices Avalanche Run
OneControl Agimade Tail Loop Switcher
I’m also planning to purchase the Walrus Audio Monument V2 in the near future, as well as a preamp pedal further down the road. I will be leaving extra room for both of these pedals on my board.
Choosing a Board
After you have an idea of which pedals will make it onto the pedalboard, it’s time to choose a board. Pedaltrain offers a wide variety of pedalboard sizes and most will include some sort of gig bag or flight case. They also usually provide Velcro for securing your pedals to the board. We also have boards from Voodoo Labs, Blackbird, and several other brands.
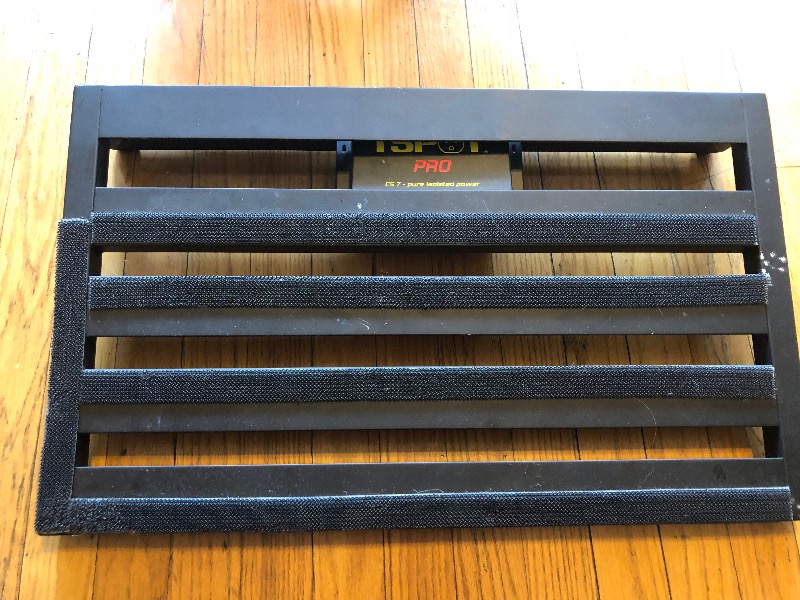
Sometimes choosing your board can actually be the first step. You may not be able to afford a big enough board to fit EVERY single pedal you own, and you may need to make some compromises along the way. For my board I’ll be sticking with the Pedaltrain Novo 24 that I already own.
Power
The reason most guitarists build a pedalboard is to consolidate their power needs for their pedals. Most of us are familiar with daisy chaining our pedals together, but there are a lot of advantages to using an isolated power supply, aside from saving time setting up your rig. There are four main things to consider when purchasing a power supply: Voltage, Current, Polarity, and Isolation.
Voltage
The first thing to consider is voltage. Most standard effect pedals use a 9-volt, 2.1 mm barrel jack, but some use 12 or 18 volts and may require a special adapter. A power supply will offer several different output voltages and many have outputs with a switchable voltage between 9 and 12 volts. All of the pedals on my board run on 9 volts which keeps things pretty simple.
Current
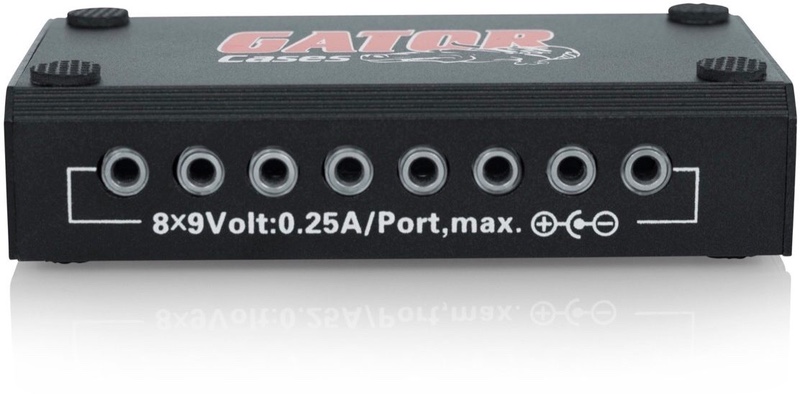
The next important step to choosing a power supply is checking your current needs. While many classic pedals will have a current draw of 100 mA or less, some of the more advanced digital pedals can require well over 300 mA of current draw. Your best bet is to check the manual and see what the current draw of each pedal is. Then you can match it with an appropriate output on your power supply. I’ve listed the current draw of my pedals below as an example:
Boss Tu-3 (35 mA max, 85 mA in high brightness mode)
Morely Bad Horsie 2 Wah (12 mA)
Xotic SP Compressor (5 mA)
Ibanez TS-808 Tube Screamer (7.5 mA)
EHX Big Muff Pi w/ Tone Wicker (5 mA)
EQD Palisades (45 mA)
Walrus Julia (30 mA)
MXR Phase 90 (4 mA)
EQD Avalanche Run (425 mA)
OneControl Agimade Tail Loop Switcher (150 mA)
Polarity
A standard Boss pedal is going to have a center negative jack, but there are some pedals out there that are center positive. This is extremely important to be aware of when supplying power to your pedals. Be sure to check the manuals, or on the actual pedal itself. Many will show the polarity near the power jack on the actual pedal itself.
Isolation
The biggest advantage to using a power supply is that you are actually isolating the power to each pedal. When using a daisy chain, all of your pedals are feeding off the same power source, which can lead to ground loop issues and extra noise. Even if a pedal is completely turned off, you can run into these issues without isolating the power. Be sure to check if the power supply you are using is truly isolated. Many of the cheaper options are not truly isolated power supplies and essentially work the same as a daisy chain.
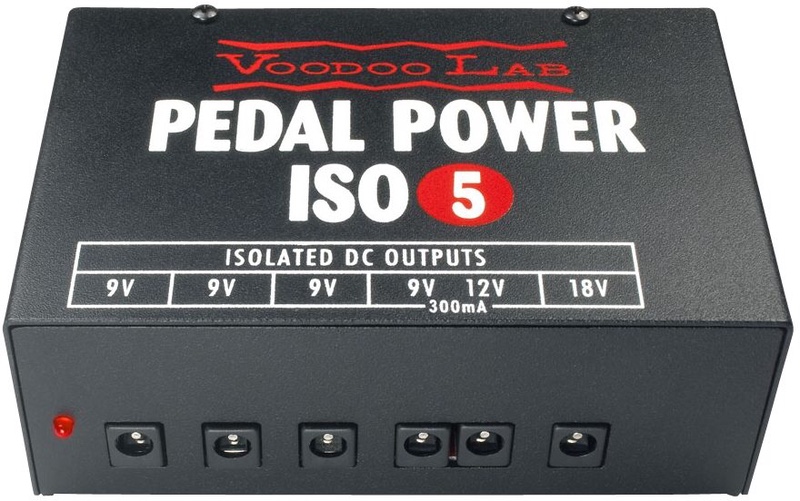
Choosing a Power Supply
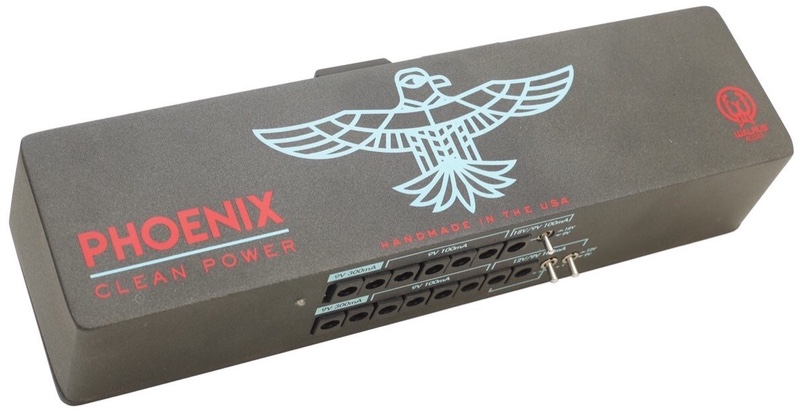
Now that you know what to look for, its time to pick a power supply. We have several options from Voodoo Labs, as well as a pretty massive power supply from Walrus Audio. For my board, I will be using the TrueTone CS7. This supply was installed on my board when I purchased it used. I also recently installed the Voodoo Labs ISO 5, providing me with enough individual outputs for all of my pedals. Most power supplies will ship with the appropriate number of 2.1 mm barrel plugs, and usually a few extra adapters to accommodate different pedals.
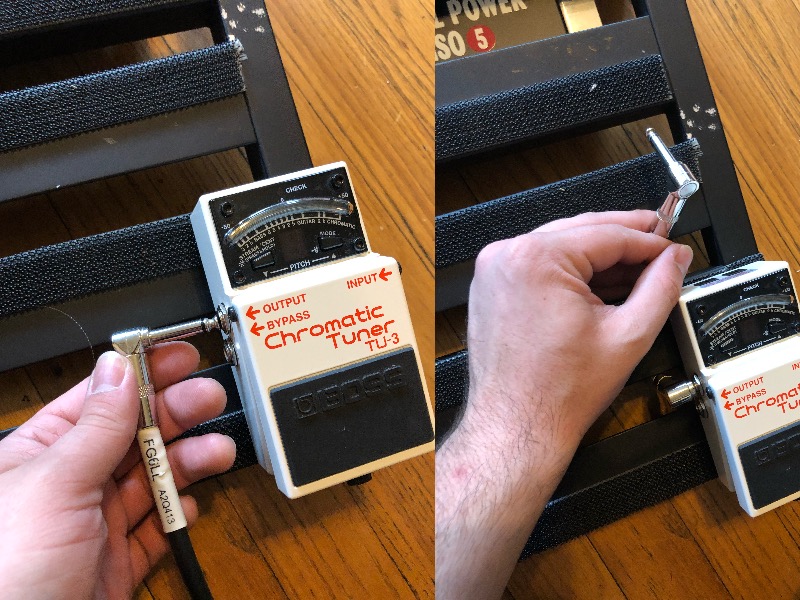
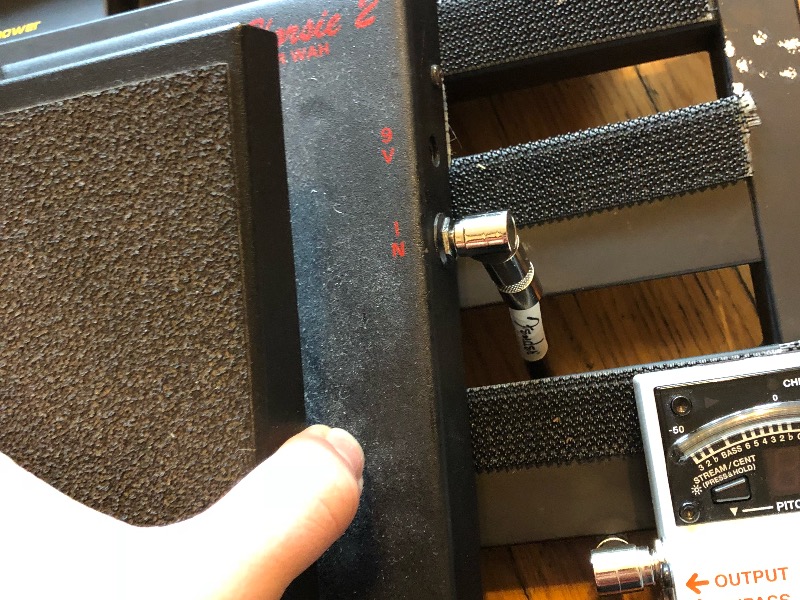
I will be chaining together two of of my outputs so that I’m able to power all of my pedals with a limited number of outputs. I have chained together my Boss tuner and Morley Wah pedal to one of the outputs on the ISO-5. The Boss Tuner offers a 9 Volt output, which can chain the power to another pedal. Like before, make sure all the voltages match and that the sum of the current draw of the chained pedals does not exceed the current draw that the output provides. Below I have mapped out how I am routing my power to each of the pedals on my board.
Voodoo Labs ISO-5
100 mA-Boss TU-3 and Morley Bad Horsie 2
100 mA-Ibanez TS-808 Tube Screamer
300 mA-One Control Agamidae Tail Loop Switcher
100 mA-Xotic Sp Compressor
TrueTone CS7
200 mA-Walrus Audio Julia
200 mA-MXR Phase 90
200 mA-Earthquaker Devices Palisades
500 mA-Big Muff Pi with Tone Wicker
500 mA-Earthquaker Devices Avalanche Run
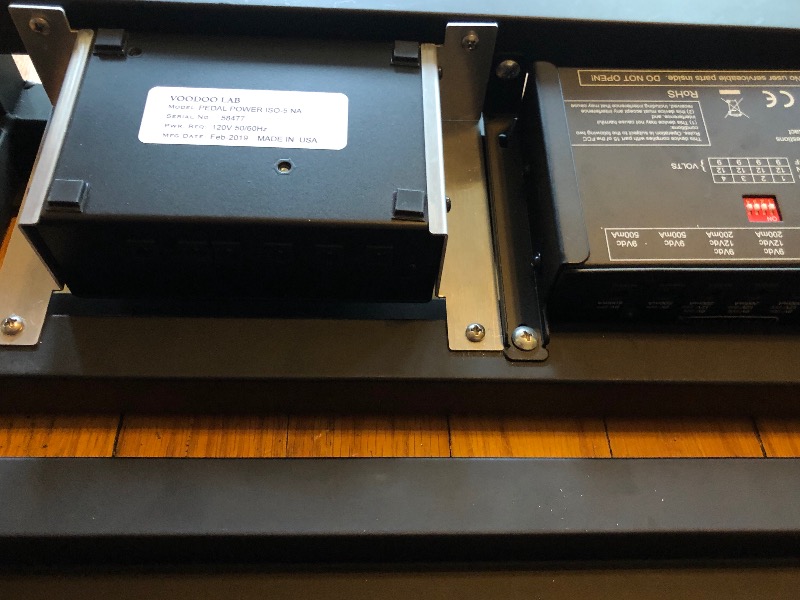
Mounting to the Board
There are a few options for mounting the power supply to the board. The easiest solution is just to mount it to the top of the board among all of your pedals, but many prefer to mount theirs underneath the board to save room for more pedals. I initially purchased my board with a power supply already installed, but I had to install the ISO-5 myself using the Pedaltrain mounting brackets. It was a pretty straightforward installation, but be sure to leave room for cable runs to each pedal, and access to the main power outlet.
Assembly
Pedal Order
The best part about pedal order is there is no right way to do it. It really just comes down to what YOU think sounds best. However, there is a general consensus on what works best for the order of your pedals. Typically this will be pitch-based effects, wah, gain pedals, modulation, delay, tremolo, reverb, and looper. While everyone has their own preference, this is the general order I’ve stuck to for my pedalboard build. The signal chain for my board is as follows:
- Boss TU-3
- Morley Bad Horsie 2 Wah
- Xotic SP Compressor
- One Control Agamidae Tail Loop Switcher
- Ibanez TS-808 (Loop 1)
- Earthquaker Devices Palisades (Loop 2)
- Electro-Harmonix Big Muff Pi w/ Tone Wicker (Loop 3)
- Walrus Audio Julia (Loop 4)
- MXR Phase-90 (Loop 5)
- Earthquaker Devices Avalanche Run (Loop 6)
Signal Chain
Another huge factor in deciding your pedal order is the signal routing. While I like to run everything into the front of the amp, a lot of players will run their modulation and time-based effects in the effects loop. In a recent blog post, we also covered the topic of running two amps together. These are all things to consider when deciding on the order and placement of your pedals.
Layout
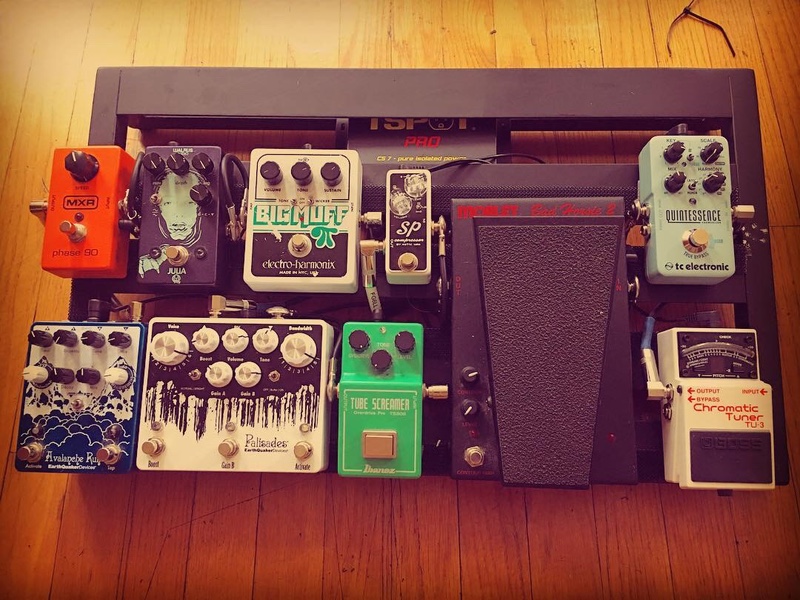
Once you’ve planned out the signal path, it’s time to decide where to place the pedals on the board. Most people (myself included) will keep things close to the signal path of the pedals. If you are using some more advanced pedal loop switching controllers, you may have the ability to route your pedals in a different order than they are wired up. This can be really useful for finding out which order works best for you and getting everything to fit. A good general rule is to keep the pedals that you are stomping on and off most often closest to you. I like to make sure my Avalanche Run is up front and close so I can tap in the tempo while I’m playing.
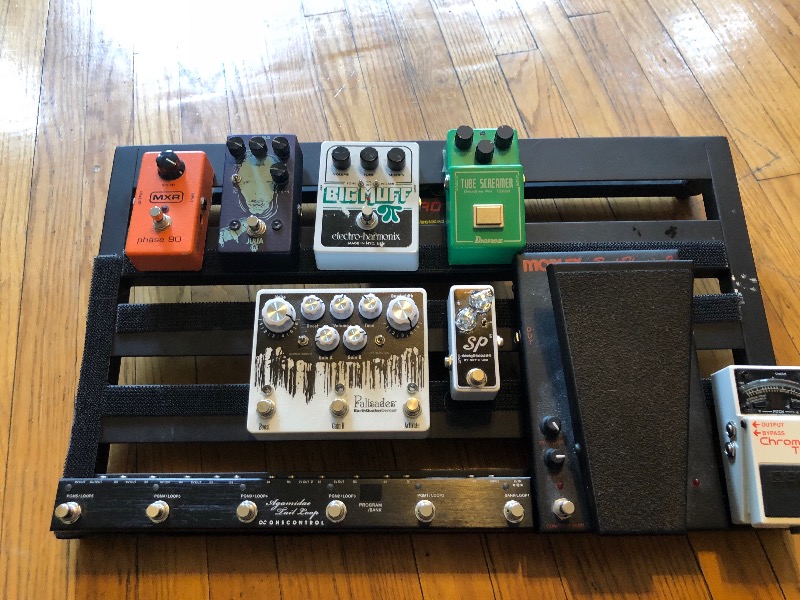
After you have decided on the order, it is time to play some Pedal Tetris! I like to place the pedals out on the board without any velcro or adhesive first, to see what layout will fit best, and get an idea of how much room I have left for cabling or future pedals I might add.
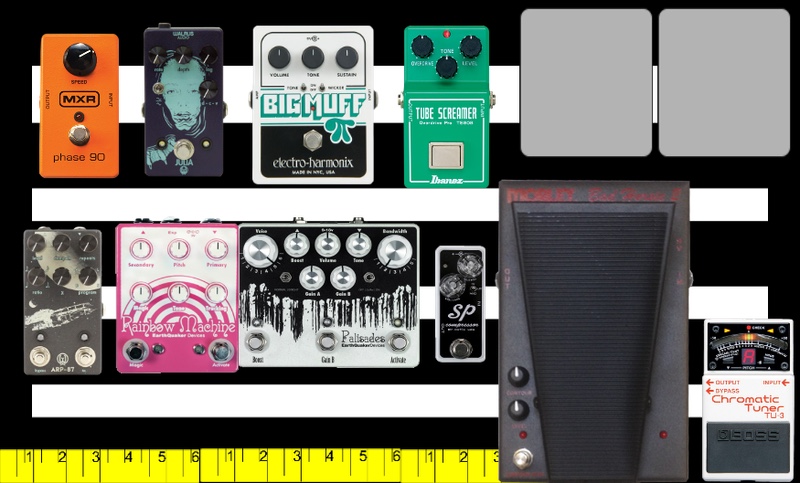
Another amazing resource is Pedaltrain’s Pedalboard Planner. This offers a virtual pedalboard designer that has a collection of all of their pedalboard sizes and good selection of pedal brands and models. It’s also available as an iOS and Android app now! Even if a few of your pedals aren’t on here, it is pretty easy to find something that is comparable in size. For example, on my board design, I used the Rainbow Machine as a placeholder for my Avalanche Run, the ruler to cover my loop switcher, and the Walrus Arp-87 to cover the space of the Monument I plan to add to the board. Be sure to leave a little extra room to account for cabling and always test the layout with the real pedals before making any commitments.
Mounting
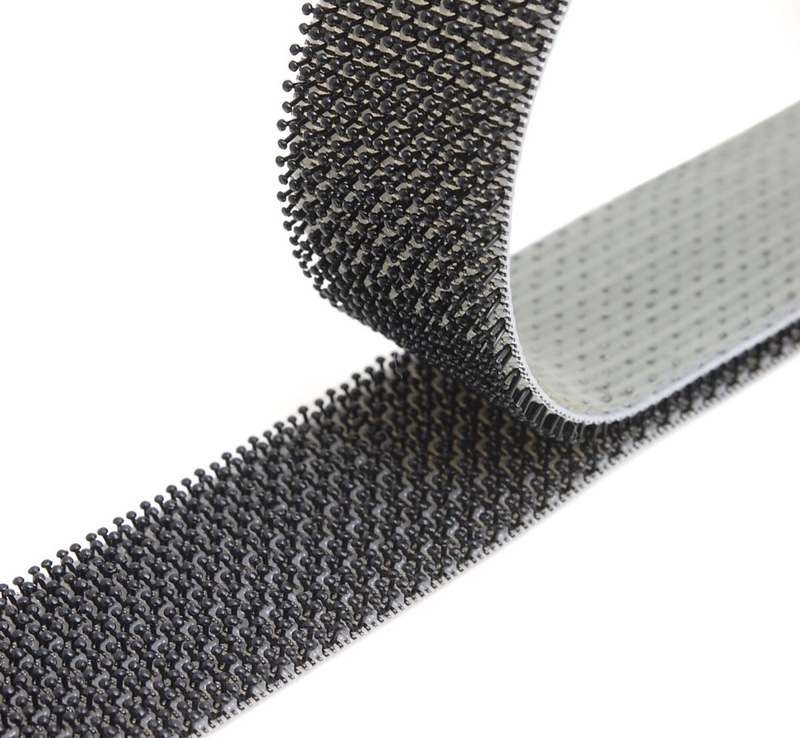
The next step is to get these pedals secured on to your board. There are many different ways to do this. Most Pedaltrain boards come with enough velcro to secure your pedals. Most players will put the loop side on the board, and the hook side on the pedal. Another common option is to zip-tie your pedals to the board. The Voodoo Labs boards are designed with this in mind. They have plenty of holes to secure your pedals and cables. For my build I will be using the Power Grip pedal tape. While this is the strongest option I have come across, I would not recommend it to anyone making their first board or swapping out pedals regularly. It was really a struggle to get my pedals off when I redid my board and I almost damaged a few while disassembling.
Wiring
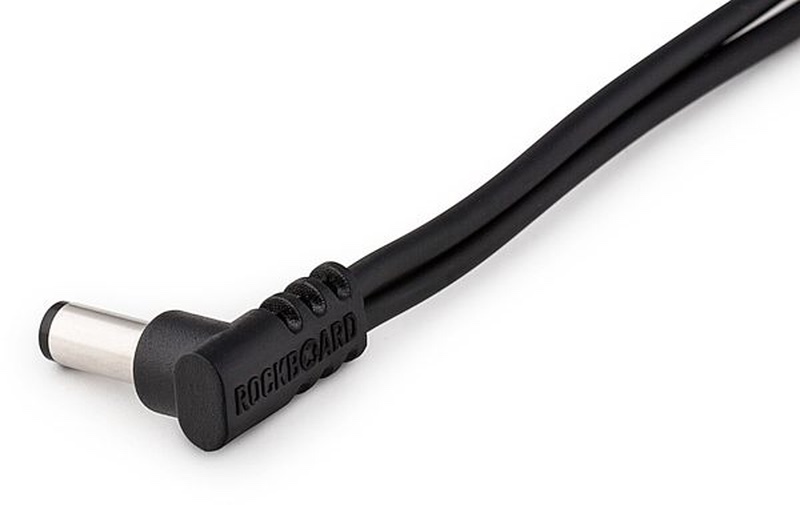
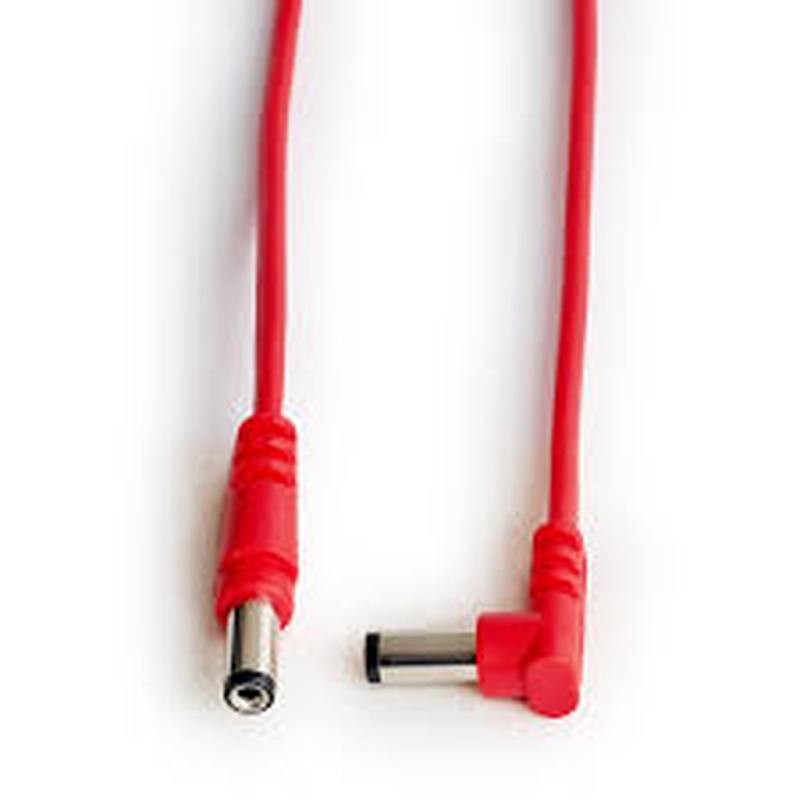
The final step in assessing your pedal layout is to figure out your cable needs. Once again, you may be limited to whatever patch cables you have lying around, or you may have room in your budget to purchase brand new cabling for your board. There are several options out there such as the D’Addario Cable kit where you can cut each cable to the exact custom length that you require. For my board, I used the Blackbird solderless kits. Previously I used Hosa pancake cables, which seemed to give me the most space on the board, but when I added in the loop switcher, these cables would not fit next to one another. I still am using a few of the Hosa cables to connect the pedals that are wired up before hitting the looper.
When cramming pedals into tight spaces, it can be best to wire things up before your pedals are “stuck” on the board. While I am keeping things nice and close, it can be a good idea to leave room to get cables out without having to tear apart the board. Not all cables are created equal, and not all of them will last forever. On that note, I would also like to add to ALWAYS TEST THE CABLES! Be sure to check each cable and each pedal before securing them to your board.
Cleanup
After you’ve got everything secure and wired up, It’s time to manage those cables. I had the luxury of making custom length cables to fit everything perfectly, but I still will be using some cable ties to keep things a little less messy. It’s not necessary, but it helps to keep things neat and make sure you aren’t adding extra wear and tear on your cables.

Tones
Now that your board is complete, it’s time to plug in and test it all out. Be sure to check each and every pedal, listening for any extra noise or loose connections. Nothing is more rewarding than finally getting to sit down and play through your fresh pedalboard. I thought I would include a few clips of some of my favorite tones I got out of my new board. For these examples I will be playing my G&L Tribute Legacy into a Fender British Green 1965 Princeton Reissue. Recorded with an SM57 into my Universal Audio 710 Twin-Finity Preamp, and into Logic Pro with my Apollo Twin.
Phase 90 Funk
The Phase 90 has always been an important part of my pedalboard. While I have many uses for it, the Phase 90 always sounds great for funky riffs.
Stacked Overdrives
If you read my last blog post, you’ll know I’m a huge fan of the Tube Screamer. On this clip I start out playing on the TS-808 and then stack the Palisades on top of it.
Avalanche Run
The Avalanche Run is a really unique pedal with a lot of hidden features, but this was one of my favorite sounds I discovered. By turning the time knob to its fastest setting, you end up with a cool doubling effect that almost sounds like a chorus or phaser. I play through clean first, and then turn on the effect.
Warped Julia
The Julia can handle your standard chorus tones with ease, but she has a few other tricks up her sleeves. I like to max out the lag, turn the rate down, and end up with somewhat of a warped vinyl sound. It only seemed appropriate to crank up the reverb for this last one!


Leave a Reply