What is Compression?
As many (or maybe all) of you already know, dynamic range compression is basically a particular type of audio signal processing that attenuates the peak audio wave decibel level while increasing the dB level of the quieter signals. In the easiest possible terminology, compression makes loud stuff a bit quieter and quiet stuff a bit louder. This is an oversimplification, but for now we’ll use this as the most basic definition.
When tracking and mixing there are so many options for compressors that it can be a bit daunting for the uninitiated. So, what are the types of compressors and how should you be using them? Let’s check it out!
Types of Compression
There are two main categories of compression and various subgroups within those. The two basic types are downward and upward compression. Every type of compression falls within one of these categories. We’ll start here and work our way to some more specific information as we go.
Downward Compression
Downward compression is the most common type of compression found in recording, mixing, and mastering. Basically, this is audio processing that pushes the audio signal downward; squashing it to varying degrees, if you will. Compressing downward will limit the dynamic range of a performance, making the quieter parts louder and the louder parts quieter (this is the broad reaching definition I gave above).
Dynamic range is a natural part of music, and squashing the hell out of a sound source is frowned upon for all but usage as a special effect — read up on The Loudness War for more info on all that drama. But, pretty much every engineer — tracking, mixing, and mastering alike — uses downward compression to varying degrees. It’s a way to thicken up the source audio and also to level out the performance a bit to make everything seem a tad more even as far as leveling is concerned.
There are lots of different types of downward compression and many of them are built for specific tasks. So, crack open a beer or pour yourself an ice cold lemonade and let us dive into to the wide world of compressors!
Tube or Variable-Mu Compression
Tube compressors are definitely the oldest form of compressor out there – that’s just because of how technology has naturally progressed over the decades, starting with valves. Also, just because a compressor has a tube section in it, doesn’t mean it’s a tube compressor (I’m looking at you, LA-2A).
Tube/variable-mu compressors have a particular beauty to them that isn’t necessarily found in other types of downward compression. If you’re looking for a transparent compressor, you won’t find one in this category. The inherent nature of tubes in audio is to add even-order harmonic content to any signal. So these compressors are going to “color” your signal. That is what has led to so many of these compressors becoming legendary and desirable studio pieces throughout the years.
Tube compressors have a slow attack time and long release time. This means that these units don’t grab onto a signal quickly (they’re actually incapable of doing so) but then will hold on to it for a little bit of time before releasing. The combo of attack and release times on these units gives them a “smooth” sound and prevents them from pumping/woofing like the Teletronix/Urei/UA 1176. The tube saturation adds a touch of color to the overall signal coming in. If you really drive the input hard, the signal will distort and become gritty. Depending on what you’re working on, this can be a beautiful thing, or it can completely destroy your recording.

Options for tube/variable-mu compressors range a bit. They’re great for adding to the mix bus to give some coloration and “glue” to your overall mix, or you can add them to an instrument bus for the same effect. Slapping a Fairchild on your drum bus can sweeten up the harmonics and give your drums rich depth. However, Manley versions of this are great on vocals as well as an overall mix. If you’re looking to add snap and punch to your mix or instruments, this is not the compressor you’re looking for.
Popular Examples of tube or variable-mu Compressors:
Altec 436C
Fairchild 660 or 670
Manley Variable Mu
Manley Nu Mu
Optical Compression
One thing that folks love about optical compression is how transparent it is. But, depending on what engineer you ask, you might find somebody that’ll tell you they love the warmth that these pieces give to low-end frequencies. Using light touches of this compressor type does a perfect job of leveling a signal without adding much coloration to the source and preserving the overall dynamic range fairly well. These units employ tubes and transformers, so even when you aren’t compressing the signal at all, there will be a particular “glow” to the audio. This isn’t to say that it’ll give it as much of a unique sound that a tube compressor will, but using an opto compressor will make you recognize that low end bump.

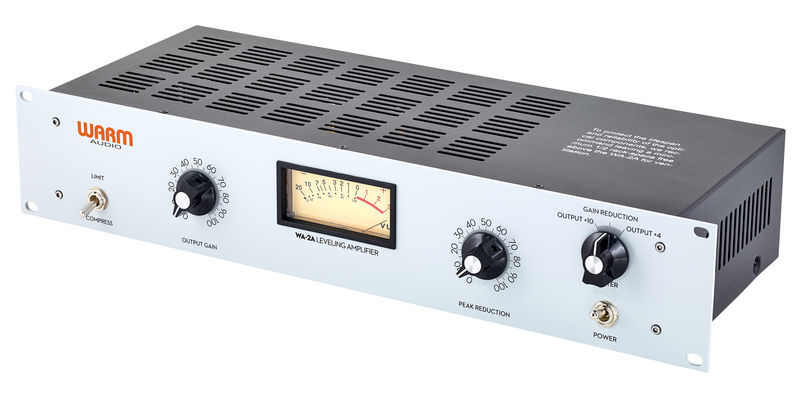
Optical compressors are widely hailed for how smoothly they compress. They utilize a photocell – literally a light source inside the chassis – whereby the source audio is turned into an electrical signal, then converted into light, then back into an electrical signal where other gear will convert it back into audio. These compressors, despite being capable of attack times faster than tube compressors, won’t completely destroy your transients.
The controls are usually very simple, consisting of output gain and peak reduction. It’s a common misconception that the gain is the input gain, when in reality it’s the output/makeup gain. So, the input into an optical compressor needs to be set by the preamp putting out your microphone signal. The peak reduction is just that: how much compression is occurring. The ratio of compression is usually set at 3:1; meaning that for every 3 dB over the threshold, the signal will be attenuated by 1 dB. When setting the level for the peak reduction, flip the meter switch to gain reduction and check how much compression is occurring by how far the needle dips. If it’s dancing back and forth to the extreme, there’s probably too much compression happening. If the needle is just bobbing ever so slightly, then you’re probably in the ballpark of an appropriate amount of compression.

Optical compressors tend to work best on vocals, guitars, and basses. I love the attack on these so much that I’ve been known to use them on Wurlitzers, tacked pianos, and violins.
Popular Examples of Optical Compressors:
Teletronix/Urei/Universal Audio LA-2A
Teletronix/Urei/Universal Audio LA-3A
Tube Tech CL-1B
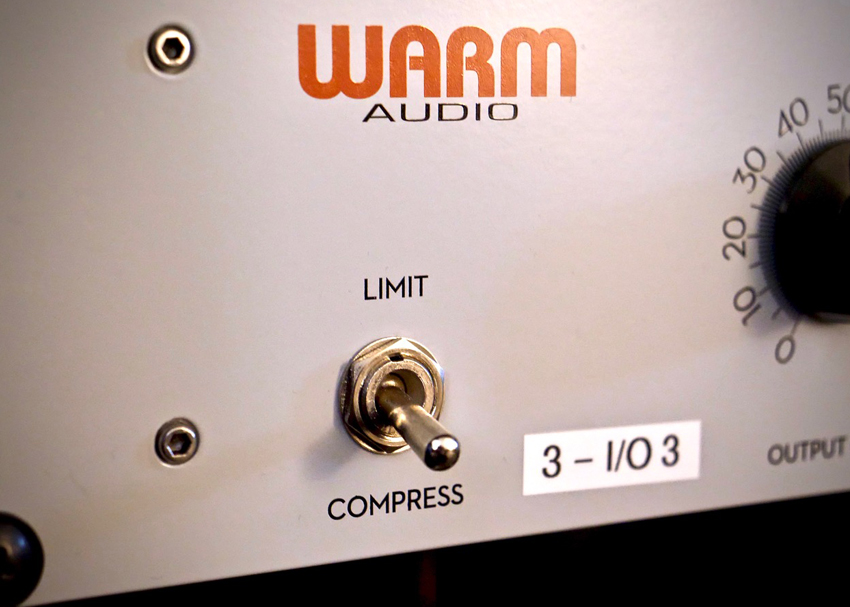
Warm Audio WA-2A
FET Compression
FET compressors, or Field Effect Transistor compressors, have the quickest attack time out of any compressor type on this list. There are a lot of good uses for FETs, but they always pop up in engineering arsenals for destroying a source and/or for parallel compression. The nature of this beast is aggressive, but getting the most transparency out of this unit is just a matter of dialing in a slow attack time and quick release with a low ratio. That will preserve the overall dynamics of the audio while allowing the ultra-loud transients to be snagged in time.
After dialing in attack and release, set the ratio where you’d like — small ratio equals less compression, higher ratios make more of a noticeable woof/pump in the compression — dial in the input gain to how hard you’re hitting the unit, and the output for how hot you’re shooting the signal into your DAW or recording device, and BOOM…you’re processing your audio with a real beast of a compressor. These are by no means transparent – that’s partly why they’re so popular.

FET compressors are known for a punchy and raw tone. They add snap to kick drums, a bit of extra growl on a bass guitar, and they can tame the wild performance of a vocalist screaming their lungs out. Bus a signal to a FET and hype up the compression ratios to get that saturated parallel compression. Really, the only thing I wouldn’t consider using a FET compressor on would be a master bus. But, that’s probably up for debate — I’m sure there are plenty of engineers out there running mixes through FETs or dropping a FET compressor plugin on a subgroup track in their DAW.
Popular Examples of FET Compressors:
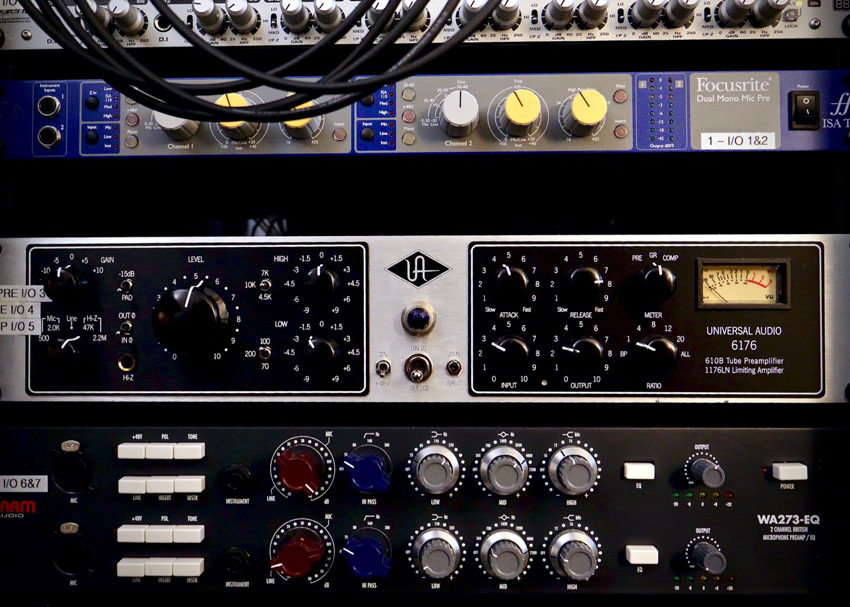
Universal Audio 6176 Channel Strip
Urei/Universal Audio 1176
Warm Audio WA76
*SIDE NOTE* – On the 1176 models and all the clones thereof, one can usually find “All-Buttons In” or “British Mode.” This is where the four ratio buttons (4, 8, 12, & 20) are all pushed in at the same time. This actually changes how the circuitry of the gear performs. This slams the compressor and gets a sonically pleasing overdriven tone with lots of thick harmonics. The slope of the compression ratio isn’t exact and the attack and release times change, too. This is – in my mind – the best setting for aggressive parallel compression.
VCA Compression
Voltage Controlled Amplifier – this is a fun one. I mean, to be honest, all of these compressor types have their place in a session, but for me there’s something satisfying about putting a VCA into my signal chain and hearing it work its magic.
These units are generally peak-based and they tend to have a fast attack and a fast release. Now, there’s variation to this, of course, but that’s kind of what they’re good for. Because of this reason, they can be wildly inappropriate for certain usages. VCAs are fantastic for giving a track some aggressive qualities, without taking things too far. For example, the dbx 160 is a shining example of a VCA and it really comes into its own when using it with a kick or snare drum. I almost always opt for this compressor on a kick drum “in” track — snagging the smack of the beater inside the kick itself does a lot for the snap and attack. The same goes for a snare drum.

Out of the aforementioned compressor types, this is the newest technology that we’ve discussed. Aside from being able to make that kick smack, there are more than a few VCA compressors out there that can really glue together a track and pull the master bus into a more professional realm.

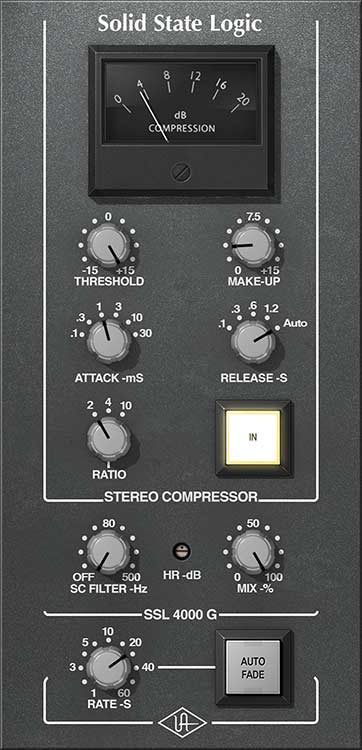
Have you ever heard of the SSL 4000-series recording console? It’s alleged that this particular console is responsible for more number one selling records than any other piece of recording gear. Part of that reason? The SSL G-Series Bus compressor.
This, along with the API 2500 bus compressor, have that certain pizazz that can tie the whole mix together. It’s a VCA, but doesn’t do anything too crazy to the overall mix. It just “glues” it together as a cohesive piece of musical history and imparts just the right amount of “oomph.” These pieces of gear are known for being transparent when you want to mask their presence or being able to flat out color the track in a particular way. Are you a pop-punk fan? Chances are the sound you love from that genre and classic era is almost entirely generated by the SSL G-series console and its compressor. Blink-182 was known to track and mix their seminal records on an SSL 4000.
Popular Examples of VCA Compressors:
API 2500
dbx 160
Empirical Labs EL8 Distressor
Neve 33609
SSL G-Series Compressor
Upward Compression
In my estimation, this is the least-used variance of compression (to a degree). Good to utilize, just not as fun. Upward compression exaggerates the dynamic range of the captured audio and makes the quiet sounds even quieter than they previously were while retaining the level of the peaks. What types of upward compression are there? Good question! I’m glad you’re paying attention, so, let’s delve into that.
Expanders
Expanders, like I mentioned before, exaggerate the dynamic range. This is useful if you’re getting unwanted bleed into microphones. If one has a full drum kit miked up, but the snare is snagging too much hi-hat audio, or maybe too much snare in the tom microphones, you can use an expander. These units have a threshold and anything below will have its volume attenuated and anything above the threshold will retain its decibel level.
This is convenient, but can pose a bit of a challenge or a balancing act to get the right ratio to preserve the natural quality of the instrument (i.e. a drummer who plays soft ghost notes between the prominent snare hits). If you’re posed with this issue, the best advice is to adjust the microphone to reject the bleed (even though bleed isn’t inherently a bad thing) until you can nail it. But, if this isn’t an option, or maybe you — or the engineer — didn’t do as good of a job as previously thought, the expander could potentially be the only way to salvage the track.
An expander can be thought of as doing the opposite of downward compression. You can even use one to lessen the room tone in a drum track! If you need to attenuate a sound – this is your tool.
Noise Gate
The noise gate is basically an expander, but one that goes to the extreme. So, instead of making a signal quieter below a particular threshold, the gate brings the signal to absolute silence. If you understand the ideas of threshold, attack time, and release time on a compressor, then you’ll absolutely understand the parameters of a gate.
I’d caution you about the noise gate, though. If you’ve been using one forever, then you’ll probably have all the kinks ironed out at this point. A noise gate on various parts of a drum kit can absolutely enhance the sound, but if it set improperly, it can destroy the tone and timbre and make things sound bizarre and mechanical (and not in a good way, I might add). However, a gate can really help out a noisy vocal track. I recently tracked a band where the vocalist would take a step back and cough or sniff between every single line in the song. You can either cut the gross audio and do a top and tail (fade out and fade in after and before the lines) or drop a noise gate on the track and set it appropriately to reject those unwanted sounds.
Take care with this particular tool. Make sure to adjust the attack and release times to allow the transient to pass without cutting out any substantially important audio information.
The Wrap-Up
So, we’ve hopefully either learned a lot or, at least, fine-tuned our knowledge of dynamic range compression here. There’s a lot to take in. These particular pieces of gear have their time and place in a session, but feel free to experiment! That’s the best way to learn new techniques or new pieces of gear.
I’m assuming that all of you are using at least some small amount of compression on your sessions. Did I leave out any pieces of gear that you’re in love with? What do you use for parallel compression? Let me know your thoughts; I’d love to hear what your go-to compressors are!
And, as always, if it sounds good, it is good. Keep up the great engineering, folks!


Leave a Reply