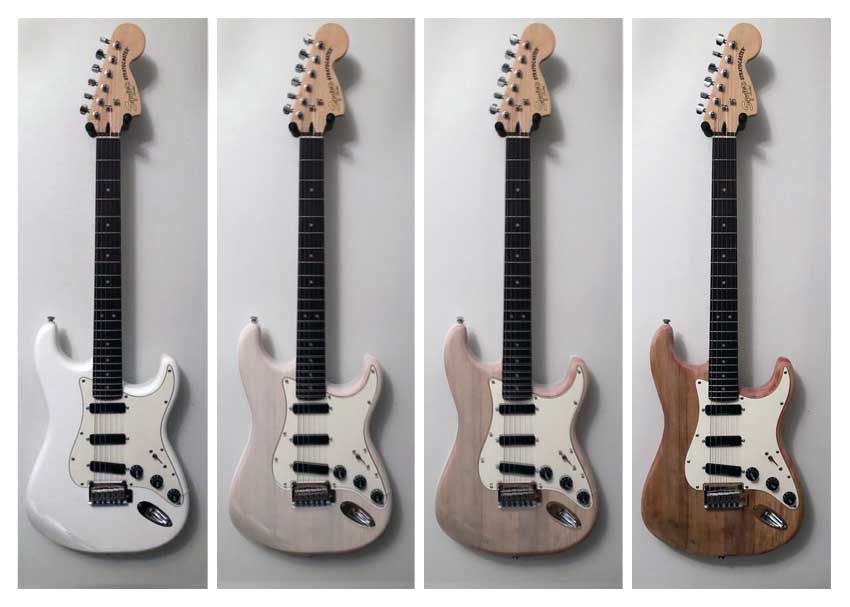
The first time I heard anything about Fender applying finish to their guitars was in a lesson with my first guitar teacher. Upon showing him my first Midnight Blue Telecaster, he responded with stories of men in hazmat suits, who might as well have stepped off the set of E.T., bulk-spraying dozens of guitars. Attached to this legend is the idea that treating this many guitars at once with such a thick, oppressive layer of polyurethane finish ends up stifling the voice of the guitar. While this outer M&M shell of doom awes the eyes with its impressive hues, it is also cheating the ears by inhibiting the resonance of the wood. These ideas and images had stuck with me long enough to where I finally decided that it was time to do something about it.
There is plenty to read on blogs and forums about the validity of this theory, but I ended up devising an experiment to truly put it to the test. What if you recorded a guitar with an oppressive poly finish, then stripped said finish and re-recorded sans finish?
Tools
Built into this experiment in tone are some hard lessons about the trials and tribulations in removing a hard finish like the ones applied to most Fender guitars. One universal truth is that sandpaper is not going to cut it. There are ideas about chemicals doing the job, but I feel like we need to leave the hazmat men in our memories and Spielberg movies so I haven’t looked further into chemical stripping.
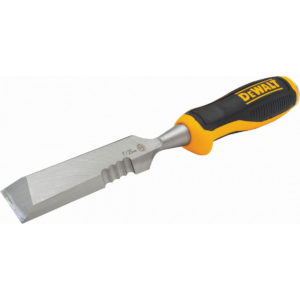
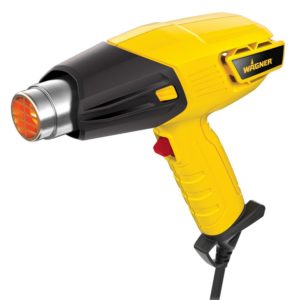
The true answer here is heat. A hard polyurethane finish does a great job up against many things, but intense heat seems to be its weakness. My sword and shield in this clash were a cheap heat gun and sharp, but firm, chisel from the local hardware store.
A second pair of universal truths involve what you want to do with the guitar after you have taken the finish off. If you want to change the color, you will need to get as much of the original finish off as possible. Polyurethane wants nothing to do with any other paint laying on top of it, so leaving any left over is bound to leave you with a disaster of a re-paint job.
Second, don’t go into a process like this expecting to find a gem of a piece of wood underneath. Any piece of wood under an opaque finish is probably totally obscured because it was rejected from being on a nicer instrument. Also you will find that the body underneath is not just one piece of wood, but several smaller pieces that were glued together.
Prep
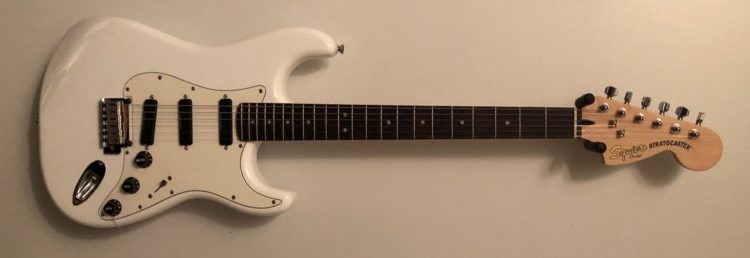
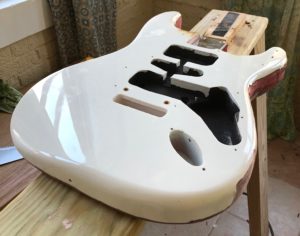
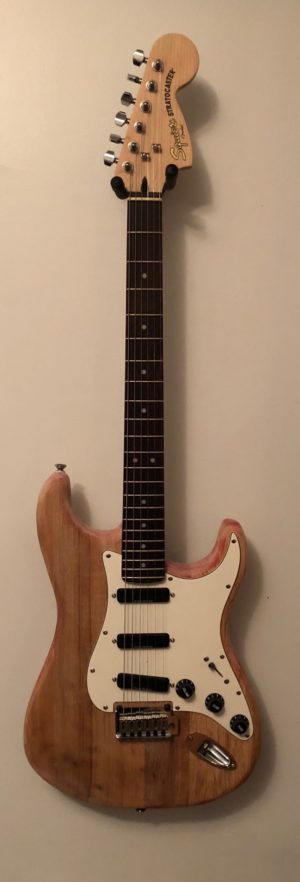
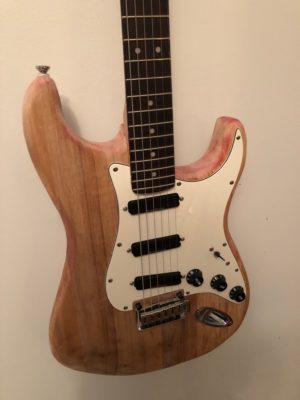
The guitar I chose for this time through the experiment was a Squier Deluxe Hot Rails Stratocaster. At $299, the wood underneath is not likely going to be a piece of art, but the cost makes this a relatively safe instrument to work on. A side benefit of this instrument are the included Hot Rails pickups by Seymour Duncan, which are exciting enough in their own right.
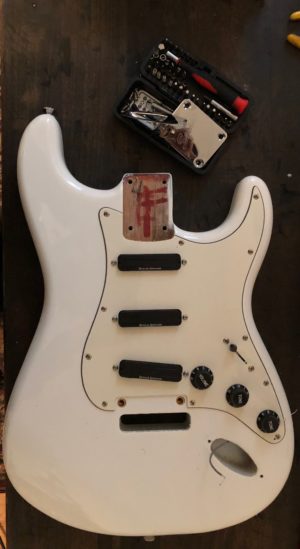
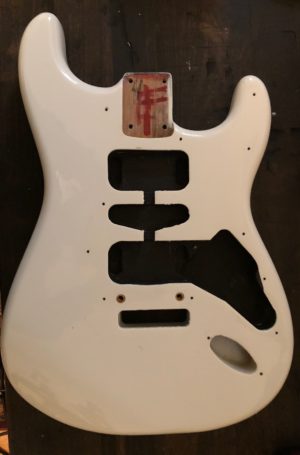
First thing’s first, everything on the body of the guitar needs to come off, considering the extreme heat that needs to be applied to the finish to make it workable enough to remove. Some components like the pickguard and volume/tone knobs would be quickly ruined through this process. You can also imagine what it would do to electronic components like potentiometers and pickups.
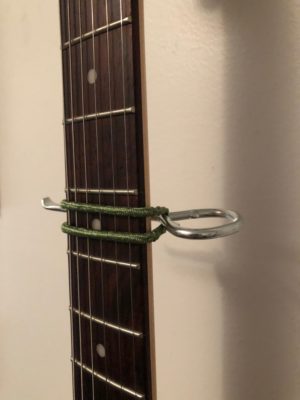
A really important variable I wanted to keep intact from before and after was the strings on the guitar. Putting a fresh set of strings on the instrument would surely have significant tonal impact, and muddy the waters when it came to what impact the finish had on the tone. I decided to remove the strings by keeping them attached to the headstock and bridge and simply removing both, which also proved to be a grim photo opportunity. Removing this much tension from the strings could also interfere with the windings of the strings on the tuning machines, so I decided to keep them locked down with a capo throughout the process. I was a bit paranoid about the amount of pressure a traditional capo would put on my ten gauge strings for the few days the guitar was to be disassembled, so I improvised and went with a gentler, makeshift capo.
- The horror!
- Letting my hair down this week…
Stripping the Back
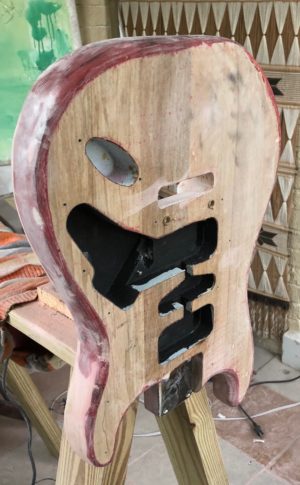
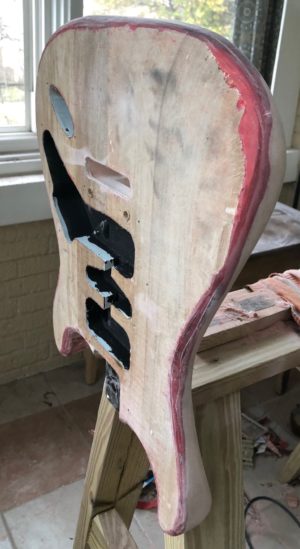
Years ago, in my first attempt at stripping a guitar, I had hoped that the heat would dry the finish up like dirt in the sun, allowing me to flake it off with a fresh putty knife, but this turned out to be a less than efficient process. The result was several hours of me scraping away at the instrument like someone unearthing a dinosaur skeleton. As evidenced by some of the pictures of the back of this instrument I went into round two with the same approach, but quickly learned that there is a better way.
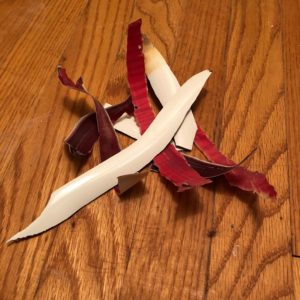
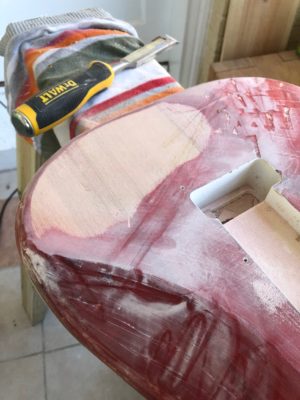
Using a chisel instead of a putty knife gave me a sharp edge which allowed me to slip underneath the top white coat of the instrument, and strip the guitar in large swaths. While holding the chisel nearly parallel to the wood surface, I was able to apply firm but careful pressure to the chisel while heating the area of the guitar directly ahead of it. It also seemed to prove out that the heat applied to the chisel itself helped guide it underneath the top layer of the finish. Using this method I was able to complete this step in about 15-20 minutes and save hours of work.
- A pile of shavings from the top. Notice the white strips from the top finish and the red ones from the lacquer layer.
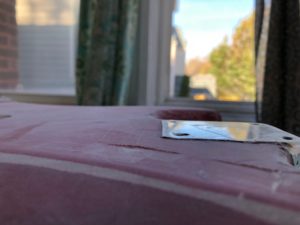
- Closeup detailing poly layer thickness.
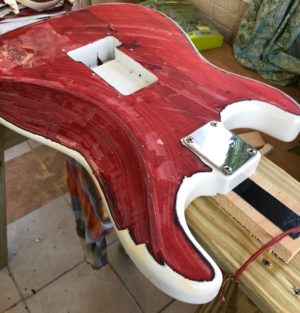
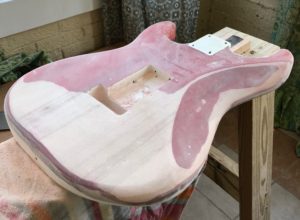
Left after removing the top layer of the finish was a nearly transparent red lacquer. Vivid to me at this point, was the potential of a partially stripped, weathered look which would resemble something out of Attack on Titan or the “Real Bodies” exhibition. This time around, I decided to stay faithful to the experiment and strip this guitar down to the bone.
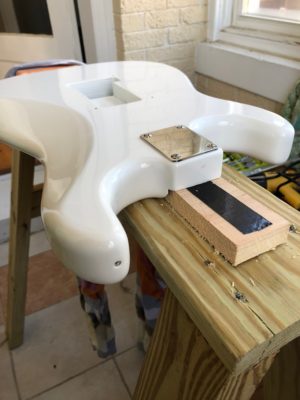
- Note the scuffing on the left corner from my first, violent attempt.
From prior knowledge I knew that there is an easy way and a hard way to get this second layer off. The hope is that it will strip off with heat in large chunks like the layer above it, and the fear is that heating/chiseling is so inconsistent that you’ll end up stabbing to death, and creating a massacre of your wood top. Light experimentation demonstrated that the back of this guitar was going to end up in the latter version.
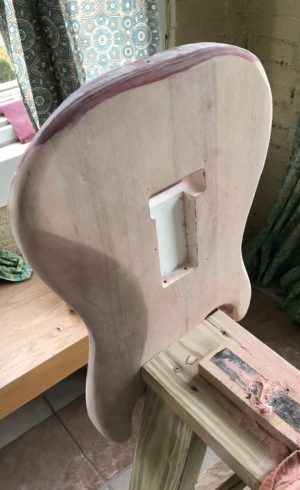
When it comes down to a lacquer coat resistant to the charms of the chisel, the answer is sandpaper. Sandpaper would have no chance against the top layer, but proves to eventually win out against the inner one. This is still a thick layer in its own right, which would likely drain your supply of elbow grease in a hurry, so for this I brought out my trusty palm sander loaded with the lowest, and most aggressive, grit of sandpaper I could find.
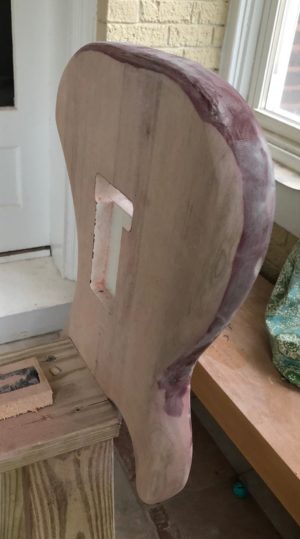
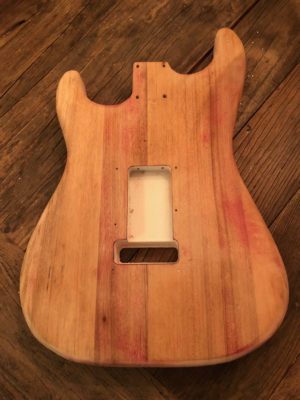
It took a few songs worth of time but I began to see some early rays of tonal sunlight emerge as I finally broke through to wood. A couple albums later and the back of the instrument was totally exposed.
Stripping the Top
The top layer of the top of the guitar went about as quickly as the back. I still felt blessed for the time saved with the “firm chisel” technique, but looming over me was the prospect of a few more albums worth of time sanding the top as I had the back.
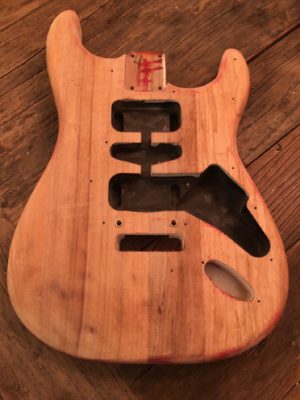
Before I geared up for a couple more hours of sanding, I decided to give the chisel one last chance at the lacquer layer on the top. To my disbelief the chisel some how, for some reason, slipped in and perfectly split this layer from the wood on the top. About 15 minutes later, I had the entire top of the guitar exposed.
- A little scorched on the left side. Should sand out or get covered later.
Stripping the Sides
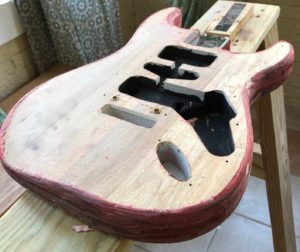
After some light experimentation into chiseling the lacquer off the sides of the instrument I decided that I would need to sand here as well. The lacquer had bonded with the wood in a similar way to the back, and I was digging into the wood too quickly with the chisel.
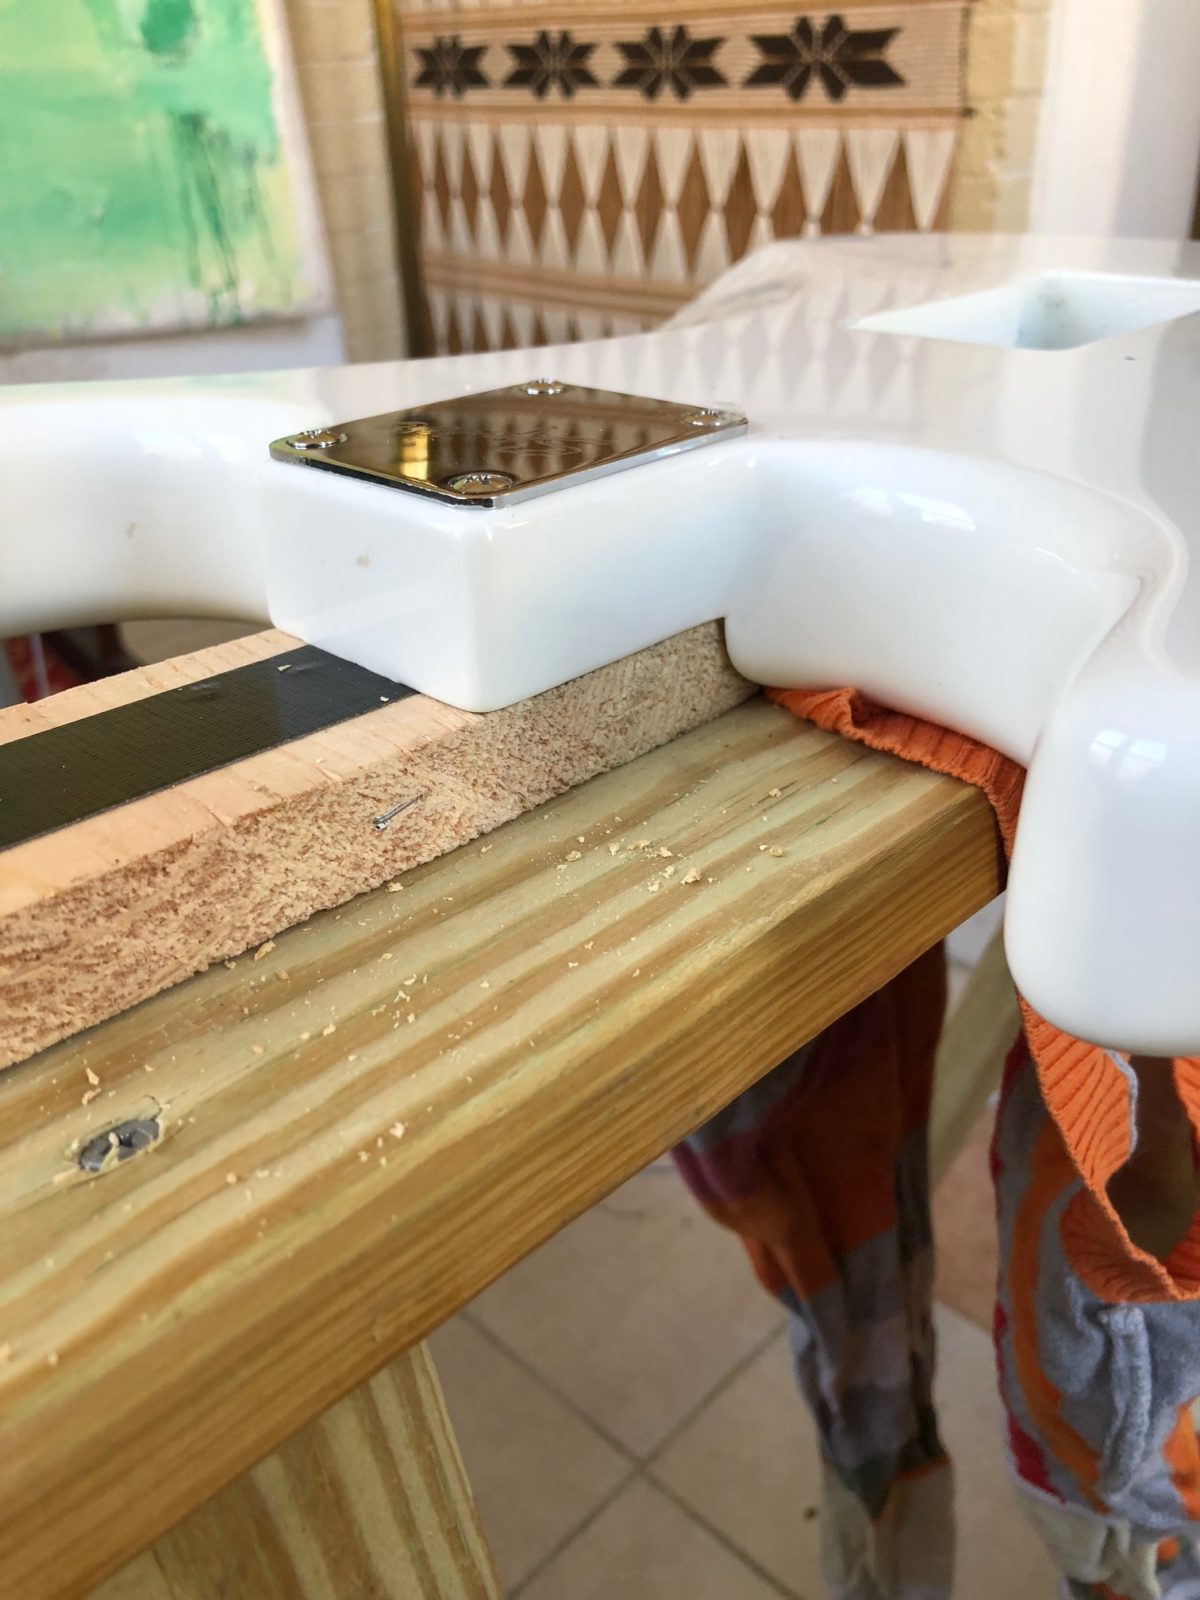
Getting access to sand the sides was looking to be a daunting task in its own regard. On one hand having these surfaces vertical to the ground would require a strenuous posture and less than ideal angle of attack than pushing down on the top and back had been. To combat this, I got creative and mounted the guitar itself vertically to the sawhorse.
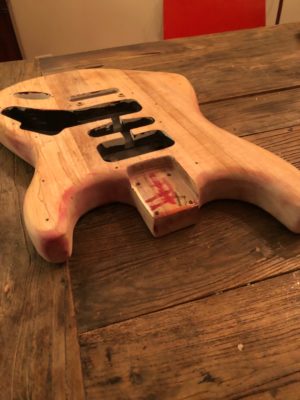
Due to the smaller surface area of the sides of the guitar I was able to make short work of most of the leftover layer of lacquer. Left over were a few tough-to-reach concave sections in the waist and around the heel, which I was able to partly access with the palm sander and complete sanding by hand.
Measurements
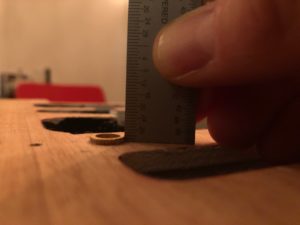
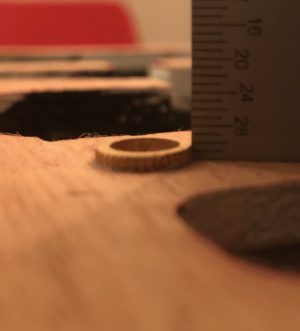
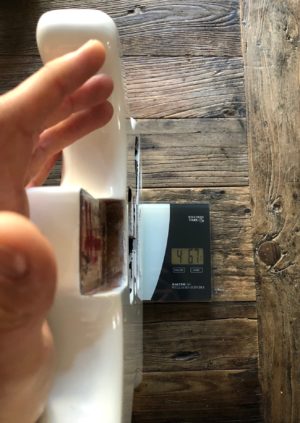
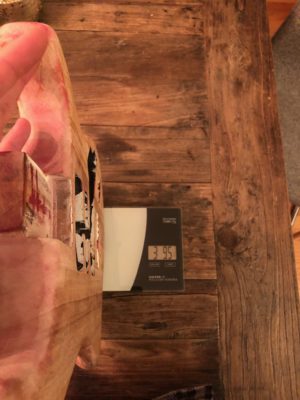
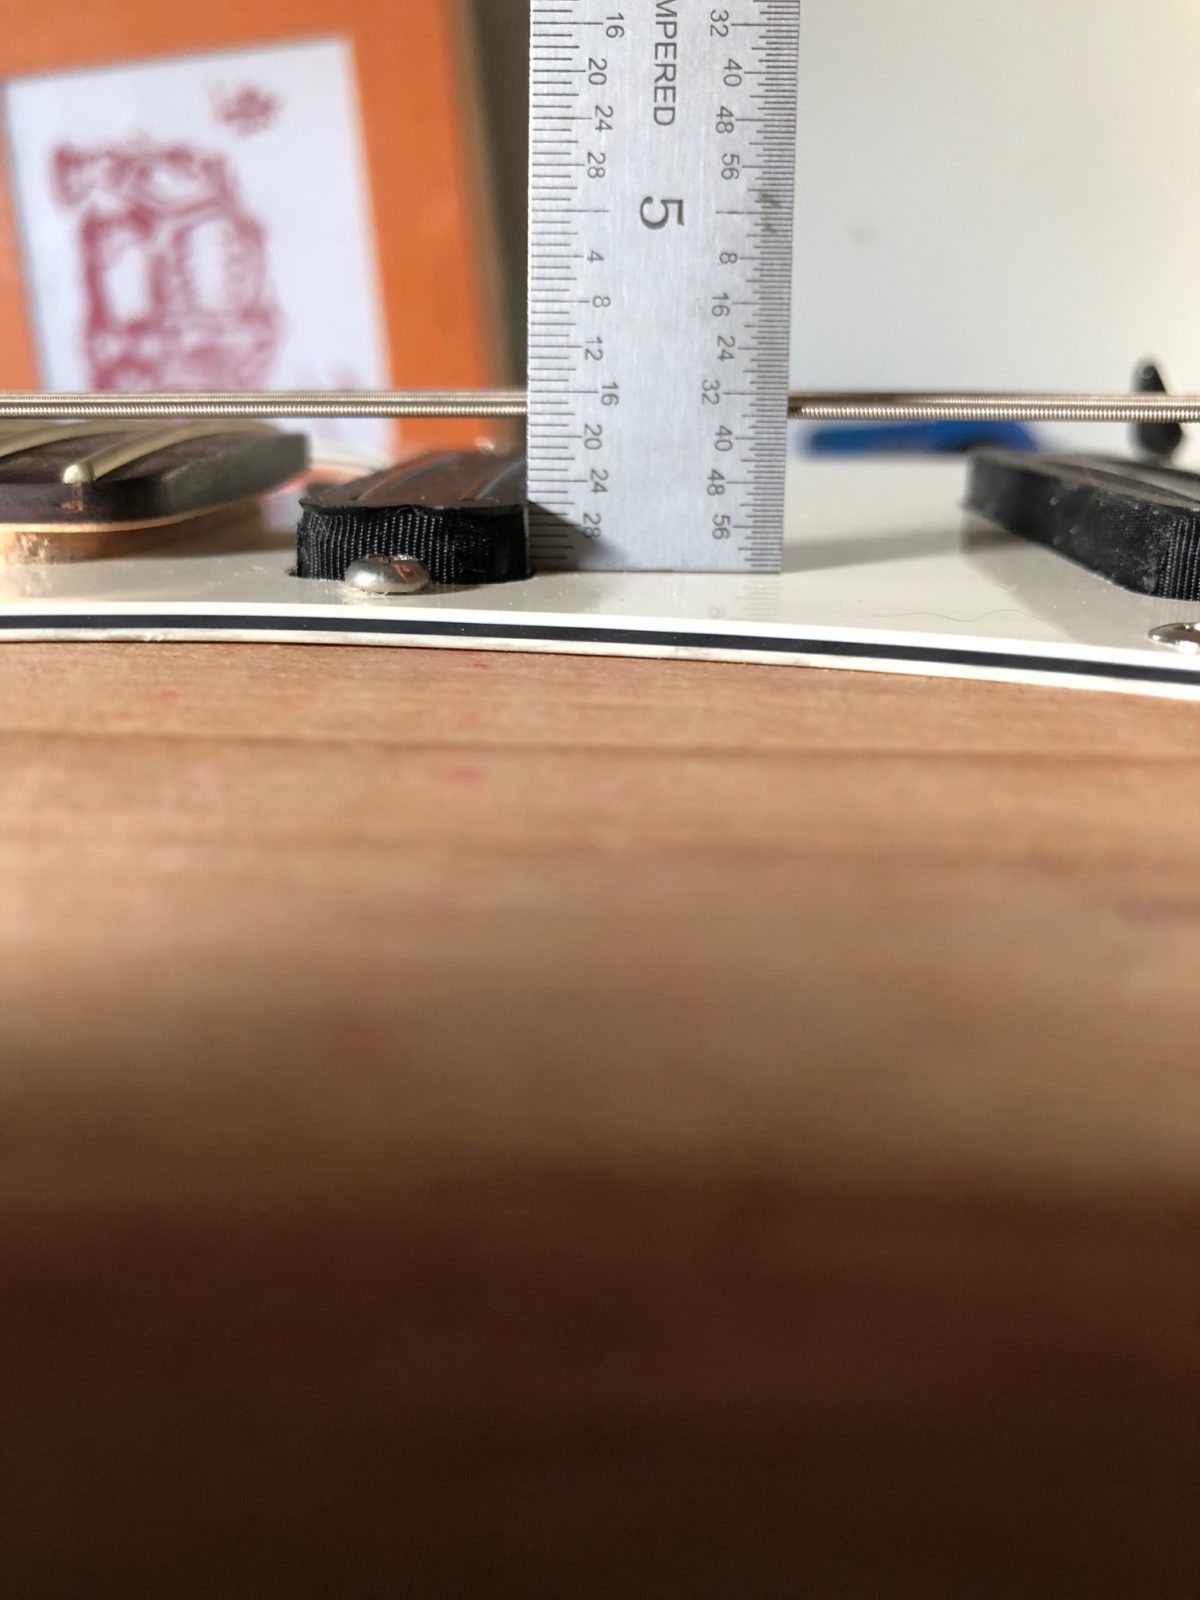
Noteworthy here are some of the measurements involved in removing the finish. In weight, the guitar lost about 6 ounces after taking off the finish. This was enough to feel noticeable in picking up, holding and playing the guitar, and it seemed lighter in comparison to some of my other Stratocasters. I was also able to get an accurate measurement of the finish itself by comparing the top of the bridge anchors, which were once flush with the top of the finish, to the top of the wood. In all about 2/32nds, or 1/16th, of an inch was stripped away.
After photos
Recordings: Overall
Now with the guitar completely stripped down to the wood, it was time to put the tone theory to the test. Before disassembling the guitar I had recorded a small snippet of pseudo-poppy, pesudo-indie demo music. The recording consists of four tracks which showcase the guitar playing a “bassline” in the lower register, some power chord rhythm accompaniment, some open chords and a “lead” line with single notes and chords in the upper register around the 12th fret. For reference sake, here are all four tracks together with the finish on.
Once the guitar was reassembled I went about re-recording the exact excerpt under the exact same circumstances. I took note of the input gain in reason and on my Apollo Twin interface to make sure I didn’t accidentally boost or diminish the signal the second time around. For posterity I made sure to use the same cable and pick that I did the first time around as well as raising the height of the pickups to compensate for the loss of height after removing 1/16th of an inch of finish.
Even before I plugged in I felt like I could hear a difference. Knocking on the wood of the guitar seemed to have a more pleasing percussive, and even tonal, sound than when the finish was on. With an ear placed directly on the body of the instrument I could start to hear more variance and overtones in the pitch of the wood being struck than I seemed to remember being there initially. This one bit of comparison is admittedly less objective since it was not sonically documented, but is something I have come to believe in.
For expectation’s sake it is worth noting that we are working within the same ballpark in the quality of the sound of the instrument as the quality of the wood. The hope is that there is some noticeable effect on the sound of the instrument, but it would be unrealistic to think that it will, all of a sudden, sound as good as an instrument five times, or ten times, the price. The focus here is the difference in sound from beginning to end, and evidence that the instrument sounds somehow better relative to where it started.
I would make a strong recommendation here that listening be done with some decent headphones or speakers. A lot of the nuance and detail are likely not going to come through on built in speakers from a laptop or smartphone.
Comparisons: Bassline
The first recording here is the sixteen bar excerpt split into two eight bar sections. The first eight are the guitar with the finish on with the second eight recorded after stripping.
Second is a “spliced” version of the same bassline which alternates every two bars for the first half, and then every other bar in the second. Each alternation starts with the finish on and is followed by the finish off.
The first bit of difference you can start to hear is that the volume is a little higher without the finish. For the amount of consideration I put in to making sure the variables around recording an input gain were identical before and after I would like to think that this is an effect of removing the finish. It is reasonable to believe that a piece of wood could project more volume after having a restrictive layer of finish removed.
Next is a third recording which isolates the “turn around” in bars seven and eight of the “bassline” excerpt. It is twelve bars long and alternates between bars seven and eight with the finish on and the same two bars with no finish three times.
I wanted to isolate this part of the recording as it seems to emphasize the second difference in tone that I started to recognize. The open strings seem to carry more of an “acoustic guitar” resonance, or even growl, than they had when the finish was on.
For as much as you can start to hear it in the recording, you can feel it while you are playing. It is a kind of subtle, exciting response from an instrument that seems to have more voice to it, and even more range in volume and expression. You get the same feeling when you go from hearing or playing through something that originally had compression on it which is suddenly turned off.
Comparisons: Power Chords
The three power chord tracks have the same arrangement as the “bassline” ones. First is the half and half version with eight bars of finish and eight bars without.
Second is the same “spliced” version as was used on the “bassline” track. The first eight bars alternate by twos starting with the finish on, with the second eight alternating every bar.
Now that we’re using larger chords, the volume difference from one to the other becomes more apparent. There is also a third phenomenon or comparison comes into play when the track switches from finish to no finish. During these changes it sounds, or feels, the same as flipping a pickup selector switch. It is more and more prevalent in the chord tracks as the switch carries over some of the sustained sound of the chords.
Finally is a two bar comparison track which alternates between bars one and two of the finish version and the same two bars in the non-finish one. This track also has three repeats. The power chord here is the open A on the fifth string and fret two of the D string. Once again you can hear that “growl” or throatiness from the open string which also seems to come through on the D string.
Comparisons: Open Chords
The first two open tracks follow the same format as the “bassline” and power chord tracks, with track one being the half-and-half and track two being the splice. There are some artifacts in the clip starts and ends which are due to my near-rudimentary recording skills but also do a good job of marking the switch between finish and no-finish.
With chords this big, the volume change is a lot more prevalent, probably the most of all the different tracks I originally recorded. Some of the “growl” doesn’t come through on the no-finish part of these tracks which is more due to my playing approach than the guitar itself. I had to hold back in how hard I was picking the guitar to keep the track from clipping since the instrument was projecting so much. You can also pick up a little bit of the “pickup switch” phenomenon as well.
Finally for the open chords is another two bar comparison. Similar to the other tracks this is the first two bars of each open chord track alternated three times. I was able to attack the strings harder in this section without any clipping, and as a result you can hear some of the clarity and “growl” from the lower strings coming through in strings one and two.
Comparisons: Lead
Lastly are a few tracks that isolate the before and after performance of the guitar in the high register. Once again, track one here is half and half’ed, with eight bars of finish and eight without. Track two is “spliced” and alternates from finish on and finish off through the track.
Finally is a one-bar comparison of the single note part of the lead track. It is really close, but you can hear the obvious change in volume, and also a little bit of that unrestricted nuance. Once again, it is that “compressor” which has been turned off and allows you to speak each note with a little more subtlety and variety.
Final Thoughts
Maybe it is just the hours invested in working on the instrument, or the sheer number of times I have poured over the above recordings, but I definitely went from being a skeptic of this theory to a believer. I still believe that the vast majority of the tone produced by solid body instruments like this comes from the pickups, and that the body itself contributes much less. Even considering this, there seems to be a respectable percentage of the guitar’s sound that comes from other factors. If not in sound, there is a feel to the instrument that seems to come back when the wood has been liberated from its polyurethane shackles. A once oppressed guitar body is free to live and dance in your hands, and speak with a reinvigorated voice and expanded vocabulary.

