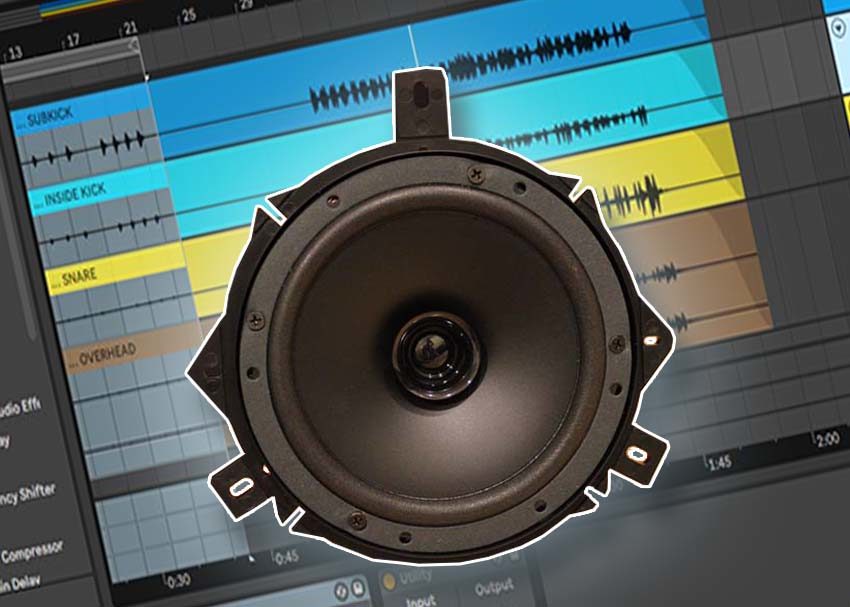
The SubKick has been around for a long time, or at least the idea of it has. Using a reverse-polarity speaker as a dynamic microphone has been around since at least the ’60s as a recording technique, but didn’t popularize until the early 2000s when Yamaha released the SKRM-100. The SubKick uses the physical movement of its speaker cone as a type of transducer that picks up “sub-bass,” which are frequencies that reside below 100Hz. The SubKick is often paired with an additional kick drum mic or two, then these are mixed to create a fat and resonant bass drum tone. Our Behind the Kit crew built a D.I.Y. version of the legendary SubKick microphone, and this guide will show you how to avoid complication while recording and mixing tracks with it.
Initial Placement
The initial placement of the SubKick always brings up a conversation among producers. Many think the track itself is the biggest indicator of where to place it, and they aren’t wrong; placing a SubKick near the center of the kick drum’s batter head about two inches from the surface will capture more “attack” because that is directly in front of where the beater is striking. Going further out to the edge will bring out more resonance and less attack. In many cases you will be dealing with multiple mics on your bass drum. This could include traditional kick mics like the Shure Beta 52A or a “panacea mic” like the Electro-Voice RE20 placed inside the drum, aimed at where the beater strikes. Pairing a traditional drum mic like this with the SubKick is important because typically, depending on speaker size, the SubKick’s frequency capture tops out at about 8KHz, that leaves out a good portion of mixable sound that the Shure or EV will grab for you.
If this placement is used you will have captured both the lowest and highest frequencies your kick drum can produce. Any engineer or producer worth their salt will tell you that you need to “learn to fish.” This is a slightly pompous way of telling you that you need to try as many placements as possible and see what sounds the best. Phase issues can almost always be fixed with minimal hair pulling frustration, so try something weird out and who knows, maybe you will discover the next great way to record a kick drum.

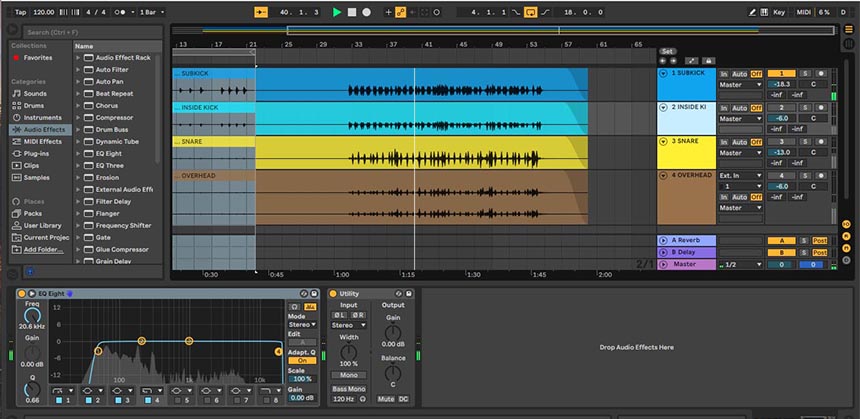
Placing a “high-pass” filter on an internal kick drum mic will bring out the “attack” of the initial beater hit.
Mixing the Track
Heading into the mixing step, you will start to see where phase issues come into play. Overhead, snare, tom and kick mics can all have a hand in phase issues within your mix. The best way to determine this is to “solo” monitor certain tracks and compare them audibly as well as visually by looking at their waveform shape in your DAW. If the waveforms look out of phase there are a few ways to fix this, checking your mic placement before pressing record or by using phase inversion while in a DAW. Most major DAWs have some sort of plug-in for phase inversion.

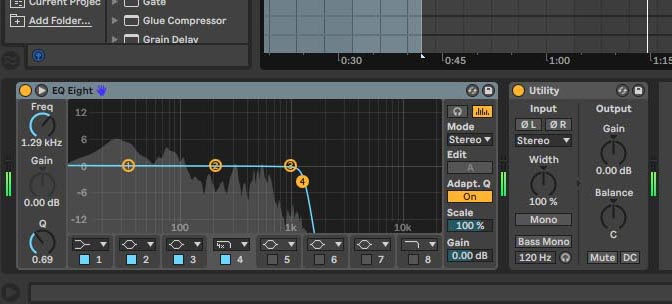
A low pass filter placed on the SubKick track around 1.2kHz showcases the entire frequency captured by the speaker cone, along with Ableton’s utility plug-in for reversing polarity on the track to eliminate phase caused by placement.
After phase issues are subdued, you can move on to the actual mix of the kit. Start by comparing one kick mic with the SubKick. Leveling will come later, right now this is about how (if any) captured frequencies from either mic overlap those captured by the other and cause a muddying of the tonal waters. You can then approach the traditional kick mic with a high-pass filter and the SubKick with a low pass. The exact frequency at which the two overlap varies, but this method gives you a lot of options for how you’d like the kick to sound. Bringing the high pass around 100Hz will make the kick sound pretty standard, with a bit more bottom end. But going further north brings more low-end thickness to the forefront and more high-end attack due to the internal mic isolating the high frequency strike of the beater.
Some producers will not actually EQ a subkick track, but use it as a “thickener” for a kick track, much like double a guitar can fatten up a rhythm or lead. This method uses compression and gain control to wrangle in a hot subkick signal and push it to the “bottom” of a track’s tone.
After the multiple kick mics are reigned in, you can move onto how they blend with the rest of the drum kit. The great thing about SubKick kick microphones is that they pick up amazing frequencies from all types of drums and rooms that you’d never believe were there until you tried the SubKick. For instance, a SubKick placed in close proximity to the batter head of a kick drum will often pick up low frequencies from the floor or rack toms, especially during tom beats and fills. This option gives the SubKick a “tool-like” ability to be used either surgically in specific portions of a track or like a warm blanket over the entire composition.


Leave a Reply