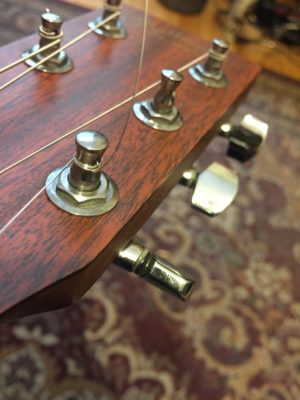
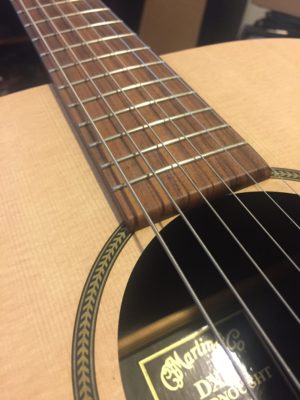
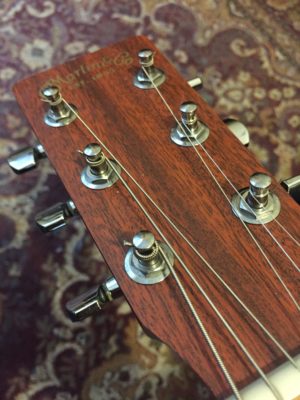
I love cats too much to revert to a certain old adage, but when it comes to restringing guitars, there’s more than one way to do it. I have had a few go-to methods to restringing steel string guitars over the years, but finally settled on one which has proven to be the quickest and most effective. This method always leaves the machine head windings looking the most clean and professional, and sets the guitar to hold its intonation the best with very minimal time needed for the strings to settle.
Tool-wise there is not much required for this job. If you’re in a pinch all you really need is a fresh set of strings. If you want your guitar to look like Apollo 13 Tom Hanks and not Castaway Tom Hanks you’ll probably want something to clip your strings with when you’re done. This method requires very little string winding, but a string winder still proves to be a time- and effort-saver here.
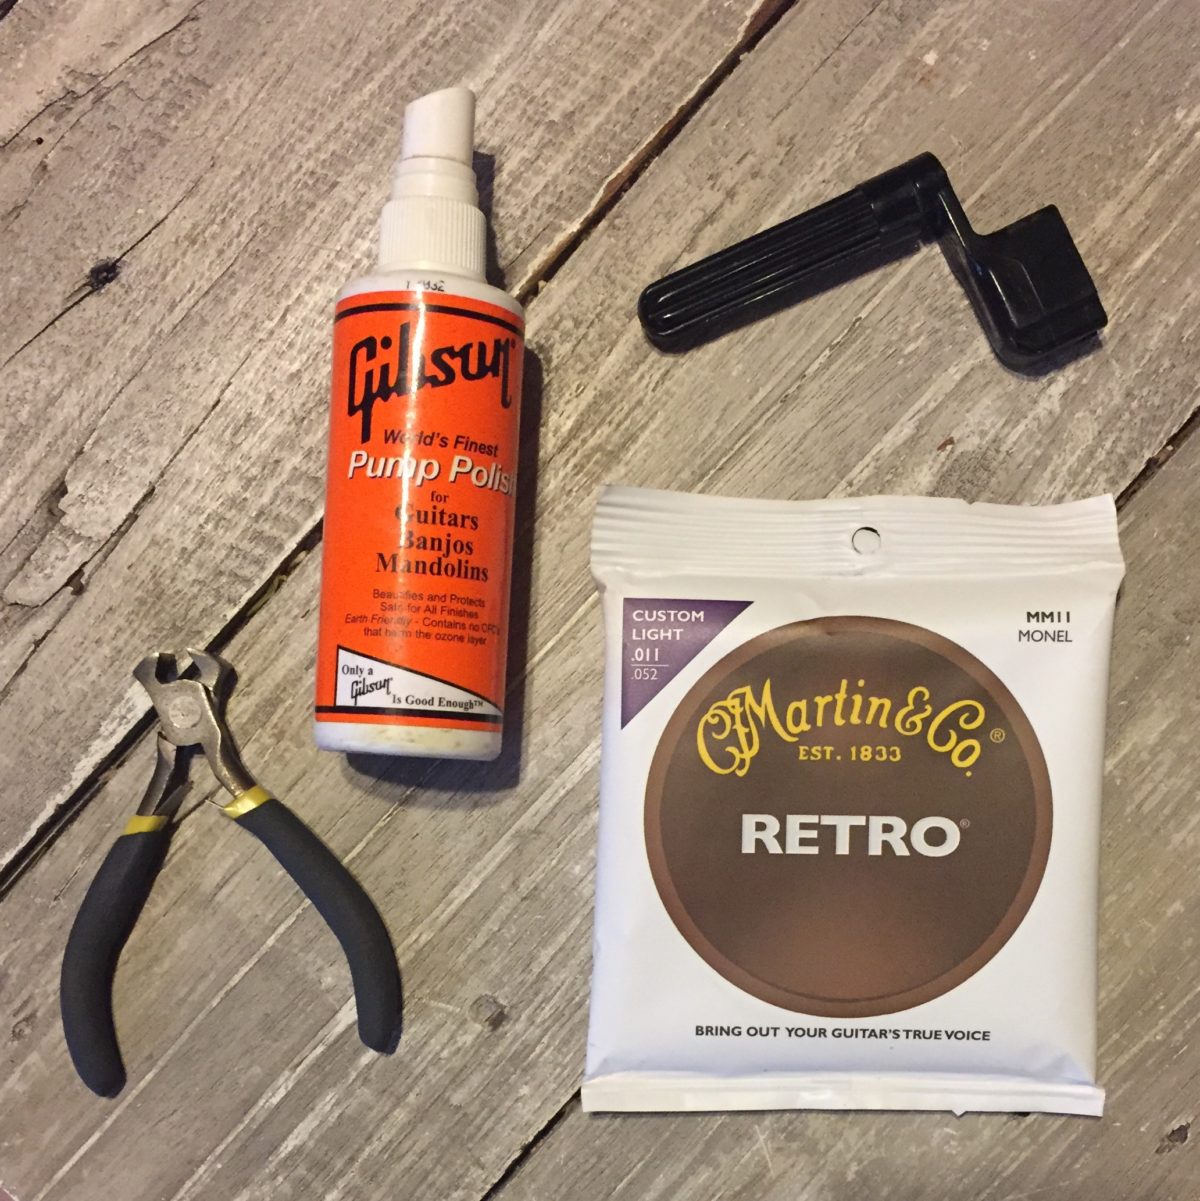
This time around I’m freshening up my Martin dreadnought with a set of Martin Retro Monel 11-gauge strings. Time, air and human hands have done a number on my old set, and they have lost quite a bit of tone, and don’t seem to have the same pitch clarity that they used to. In extreme cases, damages or over used strings can also promote fret buzz and sustain issues.
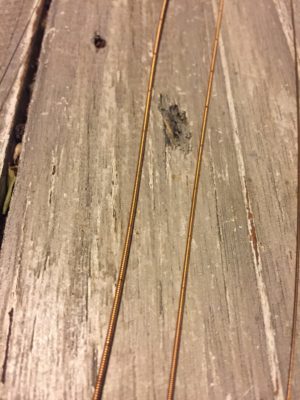
Taking off the strings is easy enough. For an acoustic, simply loosen the tension to where the strings are floppy, record a quick John Cage piece, remove the bridge pins, and uncoil and remove them from the machine heads. With the strings off you can really see the wear that the frets have put on the strings, causing divots where the two have come together. This is partly where buzz and sustain issues come up, when the string is no longer making a clean break from the fret.
- Old strings have lost their shine and are pretty corroded.
- Old strings off the guitar. Check out the divots from where the frets were.
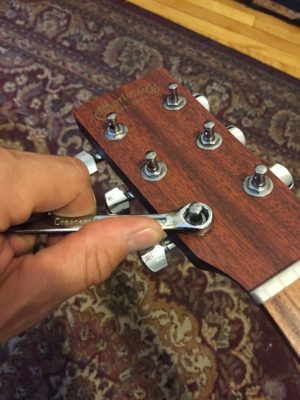
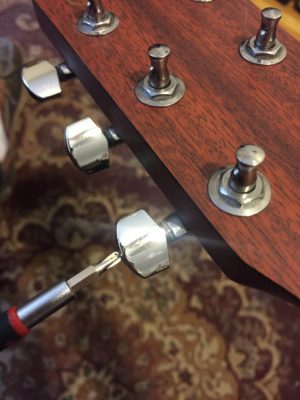
Having the strings completely off your guitar also provides a good opportunity to make some quick maintenance checks. Check the screws and nuts holding your tuners to the headstock, and firmly adjust them to prevent any lost parts or mishaps down the road. There are also some key areas of the guitar which can now be easily cleaned, such as the headstock and the top of the guitar above the bridge. My favorite cleaner over the years has been Gibson’s pump polish and cleaning cloth.
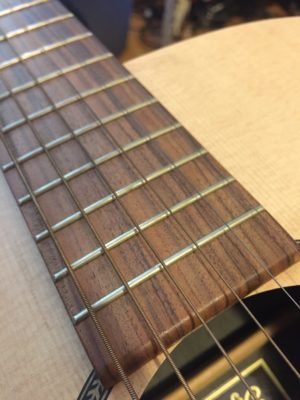
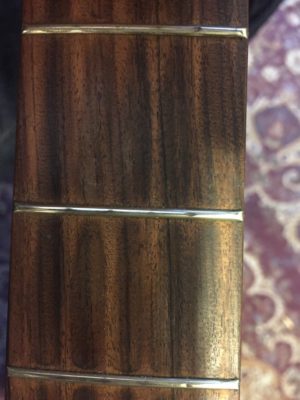
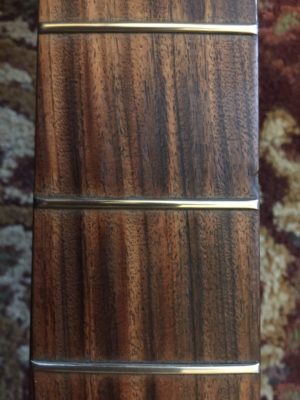
Finally, this is a good time to diagnose your frets for wear, and also treat them. The frets on this Martin have been worn significantly since its last setup, and could use a solid polish. Check out this post for a full guide on polishing frets.
- Unpolished frets sporting some pretty deep divots from string wear.
- Fully polished frets with no more divots.
With all the dirty work done it’s time to put the new strings on. The key to this method of restringing is that we’re going to be winding the tail of the string around the machine head instead of measuring the string and cranking the tuners.
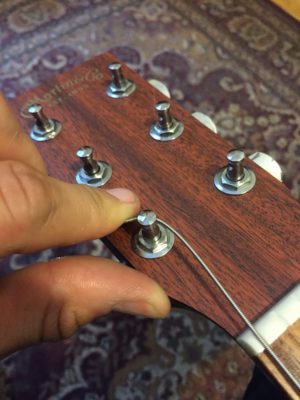
I generally preset the holes on the posts so that they are perpendicular to the direction of the string, or parallel to the direction of the fret. This is going to save some time and make less room for error later. Starting from the bottom I’ll take string six and pull it firmly across the sixth string post. Next, I make one counter-clockwise wind around the post.
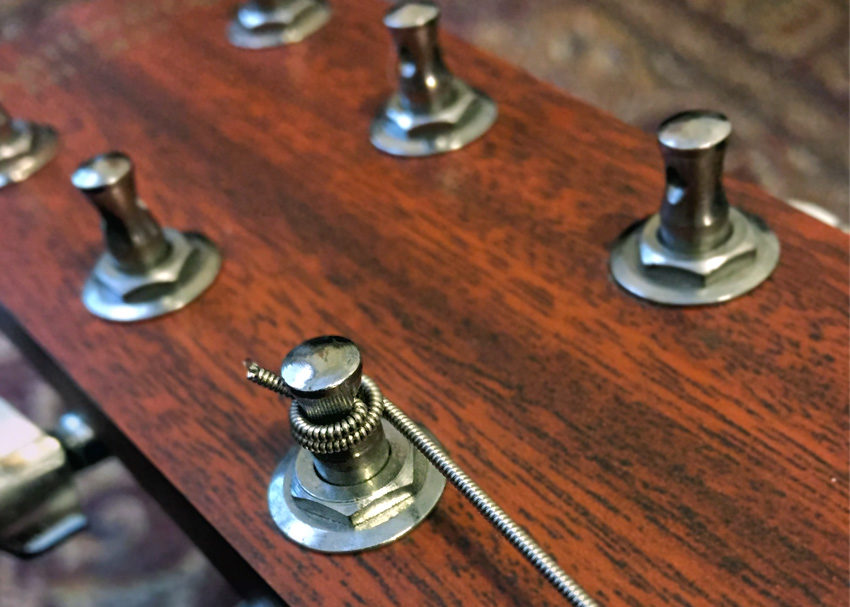
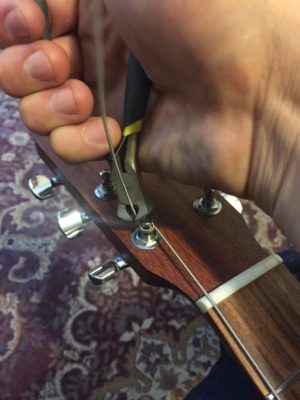
From here, take the tail of the string and pull it through the hole in the post, still above your wind, and tighten. You’ll probably hear a couple clicks as the winds in the string lock against the tuning post. This is a good time to use that string winder to bring it up to tension, but if you did it right you will find that the string is a good deal of the way towards being in tune, and doesn’t need a lot of turns. When you are at pitch, clip the string and you’re done. With round wound strings, the windings help keep the string in tune, and they do not need any extra looping or tying to keep them from losing tension over time.
- Pull string across post.
- One wind around the post for larger strings.
- Pull tail through post hole.
- Trim string
- Finished string
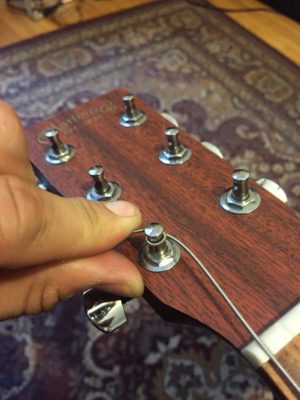
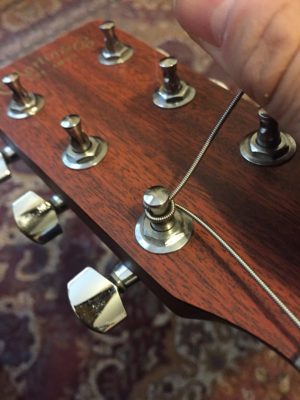
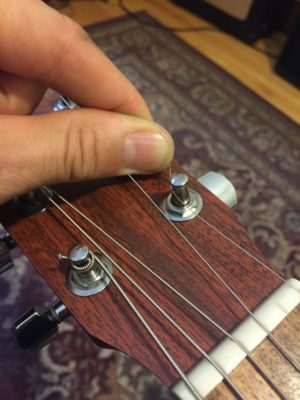
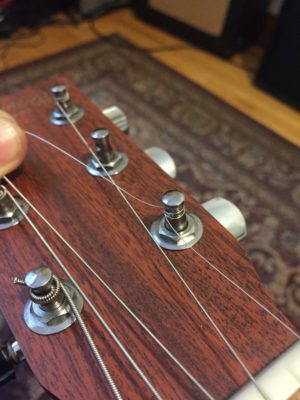
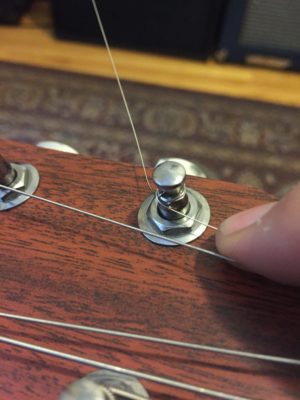
The unwound strings require nearly the same method, but with a small twist at the end. Start with the string pulled firmly across the post, but mirrored so now we are on the other side of the headstock. Since these strings are much thinner, it’s worth making two turns as we go clockwise around the post. Next, thread the tail of the string through the post from the outside so that it is pointing towards the middle of the headstock and pull it tight. The tail should come out of the hole above the two winds in the string. Here is where the magic happens:
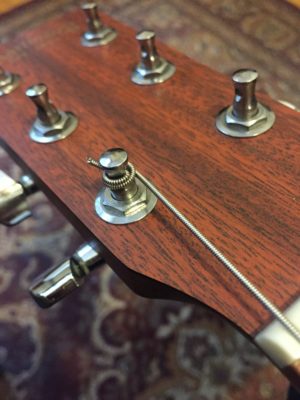
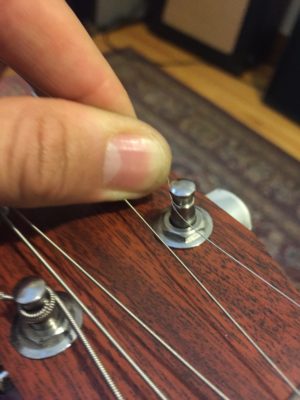
Weave the tail under the length of the string, and then kink it back up. When done right, you will see that the tail of the string lies over your two coils you made earlier, but is being held firmly to the post by the bottom coil as it heads toward the guitar. From here simply tune the string to pitch and it will firm up the tie.
- Pull string across post
- Two winds around post for smaller strings
- Pull string through post hole. Tail comes out on top of the coils
- Tail is woven underneath the lenght of the string (under my finger), and kinked back up
- String is up to tension and fully tightened
While a lot of people advocate “stretching” the strings, I generally avoid this step in case it puts any additional kinks in the string where you stretch it. Instead, I prefer to tune the guitar with a tuner. Putting tension back on the neck might require a few passes, but after a couple of times the strings should be settled. It may also be worth shredding a couple solos with some two or three fret bends to lock things in.
After that you should be ready to take the stage. I usually find that this method will keep my guitars in tune even after a few days off, or some challenging weather. With a little practice you can have your guitar strung up and tuned in little to no time, and can use the time saved to go play with the cats.


