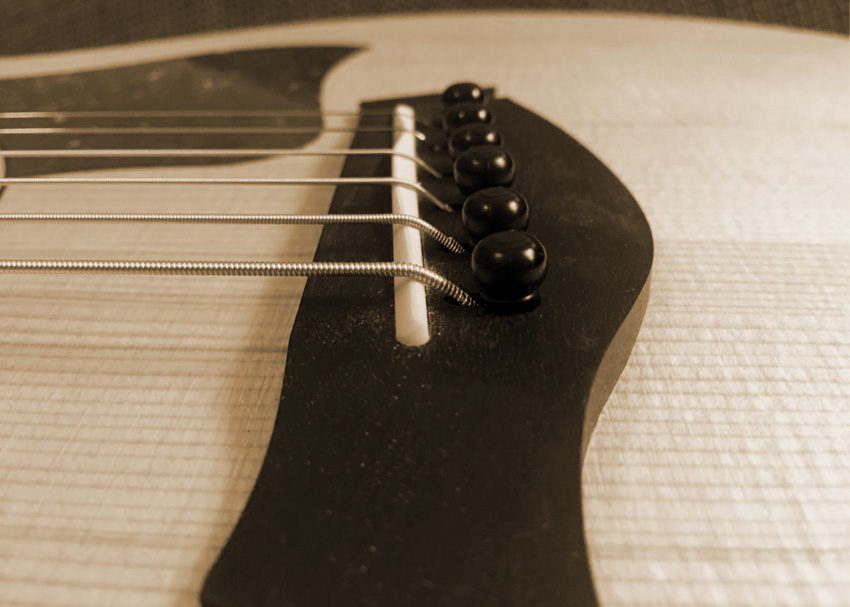
While changing the action on an acoustic guitar is not as simple as turning a screw like on an electric, it is no more difficult than adding or subtracting a little material. The trick is knowing how to measure ahead of time to save time and avoid any further complications later in the process.
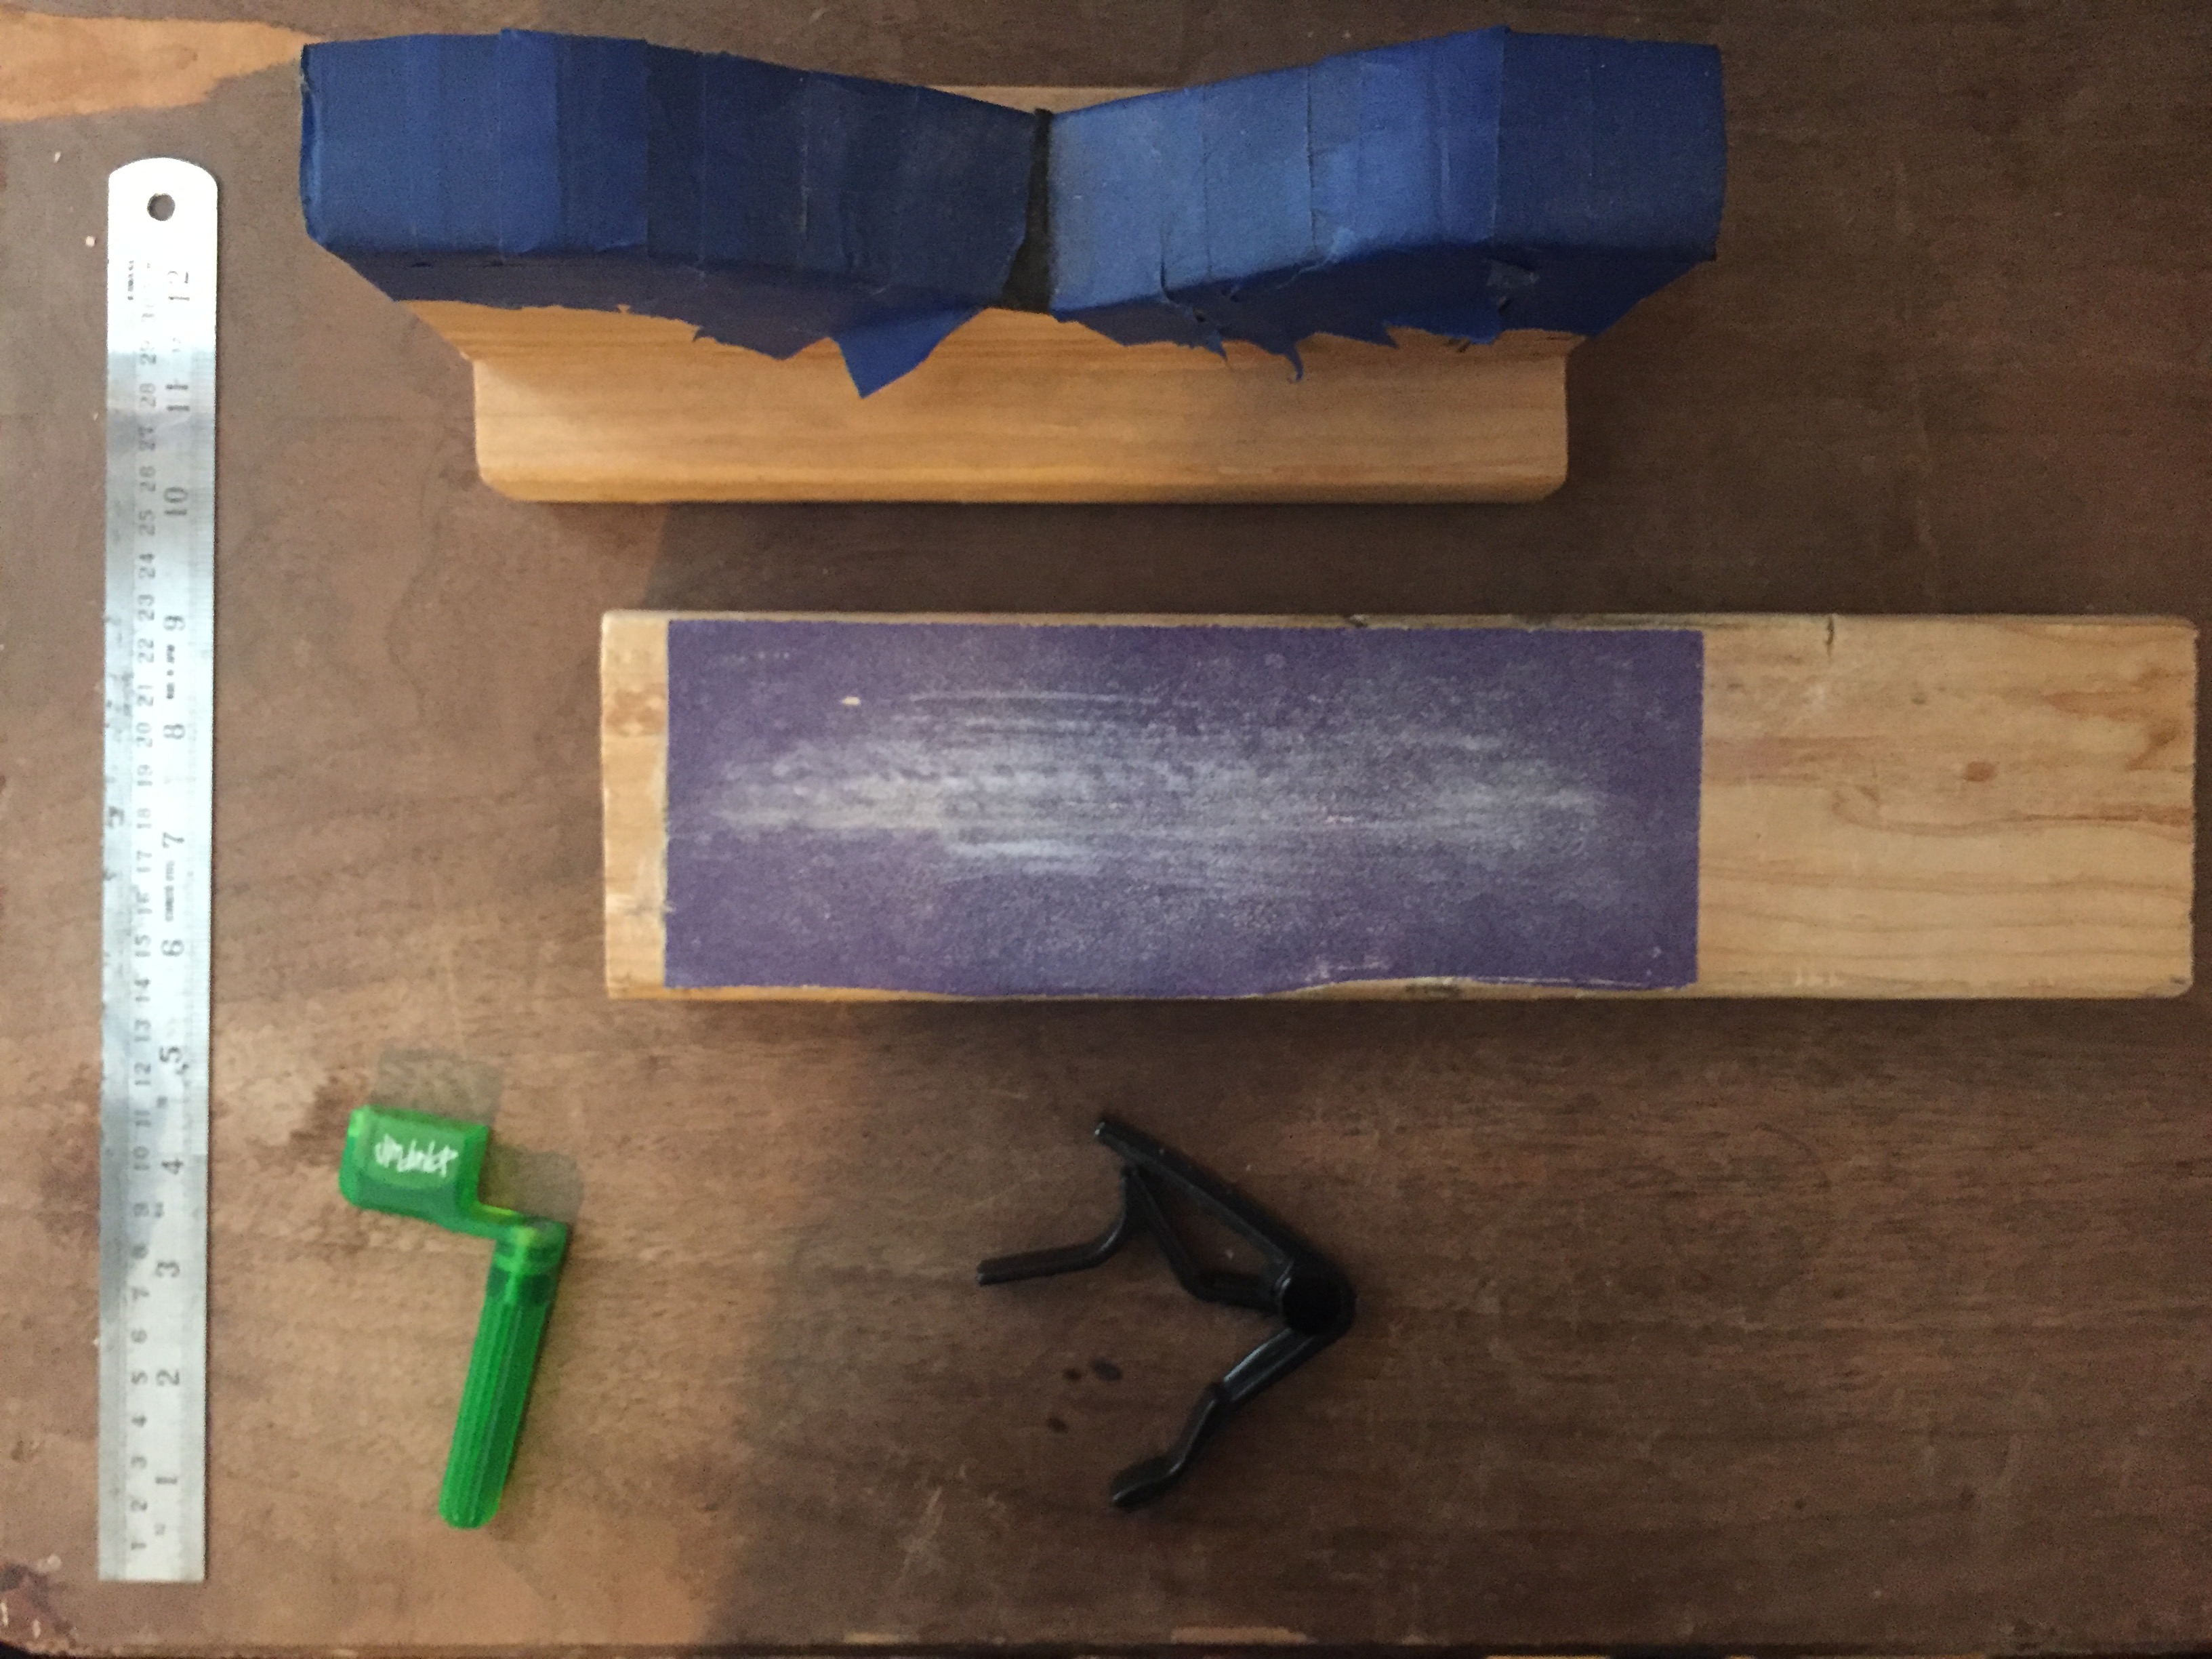
In addition, it doesn’t take a lot of specialty tools to get the job done. We’re going to need to de-tune the guitar significantly, so a string winder will be a huge help and a big time saver. A neck rest for your guitar is often a big help in safely elevating your guitar. There are many out there available for purchase, or if you are really on a budget you can fashion a DIY headrest like mine using a couple of short lengths of 2 x 4 and some taped down air conditioner insulating foam.
The most critical — and hardest to find — tool for the job is a ruler with both 64ths and 32nds marked on the side. The trick is that most rulers will have a small gap between the edge and where the numbers start, and we’ll need one that has measurement hashes that are flush with the edge. Many guitar tool kits such as the Fender Custom Shop Toolkit or the CruzTOOLS GTGR1 GrooveTech Guitar Player Tech Kit will come with one. If you are on a budget or are in a pinch you can try (extremely carefully) to sand the gap off of a normal ruler.
Step 1: Check for Bow
The first thing I checked was the bow of the neck, to ensure that a small truss rod adjustment wouldn’t do the trick and that it was indeed necessary to adjust the saddle. To do this, simply fret the first fret of the sixth string with your left hand, and hold down the fret where the neck meets the body with your right thumb. You can then reach with your right pointer finger to fret the guitar at the midpoint between these frets. For a standard setup you want a barely visible gap, or audible click, as you push down on the string. My string was much higher, so I tried a couple different settings to see what I had available. An extremely straight neck turned out to create excessive buzzing on the low frets, so I found a compromise between where I started and this extreme.
With the neck tension where I wanted it, I took another look at the string height with my ruler, and found that the action was still too high. This is a measurement you want to take at the 15th fret, or the first dot after the double dot, on both your 1st and 6th strings. String height is normally determined in 64ths of an inch. A standard, or most common, guitar setup will have the 1st string hovering 4/64ths above the 15th fret, and the 6th string above by 5/64ths. Some people prefer higher or lower actions than this, but this is the measurement that I have found to get the most out of my guitars.
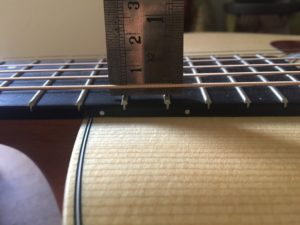
Measuring the action of the sixth string
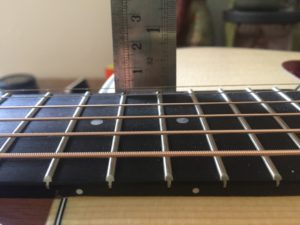
Measuring the action of the first string
Step 2: Determine How Low You Need to Go
I found on my Taylor that even with a corrected truss rod setting that my 1st string measured in at 5/64ths, and my 6th string a whopping 7/64ths, meaning that some material was going to have to come off my saddle. The way I determine how much material to shave relies on the golden ratio of 1:2 — for each one unit you want to raise or lower your action, you will have to add or subtract two units of material. Since my first string needed to come down by 1/64th of an inch, I would need to subtract 2/64ths, or 1/32nd, from that side of the saddle. For the 2/64ths I needed to take off the 6th string side I would need to subtract 4/64ths, or 2/32nds, off that side.
A good quick consideration to make is whether or not you even have enough room on your saddle to bring the strings down. Inspecting the angle of your strings over the saddle and into the bridge is where to look. The danger of sanding your saddle down too low is totally flattening out this angle, causing your strings to buzz. Pictured below is my Taylor, which proved to have plenty of room, and my Gibson which is nearly flat, and will need additional surgery if ever I want or need to lower the action. One more quick measurement to ensure that you will have enough saddle to work with is to measure the height of your saddle above the bridge. My saddle was high enough that even 1/32nd off the top and 2/32nds off the bottom still allowed enough height for a clean string break across and into the bridge.
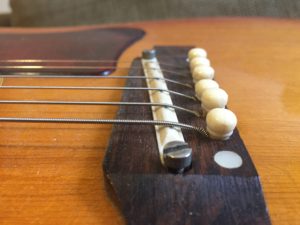
Gibson acoustic with a low string angle over the saddle. Any lower and the strings will start to buzz.
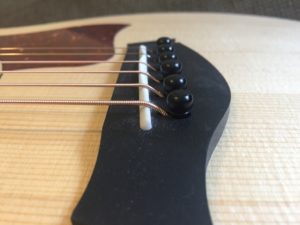
Taylor acoustic with a steeper string angle. There is definitely room here to file down the saddle.
On a side note, my father, or grandfather for that matter, never told me to “measure twice and cut once,” but had they said so it would be 100% applicable for this situation. Being absolutely certain of what your string height is, what you want it to be and knowing how to get there will save you from having to make multiple attempts at getting under the saddle and changing the height. Nothing is worse than being ready to be done and finding that your action is still too high, or finding that you went too far and having to shim the saddle. Aside from the time involved is the increased stress on your strings from loosening them completely and tightening them back up to pitch over and over again. This stress is liable to break a brand new string if you’re not careful!
Step 3: Grab that Saddle
After you are certain of your measurements, the next step is gaining access to the saddle so that we can adjust it. If you are also re-stringing your guitar, this is the perfect time to loosen and cut your old strings, and maybe also do any fret polishing or cleaning that you are planning. I was not personally ready to move on from these strings, so another method was needed:
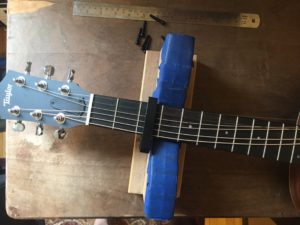
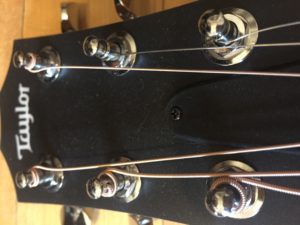
First, set your capo on one of the lower frets to ensure that your strings do not go everywhere after you loosen tension on them. Then you are free to detune your guitar until the strings are floppy, and you are improvising tub bass lines on them. You can see how the strings around the tuning posts have loosened considerably but are still organized. Finally, pull out your end pins and the strings should be free to pull out of the saddles. You can normally pull the saddle out with your hand, or give it a gentle tug with some pliers if it is a little tighter.
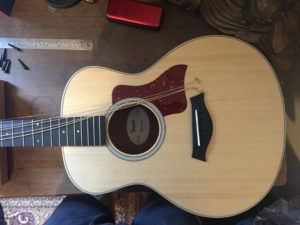
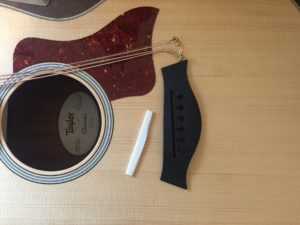
Step 4: Measurements for Sanding
With the saddle free, it’s time to pencil in a guide line for sanding. Using my measurements from earlier, I marked off 1/32nd below where the first string lies on the saddle, and 2/32nds below the mark from the 6th string. Using my ruler I then draw a straight line between the two. This straight line ensures that the middle 4 strings will also be brought down accordingly. I usually make a point to remeasure the distance to my line to check. After checking, I find that I will have to go until I am just barely sanding into my line to have the right height.
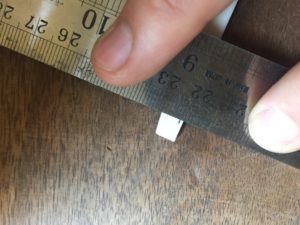
Measuring and marking 1/32 off the treble side
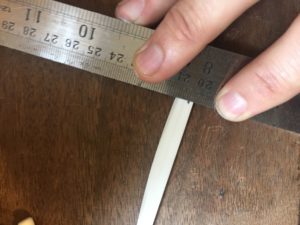
Measuring and marking 2/32 off the bass side
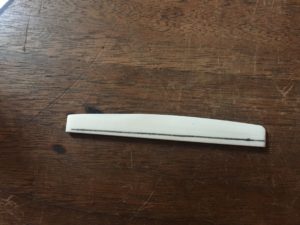
The guide line for sanding
Step 5: Sanding
This next step can be a breeze or a real chore depending on what tools you have. Nicer shops will have a mounted belt sander to do all the work for you, which saves a ton of time and can prove to be more accurate as well. If you are doing this on the cheap, a nice sanding block and some “elbow grease” will do. My sanding block is simply a small length of 2×4 with some adhesive sandpaper on it. From here it’s a matter of pushing your saddle back and forth across the sandpaper until the excess material is dust in the wind. I had a lot of ground to cover so I held a much lower grit of paper over the smoother adhesive sandpaper for the most of it.
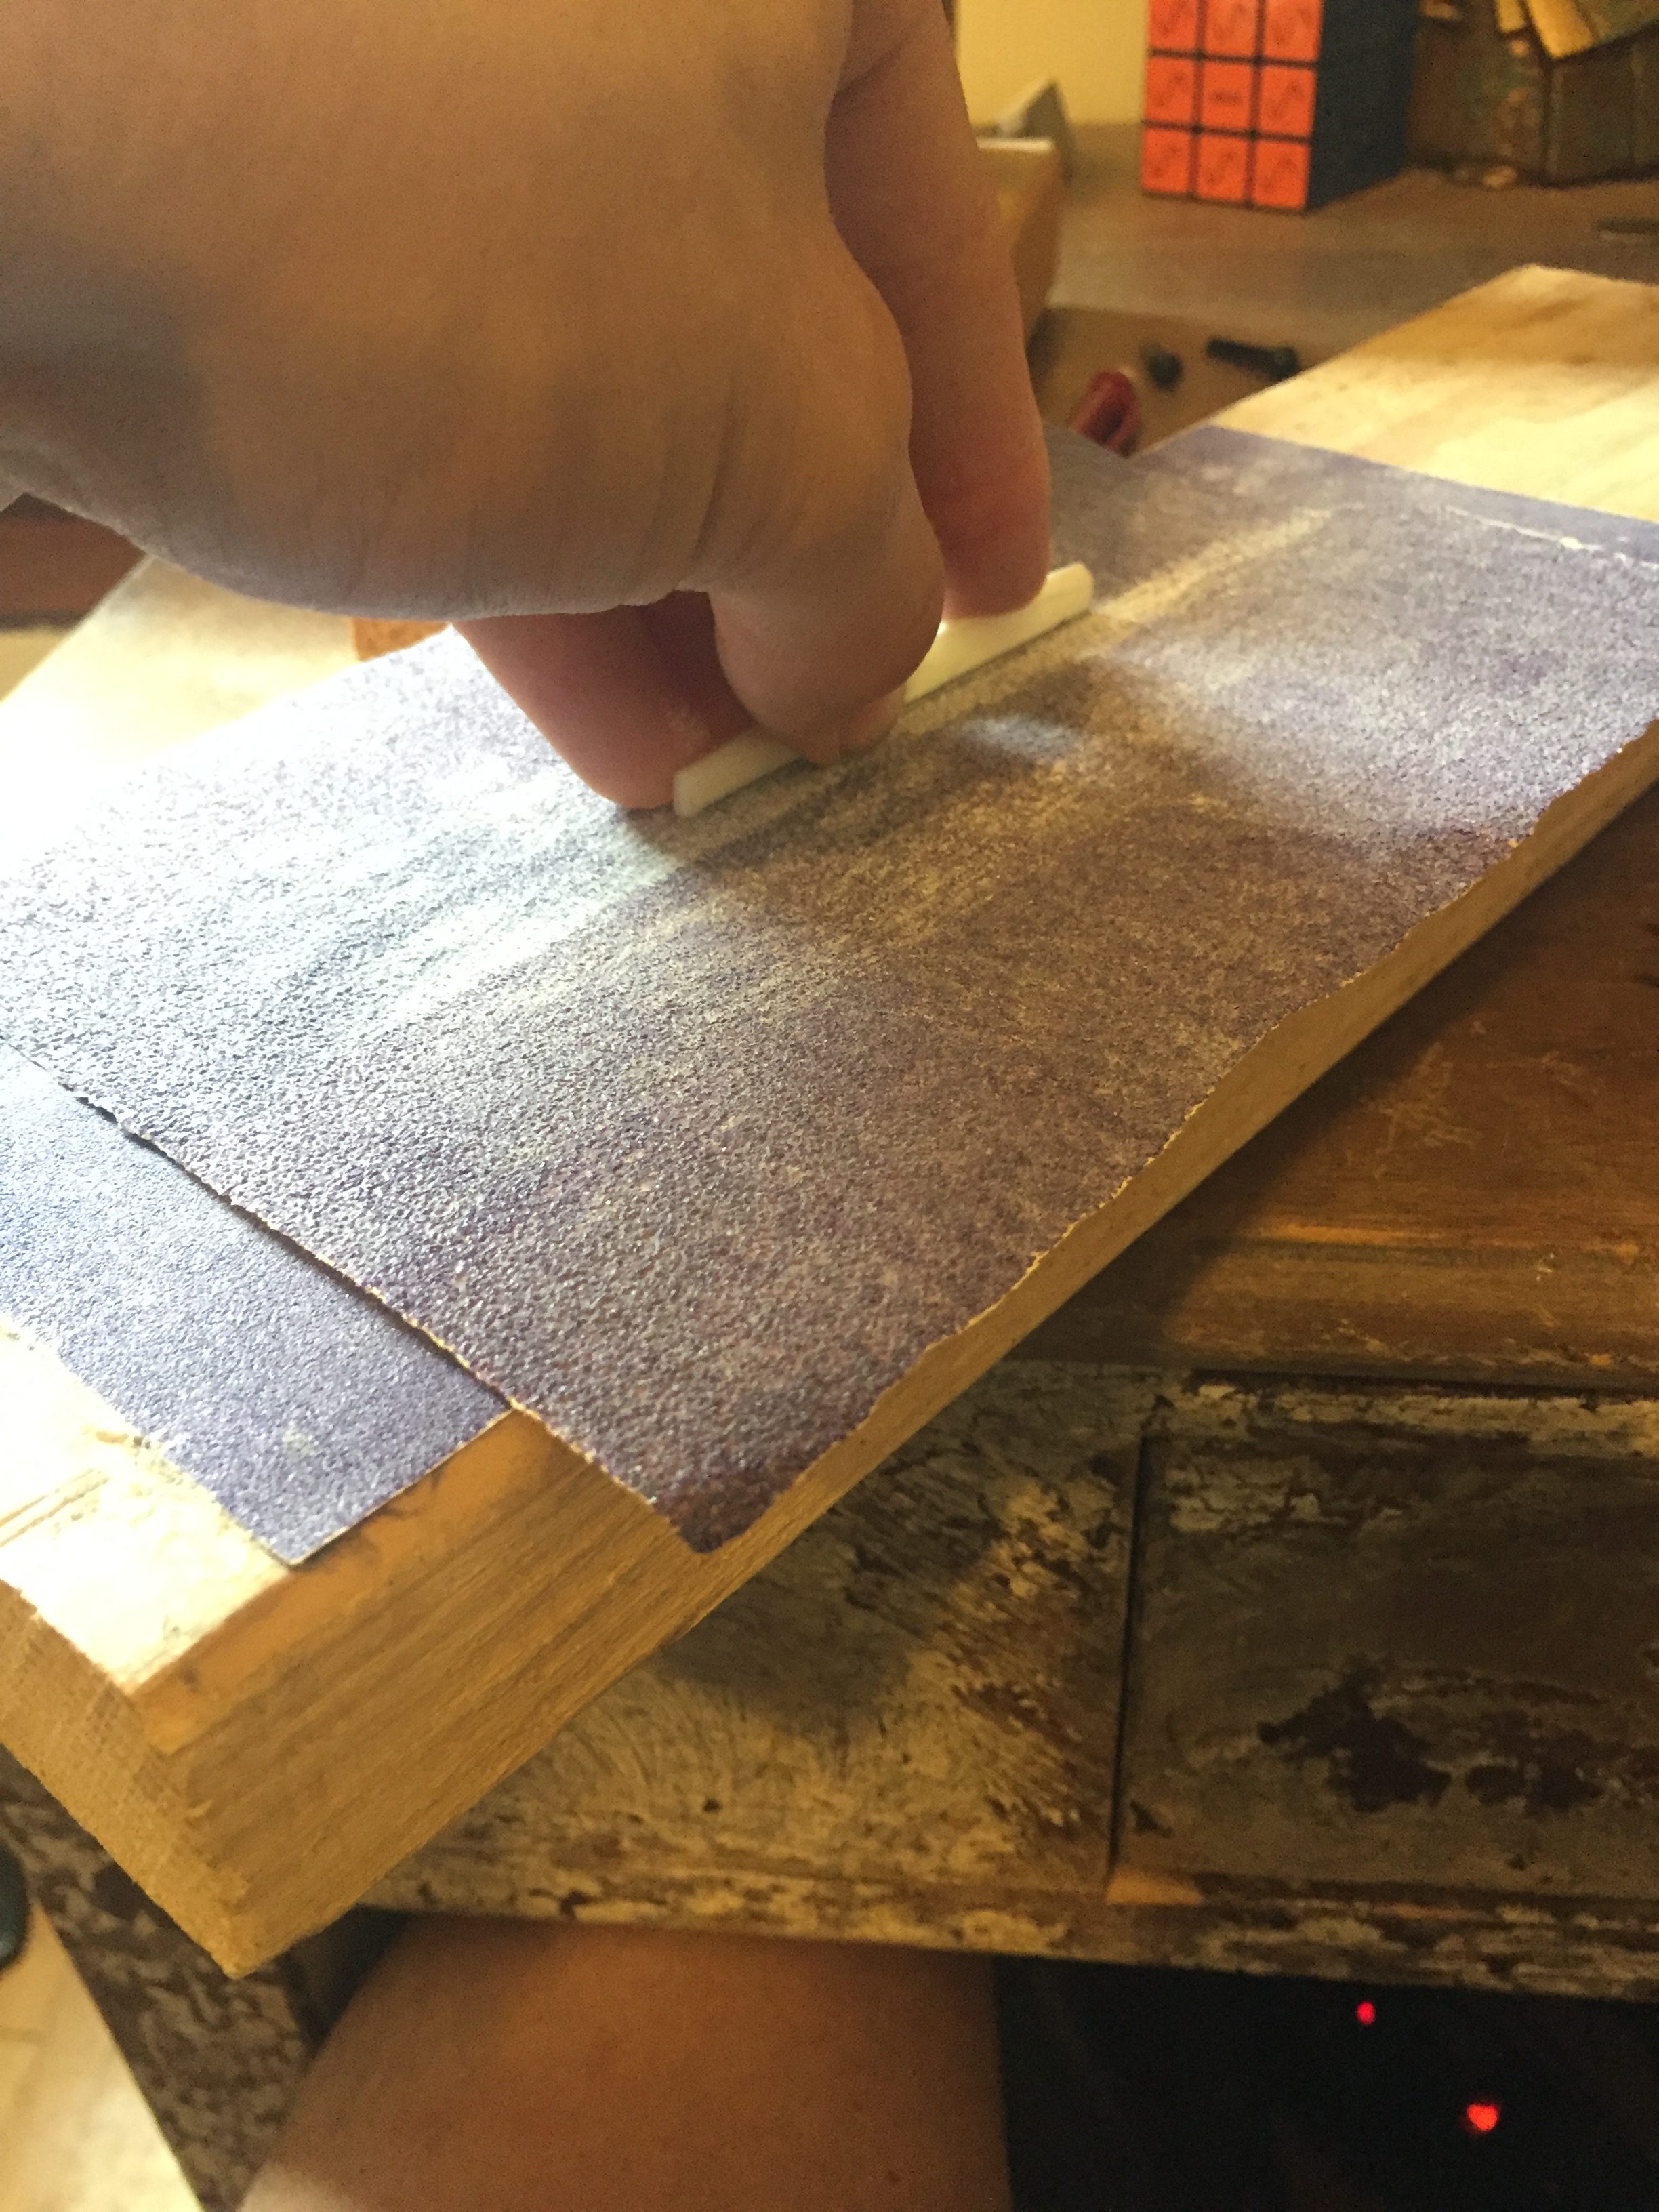
My sanding block with a lower grit of sandpaper laying on top. A huge help considering how much material I needed to sand off.
Something to look out for is accidentally angling the saddle as you sand which will in turn create an angled bottom to your saddle. The trouble with this is both the fit and sitting angle of the saddle when installed in your bridge, and a less-than-ideal connection between the saddle and the bridge as sound is transferred from the strings. I have found that even at my most careful, my hand will start to angle over time. To counter this, simply rotate the saddle every minute or so so that you don’t get too crooked in one direction. Chances are that you can correct any slight angling when you are done.
Once you have sanded to your line, you are for all practical purposes, done. Slip the saddle back into its slot in the bridge, pin up the strings and tune up your guitar. You are introducing a lot of tension to the neck at one time, so it is likely worth it to make a few passes across the strings while tuning to let everything settle.
After remeasuring my strings I found that my effort was true. The first string at the 15th fret was an even 4/64ths, and the 6th string at 5/64ths. Even with such a small difference in measurement the results in playing were enormous. I still had clear notes in the open positions, but now barre chords and higher voicings, inversions and scales were easy to play. All in all it took maybe 30 or 45 minutes of work to unlock hours of effortless and inspired music making.

