A lot of guitarists are vigilant about changing strings and adjusting their guitar’s truss rod, action and intonation with a good setup, but there’s something to be said about keeping your gear clean. Everyone has that friend who asks to try out your guitar, then hands it back with the fretboard feeling like it was left outside for a week. Heck, if you’ve picked up a guitar too soon after eating a few slices of pizza, you know why it’s important to keep things clean.
But even the most sanitary guitarists will experience some dirt and buildup over time. Thankfully, there are plenty of ways to keep your axe and its various parts looking and sounding great. In this installment of Guitar Workbench, we’ll look at how you can keep your frets spick and span.

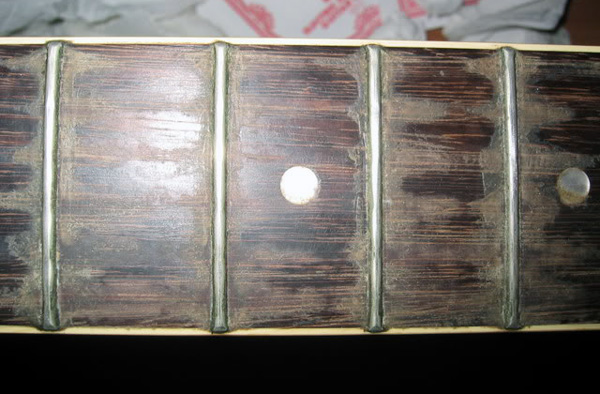
Pictured: A very dirty fretboard. Not mine, mind you!
Why Polish Your Frets?
The obvious answer here is for cosmetic reasons — newly polished frets have a sheen that looks great and catches stage lights. But polishing your frets also serves a more practical purpose: it makes for a much smoother playing feel. The buttery feel of bending strings over newly polished frets is a treat. Polishing frets also helps clean them and therefore, extends their lifespan. If you plan on keeping your guitar for the long haul and gig heavily this can save you a lot of money, as re-frets can cost a pretty penny.
Before you would ever get to that point though, check out our guide to polishing frets below. For this post, I took one of my guitars and used a polishing cream on the frets, but you can also do the job with a fine abrasive like steel wool. I cover that method a bit toward the end of the post.
The Guitar
Truthfully, any of my guitars could use a good bit of maintenance at the moment, but the one I chose for this project was a Craigslist find I picked up a little less than a year ago. It’s an inexpensive semi-hollow under the SX brand. I bought it on a whim as a sort of project guitar — so far I’ve replaced the bridge, tailpiece and tuners and am considering a nut replacement and new pickups soon. It could also use some fretwork as the ends of the upper frets stick out a tad too much and should be filed down. But that’s all for another day.
Although the original owner didn’t seem too into playing guitar, the frets had accumulated a bit of grime and were in need of some cleaning. I assembled the necessary tools and got to work!
Fret Polish
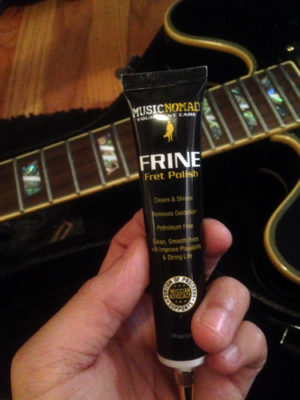
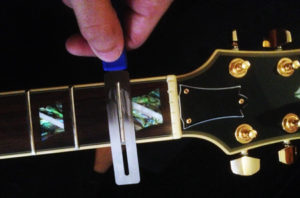
I’ve never polished frets before this, so I was a bit skeptical on whether or not I’d see a benefit. But upon closer look at this guitar’s frets, I saw that there was indeed room for improvement. There are plenty of options out there for fret polishing, but I chose Music Nomad’s FRINE fret polish kit, which includes the polish, a microfiber cloth and three fret guards. The guards slide over your frets to ensure the polish only goes on your frets and not your actual wood fretboard. They come in three sizes so you can cover the entire neck.
The polish itself is a paste-like substance, which Music Nomad says contains “micro-fine polishing compounds” to remove oxidation and dirt.
- FRINE fret polish from Music Nomad
- Sliding a fret guard over the first fret before polishing
Application was simple: just squeeze a bit of polish onto a cloth, — I found that a little went a long way — slide the fret guard over the fret and start rubbing in the polish. Wipe away any excess, and move on to the next. You can also apply the polish directly to the fret, but make sure you have the fret guard on first, otherwise you’re playing a tricky game of sliding the guard over without touching the polish. Learn from my mistakes!
- Frets before being polished. Note the especially grimy 19th fret.
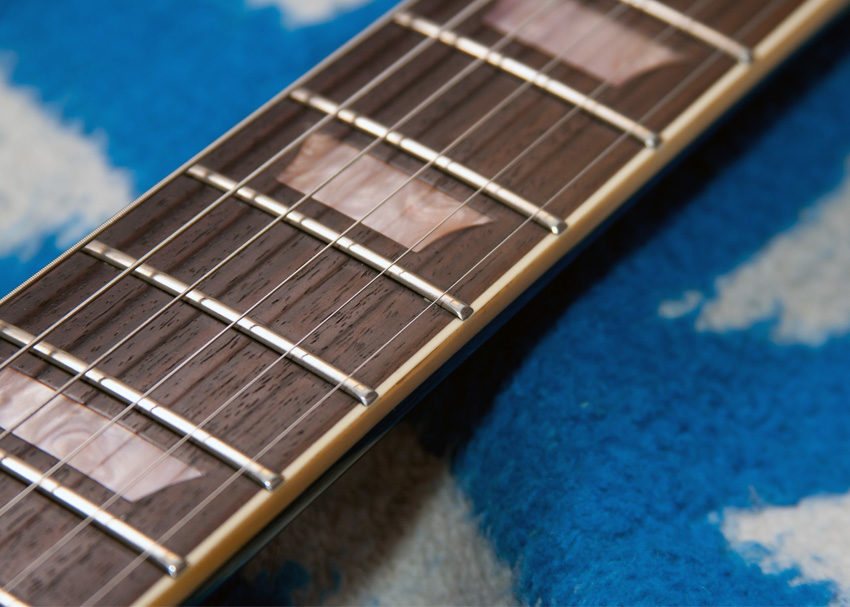
- Frets after being polished. Now look at that 19th fret!
The Results
As you can see in the pictures, the polish made a big difference in the appearance of the frets. The grime is gone and what’s left are frets that are oh-so-shiny and smooth. After polishing, I re-strung the guitar and played on it. Although fresh strings always feel nice and new, I also noticed that bends did feel at least a little better than they had before. It wasn’t a game-changing difference, but it was there, and I could see how polishing up frets every few restrings helps keep your guitar in top condition.
Other Methods
Prefer not to use a compound on your frets? There are other ways to polish your frets with super fine steel wool or sandpaper that will get you similar results. I didn’t document this process in my post, but suffice it to say, I have some advice for those who want to try it.
- Take caution to guard your fretboard, ESPECIALLY if the wood is sealed, as maple boards tend to be.
- I’d recommend fret guards for this job, but you can also tape off your fretboard with masking tape, though it is easy to tear
- Remember to wipe away any residue!


Leave a Reply