Most guitarists don’t start out with top-of-the-line professional gear. Pretty much everyone I know had a no-name guitar, a garage sale drum kit, a keyboard from Craigslist or a hand-me-down instrument from a sibling or relative’s attic. Eventually though if they’re serious about playing, musicians slowly upgrade their gear by mowing lawns, saving allowances and paychecks, and utilizing some great zero-interest payment-plans from amazing retailers (sorry, that was kinda shameless, but I gotta keep the lights on somehow).
The problem is that musicians — in this case, guitarists specifically — often hit a point in their career when they realize that good gear doesn’t always equal good tone in a direct A to B relationship. I know, tone is in the hands, not the gear, but lets forego that old argument for just once please. You can plug a nice PAF loaded Les Paul into A Marshall JCM 800 and it’s for sure gonna sound good, but sometimes there is just something missing. Here are a few quick, easy and cheap tricks to get the most out of your gear.
1. Give Yourself a Boost
You’re in your bedroom jamming on your amp everything is sounding great. In the context of your room you have time to dial in your amp and effects just right and perfect your tone. A few days later though, you’re at band practice and as soon as the drummer counts everyone in your guitar suddenly disappears in the mix. That tone you spent all afternoon shaping is just lost in a wash of cymbals, treble and mid-frequency noise.
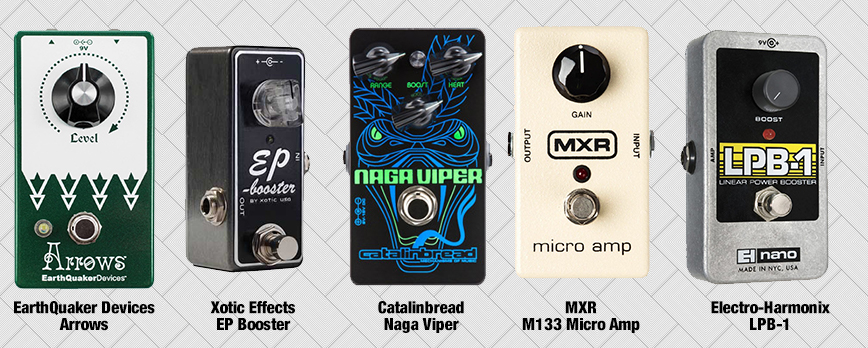
Throwing a good boost pedal in your signal chain can give you that little extra oomph that you need to stand out in the mix and push your guitar’s tone up over the top. Even if you already sound good on stage, stomping down on a boost pedal right as you dive into that lead riff or rippin’ solo will give you the volume boost and gain saturation to stand out both from the band, and your normal “rhythm” tone.
Another great feature of putting a boost pedal on your board is if you’re running a tube amp, a boost pedal can push your tubes right into their saturation sweet spot. The combination of a tube amp and a boost pedal is often regarded as the holy grail for tone purists. It’s essentially the tone that rock and blues music from the ’60s and ’70s was built on and has kind of become the default “good guitar tone” since. You can scour Ebay day and night for a deal on a vintage TS808 Tube Screamer or Dallas Rangemaster and maybe finally nail down the perfect “Layla” tone, but despite what “SilverSurferGuitarGod1963” may say on that message board, there are plenty of great modern boost pedals that will will get you there.
*Unfortunately, this little saturation trick doesn’t really work on a solid-state amp.
Boost Pedals We recommend:
2. Replace Your Tubes

This one sounds like a no-brainer, but you’d be surprised at how many players are running through old, worn-out tubes. Tubes are like the oil in your car, in that they need to be replaced every 3,000 miles or so. Running old, burnt-out tubes can cause weird pops and hisses, signifigantly kill your output level and just all around zap the tonal clarity out of your amp. Popping in a set of fresh tubes can sound like you are pulling an old wet blanket off of your amp.
So when you should replace your tubes? That depends on a lot of factors, but in general an amp that is used fairly often should get new power tubes ever year or two. Your power amp tubes take a lot more of a beating then your preamp tubes do, so those should be replaced about twice as often as your preamp tubes.
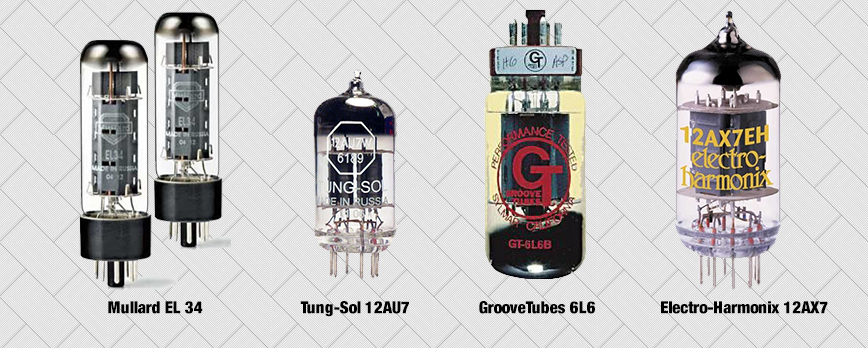
The other way that re-tubing can help you get more from your amp is by trying out different tube models. A classic example is changing power tubes and going from the British crunch sound of EL34s (think Marshall and Hiwatt) to the loud, clean ‘American’ sound of 6L6 tubes (think Fender
Blackface amps). Looking for more headroom and a warmer fatter tone? try out some tubes with more headroom, like some KT88 or 6550 tubes.
Preamp tubes are the first in your signal chain to get hit, and really develop the character of your amp’s gain, so going from the common 12AX7 tube down to a 12AY7 will tame things and drop the input gain. What kind of tubes you can use depends on a lot of things, such as voltage, pins, etc. Consult the manual or manufacturer of your amp to get an idea of what tubes your amp can take.
Also, when swapping out for a set of entirely different tubes, most amps need to be rebiased. This can be done at home if you really know what you are doing, but your best bet is to take it to your local amp tech and have them do the job. It’s pretty quick and usually not very expensive. Also, if you don’t know what you’re doing you could literally kill yourself, so yeah use a pro.
*WARNING: Even when turned off, amplifiers can still hold deadly voltage levels, so don’t start poking around inside your amp if you don’t know exactly what you are doing.
Tubes We Recommend:
3. Try Some New Speakers
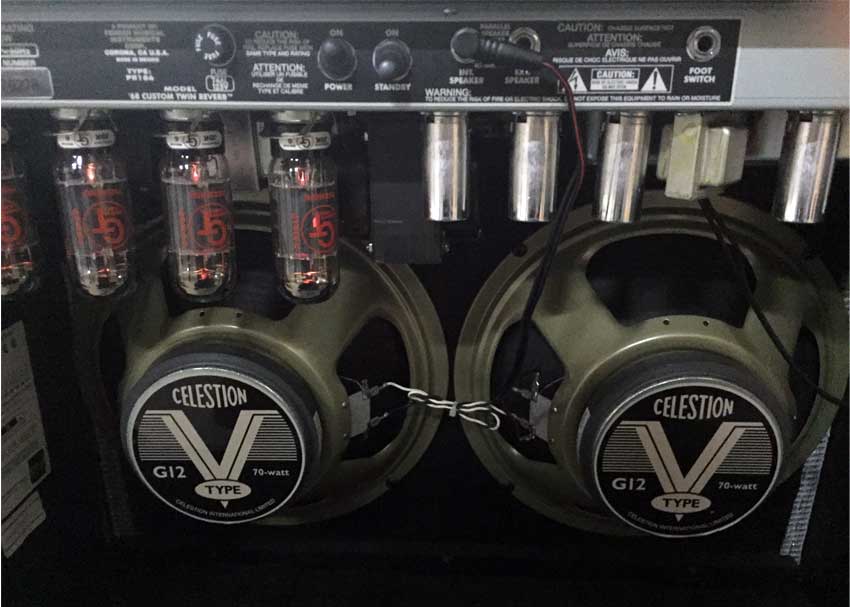
While tubes are the first step in your amp developing its tone, speakers are the last, physically turning what was an electric signal into actual sound. Before EVH took his Frankenstein guitar and modded 100-watt Marshall head to it, The Kinks really popularized the use of distortion with “You Really Got Me,” taking razor blades to their speakers and slashing them up to achieve the now-famous gritty, distorted tone.
Just like with tubes, different speakers can vastly affect your tone and also just like tubes, a worn-out old speaker can kill your tone. Which speakers your amp can accept really boils down to ohm and wattage ratings. If you are swapping out speakers in a combo amp, generally you want to stick with the same ratings, but with a cabinet, you have more room to experiment. Exploring the different ways to wire up a guitar or bass cabinet can get tricky, and merits its own guide.
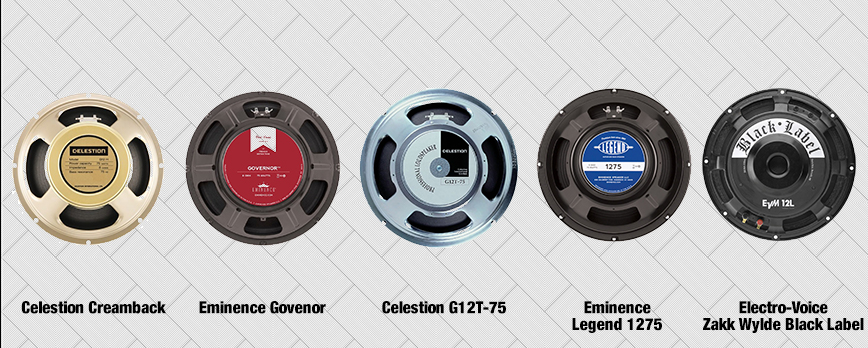
Even if you aren’t replacing old speakers, putting in a different set can improve your tone. Maybe your amp’s stock speakers aren’t giving you all you want? Try loading up some Celestion Vintage 30s; there’s a reason they’re the most famous guitar speakers, and will impress any bar blues band. How about a set of Eminence Cannabis Rex, not only do they give you a smooth, “smokey” tone, your stoner rock friends will love them.
Speakers We Recommend:
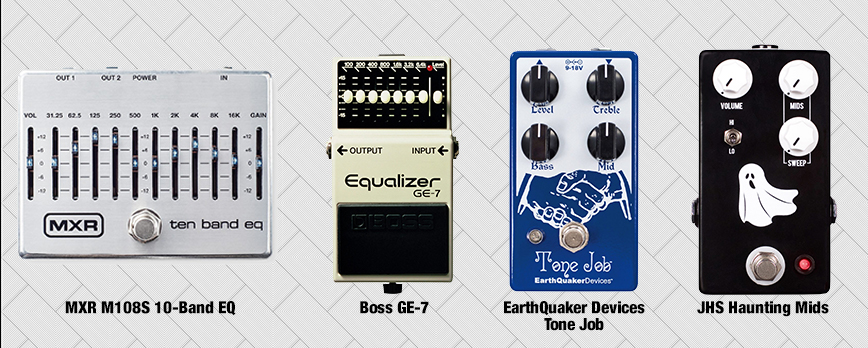
4. Use an EQ Pedal
Pretty much every amp has built-in EQ controls of some sort, but usually you get little more than just treble, mid and bass controls, maybe a presence knob if you’re lucky. Though most guitarists get by just fine with that level of tone control, an EQ pedal will let you boost or cut specific frequency ranges so you can fine-tune things and “spot check” your tone where it needs it.
The best way to break in a new EQ pedal is to set everything at zero (usually the middle position, as most guitar EQ pedals are parametric equalizers) and then, starting with the low end, slowly sweep each frequency and listen to how it affects your tone. You can scoop the treble to smooth off some of that trebly, high-end hiss, boost the low-mids to add a little more girth to your sound or roll in a big arch in the mids to add presence to your tone. There are definitely some tried-and-true ideas on how to EQ a guitar, but really nothing you do is “wrong” as long as it sounds good to you.
EQ Pedals We Recommend:
5. Invest in Quality Cables
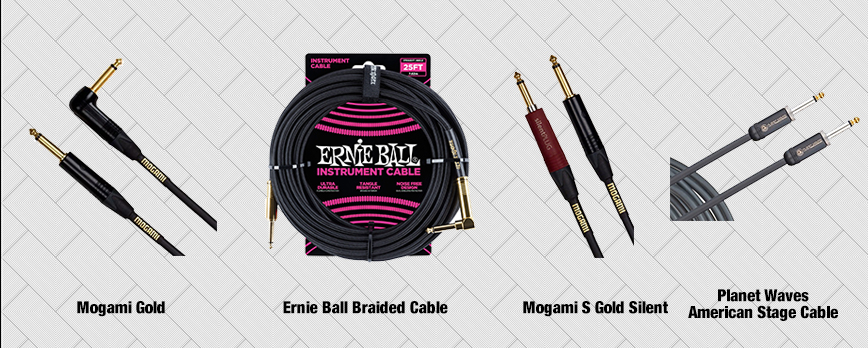
While they’re not part of your amp and don’t feature any tone controls, a good set of cables can still actually affect your tone. Sure, if you A/B compare a brand-new $10 cable next to a new $90 cable, you aren’t going to hear any vast differences. This leads a lot of guitarists to think “then why bother?” and swear off higher-end cables, leaving that precious chunk of their gear fund be spent elsewhere. While it can hurt to lay down a significant chunk of change and only get a set of boring cables, in the long run though, it’s definitely worth your while. As a young, mostly broke musician, I just didn’t have the money to shell out for a bunch of high-end cables. But, I also spent plenty of time at gigs fiddling with junky cables, trying to keep the half-broken soldered points from cutting out my signal, and fighting the gnarly hum and buzz. Once I finally upgraded my cables, things got a whole lot easier and I could actually hear my tone somewhat clearer.
To play devil’s advocate for a bit, there are plenty of cables that boast all kinds of space-age sounding features, alloys, and mystical technical ratings that can often seem like a lot of marketing hot air and inflation. I personally take all of that with a grain of salt. Like most things in life, it’s a gray area, some is true and worth it, some isn’t. Though durability and price do seem somewhat related. For example, I have had the same $50 Mogami instrument cable for about a decade now, and have had no problems.
The other thing to consider that really makes buying high-end cables work it is that even if there is an issue, most high-end cables offer a lifetime warranty. Essentially, you only need to spend that money once.
Cables We Recommend:
Top image credit: wll o’snd via Flickr



Leave a Reply