Few things excite a guitarist as much as a new guitar. As soon as it arrives the first thing you want to do is start tearing out some hot riffs, but before you can even strum a chord, you realize something — the action is way off. You paid good money for this guitar, so you want things right. That’s understandable, but there are a few things to know when buying a new guitar.
First, while just about every manufacturer does a general setup, every player’s ideal setup is different. While you might like your action as low as possible, the person setting up your axe may not. Famous indie-rock-shredder J. Mascis of Dinosaur Jr. plays his guitars with an action so high they almost reach into the stratosphere!
The second factor to consider is shipping. That guitar started life in a factory (potentially overseas), was shipped to a warehouse, and then delivered to your door. There’s a wide array of climates it could have gone through on that journey and that’s definitely going to put anything made of wood a little out of whack.
 RELATED:
So before you file a return, consider a setup. You can shop around for a good rate at a local guitar shop or luthier, but if you’re confident in your ability,we’ve outlined a few steps to do a simple setup at home.
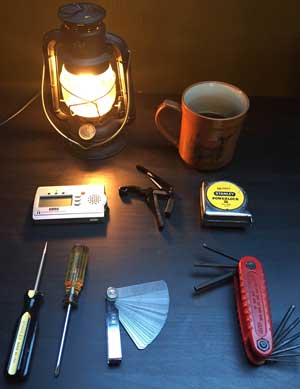
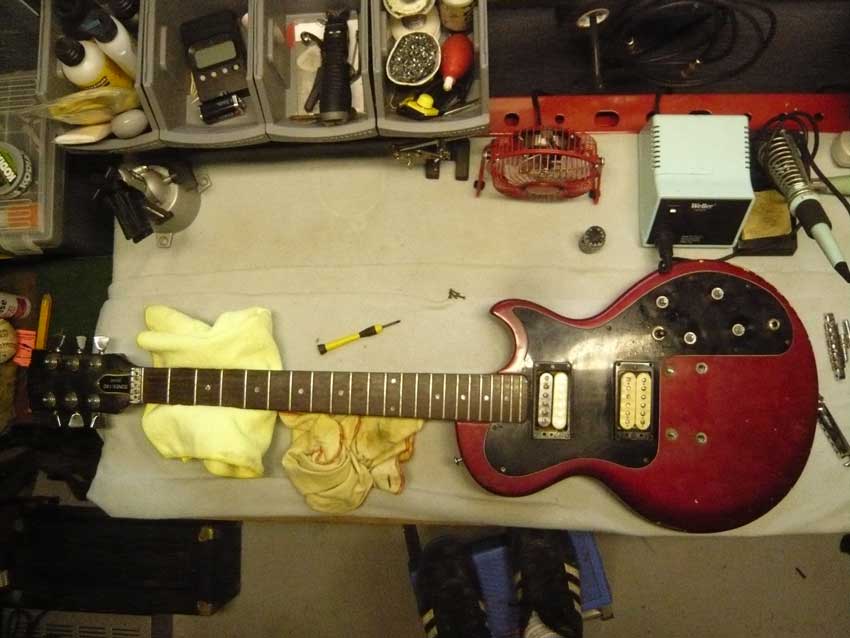
The aspiring guitar tech’s toolkit.
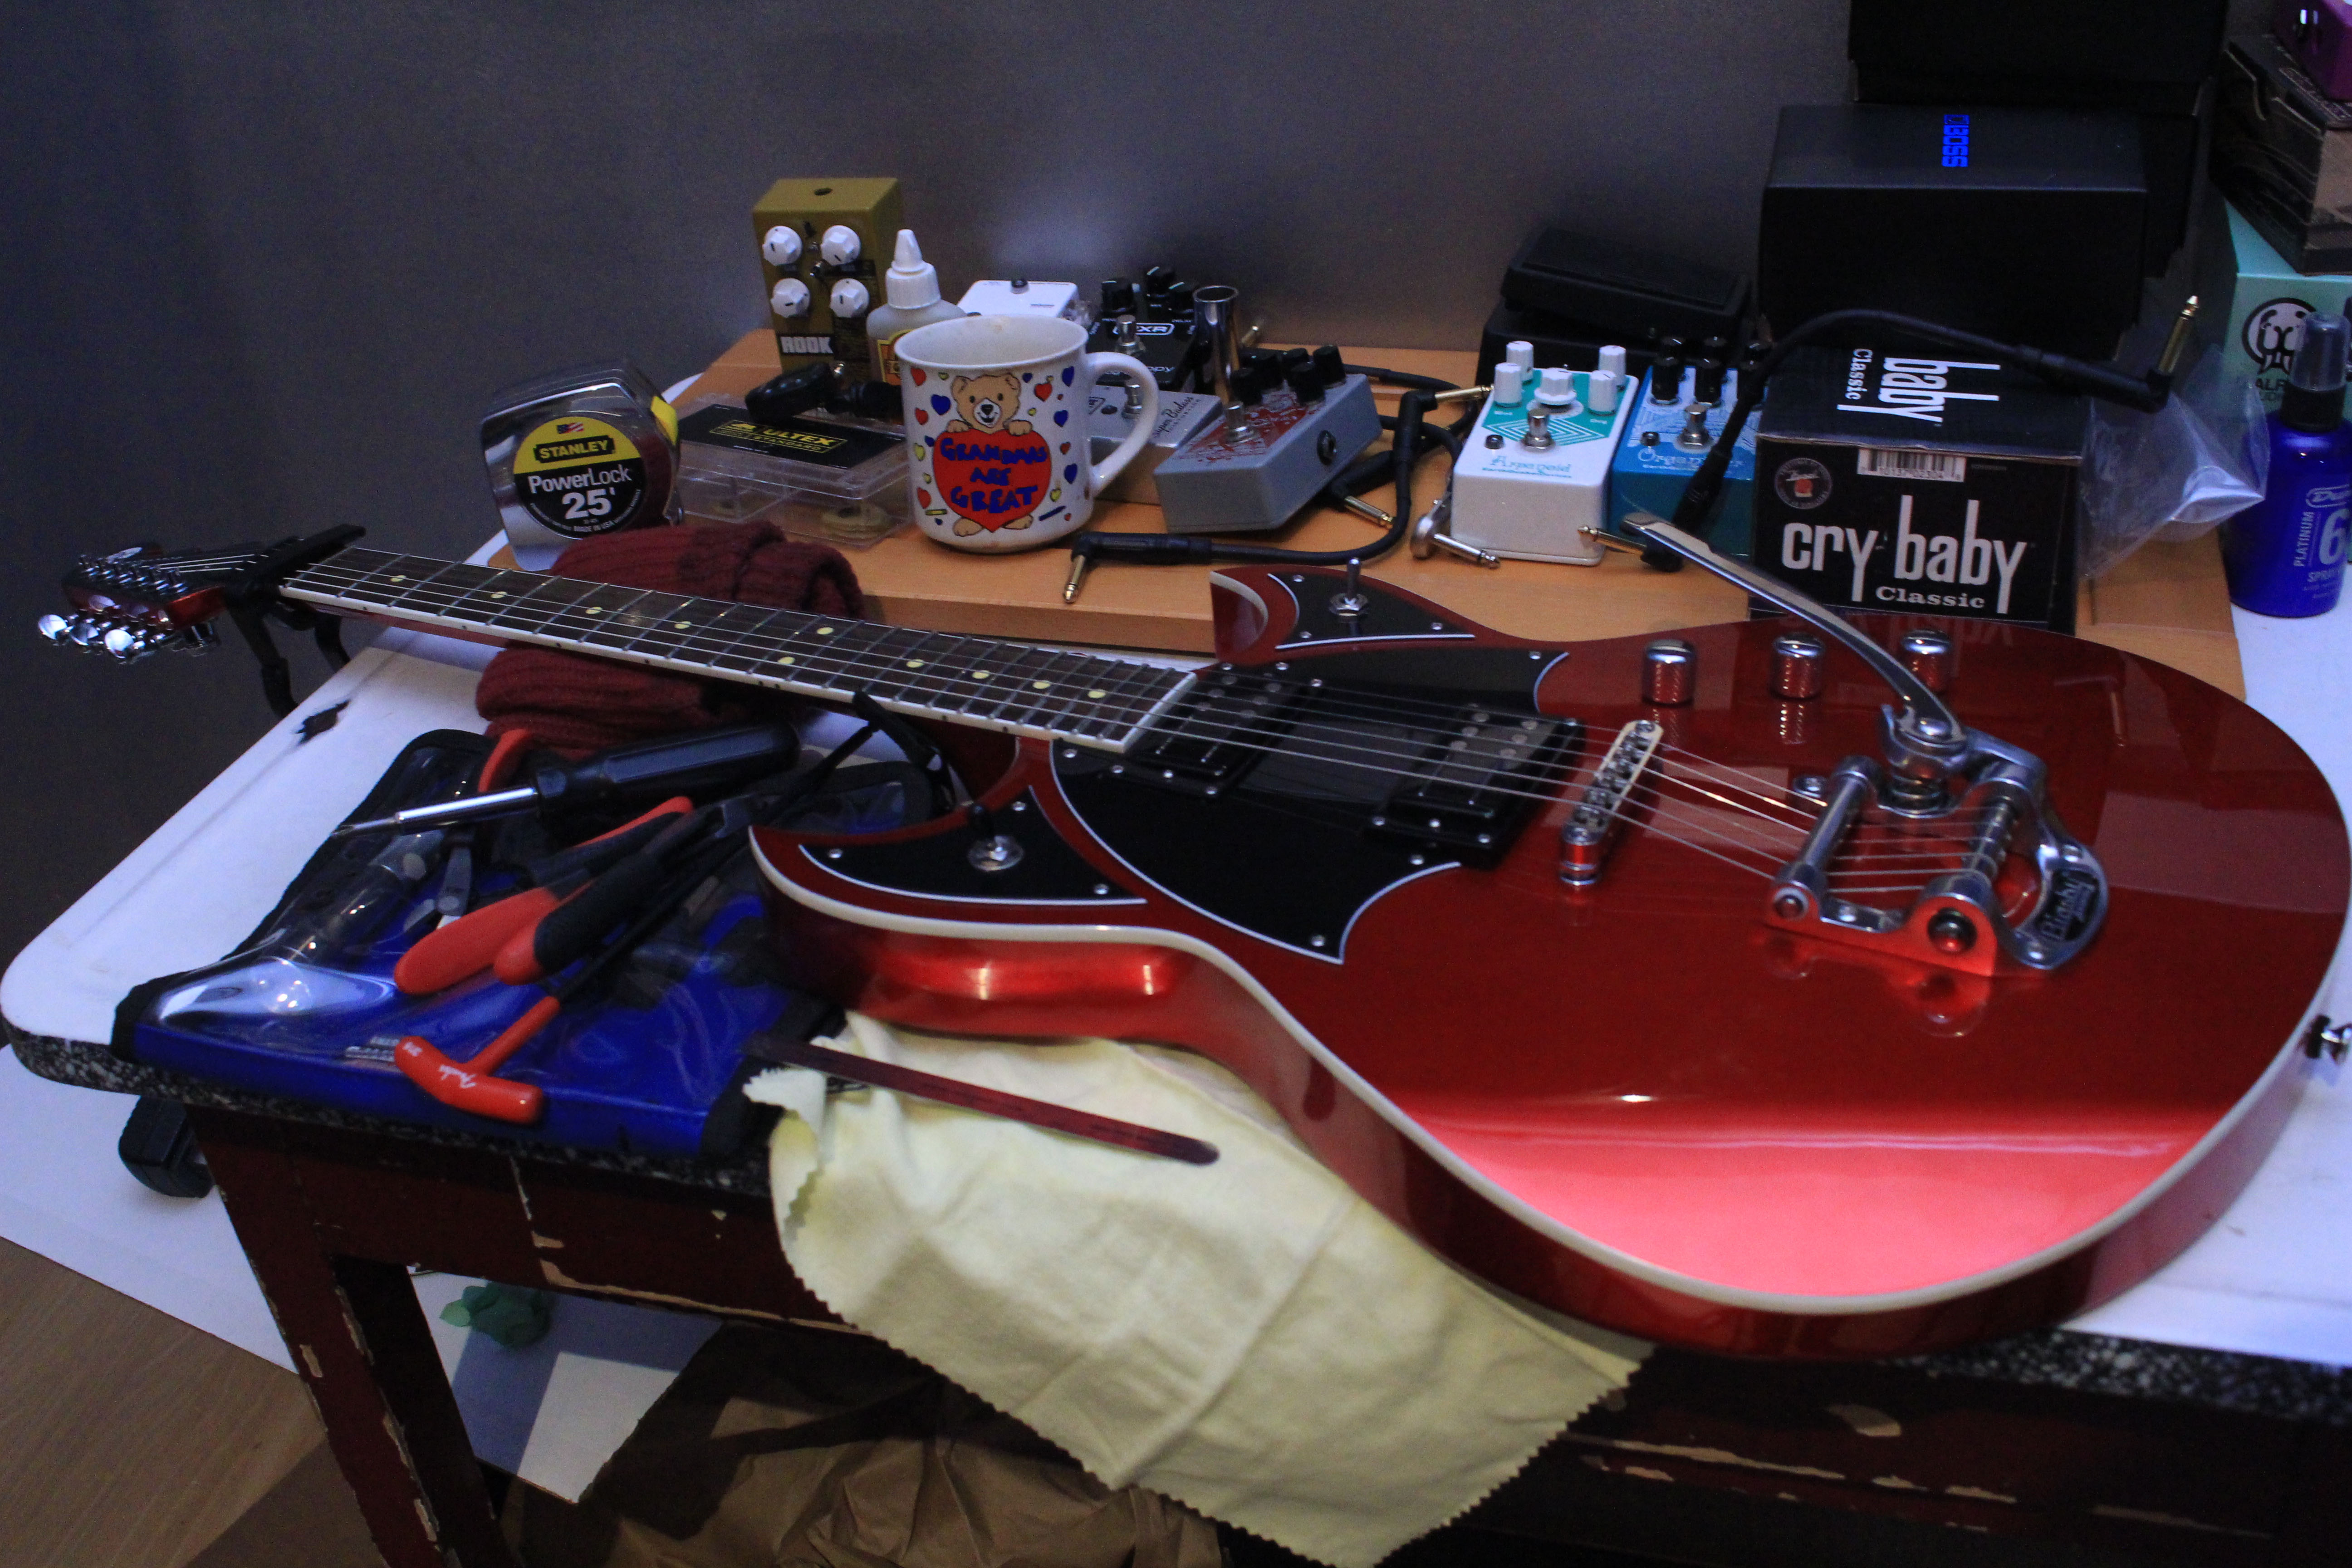
To keep things simple, we’ll work with a fixed-bridge electric guitar — an Epiphone Les Paul Custom, to be precise.
While each guitar is different, here are the general tools you will need:
- Tuner (preferably digital)
- Allen wrenches/screw drivers (most new guitars come with the ones you need)
- Feeler gauge/ruler/tape measure
- Capo (optional)
- Or just pick up a guitar tool kit — it’s always good to have around.
Step 1: Check Out Your Guitar
Do certain frets buzz when you play them? Do notes “fret out” and stop ringing? Is the action uncomfortable for you? If you answered yes to any of these, your guitar needs a little work. While there are some standard measurements many guitarists use as guidelines, the most important thing is feel. As long as your guitar plays well and you’re comfortable with it, it’s good.
Look down the length of the neck to check for its curvature.
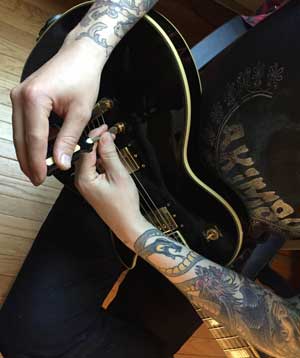
Get the guitar in a room with good lighting and see how the neck looks. How much it bows is referred to as the relief. Ideally you want the neck to slightly curve back toward the bridge. A good test is to fret the guitar at the 1st and last fret, (if you have a capo you can put that on the 1st fret to free up a hand) then check the gap at the center of the high E (usually around the 8th – 10th fret). What you’re looking for is enough of a gap where you can slide a business card through (around .008″ through .011.”) This is where the feeler gauge comes in handy, but you can also use a ruler.
Step 2: Adjust the Truss Rod
Next, either tighten the truss rod to pull the neck back and flatten it out, or loosen it, to add more relief to the neck. With most guitars, you can adjust the truss rod at the headstock, (you might have to unscrew a truss rod plate) but refer to the manual to see how to do this with your specific guitar.
Loosen the strings to give yourself room to work. Looking down the neck from the headstock, counter-clockwise will be loosening for relief and clockwise will be tightening for back-bow. Give the truss rod a quarter turn in whatever direction needed, then stop. NEVER turn the truss rod more than a quarter turn at a time — overdoing it can seriously damage your guitar. Tune the guitar back up and see how it plays/measures. If it’s still not where you want it, loosen the strings and go again.
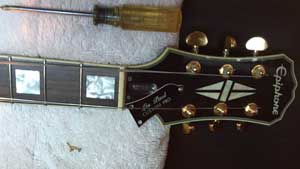
Remove the truss plate so you can access the truss rod.
Step 3: Set up the Action
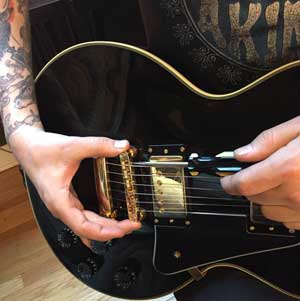
Now that the neck is where you want it, you can fine tune the action. This is really where personal preference comes into play, but as before, there are some general measurements you can follow. Measure the top of the 12th fret to the bottom of each string. As the top strings are larger and vibrate more, they need more space — around .07.” With the lower strings you can get to around .05″. If your guitar is off, simply raise or lower the bridge (see the manual on how to do this on your guitar).
-
- Raise or lower the bridge to adjust the guitar’s action, or the height of the strings above the frets.
-
- Adjust your bridge to set the intonation.
Step 4: Adjust the Intonation
Once your action is set, the last step is to adjust the intonation. Having a well intonated guitar means that every note is in tune all along the fretboard. This is dictated by string length. Get the guitar tuned up, then play the 12th fret octave. If this comes up sharp or flat, you need to adjust your intonation. This can be done by moving the bridge/string saddle forward or back (again, consult the manual). Once both notes are in tune move to the next string and repeat the process.
Now that guitar that made you want to tear your hair out is playing beautifully. That being said, this is a somewhat basic setup, and you would be surprised how much a qualified luthier or tech can do for your guitar.
Main image credit: Roadside Guitars via Flickr


Leave a Reply