Mastering is that one essential job that every track needs and no one wants to do. The essential backbone of every professional mix that offers little flair. Vastly misunderstood and socially awkward, mastering is basically the “bass player” of your mix.
What is Ozone 11?
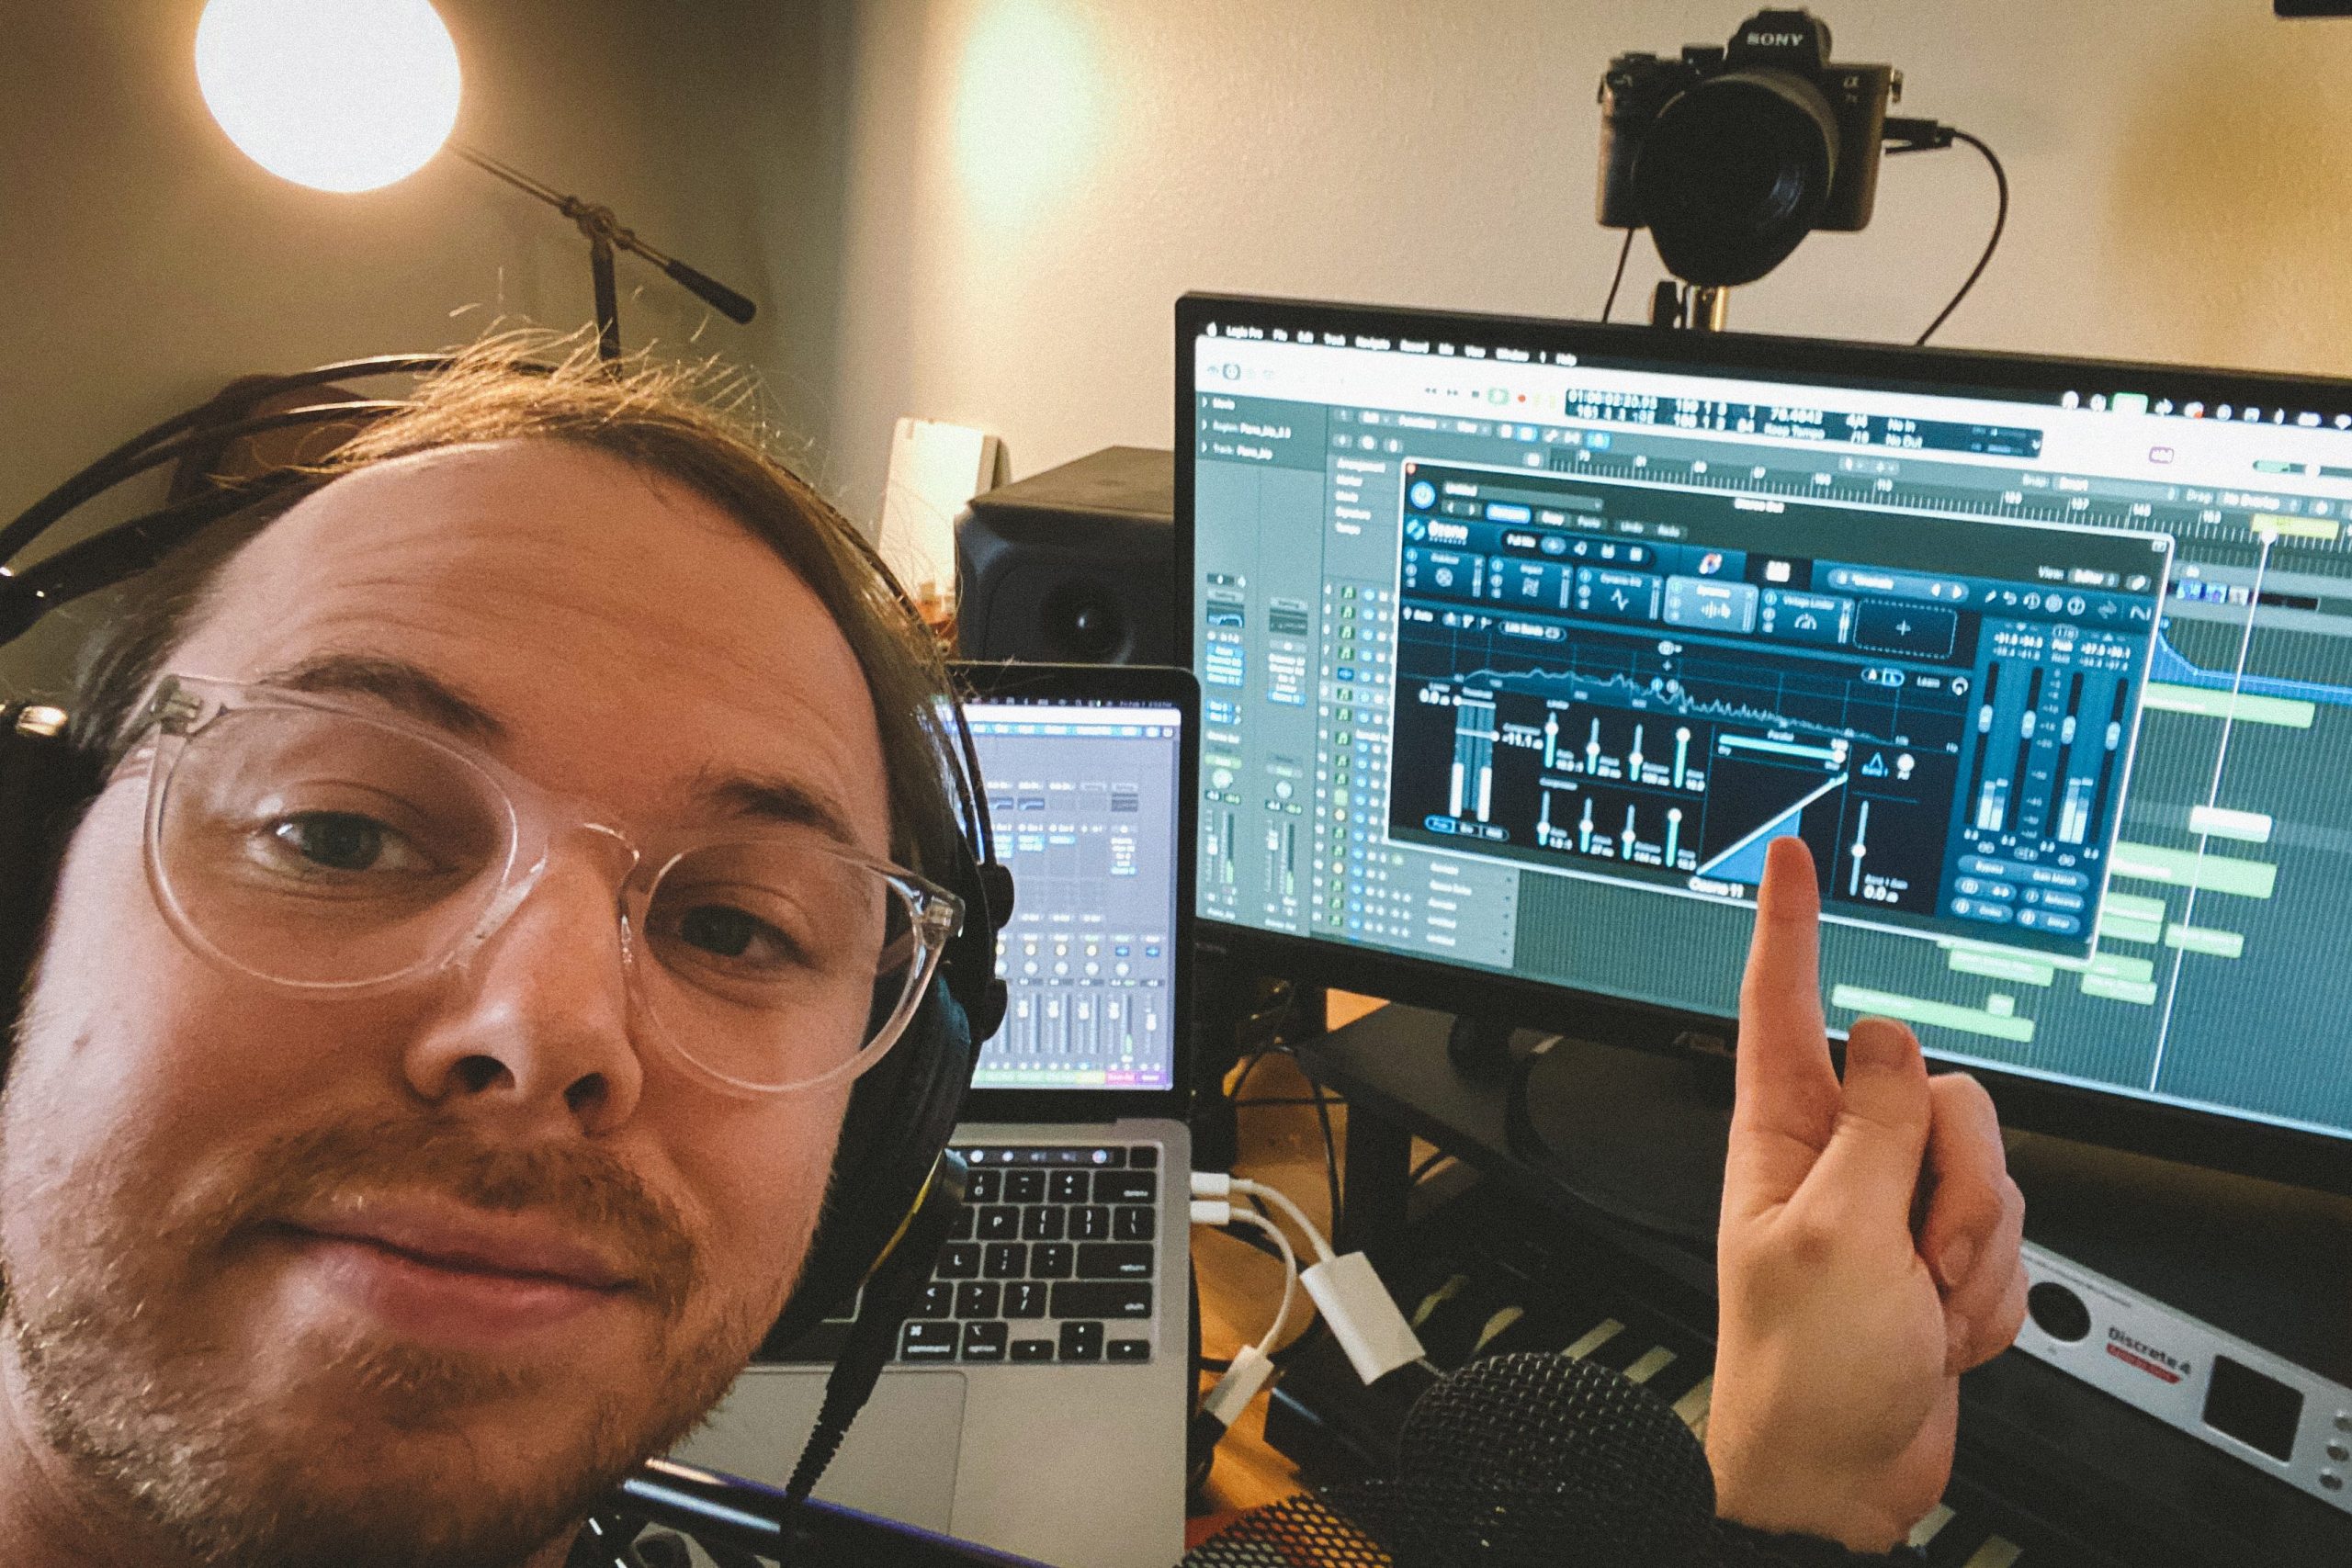
iZotope tries to take the mystery out of the process with their groundbreaking Ozone 11 plug-in. Ozone 11 makes an all-in-one software mastering suite available to the masses. In this video, I cover three basic tips for growing with the Ozone 11 platform. Keep in mind that these tips are targeted at people just getting started with Ozone 11. This is designed to help you learn to explore the different tools at your disposal.
To spare you a lengthy explanation of mastering as a process, here is the TL;DR: mastering is the last step in polishing off a mix. We use mastering to enhance the overall sound, create consistency in volumes across other tracks in an album or with different release platforms, and ultimately prepare a track or piece for release.
You may hear engineers or producers talk about a “mastering chain.” This is usually comprised of a few key ingredients: EQ, compression, saturation, and limiting. If you are familiar with channel strips, these are the same basic ingredients you will see represented there. This is because we use these tools for general tonal shaping. With mastering, things get a little more complex. These tools are now handling the combined signals of all your individual tracks. This means they need to be a little smarter than the average unit. Ozone 11 contains modules that mimic the function of high-end mastering hardware units, like multiband compressors, dynamic EQs, summing mixers, and more to reduce all that expensive equipment into an accessible plug-in.
Let’s look at a few tips to get us started using Ozone 11 in our mixes.

Tip #1: Don’t be afraid of the presets
The presets in Ozone 11 are designed by engineers who probably know more about mastering than you do. Plain and simple. In many cases, these presets are designed by current, working producers and engineers that you know of, like Sylvia Massy. This is not to say that finishing your mix is as simple as turning on a preset and clicking bounce, but these are great starting points for you to tweak from. In our video example, you will see me try a preset from iZotope’s general presets as well as one from the “Genre Specific” category. You should also explore the presets that are designed by professional mastering engineers and the legacy presets. I personally really like the “Adaptive Dynamics” preset found in the legacy collection for the more cinematic mixes that I usually work with.
Once you choose a preset, listen to your track and find areas where you feel the mix could be improved. Maybe you need to find the module that is enhancing the high-end of your track and adjust that for less gain there. Perhaps you feel your track needs more saturation. Maybe your track has less stereo spread than you would like or your levels are hitting the limiter too hard.
By utilizing a preset, you can learn the basic functions of different modules, how to tweak them to your liking, and how to add or remove modules that are not doing much for you. For instance, in the example mix I noticed I was getting more of a transient boost on my sub hits than was necessary. This makes my mix hit the limiter a little hard and flooded my low end a bit. So I added a module to adjust that. That leads us to tip #2…

Tip #2: Use Dynamic EQs and other modules for specific tone shaping
I chose to use a dynamic EQ to assist with the issue I noticed in my mix. What the Impact module was doing was great, but I wanted more control over its effect. I added a dynamic EQ to create a threshold cut. This meant that when the frequencies within that cut got a little out of control, the dynamic EQ would create a subtle cut and add those frequencies back in slowly. If I were to use a non-dynamic EQ, this would create a constant cut which would affect the warm, thick low end I liked. Instead, the dynamic EQ helped me to retain that warmth but tame the transient boost.
You should try out many of the different modules found within Ozone 11. This will help you learn how they work and utilize them effectively as tools. Adding them inside the context of a preset and toggling them on and off as you adjust will help you find the right use cases for you.

Tip #3: Use the individual Ozone modules as inserts
One really cool thing about iZotope’s Ozone 11 is that the individual modules can be used as separate plug-ins. This means you could add certain modules you like to a more diverse set of plug-ins in a mastering chain or use them as inserts on a track. Using the modules as effects is a great way to try out different types of compression on different tracks, access easy-to-use EQ modules, and more. Not many multi-effect plug-ins like Ozone 11 have this capability. This is a great way to utilize the full power of Ozone 11 without frying your CPU.
In conclusion…
At the end of the day, most of us are not professional mastering engineers. We are just doing what sounds the best to us. Ozone 11 will never replace professionals, but it does put powerful tools in the hands of everyday musicians. Mastering tools are notoriously pricey — iZotope is looking out for you, though. Pay back the favor by making an awesome mix.


Leave a Reply