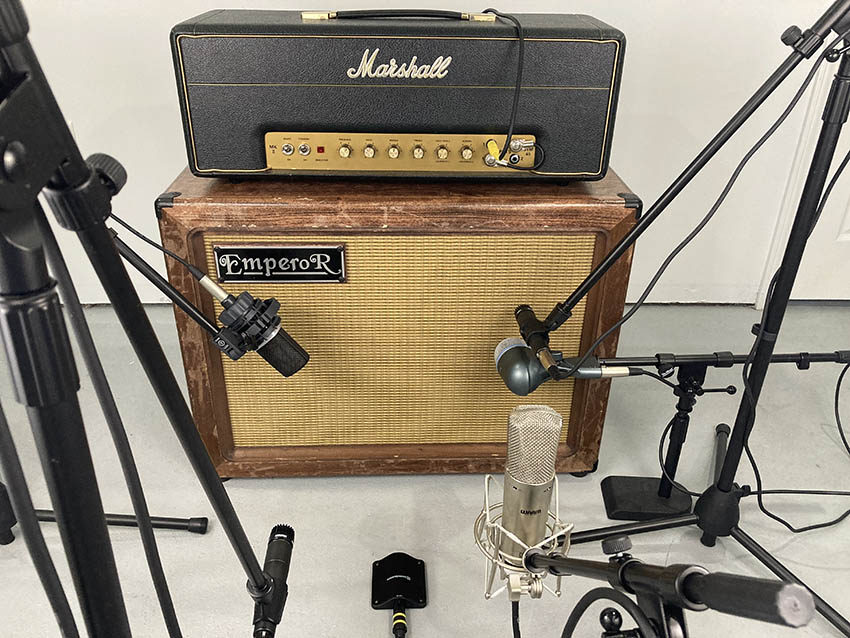
Are you lost as to what actually sounds good anymore when it comes to tracking guitar? Do you prefer to D.I. a guitar track and re-amp it with effects? Or maybe you’d rather live track the whole band and overdub? And what about how your room even sounds? Is there a plug-in for that? Well yes, but today we want to talk about shaking up your normal, everyday recording techniques and virtual signal processing for some real-world, physical guitar cabinet miking techniques that have been used by greats like Steve Albini and Vance Powell. Maybe you’ll even look at your more traditional mic applications a bit differently after this as well. So go get your SM57s, favorite condensers and maybe a boundary mic or two and let’s get to work!
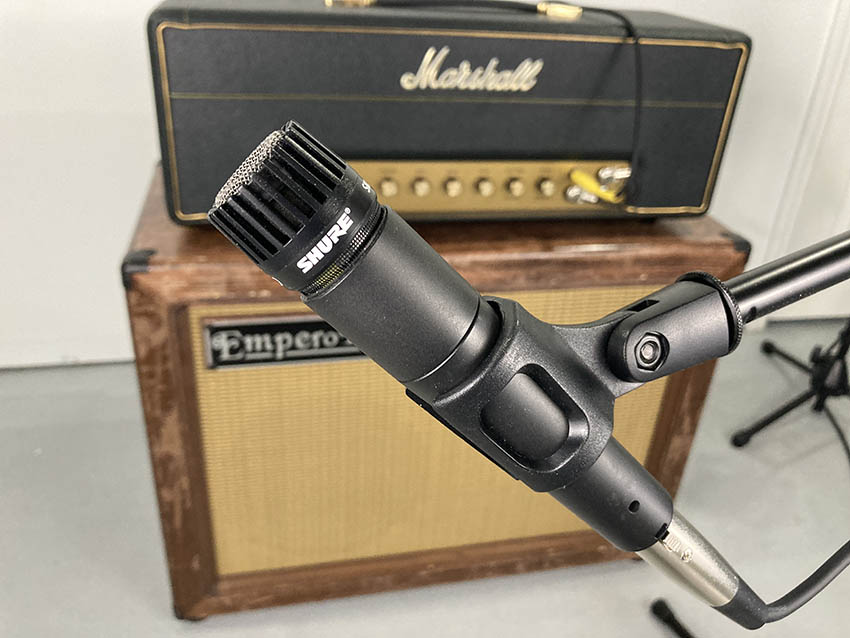
Where to Put Your 57
Hyper-cardioid dynamic microphones are incredibly popular for tracking loud instruments or speakers. This is because studio legends like the Shure SM57 excel at high-decibel, laser-focused capture. “Hyper-cardioid” is simply a label on the SM57’s polar pattern. Similar to a cardioid mic, the hyper-cardioid picks up sound out front of the capsule. But unlike the cardioid, it focuses directionally on exactly what you point it at. There is much less sensitivity beyond the hyper-cardioid mic’s polar pattern, making it ideal for everything from drums (prone to sound bleeding into other mics), loud guitars or multiple speakers on a speaker cabinet, and brass horns.

But when miking a guitar cabinet, where should you place a hyper-cardioid microphone? There’s truly no one correct answer, but there are popular ones! Number one being directly in front of the speaker cone, five or so inches away. This method allows for the maximum pickup of speaker vibration by your microphone, making this the most accurate method for capturing true speaker tone.
But the guitarist you’re recording (maybe it’s yourself) doesn’t hear their amplifier five inches away each time they rehearse or record. They hear at a “working distance.” A working distance for a speaker starts at around 12 inches. This is where the sum of all that goodness inside the cabinet comes together for the true amplifier plus guitar plus speaker cabinet tone. A snapshot of all that money you spent on your rig can only be captured when you add up the sum of its parts.
This isn’t to say close-miking a speaker is a bad choice, because it’s not. There are a ton of reasons for doing so! Oftentimes when recording a smaller speaker or a more compact amplifier, placing a microphone close up can “beef up” the sound of it. This is called “proximity effect.” Close up captures a big sound, while a “working distance” away offers a more realistic tone for the amplifier you’re recording. And if that happens to be an 8 inch speaker or smaller studio amp, it will come through much thinner.

Break through the Boundaries of Your Mind
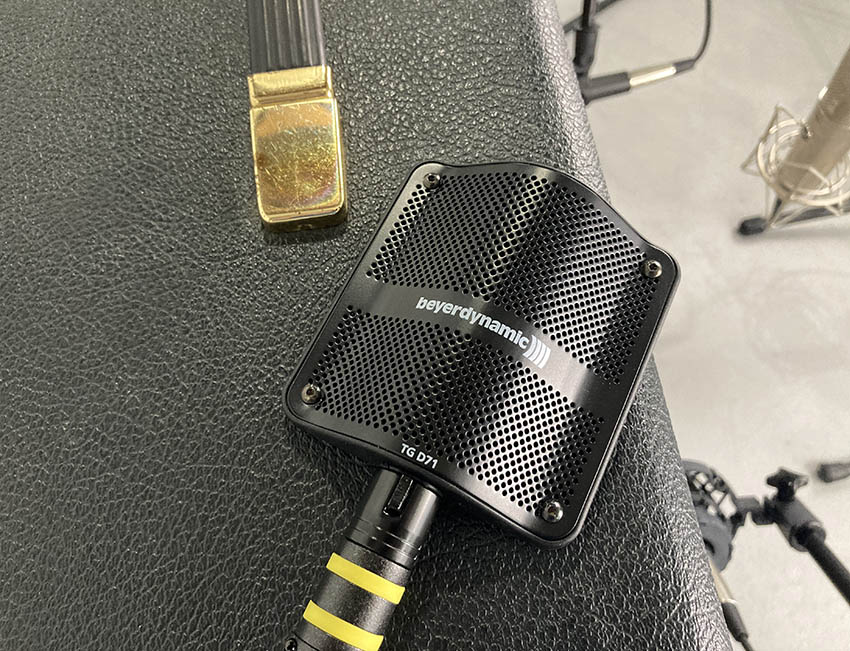
Boundary mics are fantastic for many things. Capturing the big corporate meeting, offering quality sound when placed at a lecture at a house of worship, or for throwing inside your kick drum for added punch on your drum kit. But what if we took the omni-directional king of capture and placed it on the ground some distance away from your guitar speaker cabinet? The results are a new type of microphone in your repertoire. A hemispheric microphone.
This technique captures the “hemisphere” above and around the mic but not below. This is an incredible tool for room capture as it eliminates floor reflections — referred to as “near-field” reflections — that clutter a mix. You will only be capturing the room above the floor. This makes for an incredible “body” around your guitar sound that you’ve also simultaneously captured at a “working distance.” Isn’t that more fun than adding some room reverb in your DAW?

Enter The Phantom Center
Speaker cabinets that have more than one speaker (like a 2×12″) often have a space where both speakers’ audible tones meet up and combine into a “phantom center.” An easy way to find this is to play through the speakers and physically move your head around to find it.
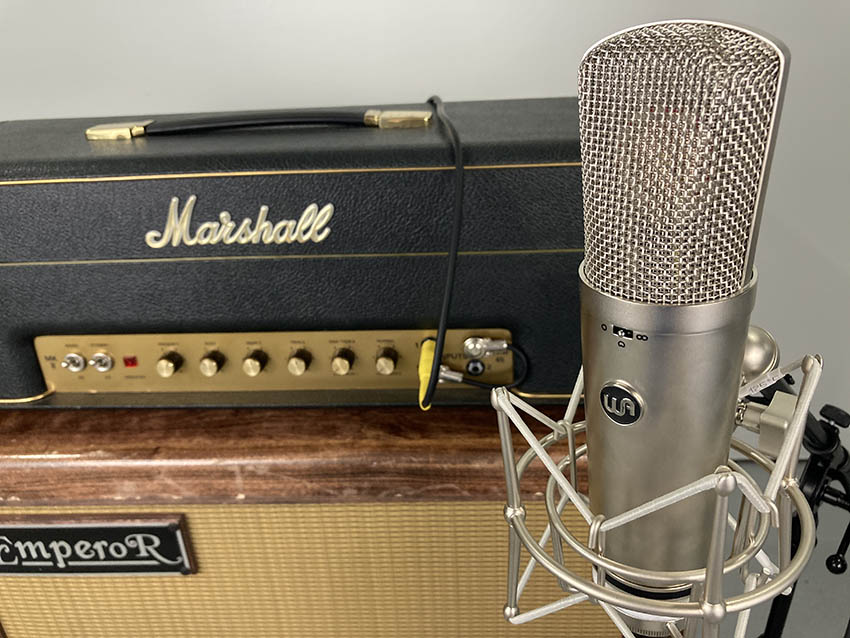
Every speaker is different but this point is typically found 12 inches or more from the cabinet. This “phantom center” can also be captured with something like a figure 8 microphone capture pattern. Think of this technique like a head with two ears listening to your cabinet, that’s very similar to what the figure 8 pattern is picking up. It’s a fun technique to use in conjunction with others like close or room miking as it adds a bit more color to your tone and takes advantage of how the cabinet manufacturer actually designed the cab to sound at a distance to the human ear.
You can also mix it up a bit by simply capturing both speakers discreetly with close miking or “working distance” miking. Sometimes combining things like a powered condenser microphone and a ribbon mic yield amazing results when summed together in a mix.
Whether you’re just starting out or you’re a master behind the console, remember that the studio should be a playground, not a workplace. Experiment with everything and anything you can get your hands on and keep learning every day.


Leave a Reply