Having trouble getting your bass drum to cut through a mix? Maybe the low frequencies sound great on their own, but once you’ve got the full kit going, your kick is lost. All you need to do is push the boundaries of your kick drum recording with a boundary microphone. The little mic that could, the boundary microphone has become a studio darling in the last couple decades with its unique design and ability to capture what other mics can’t. Here’s why you should pop a boundary mic into your kick drum for that next recording session!

What is a Boundary Microphone?
At first glance, the average boundary microphone might be mistaken for a niche, ergonomic computer mouse. But these microphones have been used for decades in corporate settings, lecture halls and even symphony orchestras. They are designed to sit or hang on a flush surface like the floor, tabletop, or wall and capture sound with an omnidirectional capsule. Think of a boundary microphone as a “fly on the wall,” picking up everything in all directions. Because of its design, proximity is paramount for a boundary mic. So you get the ambiance of the room but if something happens up close, you get a fantastic response from the boundary mic.
Early boundary microphones were designed for only low decibel usage, usually under 120 dbs. It wasn’t until more recently that brands like Shure, Beyerdynamic and Sennheiser started building these mics into the studio-worthy tanks they are now. Modern boundary mics are able to withstand the low bass tones of a drum set, and can be mounted inside the lid of a grand piano. With these upgrades came incredible recording innovations.

Boundary Mic Application
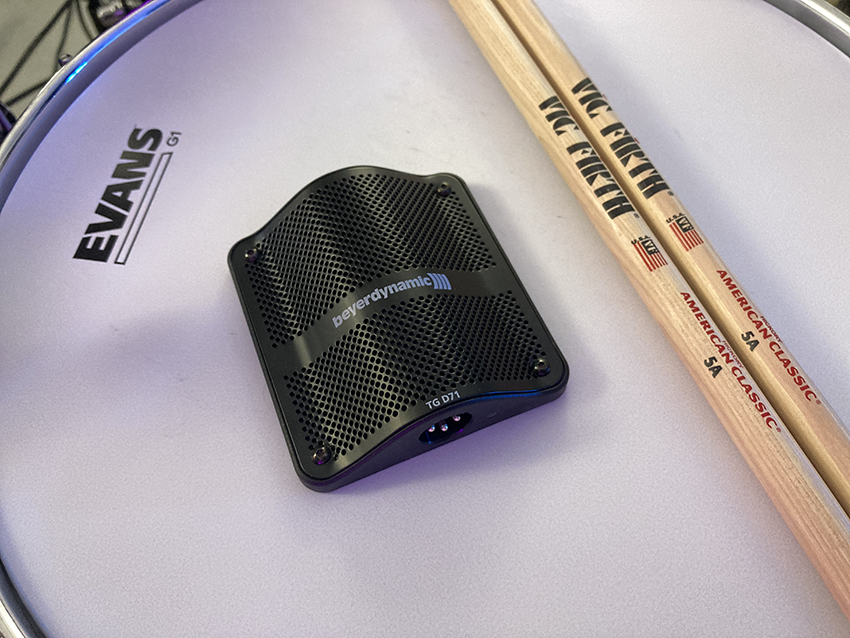
Within the boundaries of drum recording (see what I did there) a boundary microphone can wear many hats. Room miking with a boundary mic or two is an incredibly potent technique that yields full sounding, wide stereo effects that’ll fill out a chorus nicely in the mix. But more surgical techniques do exist, and for today’s demonstration that’s just what we’re doing, using one Beyerdynamic TG-D71 condenser boundary microphone inside the kick drum of a Drum Workshop Design Series maple drum kit.
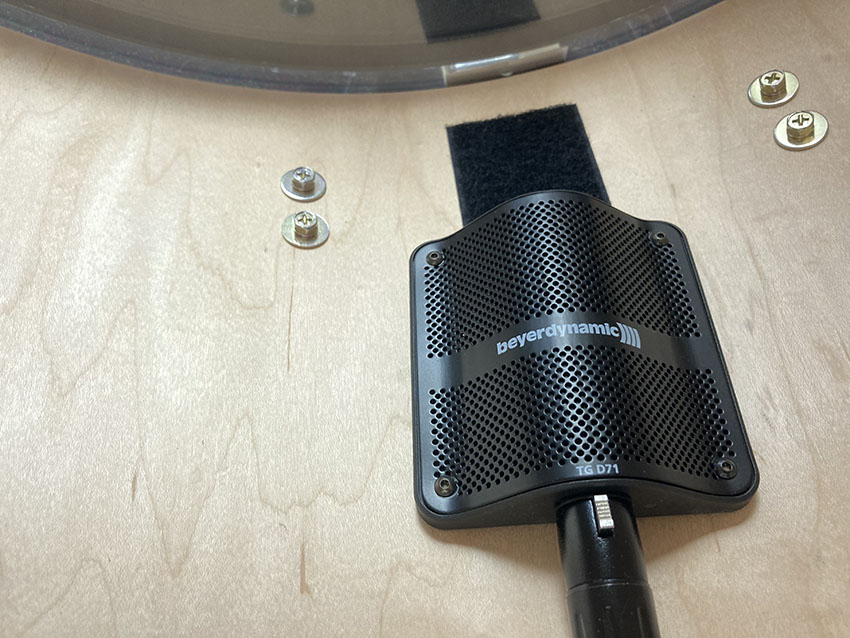
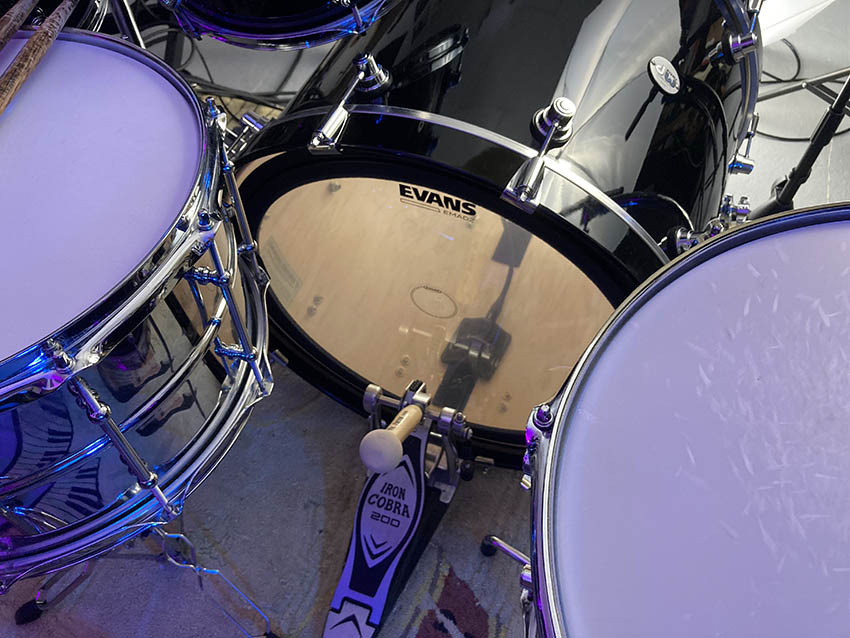
To achieve this technique, simply place your boundary microphone inside the kick drum through a porthole in the resonant head. The DW Design Series comes with dampening pillows that are Velcro-secured. We are removing the dampening pillows and using the Velcro to secure our microphone in so it doesn’t move. Simply placing the boundary mic in also works, but for a more long-term solution securing it is your best bet to prevent damage or worse…a bad recording take.

How it sits in the mix
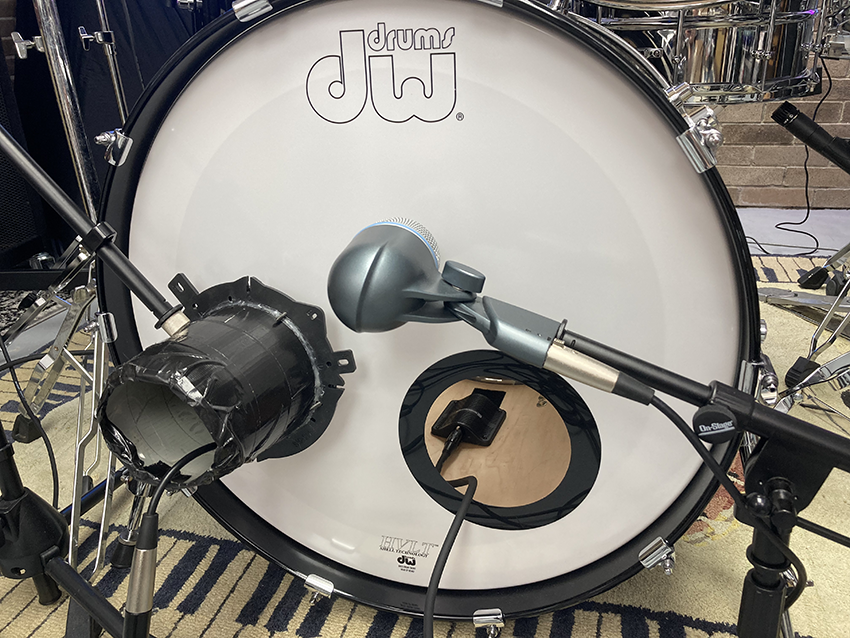
In today’s mix we are using three mics on the 22″ maple kick drum. A Shure Beta 52A on the resonant head directly in the center, a DIY subkick microphone built for the zZounds Blog just to the left of the Shure, and our Beyerdynamic TG-D71 inside the drum. This may seem like overkill but the results speak for themselves.
As you can hear, the boundary microphone on its own is a lot like a basketball on pavement. Harsh, attack-heavy with a ton of bleed. This can be EQ’d, compressed and maybe even gated to work on its own, but that that point you might as well just use a mic outside the kick. Our goal with the boundary mic is a surgical application; we want all the wonderful attack and a bit of mid-range to punch through the mix while our other mics do the low-down work.
Because this recording is so attack-heavy it’s easy to mix down the gain on our boundary mic and still get a potent “punch” in the overall mix. The boundary mic will catch your ear without needing all that gain peaking your master.
When all the mics are mixed together, a punchy-yet-warm, huge-yet-defined bass drum tone is created.
In a full drum mix, this allows the bass drum to shine while still keeping those low frequencies that we’ll be depending on down the mix line. And all because of a little mic that was originally designed to capture lectures and meetings. The boundary microphone is truly a mighty weapon in your recording repertoire.


Leave a Reply