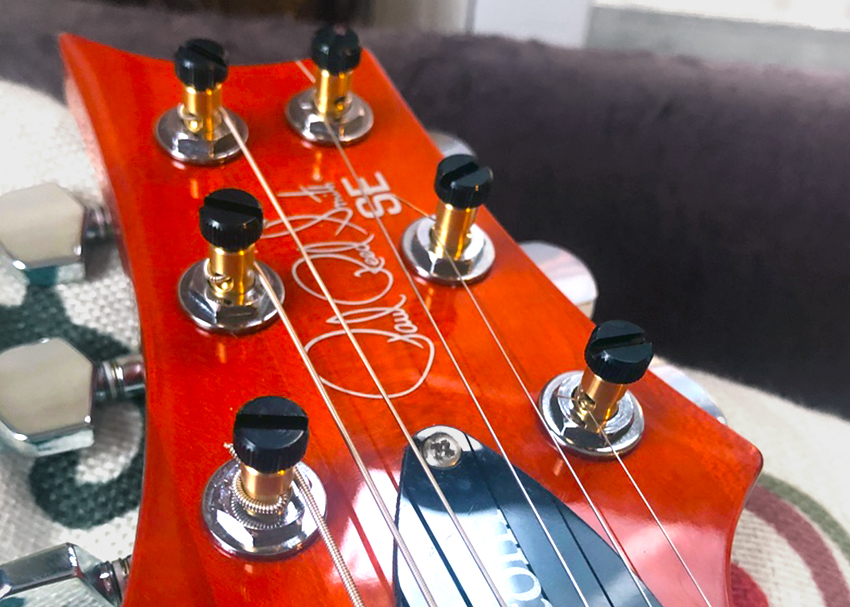
Paul Reed Smith SE Series guitars are a great value for the price, and many owners choose to upgrade their hardware and electronics to bring them even closer to the quality level of American-made PRS models.
I recently picked up a set of PRS SE locking tuners which are a direct drop-in replacement on PRS SE guitars. In this post, I’ll walk you through the process of installing these tuners on my PRS SE Custom 22 Semi Hollow, but most of these steps are applicable to other brands of locking tuners as well.
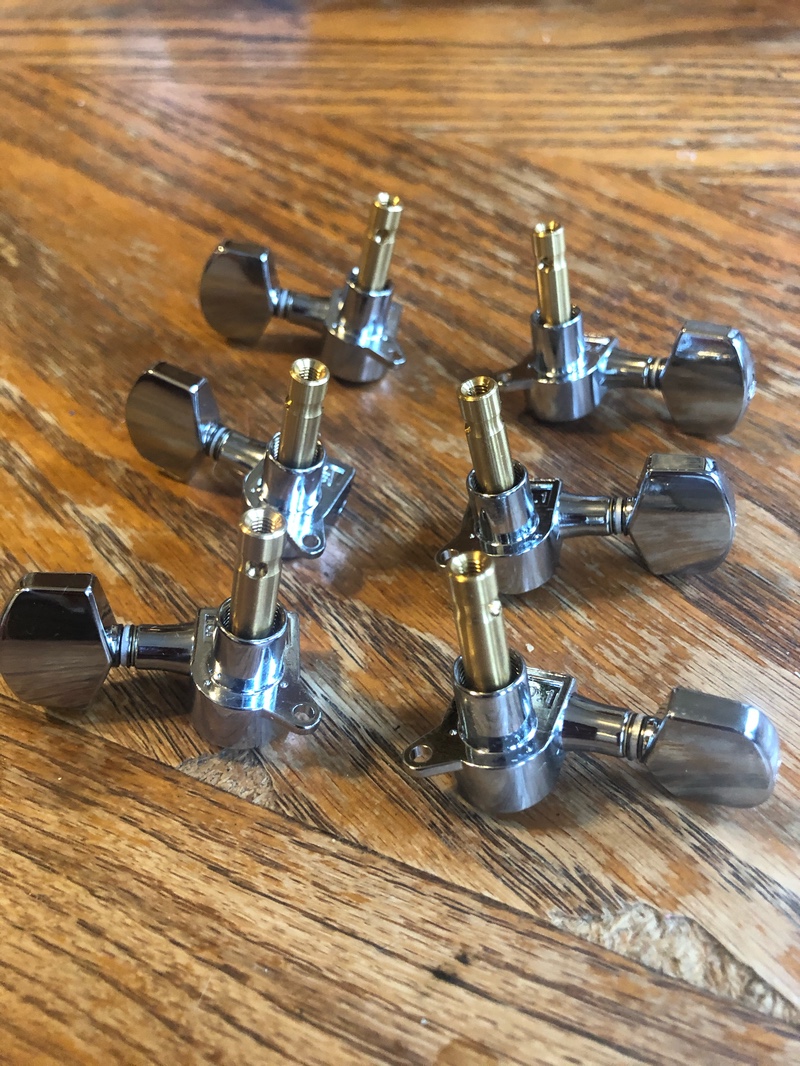
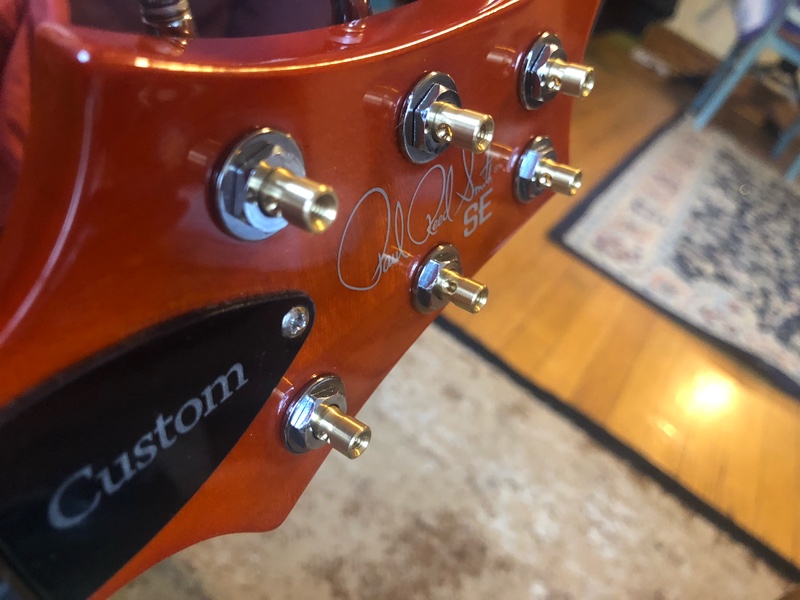
Step 1: Remove the old tuners
The first step in installing the new tuners is taking the old ones off. You will want to take off the old strings, unscrew the tuners, and remove all six from the headstock. I would recommend keeping the old ones in a bag, because you never know if you may need them again one day.
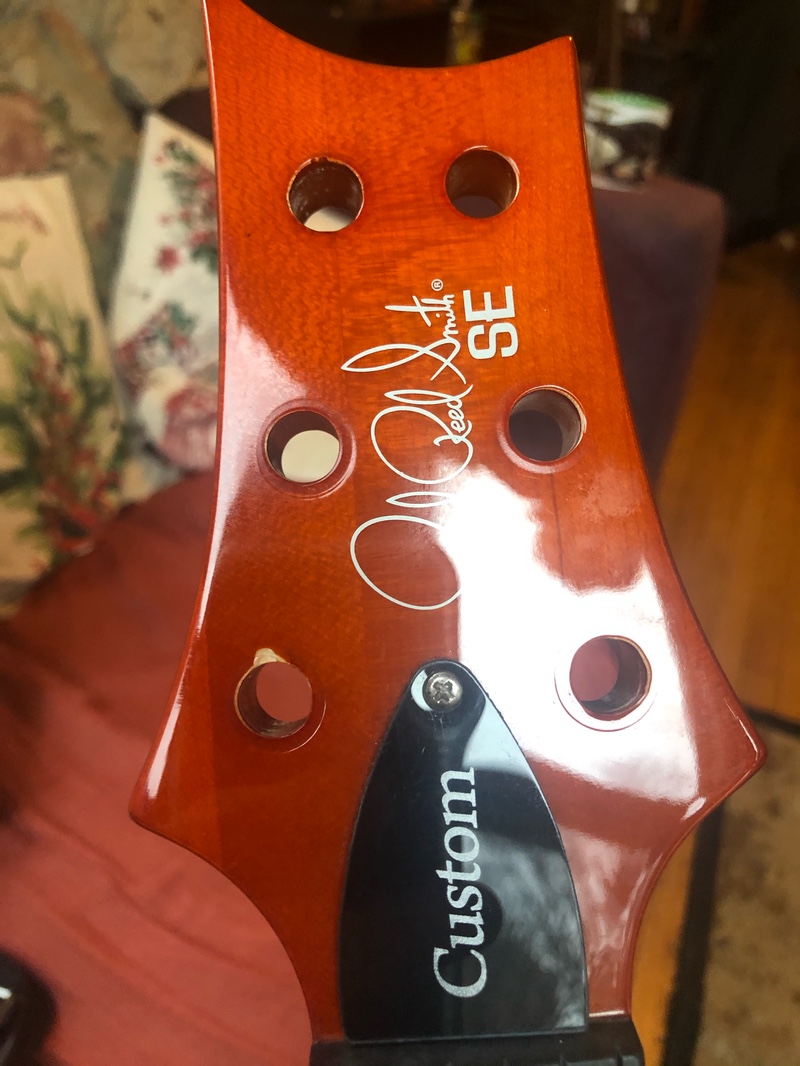
Step 2: Clean off the headstock
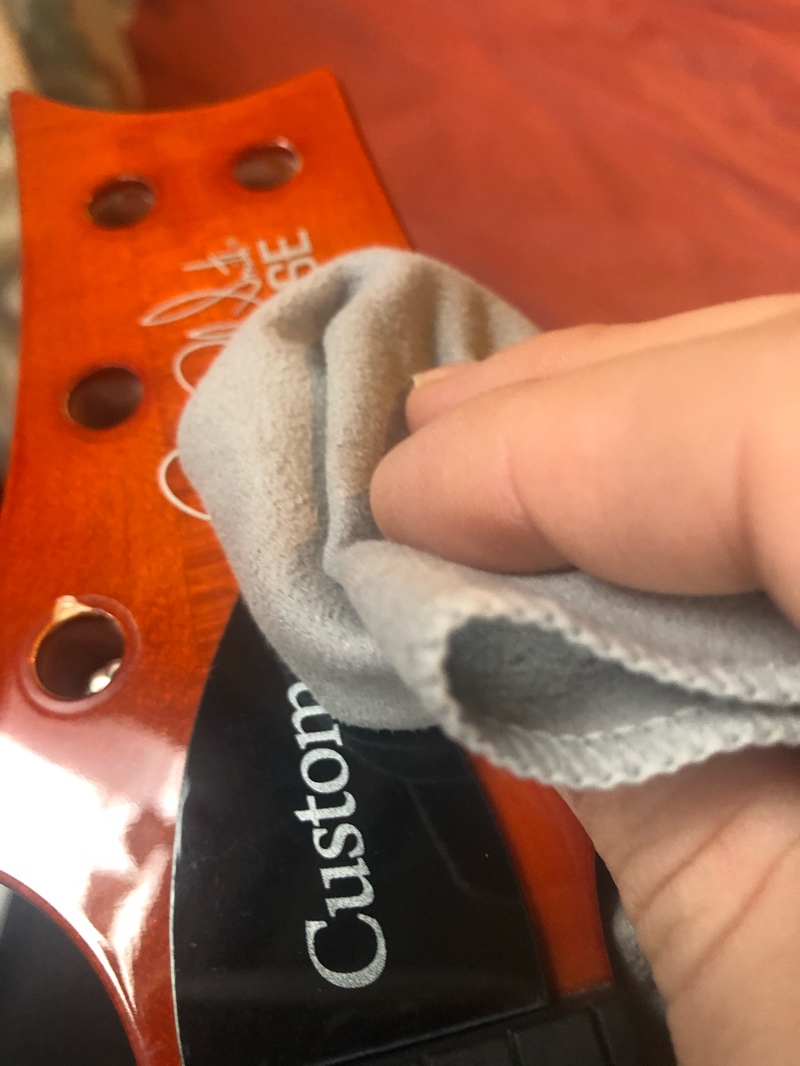
Before we put the new tuners on, this is a great opportunity to clean the guitar and wipe off the headstock. This may be the last time this part of the guitar sees the light of day, so its a great chance to wipe away any dust and debris that may have accumulated.
If your guitar has a floating bridge, you also may want to set something underneath it to prevent any damage to the body. Here, I just ripped off a small piece of packaging from some cables I purchased with the tuners. Any small piece of cardstock will work for this.
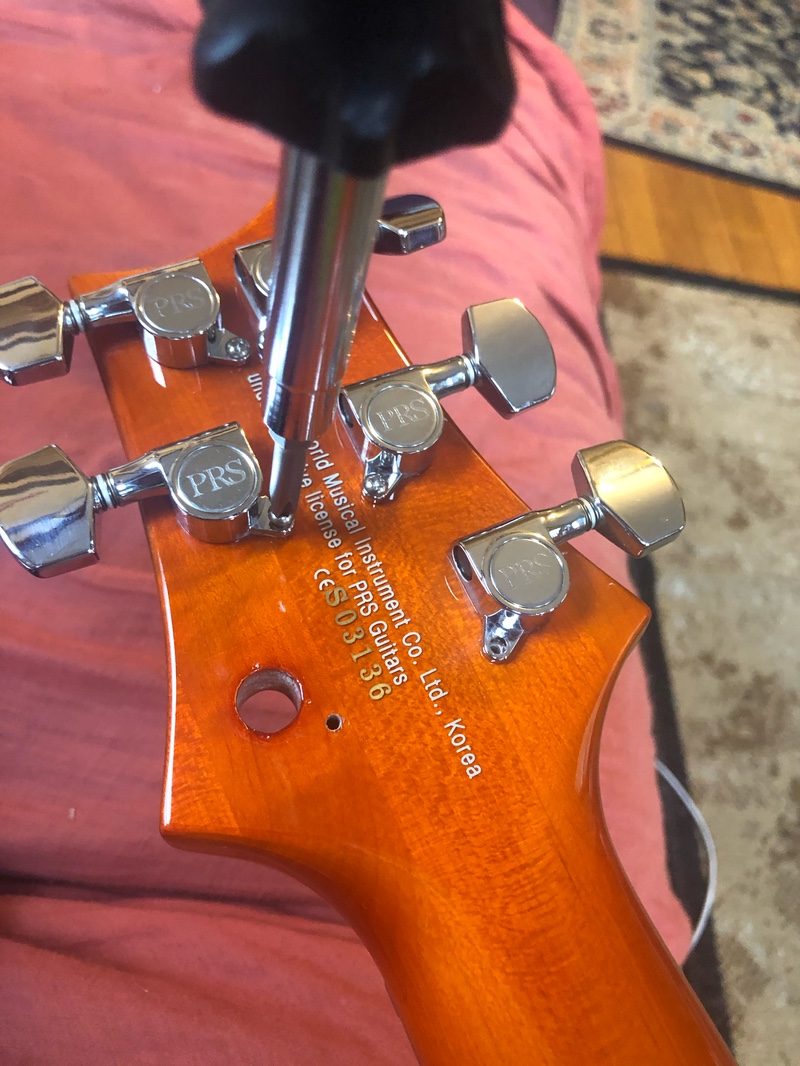
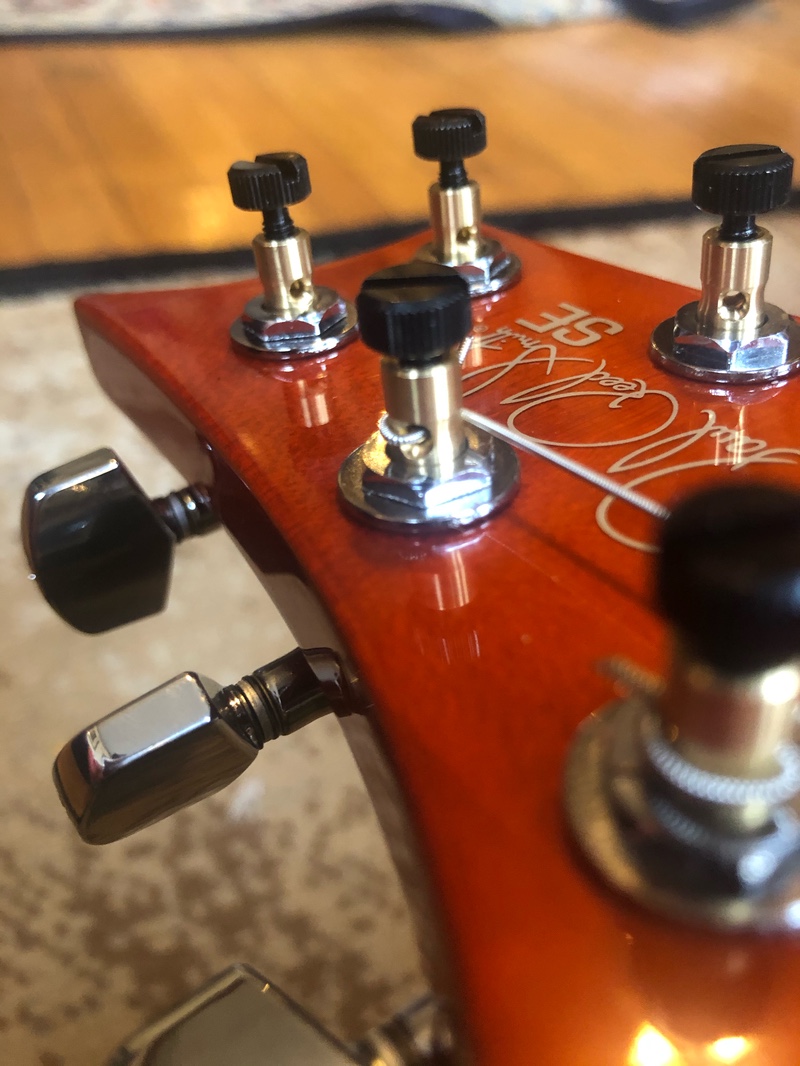
Step 3: Set the new tuners in place
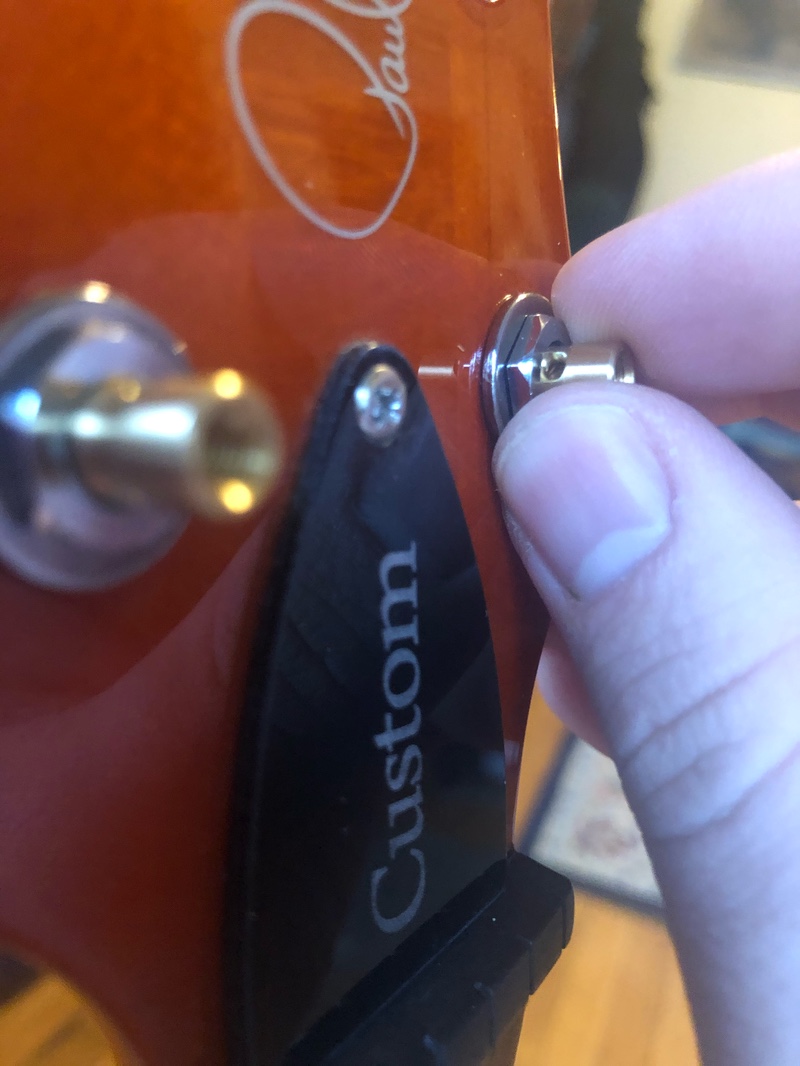
Now that your guitar is all cleaned off, it’s time to start installing the new tuners! You will want to do two at a time, starting with the two that are closest to the neck. You want to set them in place, but don’t fully tighten the nut until the next step.
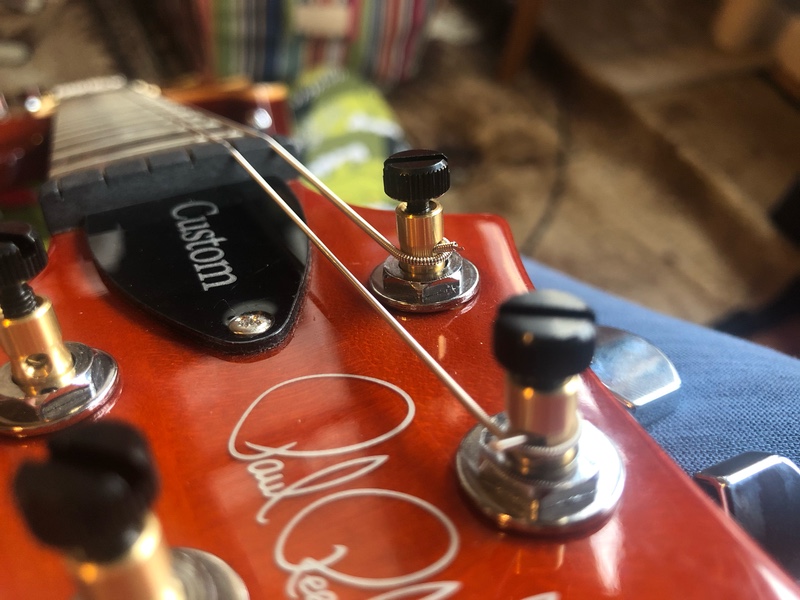
Step 4: Align, tighten, repeat!
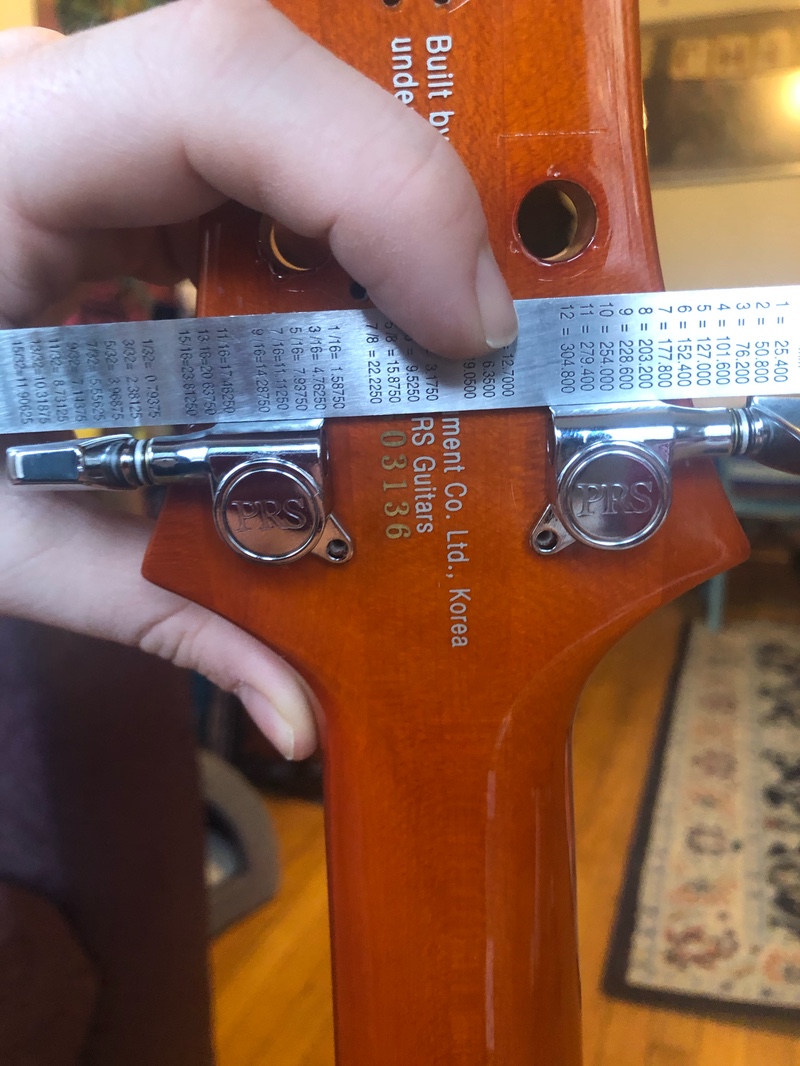
Once the tuners are in, you will want to flip the guitar around to make sure they are aligned. Any ruler will do the job. While holding them in place with the ruler, you can go ahead and screw the tuners into the back of the headstock, using the provided screws. Then finish tightening the nut on the front side and repeat this step for the other four tuners.
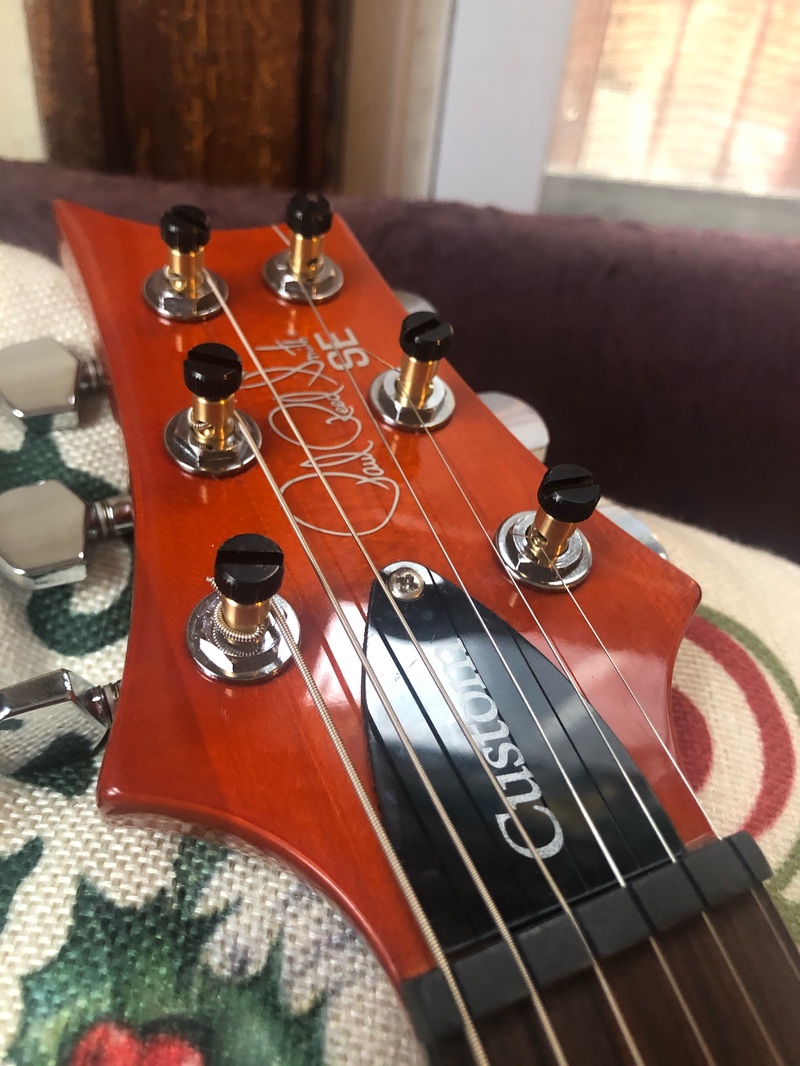
Step 5: Set the locks, and start stringing
For this next step, you will want to set the locking mechanisms in place. Simply put them on top, and give them a few turns so that they stay in place, but are not blocking the pathway for the string.
Now we’re all set to string it back up! You’ll want to set your string length, pull it through, and then twist the locking mechanism to lock the string in place before tuning. PRS recommends aiming for a 3/4 wrap around each tuner.
Step 6: Tune up and Play
And now, all that’s left to do is tune up and play! You may need to do some additional setup work to get it perfect, but I found my PRS was ready to go as soon as the locking tuners were installed. It may seem like a small upgrade, but I am already noticing more stability in the strings and a better playing experience overall.
That’s all I have for today, but I’d love to hear about all of your experiences with locking tuners and other guitar upgrades! Feel free to leave a comment below and tell us about some of your favorite guitar mods!


Leave a Reply