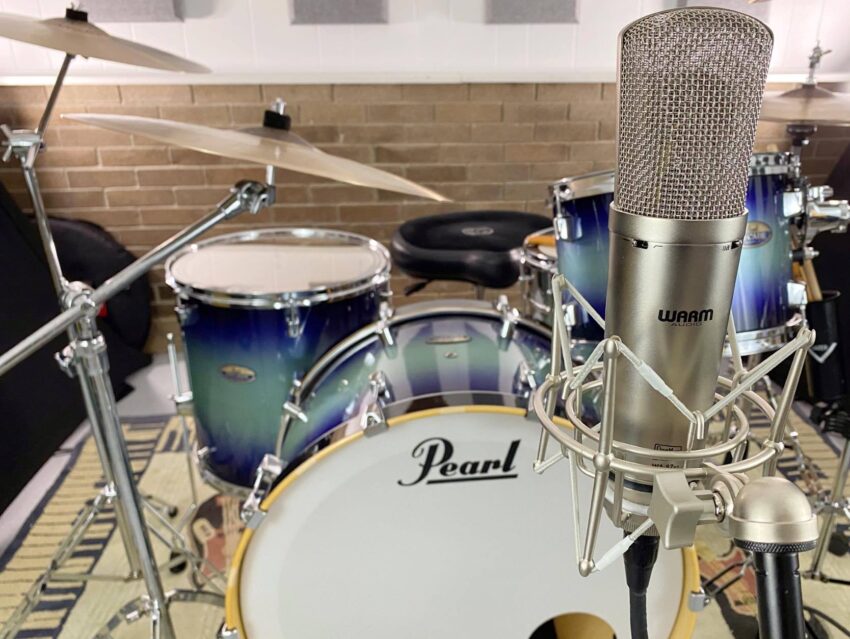
You’re down to your final input on the audio interface after miking guitar, vocals and bass, but there’s an entire acoustic drum kit you still need to mic. Or maybe your interface only has a single input and you’ve got drum tracks to record, what do you do? That’s easy, you use one microphone.
Though there are countless techniques for recording with a single microphone, today we’re going to take a look at 4 major techniques you can use when miking a drum kit with only one precious microphone.
The best part is you’ll only have one XLR cable to pick up at the end of the day — lets get started!
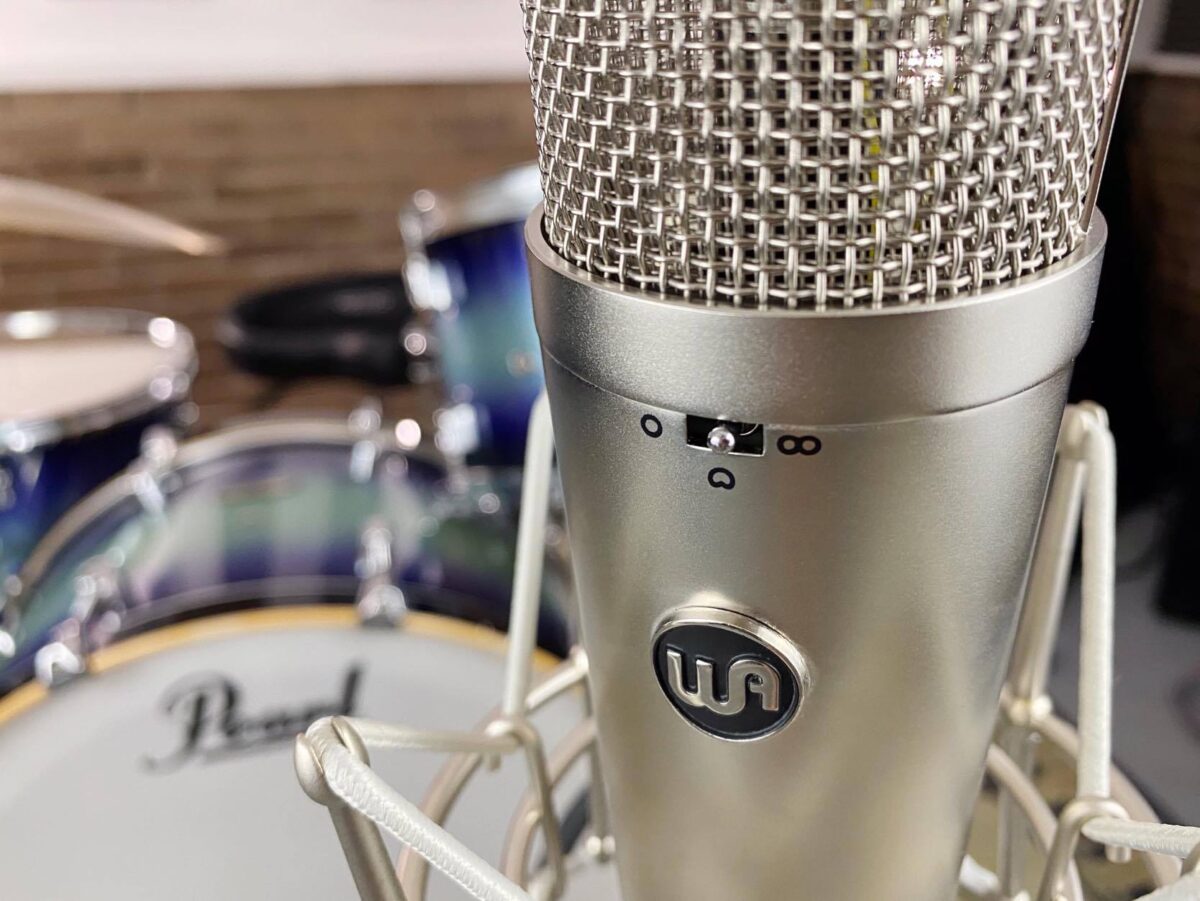
Today in studio we have the privilege of using a beautiful Pearl Decade Maple kit in the 13″, 16″, 24″ configuration, a 14″x 8″ Supralite snare drum, Sabian HHX Complex cymbals and a Warm Audio WA-87R2 multi-pattern microphone. Each recording is an unaltered, raw drum track. That means no DAW-based EQ, reverb (other than the natural room reverb) or compression.
Figure 8 Pattern
If you’re down to only being able to use one microphone on your drum track, chances are you aren’t using a mic with a figure 8 polar pattern. But maybe you are, or more likely you want to utilize single miking techniques for use later with a wider variety of microphones available. Today we’re using one microphone for each technique, the Warm Audio WA-87R2 which features cardioid, figure 8 and omni-directional polar patterns available with the flick of a switch on its face.
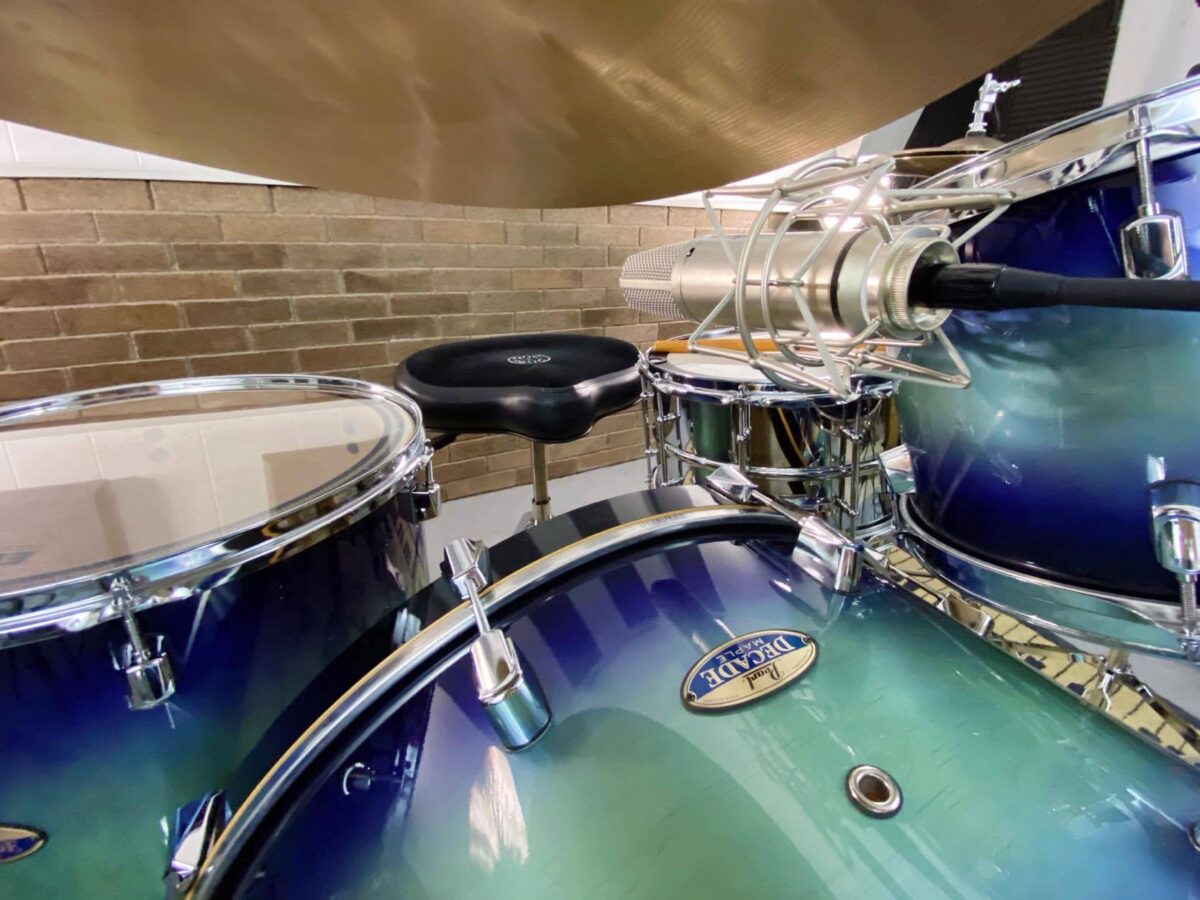
The figure 8 pattern is a favorite among producers for capturing audio equally between the front and rear of the capsule. Or in this case, top and bottom.
Start by placing your microphone on a sturdy mic stand, that best case scenario has a counterweight or a very strong boom arm clamp so your precious condenser doesn’t slam directly into the bass drum. Next, slide the mic into position where one side of the figure 8 is facing directly at your kick pedal platter and the rear of the capsule is facing the ceiling. This will capture a fat bass drum sound while retaining the high end of your cymbals and punch of your kick pedal, with the added caveat of tom grooves sounding punchy and fat too. And because you’re only using one mic you don’t have to worry about phase, so get creative with your placement and use what works best for you and your kit!
Omni-Directional Pattern
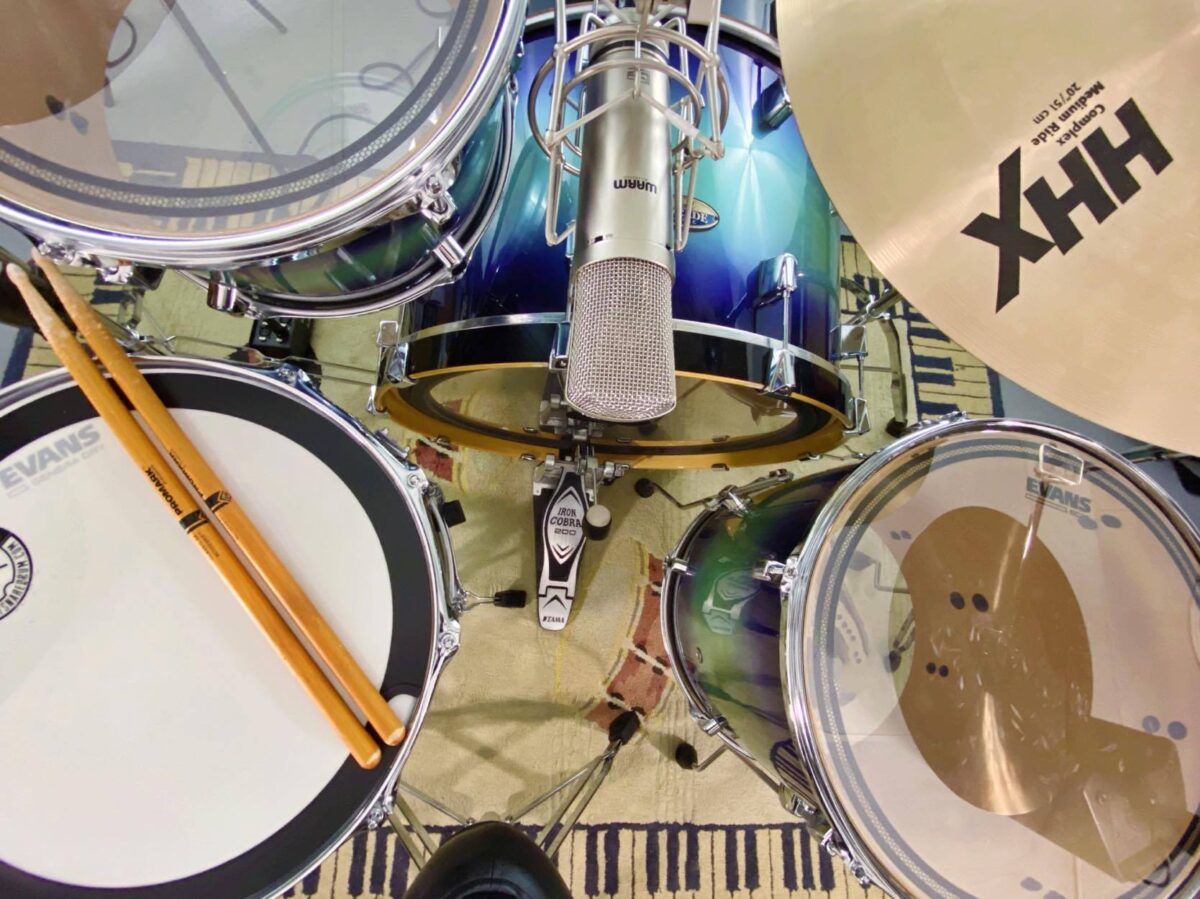
The Omni polar pattern is very similar to figure 8 but instead of both sides being captured, the entire 360-degree space around your microphone capsule gets picked up. This is by far the most sensitive miking method in this guide: nearly everything that happens on the kit will be captured.
So make sure to grease any squeaky lugs, replace old rusty kick pedal springs and tighten all the screws on the kit. Microphones with omni-directional polar patterns have become a lot more widely available with the rise of podcasting. Being able to pick up sound all around a microphone makes for an easy, cheap way to use one mic for what a job that would typically need multiple.
So using this technique may be more realistic if you are truly down to one XLR input on your interface to track drums, or in the case of the Blue Yeti microphone, a single USB cable.
The placement for this technique is identical to the Figure 8 pattern technique, directly above the kick pedal, right in the center of your kit, capturing everything.
Related: Mix Character into Drum Tracks with Wurst
The “Wurst” method takes a single microphone placement and transforms a drum kit’s personality in the mixing stage of recording.| Read »
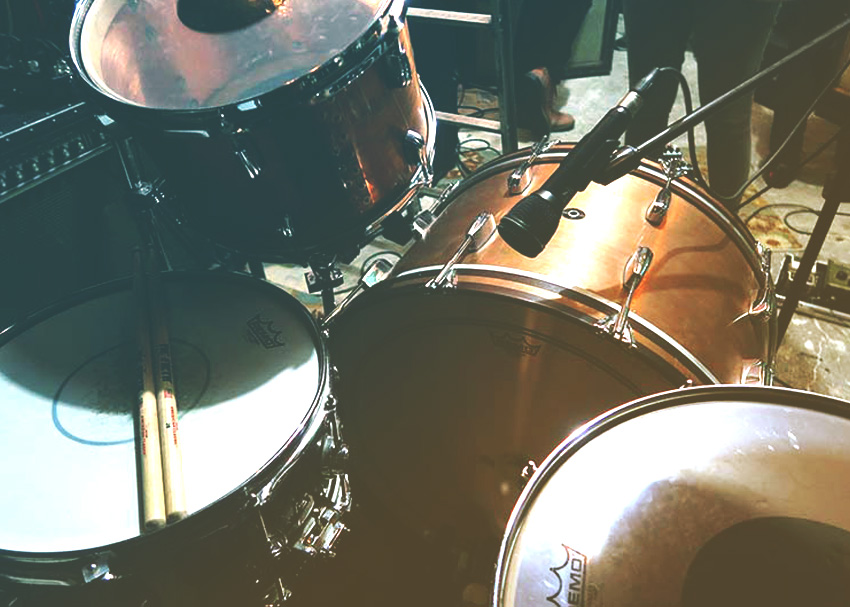
Both this and the Figure 8 method are extremely useful in “full kit miking” techniques. When using this as “salt and pepper” on a full drum mix, you can fatten chorus drum tracks, add overdrive for extra attack and grit or even cut down to this single mic for a “stripped down” sound when the song calls for it.
Cardioid Pattern In Front of Kit
Having a single microphone and needing to mic drums usually leads to this technique. Straight up in front of the kit capturing what a “live listener” or audience member would hear. This technique is extremely straight-forward — place you microphone 3-5 feet from the front of the bass drum facing at the drummer. One unique advantage to this technique is you can adjust EQ on the fly before the track is even cut.
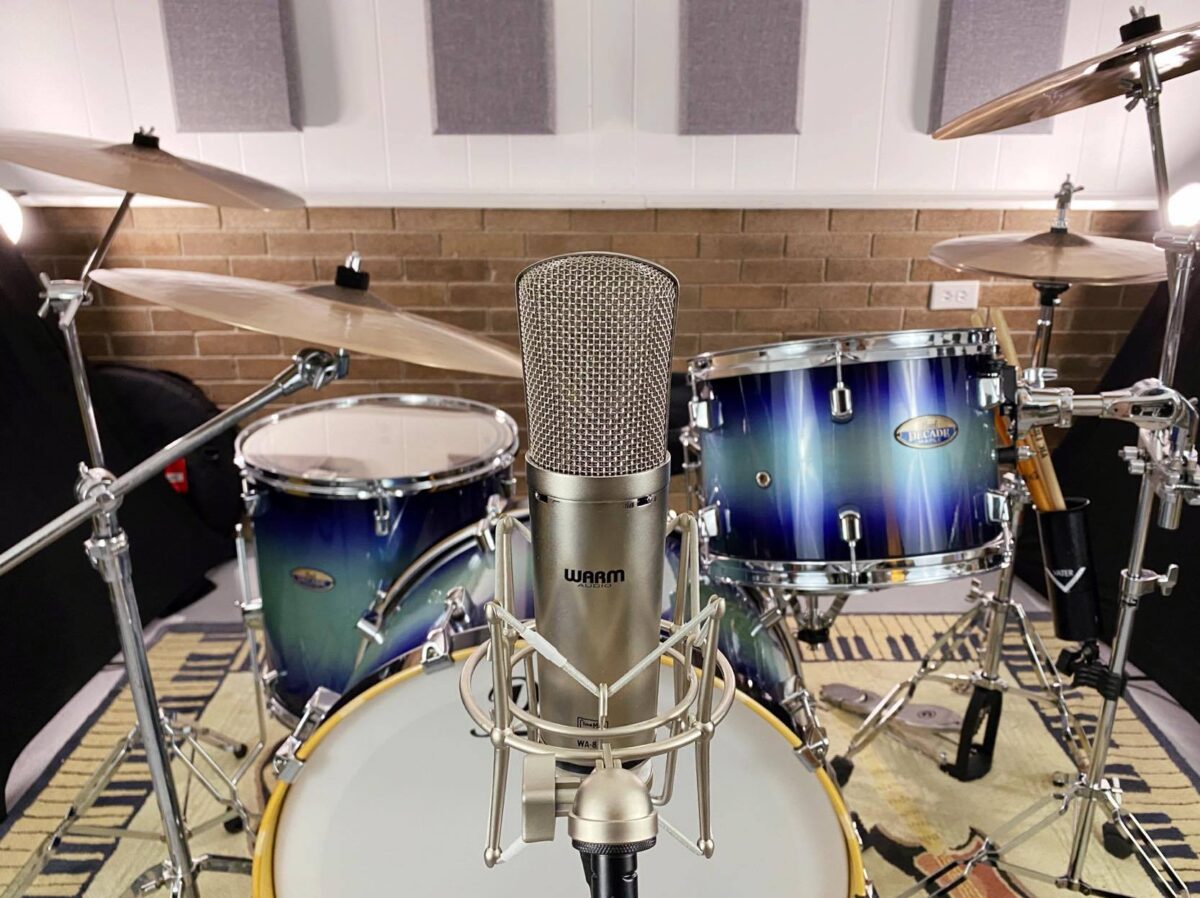
Simply move your microphone up or down on its stand. Moving the mic down will fatten up the mix, while moving it up cuts some of that low end and makes the cymbals much more present. The down side to this technique is it really cuts a lot of your snare and tom tone down. No matter how well you tune your drum, how well it’s made or what brand it is, this (and really any single drum miking technique) will prevent your drums from reaching their full potential on a recording. Unless that’s what you’re going for, music is a subjective art.
Cardioid Pattern Above Snare
A little “bonus” technique is literally just 1/4 of the legendary Glyn Johns Method. Using a microphone in its traditional cardioid polar pattern, mount the mic around 4 feet (make sure to give your drummer some room to work) above the snare drum facing its capsule directly at the center of the snare.
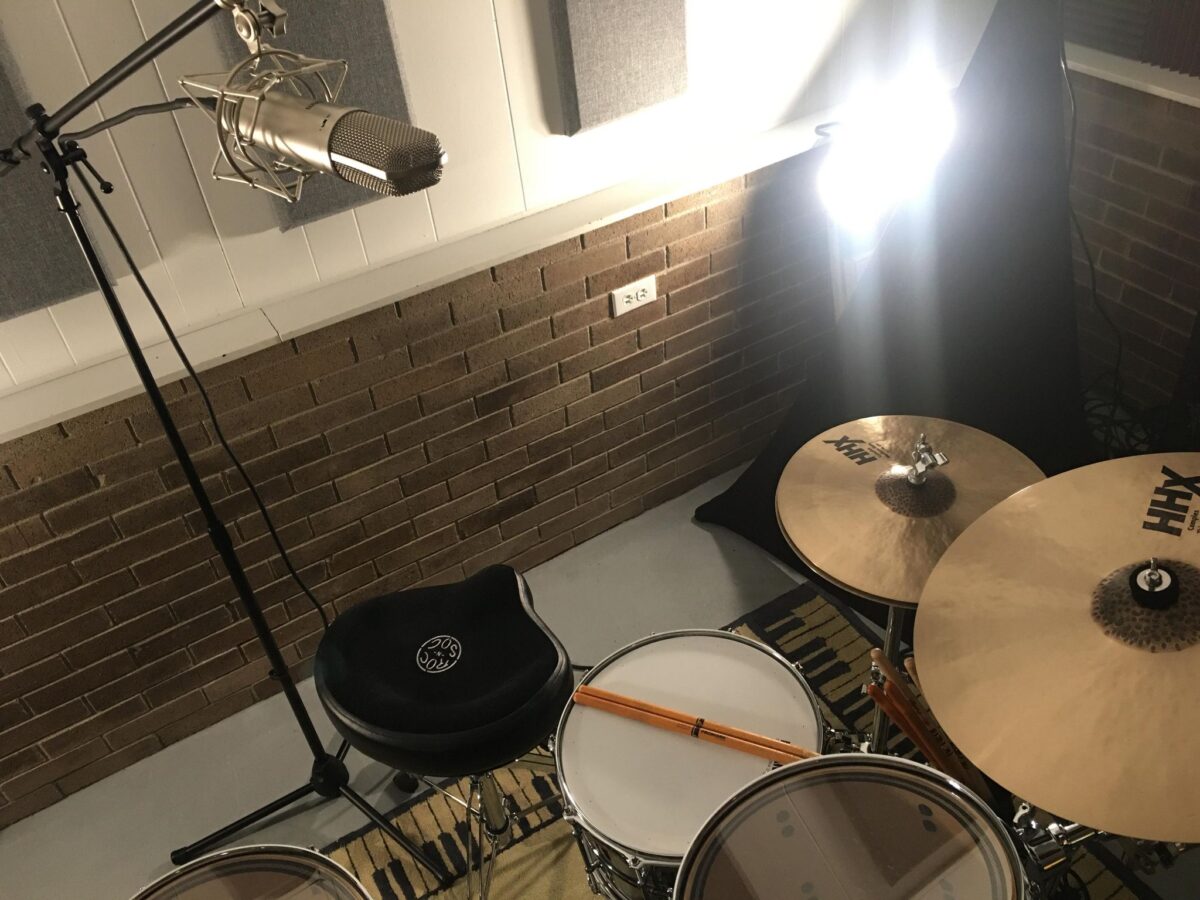
This overhead method is used to capture “the sound the drummer hears” and is really fun to experiment with across genres. Because of the position, this technique will bring the cymbals way out front of the mix, with snare and bass drum being a tad bit more buried than in the previous techniques. This could be a good thing though — like when recording larger drums, jazz drummers that lead heavily on cymbals, or for getting a washy, garage rock drum sound.
Only having one microphone for acoustic drums can be frustrating, but it doesn’t have to ruin your track. Capturing a drum track that will work for your mix or be used to build on later can most definitely happen while only utilizing one microphone. It’s important to have fun with it, experiment and learn what works best for you.

