Today we are going to take a look at a classic drum recording technique: the Glyn Johns method. The Glyn Johns method uses two microphones to capture the bulk of the drum kit, and often times an added kick and snare mic for a little more emphasis and clarity.
My band is working on a self-recorded album and we’ve started to test out a few different drum miking techniques. We started this project with a four mic setup (overhead, side, kick, and snare), but we slowly tried adding in more mics to the mix and ended up with what we would like to call the Glyn Johns plus.
In this blog post, I will walk you through the more traditional Glyn Johns method first, eventually adding some mics, and then walking you through our mixing process.
Related: Mix Character into Drum Tracks with Wurst
Achieve great drum tracks with a single mic | Read»
Who is Glyn Johns?
Glyn Johns is an English musician, producer, and engineer. He worked on records with legends like Eric Clapton, Led Zeppelin, The Rolling Stones, and even the Beatles.
The Glyn Johns Method
Glyn came up with a unique drum recording technique known today as the Glyn Johns method. This drum miking technique uses one overhead mic, several feet above the center of the kick, and another mic off to the side near the floor tom. He would usually add in a kick drum mic and occasionally use a snare drum close mic.
The idea is to create a full stereo image of the kit with the overhead and side mics. This is a really effective minimalistic approach that can also be ideal for anyone recording drums on a budget or is limited to a few mics or inputs on their interface.
Today’s Gear
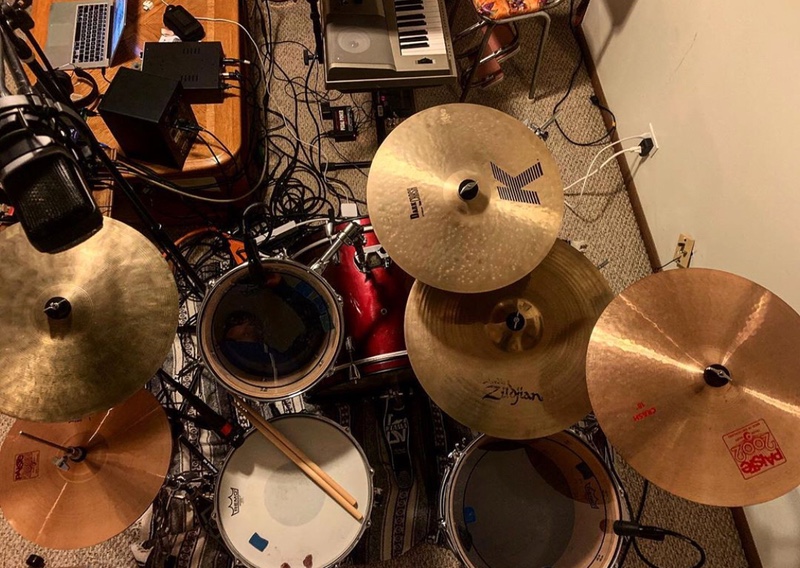
- Pacific Drums Kit
- 14″ Paiste 2002 Sound Edge HiHats
- 17″ Zildjian K Series Dark Thin Crash
- 18″ Paiste 2002 Medium Crash
- 22″ Dream Bliss Ride
- 16″ Unknown Crash
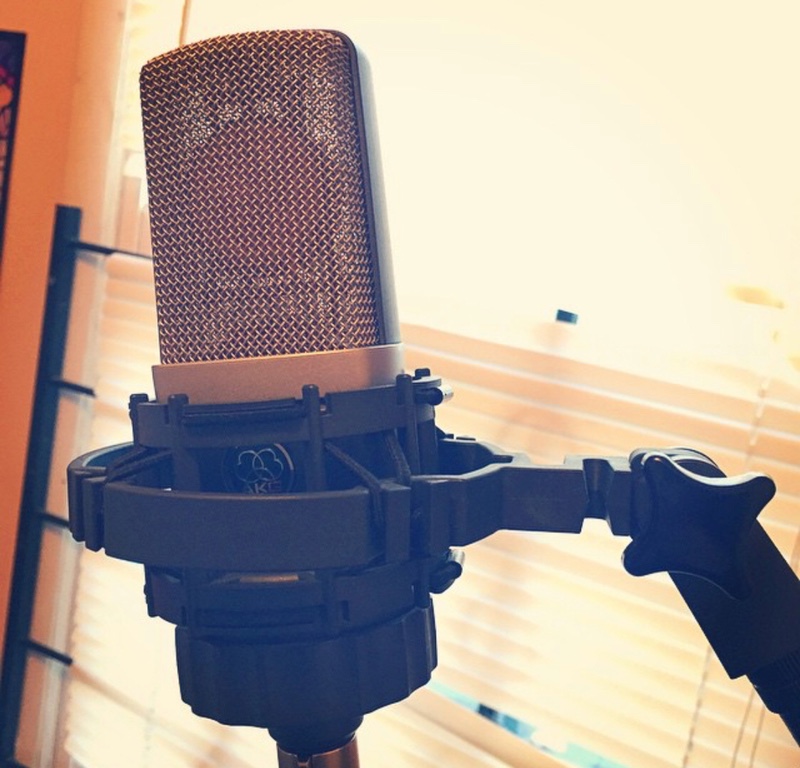
- 2 x AKG C214 Condenser Mics
- AKG D112 Condenser Mic
- Shure SM57 Mic
- 2 X Sennheiser e 604 Mics
- Sennheiser MD-421 Mic
- Warm Audio WA47-Jr Mic
- Focusrite Clarett 4Pre Interface
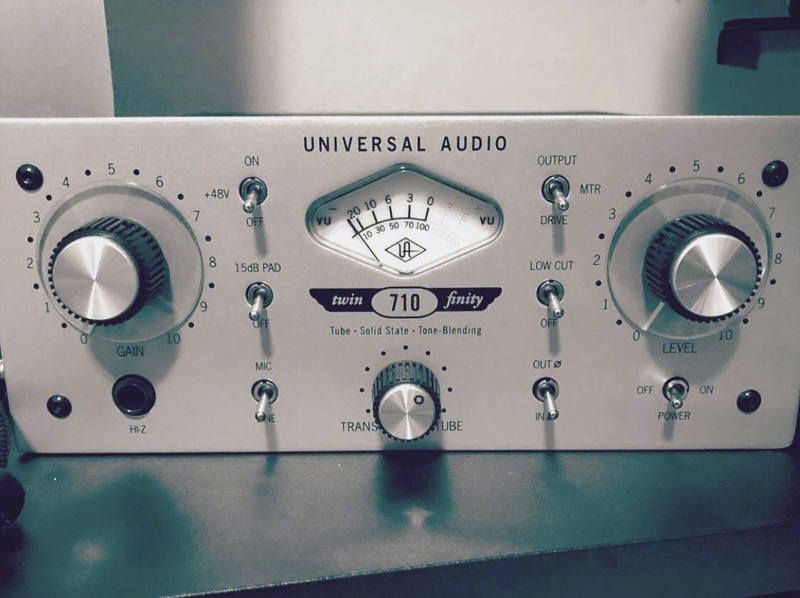
- 2 x Universal Audio 710 Twin Finity Mic Pres
- Black Lion Audio Auteur MKII Twin-Channel Mic Pre
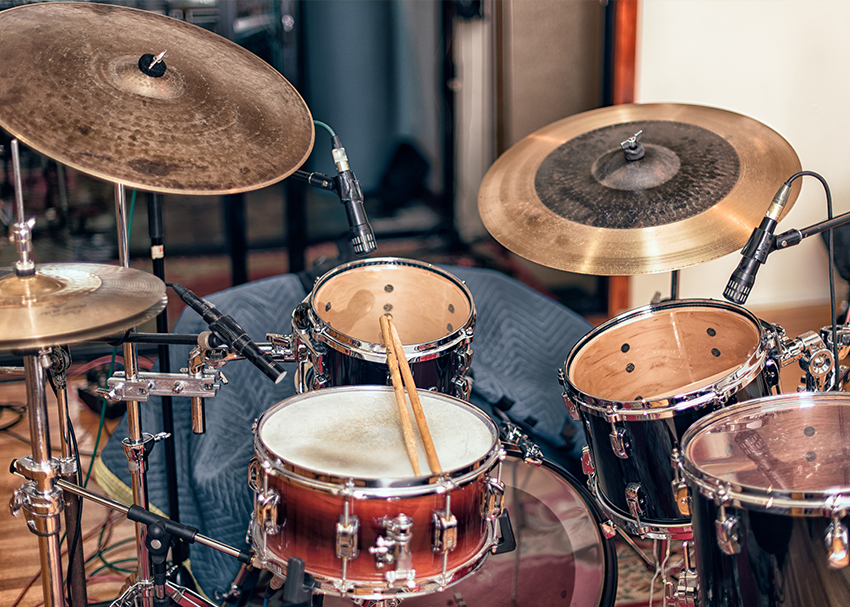
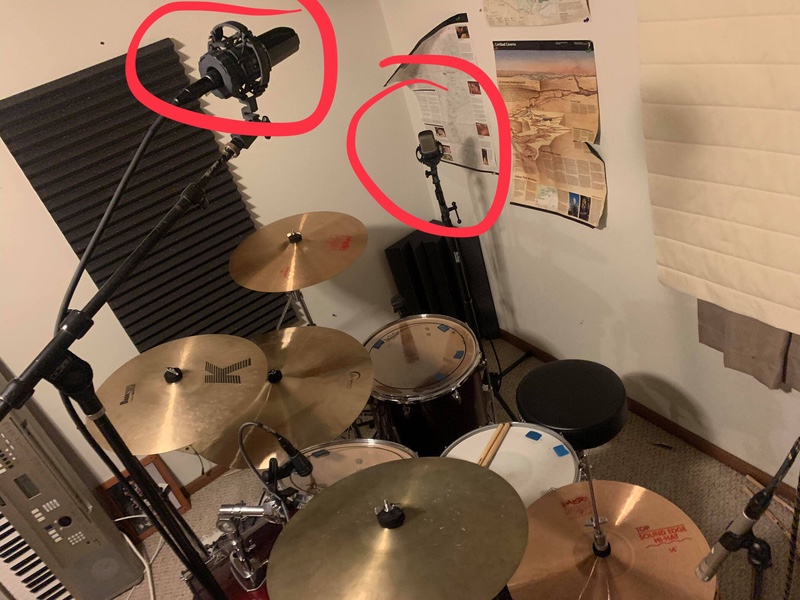
Overheads
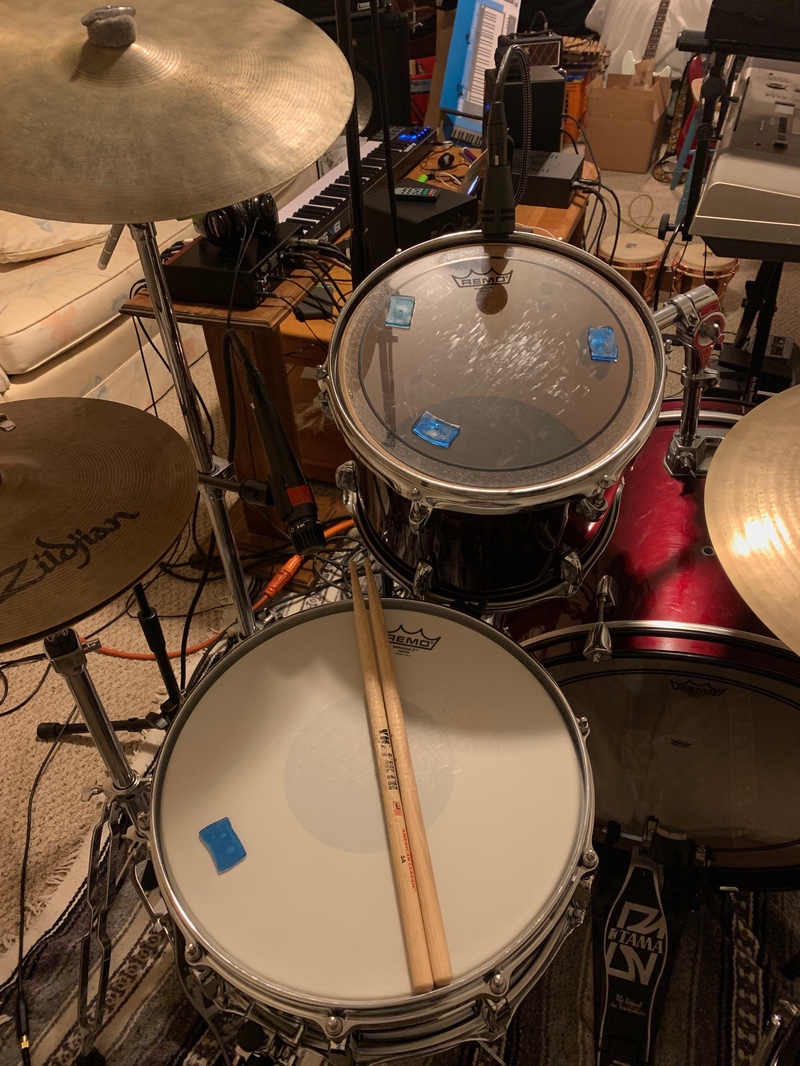
The key to nailing the Glyn Johns method is getting a great stereo image of the kit. This is achieved by placing one mic directly over the center of the kick, and one off to the side of the floor tom. Then you want to measure and make sure they are equidistant from the snare drum.
For our recordings we are keeping both mics 42.5 inches from the snare drum and using the AKG C214s as our overhead mics. Both mics are going into two Universal Audio 710 Twin Finity Preamps, into the line inputs on the Focusrite, and then into Logic Pro X.
Below I have included samples of both mics separately, as well as panned together. The goal should be to get a great-sounding full kit from these two mics alone, and then use additional mics to emphasize the other drums if needed.
For the audio samples below, I have the Overhead mic panned all the way to the left and the Side mic panned all the way right. In later samples they will be spread a little closer to the image of the actual mic placement, but this seemed best for these mics on their own.
Both mics are being sent to a reverb bus, and out into a drum bus track with a Slate Virtual Tape Machine, the UAD SSL G-Bus Compressor, and Logic’s Channel EQ Plug In.
Section A
Section B
Section C
Kick and Snare
The most common additions to the overhead mics are separate mics for kick and snare. This gives a little more control over the sound of the kit and how it sits in the mix.
Adding more mics can lead to more bleed between tracks, which can be both a good or bad effect, depending on the sound you want. Always be sure to check for phase issues!
We used a Shure SM-57 on the snare, and an AKG D112 inside the kick. Both mics are using the Clarett’s onboard preamps and utilizing the “air” circuitry. Below are samples of each mic isolated, and mixed in with the overheads.
Section A
Section B
Section C
Toms
While this is a departure from the typical Glyn Johns technique, we decided to try adding some tom mics into the mix next. This song in particular has some pounding tom fills throughout, and these mics help to add a little more punch. They also help to fill the space and add more motion to fills that move across the kit.
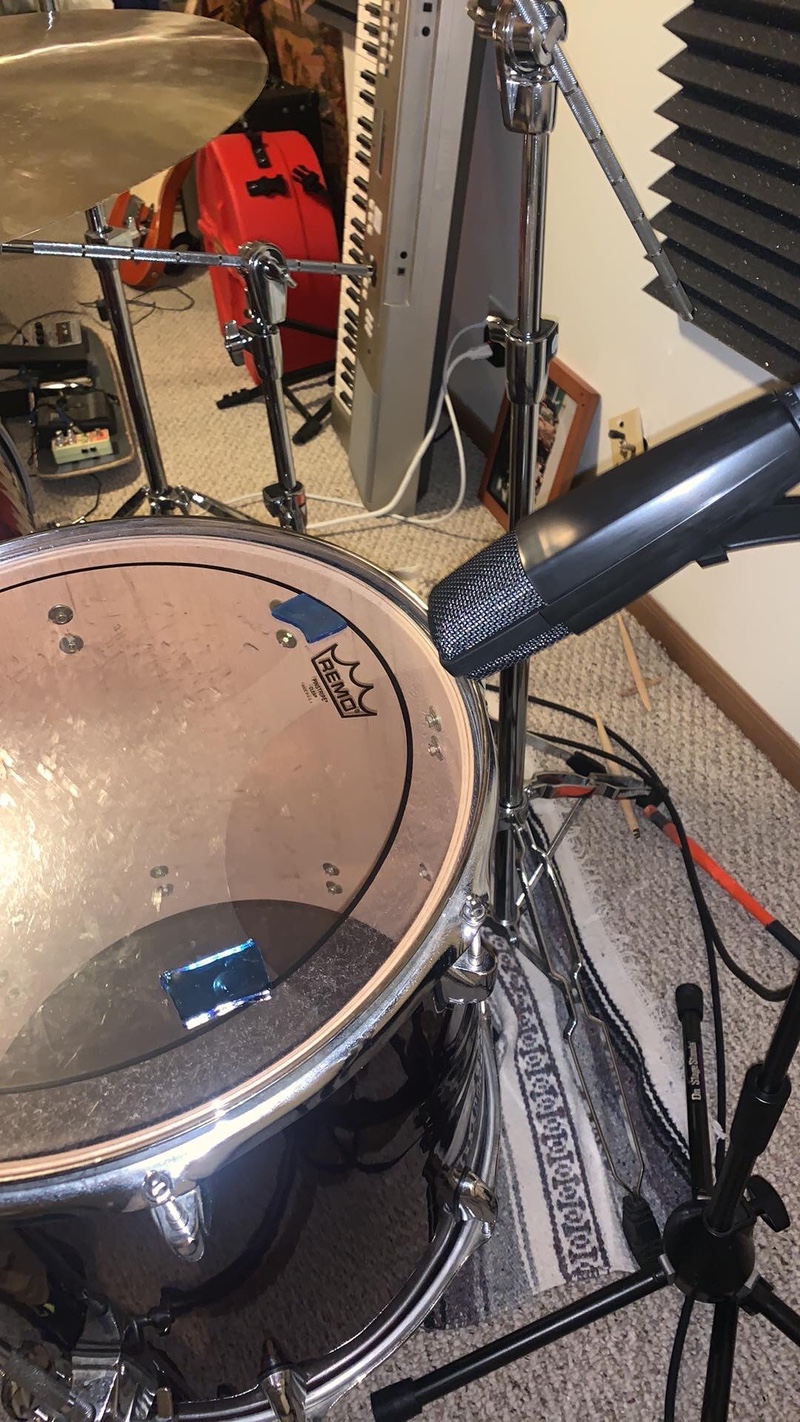
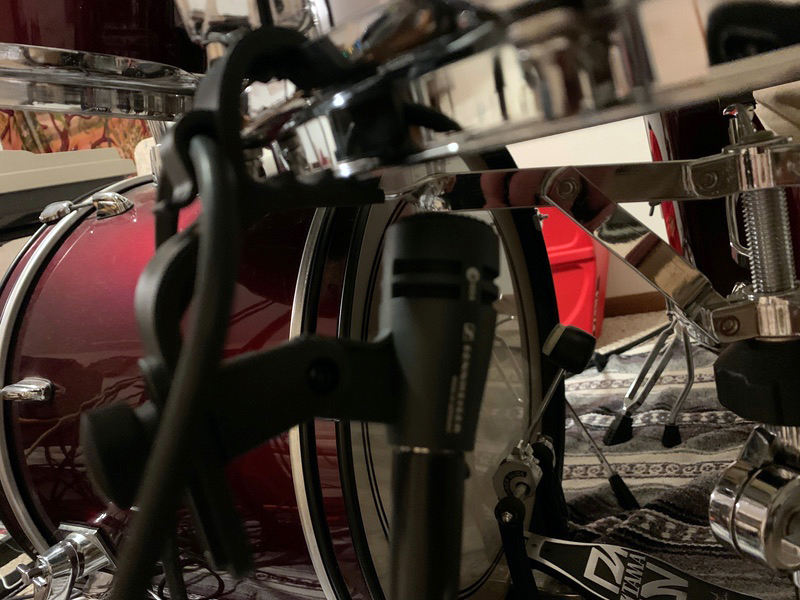
For our tom mics, we put a Sennheiser e604 on the rack tom, and a Sennheiser MD-421 for the floor tom. Below are some examples of each mic separated, as well as in the mix (with the snare bottom mic added in, which we will discuss shortly). Again, always check for phase issues.
For this sample, I decided to just focus on Section A of the song, since the toms are most present in this section of the track.
Section A
Snare Bottom
While experimenting with additional mics in this setup, we tried out both the hi-hat and the snare bottom mic. We eventually decided that the snare bottom was adding the most to the mix, and helping to really bring out the snap and attack of the snare drum.
Below is a sample of the snare bottom mic on its own, and mixed with all of the previous mics for Section C of the song. We used another Sennheiser e604 for Snare bottom into the Black Lion Audio Preamp.
Again, ALWAYS CHECK THE PHASE RELATIONSHIPS BETWEEN MICS! This is where the phase inversion switch comes in handy on a preamp to help balance out the snare top and bottom mics.
Section C
Room
The final mic we tried adding into this mix was a room mic. For this, we placed the mic about 6 feet away, 4 feet off the ground and facing the center of the kit.
A Warm Audio WA47-Jr Mic served as our room mic, running through the Black Lion Audio Preamp. It really helps to fill up any missing space in the kit and adds a little punch to the track.
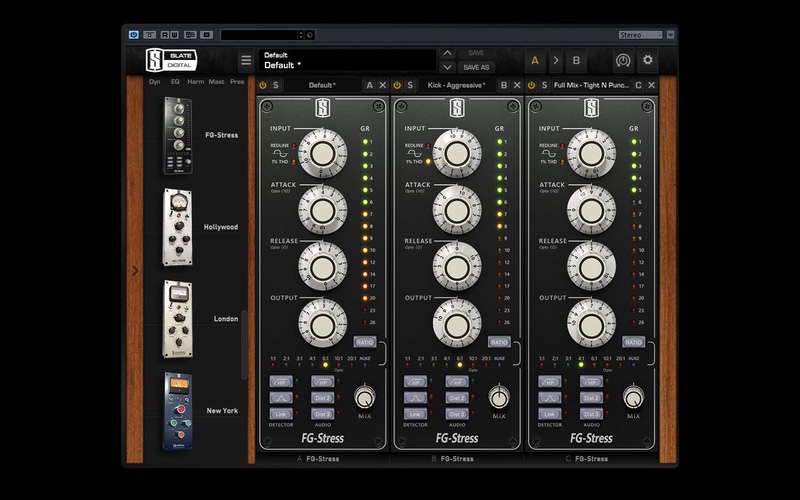
The samples below are the room mic isolated for each section of the song. Instead of just the dry room track, I bounced it out with the plug-ins enabled. I used a Slate Distressor plug in with some over-the-top compression dialed in, EQ boosting the low end a little bit extra around 3K, and then I sent the signal through the reverb bus, and out through the drum bus.
Mixing
Since the other tracks (guitar, bass, and keys) have yet to be recorded, this is far from a final mix, but we wanted to get an idea of how the finished drums might sound.
Compression & EQ
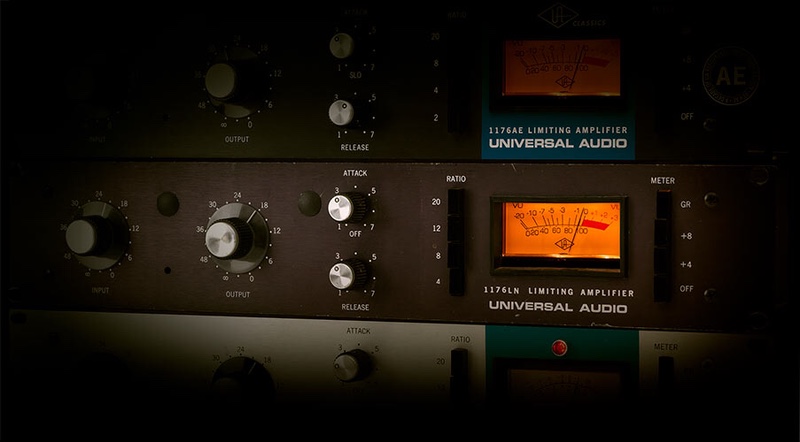
For the four main drums (kick, snare, and toms) I used the UAD 1176-LN Legacy plug-in on each channel. This tends to be one of my go-to compressors for both drums and guitar. For the kick and snare I kept an 8:1 ratio, but the toms I did the classic “all in” to get a little extra crunch.
For snare top I boosted around 250 Hz and added a high shelf around 6K. On snare bottom I used a hi-pass filter to roll off everything under 200 Hz and let the high frequencies shine. On kick, I gradually rolled off everything above 2K, and gave it a big boost right around 60 Hz. On toms I tried to boost right around 100 and 250 Hz to get the fundemental note, and also around 2.5K to bring out the attack and definition.
For the overhead and side mics, I just used a subtle EQ and no compression. I like to keep the overhead mics more open and uncompressed. This helps to keep the kit dynamic, and they will still get some compression later on in the drum bus.
As I stated earlier, for the room mic I used some heavy compression from the Distressor, and an EQ bump around 100 Hz and 3K.
Panning
One of the biggest decisions to make with any multi-mic drum recording is how to pan. I personally like to pan the drums from the perspective of the drummer, but many producers like to do it the other way around. There’s no wrong way to do it, but you typically want to create a stereo image that matches the layout of the kit.
From left to right these are my levels for panning the kit:
- Snare Bottom: -36
- Snare Top: -25
- Tom 1: -23
- Overhead: -20
- Room Mic: Center
- Kick: +6
- Side: +39
- Tom 2: +63
The overhead mic is technically placed in the center of the kit, but pushing it to the left helped to widen the stereo spread of the cymbals. I also decided to push the kick slightly to the right to add a subtle back-and-forth effect with the snare. This will also leave room to pan the bass guitar slightly to the left without the two clashing as much later on.
Reverb
For reverb I opted to use the UAD Capitol Chambers Plug In. I have really come to love this reverb and it works well with the drums. I set up an aux send with the reverb effect 100% wet, and sent differing amounts of each track to the reverb track.

Below is a sample of the reverb bus all on its own for each section of the song.
I sent a fair amount of the snare and toms to the reverb track, with a little more of the snare bottom than the snare top. I sent a little bit of the overheads as well to help let all of the cymbals really ring out. For the room mic, I went a little over the top to really add some ambience to the whole kit. And the kick was the only thing I did not send to the reverb bus.
The Drum Bus
Finally, every individual track’s output is routed to a drum bus track. This really helps to glue the whole kit together and makes it easier for mixing with the other instruments later on.
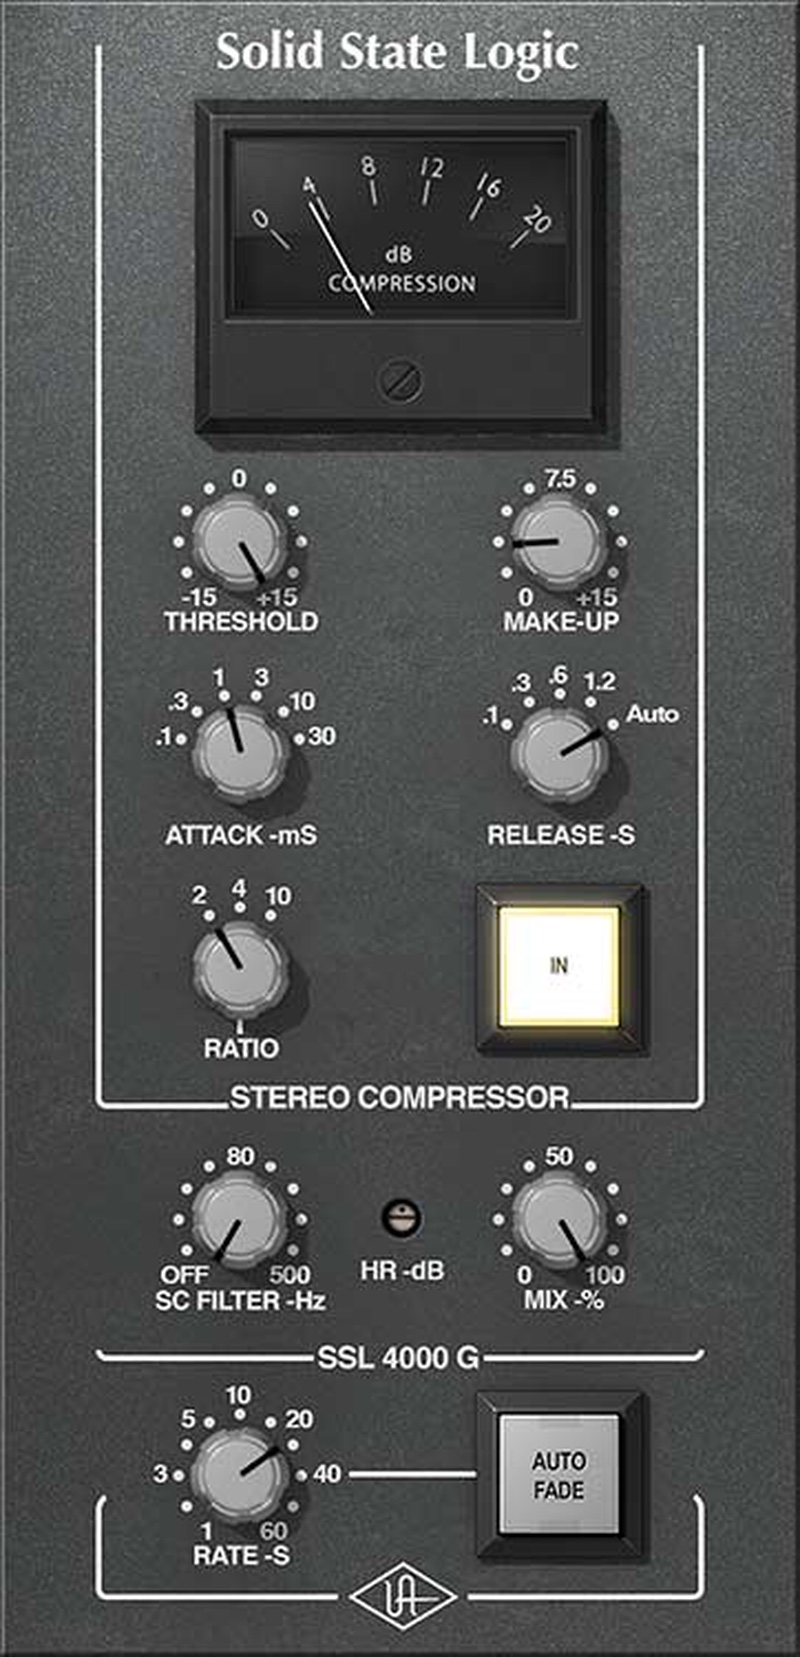
For the drum bus, I always start wth the Slate Virtual Tape Machine. This helps to add some warmth and saturation to the drums as a whole. Next I go through the UAD SSL G-Bus Compressor. This compressor has been used on the mix bus of countless records over the years, but I also like using it for drums. It really helps to glue the whole kit together and tame any transients that may still be sticking out. Finally, I add in a final EQ on the whole kit. Typically I like to bring out the kick and snare just a little more and also fine-tune the high end of the spectrum for any areas that may be a little too harsh.
The (almost) Finished Product
Well this is all I’ve got for today, and while I’m liking how the drums sound so far, we will definitely have to start from scratch once the other instruments are added into the mix. Hopefully this gives you some new ideas for drum tracking using different mic setups.


Leave a Reply