Lions lying down with lambs. Hams being stuffed into turkeys. Keyboards being turned into keytars. Guitars being turned into MIDI controllers. There are many things that many people consider an aberration (if not an abomination).
Once, I felt the same way. But then I tried to turn my electric guitar into a MIDI controller. It was only then I understood and took my first steps into a larger world.
In this edition of Beat Connection, we begin our journey into the land of “MIDI Guitar” by recalling my journey to it. Interspersed through the post, you’ll find videos of tracks by those who have already taken this journey. In the end, we’ll use this post as a launching point from which we can take this fair instrument further into other musical MIDI-related territory. But first, like most journeys, it all begins with opportunity…
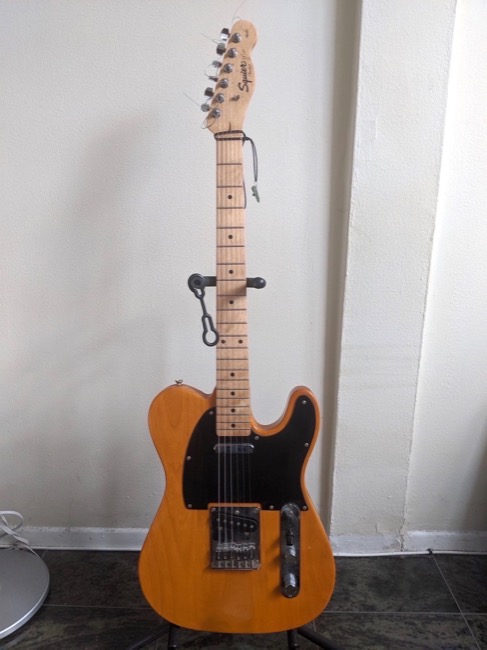
You see, somewhere situated next to my home office chair, right in front of my bedroom music studio, sits upright a musical tool callously aware of my indifference to it. So close, yet so far — once was my Squier Affinity Telecaster Special electric guitar (in Butterscotch Blonde finish) quietly gathering dust as I played around with my latest USB-connected musical gadget. Within arm’s reach, my rare connection with it had only been to periodically tune it or to strum on it a mutant strain of open intonation. It was obvious I was bored of it. Yet, I felt a deep connection to it I couldn’t quite shake.
On a guitar I could fashion music instantly. Arpeggios, legato, harmonics, slides and pull-offs are some of the sonic adornments I can immediately compose melodies with. Normally, I begin with a sketch of a song on the guitar, only to replace it with all sorts of virtual and analog non-fretted instruments. As a compositional tool it’s given me tons of half-baked ideas. Somehow, though, I just hadn’t quite taken it over. I had yet to build a bridge from it to a more adventurous, virtual, electronic world.
For the longest time, (forgive me) I thought of electric guitar synthesizers as cheesy instruments. Why bother using a guitar to sound like something it’s not — especially when the result sounds like a hot mess? I’m looking at you ARP Avatar. Having to jerry-rig a whole contraption onto my guitar for this was never going to fly.
Then, looking at the alternative — acquiring a specially-made synthesizer guitar or guitar controllers, filled my aesthetic heart with existential dread and my pocketbook with horror… I was born in the ‘80s, but I don’t need something that feels/looks/plays/appraises like a relic from that era. You could say I was at an impasse. “I have a keyboard. I can use it for this,” I said to myself.
In the end, something was always missing. I love the expressive immediacy of that glorious rock ‘n’ roll instrument but (sorry, electric guitar aficionados) its sound just wasn’t cutting it for me anymore — no matter how many effects I lobbed at the thing. At the end of the day, I convinced myself in clinical terms that this is just a triangle wave. Then, as if a guitar saint heard me in my deepest moment of weakness, Pat Metheny came a calling.
Like a welcoming voice, Pat put it plainly how useful such an instrument can be. Rather than strike a note of pretension, he treated us to a song made out of barnyard animal noises. Rather than wax on about the impending doom of modern music, Pat put it in context for the musician of good taste.
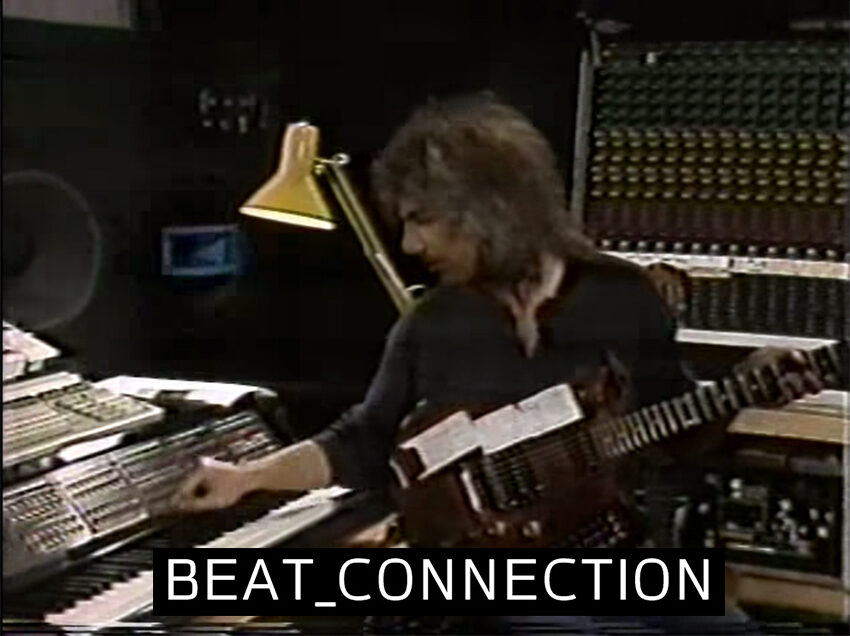
What you can do with a guitar synth (Metheny’s being the original Roland GR-300), is use the guitar’s expressive qualities brought out by your technique to guide whole compositions with instruments that were entirely alien to it, but (somehow) open to its charms. Opening his guitar phrasing to the Synclavier system was a stroke of genius. Hearing and seeing him use it on “This Is Not America” sold me on it. I was hooked.
This is where we begin.
A Quick Intro to MIDI Guitar Pickups
Recently, I caught wind that Fishman, creator of myriad acoustic guitar pickups, had created a brand-new kind of guitar MIDI pickup system, only recently used on a few select guitars. It should be said, an unwritten standard of guitar synthesis exists: thou shalt not stray from from the hexaphonic pickup.
Simply put, a hexaphonic pickup is an electric guitar magnetic pickup that splits up your guitar signal into 6 separate audio channels — one for each string — rather than just one. A long, thick cable that resembles a MIDI cable is then plugged into a hex transmitter, which goes to the guitar synthesizer that handles each separate audio signal. So, to cut a long story short, Fishman didn’t get rid of the hex pickup. What’s new is that they got rid of its unwieldy cable connection and made this system wireless, making it available as a post-market add-in for others to easily install.
Answering my prayers for a streamlined, aesthetically-pleasing solution to my guitar synthesis needs, the Fishman TriplePlay system introduced wireless Bluetooth technology to the guitar MIDI world. Paired with an optional FC-1 controller, the TriplePlay receiver could live far away from your guitar, plugged into your computer or existing MIDI synths, ready to do things like change presets, function as a sustain pedal, link in expression pedals, act as a tuner, and send out “normal” guitar audio to other analog sources like pedals, amps, and such…all without having to plug in one single cable.
However, before we get to that, let’s start with how I installed this system.
Guitar MIDI Controller Installation (A How-To):
Fishman’s TriplePlay system is entirely non-destructive. This means that its components — mount, hex pickup, and transceiver — are supposed to slot in or stick on somewhere between your existing guitar’s magnetic pickup system. The transceiver itself is battery-powered via a micro-USB jack and does not require the guitar itself to be plugged in to work. Of specific importance, though, is the exact location you’ll mount the hex pickup. If mounted correctly — they recommend right in front of the bridge with 1mm of clearance from the string — once you plug in your receiver dongle into your computer or the FC-1 controller, you should enter the pearly gates of MIDI control land.
Installing Mounting Bracket
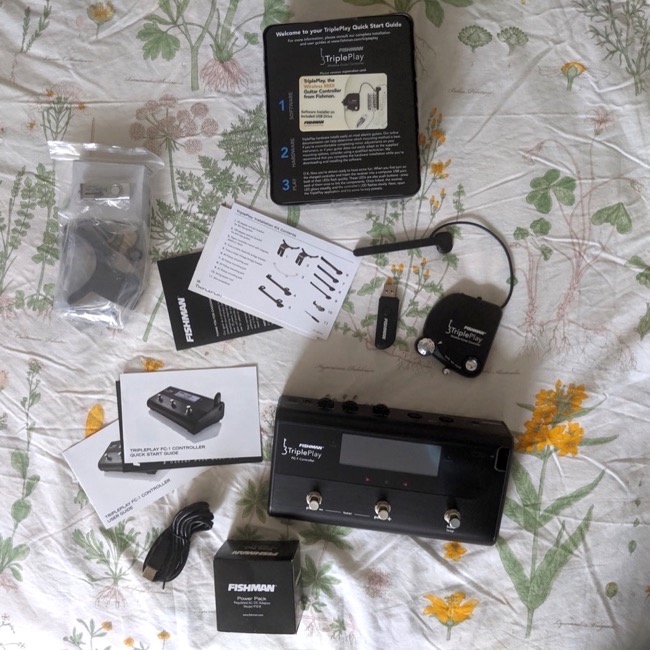
Above you’ll see what we begin with. A baggie full of assorted mounts, mounting brackets, a USB thumb drive for software installation, one that’s a USB receiver, a tiny screwdriver, and the hex pickup/guitar controller. Ignore the floor controller for now. We’ll get back to it in another post.
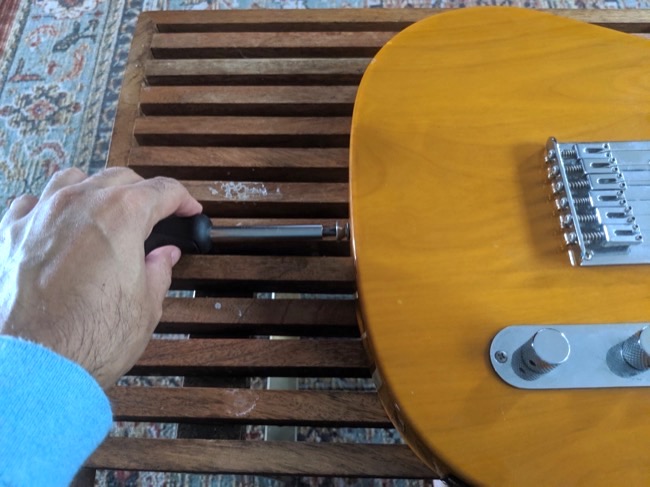
Using my favorite coffee stand/guitar workbench, I make up my mind and decide to use a metal mount to affix the controller to my guitar. Reason being, Fishman includes a magnetic stick-on attachment that allows the controller to snap into place right on the mount. It’s also a great way to preserve the finish of your expensive guitar (which I didn’t need to worry about).
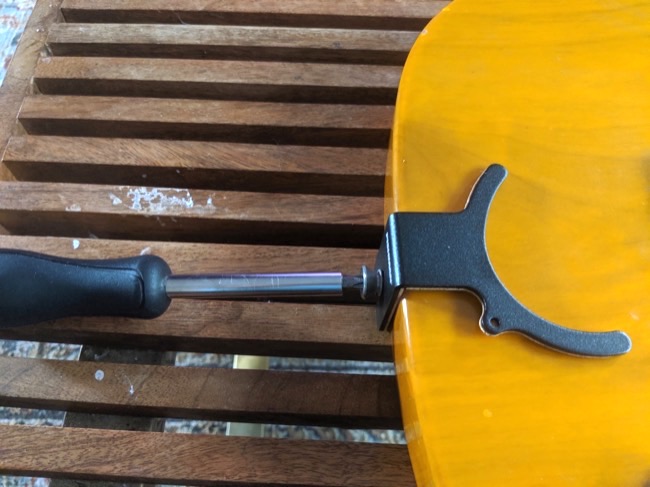
I used a regular-sized screwdriver to unscrew just a bit of the strap pin, so the mounting bracket can slide in between the pin and the body. Once tightened, I’m ready for the next step.
Note: I lucked out with having to install this system on a flat-topped guitar. If you would like to install it on an archtop guitar, Fishman does include differently angled metal mounting brackets for these.

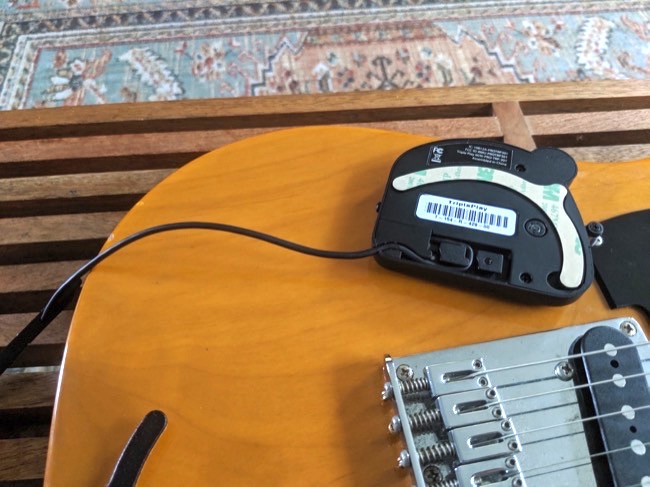
Above you can see the bracket, fully slotted in and flush between the body and strap pin. Now, it’s time to affix the magnetic mount pictured just north of the mount.
1 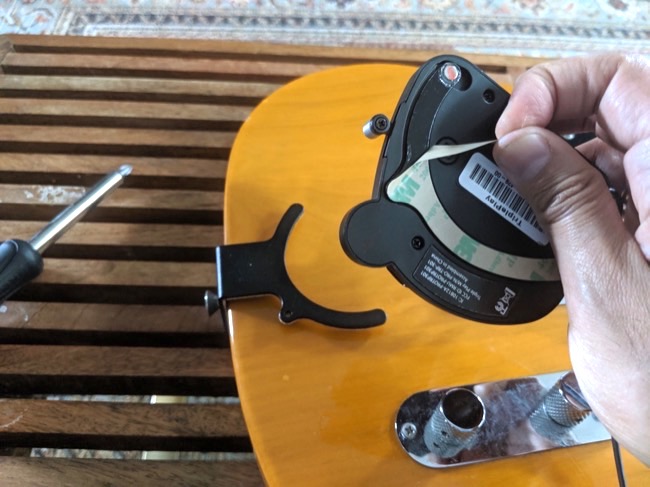
2 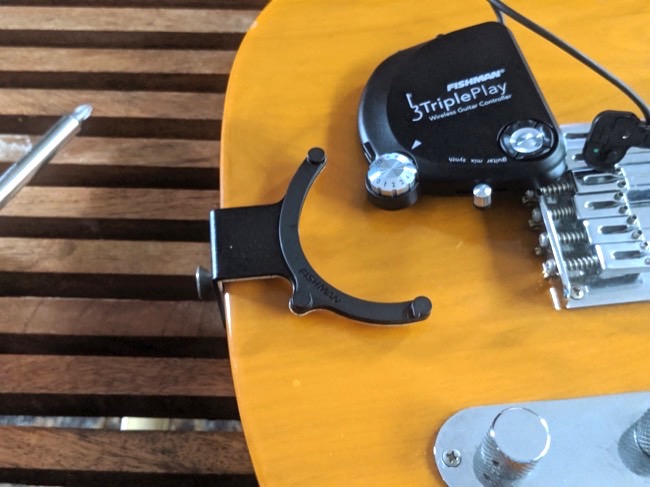
3 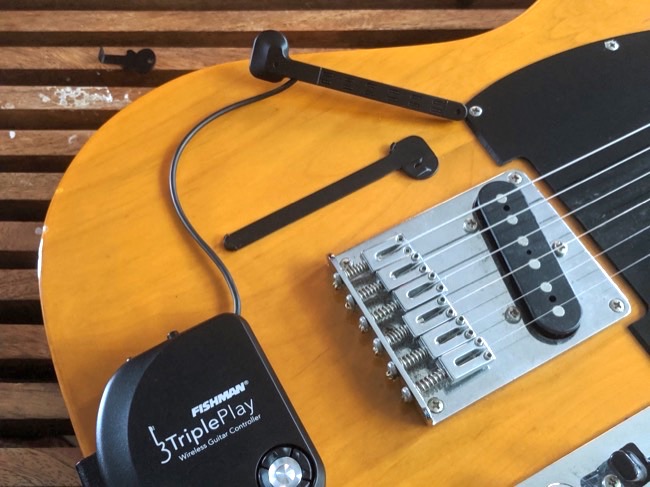
4
Positioning Hex Pickup
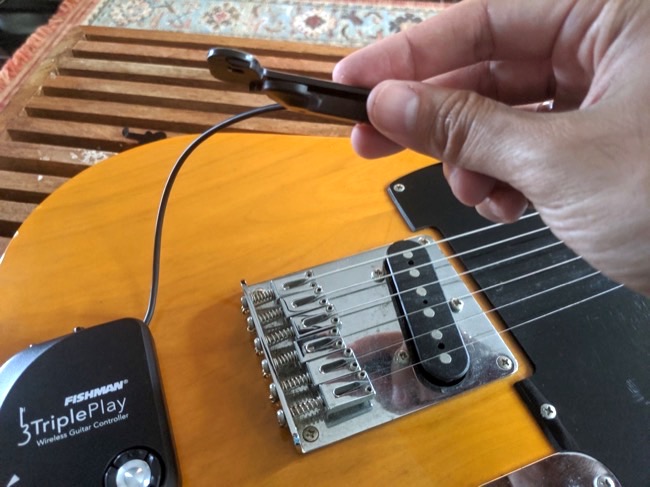
In the slideshow above, you can appreciate exactly where that magnetic mount will slot into. Our task is to simply peel off the sticker backing and place it firmly on the mount, situated flush with the contour of the bracket. Once there, the controller snaps into place as soon as you move it to the mount area. Wonderful!
5 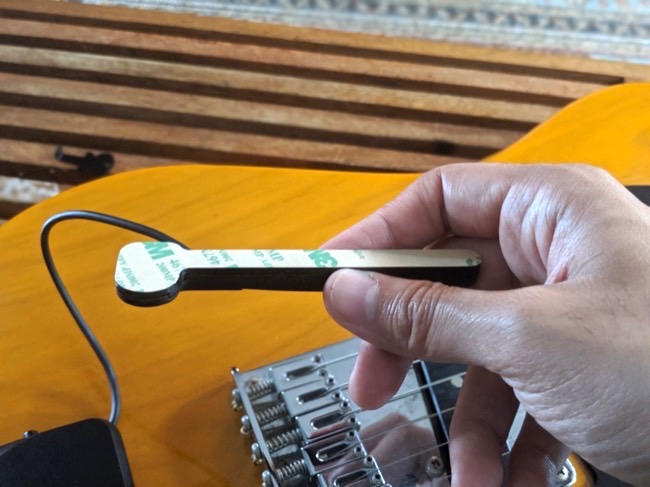
6 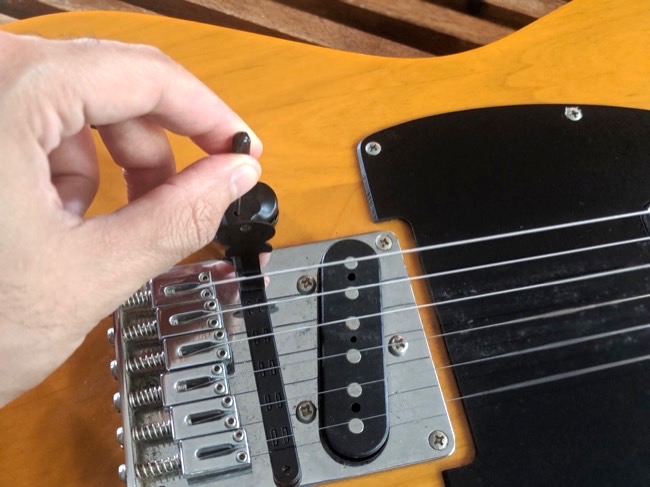
7 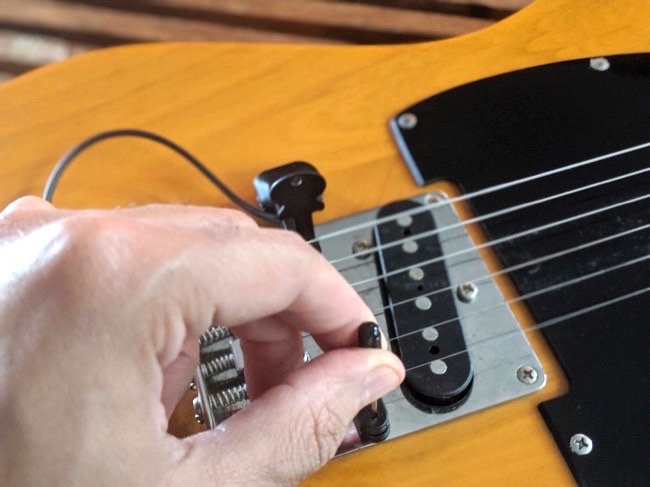
8
Above, you’ll see how I situated the hex pickup in front of the guitar bridge, before the bridge pickup, and aligned it so that each hex pole is both in line, in between each string, and also close enough (in height) to the strings themselves. This sounds like a lot, but in practice it’s a breeze to do.
Once you have your pickup aligned perpendicular to your strings, and the poles spaced evenly among them, I suggest using painter’s tape to mark off where you’re going to place it in the end. Once dutifully marked, you take out the pickup and remove the sticker backing from the mounting pad and slot it back in, giving it a good press. Then, you slide the hex pickup back in place.
Fishman includes pickup height spacers of various lengths that bring your pickup as close as required to your strings. A handy spacer tool slides between string and pickup, giving you a visual idea of how much more you need to adjust the saddles of your bridge to compensate, or adjust the pickup mount’s height itself. (so that’s what the tiny screwdriver is for!) It doesn’t have to be entirely precise, but you don’t want to give too much clearance. This makes it harder for the pickup to actually pick up anything. Going too close stops the string from fully/freely vibrating naturally, thus oversaturating the pickup.
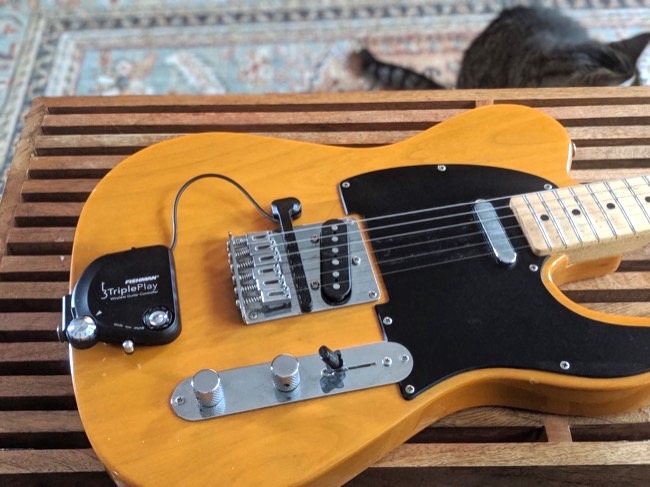
Finally, like many times in my life, my cat Luna shows up (nodding in silent approval) signaling that I’m “done” here. We have MIDI-fied our guitar. Onward we go, putting it through some final touches before it’s truly ready to to exist in this realm.
Final Setup Instructions
If you love dongles and solid state media you’ll love this. Although you can use this controller with your computer simply by plugging in the USB receiver and turning on the controller to pair them together, you really should install Fishman’s TriplePlay software and calibrate the darn thing. If you love installing a boatload of free virtual instrument plug-ins and guitar software, Fishman has included gigabytes of it to waste away copious, glorious minutes of your life authorizing. Now, if you already have your own skip ahead.
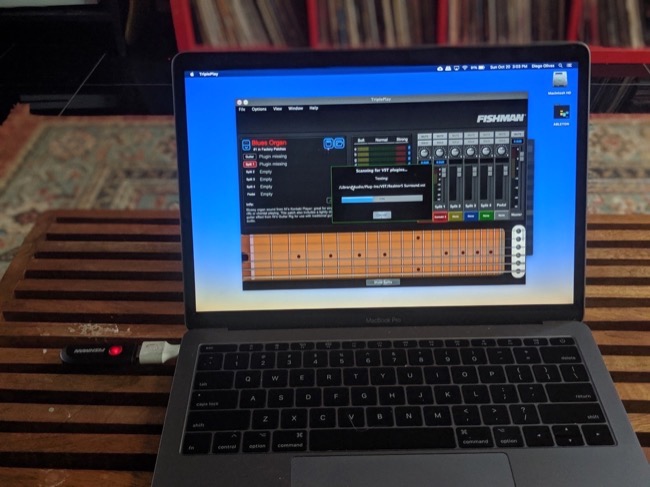
Using included TriplePlay software you’re able to set the sensitivity of the hex pickups. If you’re a fingerstyle learned guitarist, like yours truly, you should adjust the response to taste. The range goes from soft to strong. As this controller sends velocity, this is a step you shouldn’t skip, as how strong you pick will affect the volume of your virtual instrument. On a lazy Sunday I was able to install the hardware in less than 30 minutes. Software took a bit more time, but I’m happy that we’re ready to move on.
For now, I’ll conclude this first step in tapping into the world of guitar MIDI. Until next time, when we’ll touch on what we can do with our reborn electric guitar as guitar MIDI controller.
All images by author. This is not a sponsored post.



Leave a Reply