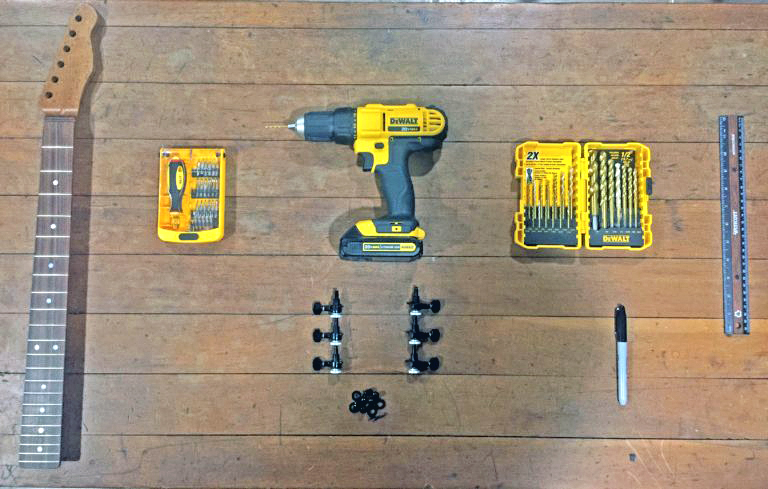
Welcome back! In this installment, I’m going to do a basic walkthrough on a very common and practical guitar modification: installing tuners. Depending on the model and brand you have, this process can have slight variations, but the installation is largely universal. Here’s what you’ll need:
Supplies
- Tuners of your choice (I went with Gotoh SG381 MG-T’s)
- Screwdriver
- Straightedge
- Drill
- Marker
- Wax (or a bar of soap)
Choosing a Type
First thing’s first – be sure to do your research and choose a set of tuners that will fit your guitar’s pre-existing slots, otherwise you’ll have a problem on your hands. After that, decide what style tuner you’d like as there are a large variety of options from vintage to modern. The final consideration should be whether you’d like to have traditional tuners or locking tuners.
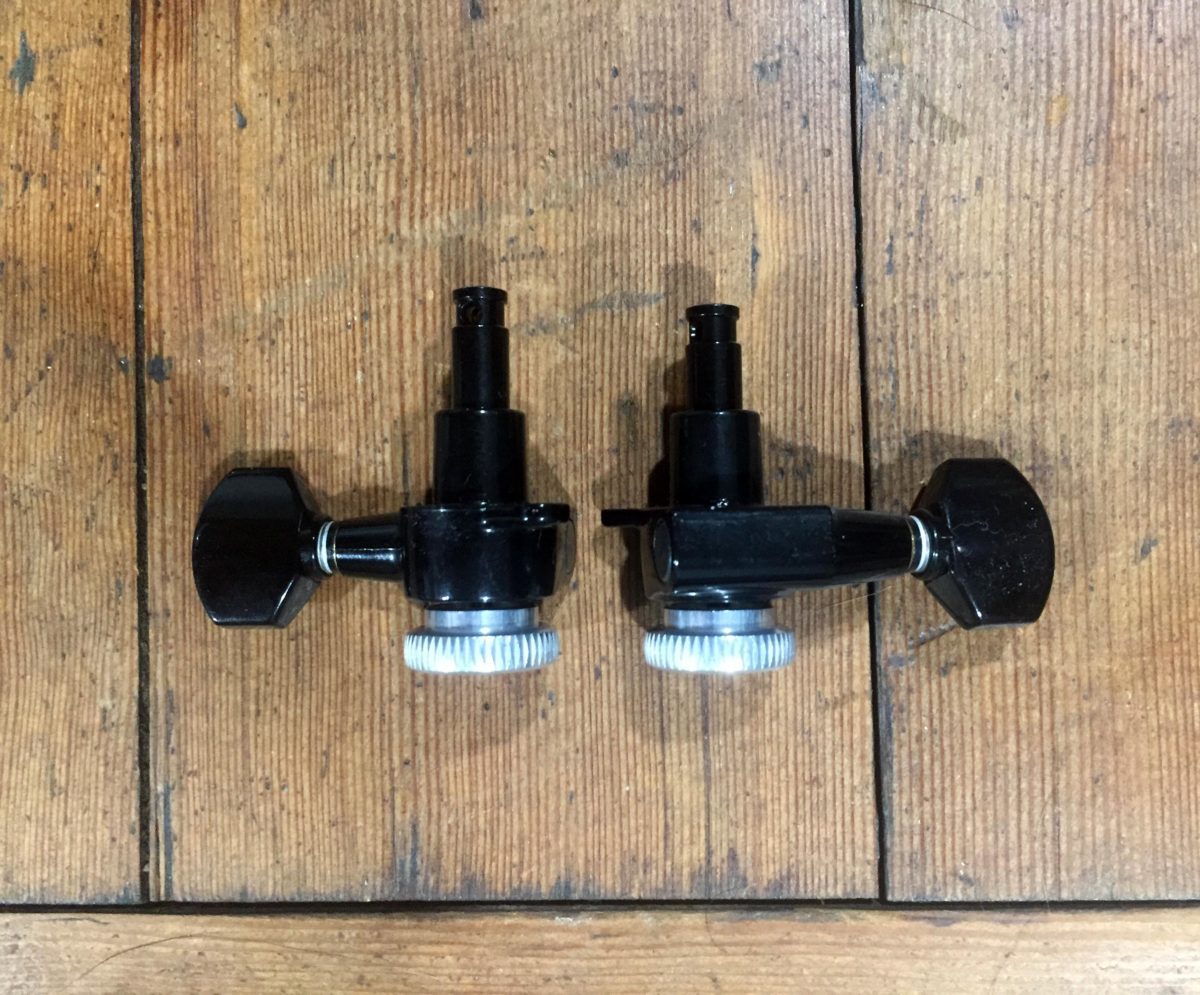
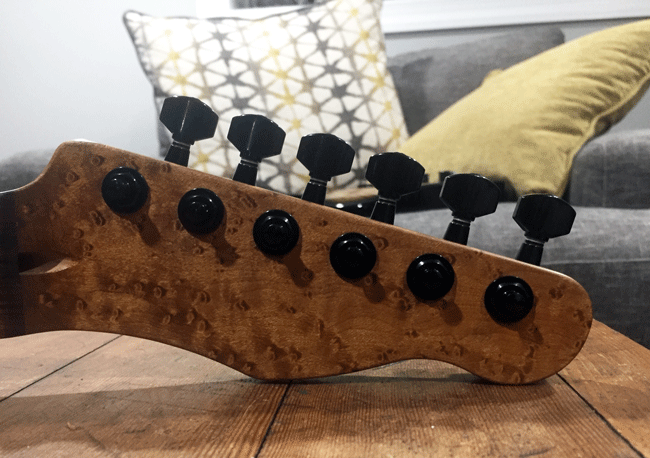
After quite a bit of deliberation and a healthy dose of weighing my pros and cons, I decided that I ultimately just wanted a set of locking tuners for my build. It’s of course a practical move — locking tuners allow for near-effortless string changes. These days, locking tuners are down to a science and multiple brands are offering excellent options to satisfy any savvy consumer or specs nerd out there. The tuners pictured above are the Gotoh SG381 Magnum Lock tuners. It’s a blend of a not-too-flashy modern tuner design paired with the classic turn wheel locking mechanism. I went with Gotoh for their general reliability, the extensive tuner options they offer and their decently high gear ratio.
A higher gear ratio (in this case a 1:16 ratio) allows for a finer degree of tuning control. Without getting too detailed, the ratio is the amount of turns required for the tuner shaft to make one complete revolution, so in this case, 16. I love fine control on my tuners for obvious reasons, but 16 is a great middle number that isn’t excessively high. Overall these tuners look slick and balance exceptionally well on my bird’s eye maple neck finish. Despite it being a locking tuner, the weight is not overly bulky and I run very little risk of the guitar being neck-heavy. There are plenty of other tuning varieties from non-locking vintage style to modern that also work great too, so consider all of your options and see what’s right for your needs.
The Installation
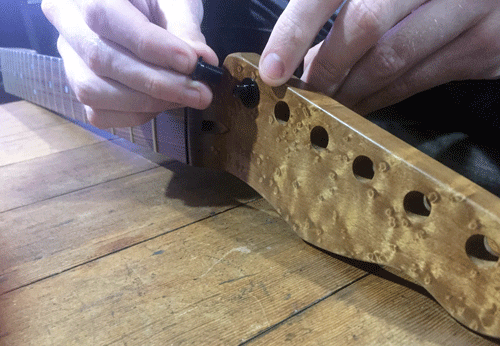
Place your washer and then the nut for each slot. 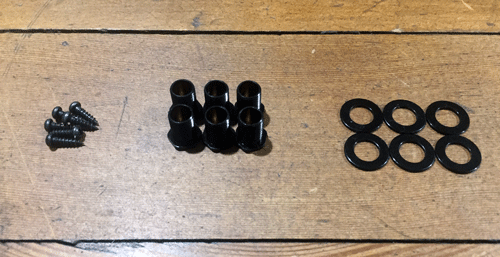
The tuner’s components
Get your tuners ready to go and place the washer and then the nut onto the post and affix that to the headstock of your guitar. At this stage we don’t want to tighten the tuners down just yet, so finger-tight is adequate. I’ve shown a few pics of this for clarity in case there is any doubt of the order you should assemble these pieces, but it’s pretty obvious.
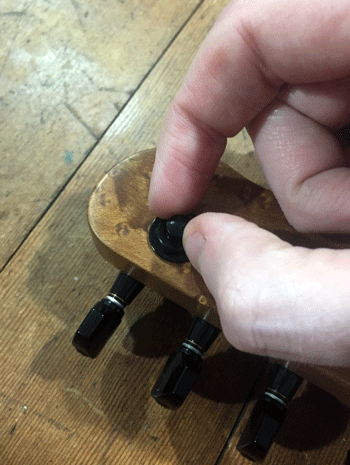
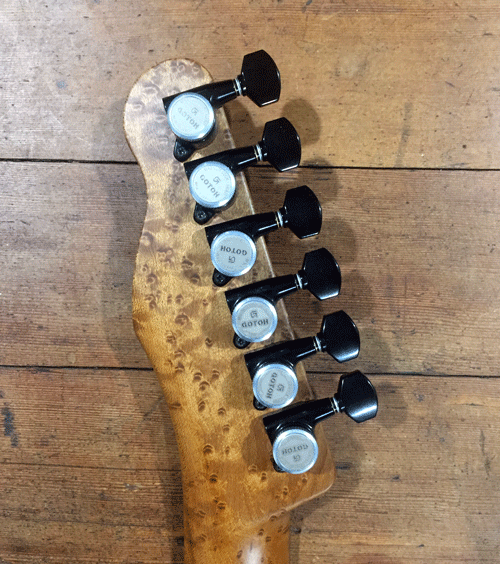
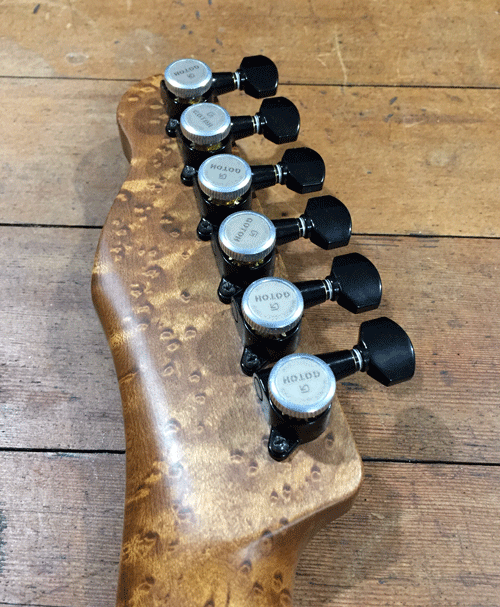
For my Gotoh tuners, I had two different sized posts which allowed me to not have to install string trees. I simply had to place the taller three tuners on the lower 4, 5 and 6th string spots, and the shorter tuners on the higher 1, 2 and 3rd string spots. Easy!
Of course this was a handy feature of the Gotohs, but if you’re installing regular tuners you’d usually need to have a string tree installed to properly regulate the tension of the strings behind the nut and keep the strings firmly seated in the nut slots. Investigate if your guitar will need one of these small but crucial pieces. If so, you’ll just need to drill another pilot hole or two to accommodate the string tree’s mounting screws in the same fashion as is shown here.
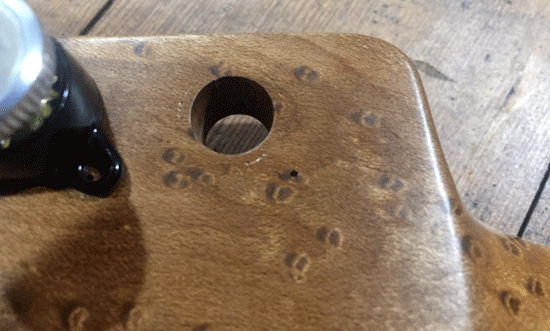
Next, I needed to get the ‘ole power drill out to fully prepare my headstock. There are small mounting screws on the back of each tuner that require pilot holes to be drilled in the headstock. Align your tuners, and use your marker to label each spot carefully before drilling out each hole.
My screws were around 2.4mm in size and therefore I figured a slightly smaller drill bit, around 1.5 – 2mm, would size up everything securely. Again, be sure to know the sizes of your screws and exactly what size drill bit you’d need to achieve proper fit. You can’t go back if you make a mistake at this stage, so just be prepared. If you’re unsure I’d suggest starting with a hole that will be too small and if necessary, increasing the bit size incrementally until its a good fit. And of course, keep those hands steady!
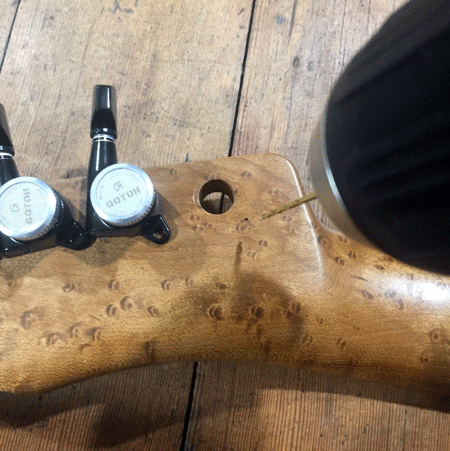
Drilling the pilot hole 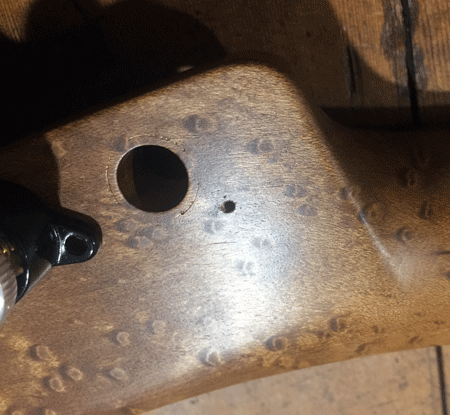
Finished
Once the proper holes are drilled, align the tuners across the back of the headstock before securing down the screws fully. If you’d like, you can use a straightedge or a ruler as I did to ensure your tuners are level with each other. Additionally, if you have a candle handy, you can coat the screws with wax to make them more easily affix into the pilot holes you just made. Bar soap is a great alternative if you don’t have a candle.
It’s a good idea to align the tuners relative to each other one by one as you go so they stay even. No one wants to see uneven tuners – it makes your guitar you’ve been working so hard on seem cheap and second-rate if you hurry through this step. Now would be a good time to go back and tighten up those tuner faces that were only hand-tightened as well.
If your tuners are installed evenly and feel secure, then you’re all good to go. The only thing left to do is to string up your guitar and hope it doesn’t explode apart. Now in my case…my guitar doesn’t have the neck connected to the body yet. Sad. For now, I must admire my handiwork and patiently await that glorious moment when I get to join the neck and the body in holy matrimony.
Building a custom parts guitar has been a fun project for me to chip away at on the side for when I’m feeling particularly practical. Overall, a tuner change was a pretty simple job but the added patience and clean work were rewarding for my finished product. I hope that these easy-to-digest posts are a helpful guide for all the other curious humans out there who want to get their hands a little dirty.
Honestly, I have no idea how this instrument will sound, but as it progresses I get more and more pumped to hear the end product. There’s only a few steps left – installing a neck heel plate, the nut, and then it’s off to the final stage for general setup work and neck adjustments, if any. Be afraid. Be very afraid. Or excited…that works too.




Leave a Reply