In our previous post we talked a little about DMX controllers and DMX-capable lighting fixtures. Now we can get creative and create a couple of scenes! Just like before, the ADJ Operator 384 and the Chauvet DJ SlimPar 56 LED light will be referenced.
Now, what is a scene? A scene is kind of like a saved preset that you can recall. Think of it as a saved “look” you have set up the lights to display. Most controllers have buttons that you can assign scenes to so you can engage them in real time.
Lets just jump right into it: the DMX controller should be off and zeroed out, meaning all the faders are down and all the buttons are turned off. The first fixture should be addressed to DMX channel 001. This example will include two more lights and two more DMX cables and power cables.
Daisy-Chaining Power
A cool feature of most lighting fixtures is their ability to daisy-chain power. Each fixture has a different power draw and number of fixtures that can be linked as stated in the manual. The fixture we are using requires a regular IEC power cable. Right under the power cable input there is an normal three-prong power input. This is very useful when you will multiple lights and have limited outlets. Again to make sure no damage happens to your fixtures, you want to make sure that you read the manual to know what the power handling is and how many lights you can link together. So, fixture one will connected to the power outlet, fixture two’s power will come from the outlet on fixture one and fixture three will get its power from fixture two.
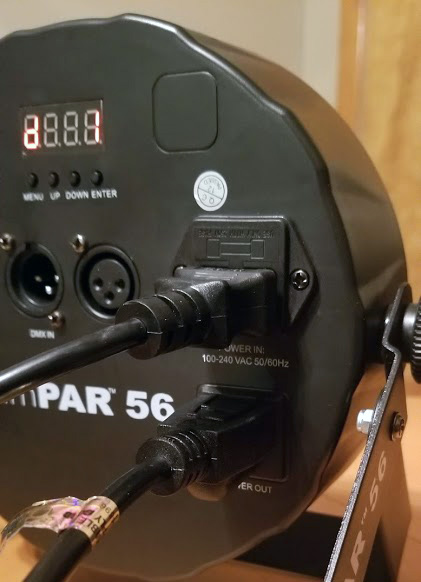
IEC power input for the Chauvet Slimpar 56 and the power output.
Assigning DMX Addresses
Now that the power is connected, fixtures 2 and 3 need to be addressed and cabled up. Fixture 2 will be assigned to DMX channel 033 and fixture 3 will be addressed to DMX channel 65. To assign a fixture to a DMX channel, hit the menu button on the back of the light, use the up button to scroll through the options until you get to 3-CH and press enter to use the three-channel mode. Then scroll up through the channels until you get to the channel you need and press enter again. You always have to press enter to assure that the setting gets selected, otherwise it will go back to its previous setting. Now that the fixture addresses are set, we can link them with DMX cables. The signal chain will be from controller output to fixture 1 input, fixture 1 output to fixture 2 input, and fixture 2 output to fixture 3 input.
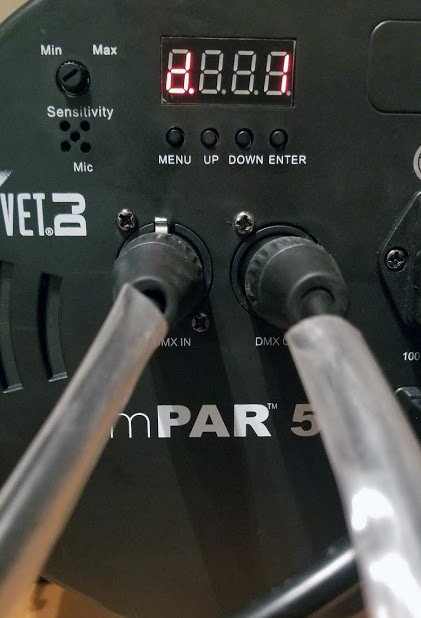
The fixture’s DMX input and output.
Blackout Mode
When you turn on the controller it will have the BLACKOUT setting engaged and the small screen on the controller will show a small flashing light. Pressing the BLACKOUT button will stop the light from blinking and allow the functions to be used. This is useful when you are ready to tear down or you want to shut the lights off quickly on the fly.
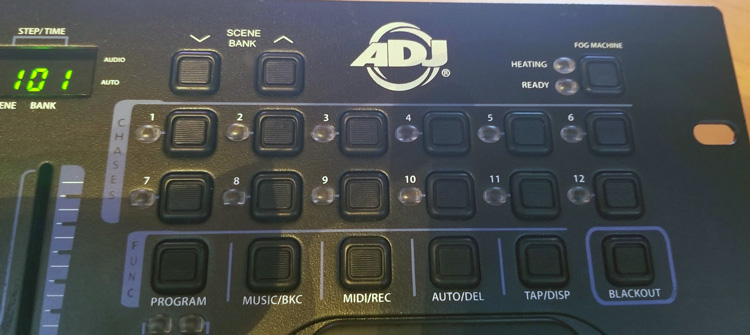
The function control section of the ADJ Operator 384 DMX controller
Setting Up a Scene
Since we are using the same types of fixtures and the three-channel mode, only the first three faders are needed. The first fader will control the red value, fader two the green value and fader three the blue value. To program the scene, the controller has to be in program mode, which is possible by pressing and holding down the program button until the small light starts blinking on the display screen. For this first scene, the first fixture will will be red, second green and third blue. This can be done by selecting the first fixture on the controller and using the first fader to make the fixture light up red and then pressing the fixture button again to deselect. Next you would select the second fixture on the controller and bring down the first fader and raise the second fader to light up green. Finally you would deselect the second fixture and bring the second fader back down and select the third fixture and raise the third fader lighting it up blue.
Saving your scene is a bit of a tricky process. To assign the scene to the first scene button on the controller, press down the first scene button and the button labeled MIDI/REC at the same time. If this is done correctly, all the buttons will light up and blink three times, meaning that it was successfully saved.
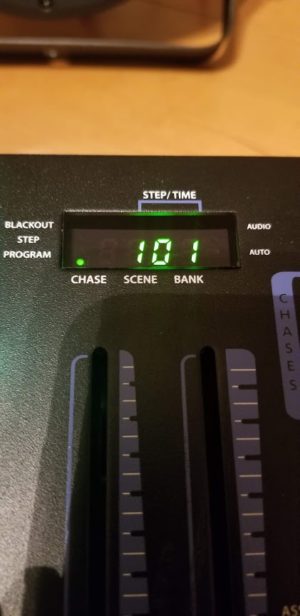
- The display screen for making sure the blackout is disengaged, checking which scene bank is selected and the values set on the faders
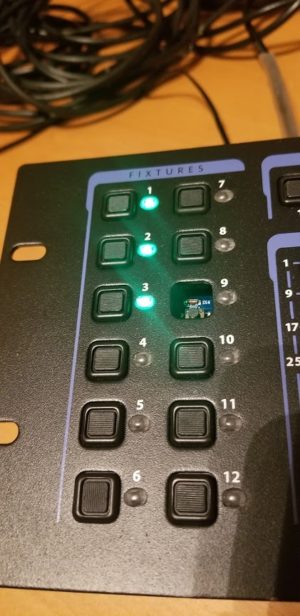
- The fixture select section with the first three fixtures engaged
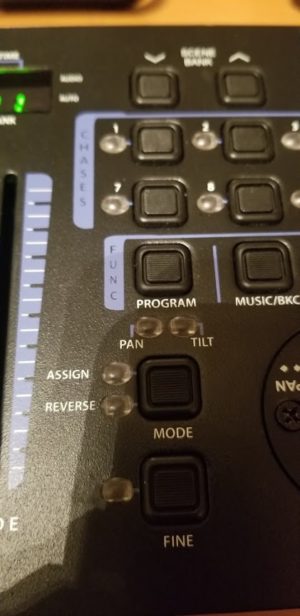
- The program function button used to get into the program mode by holding it for a couple of seconds

The scene selection on the controller used to switch in-between scenes
Next, you can repeat these exact steps, with a couple of differences. You can change the color of the fixtures, and when saving you would select the next scene button over. You can fill up the scene banks with as many as 8 scenes per bank and 30 banks are available for this specific controller. Here are the scenes one, two, and three that were programmed and saved on the DMX controller.
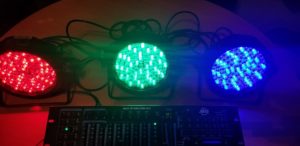
Scene 1, Fixture one is red. Fixture two is green. Fixture three is blue.
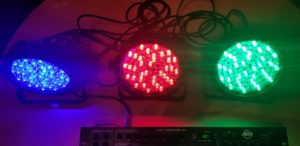
Scene 2. Fixture one is blue. Fixture two is red. Fixture three is green.
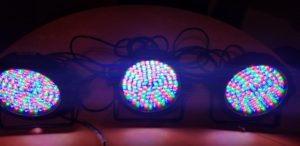
Scene 3. All fixtures are white.
Some of these functions can change depending on the controller’s layout but for the most part it’s the same process whether you use 2 lights or 20 lights. Using the channel setting on the fixtures with more channels opens up the possibilities of effects like strobing and automatic color changing programs within the lights. This is just the beginning of simple lighting control and you can go a long way from here. A little lighting knowledge can really help any party or performance pop and draw the audience in. Obviously this isn’t a Coachella setup but it’s a start!



Leave a Reply