A true hip hop fan cannot deny the impact that the Akai MPC has had on music. If you’re a fan of J Dilla or MF Doom, then you’re a fan of the MPC and some of its most talented users. In this post, we’re checking out one of the newer MPC models, the MPC Live, and discussing how to make a program to create a beat like the one I created for this post.
What is a Program?
If you’re new to the MPC, the term “Program” might lead you to believe that zZounds has started a new column on computer science. Luckily for both of us, that is not the case. A “Program” is essentially an instrument you can create within the MPC Live. You can assign a sample, or multiple samples, to be triggered when you hit one of the beat pads on the device. Once you’ve assigned all of your samples to the correct pads, you can then play your program like a drum kit. Today I will be using samples that I got from Splice.com, and I have provided links to the sample packs that I used.
Loading your samples
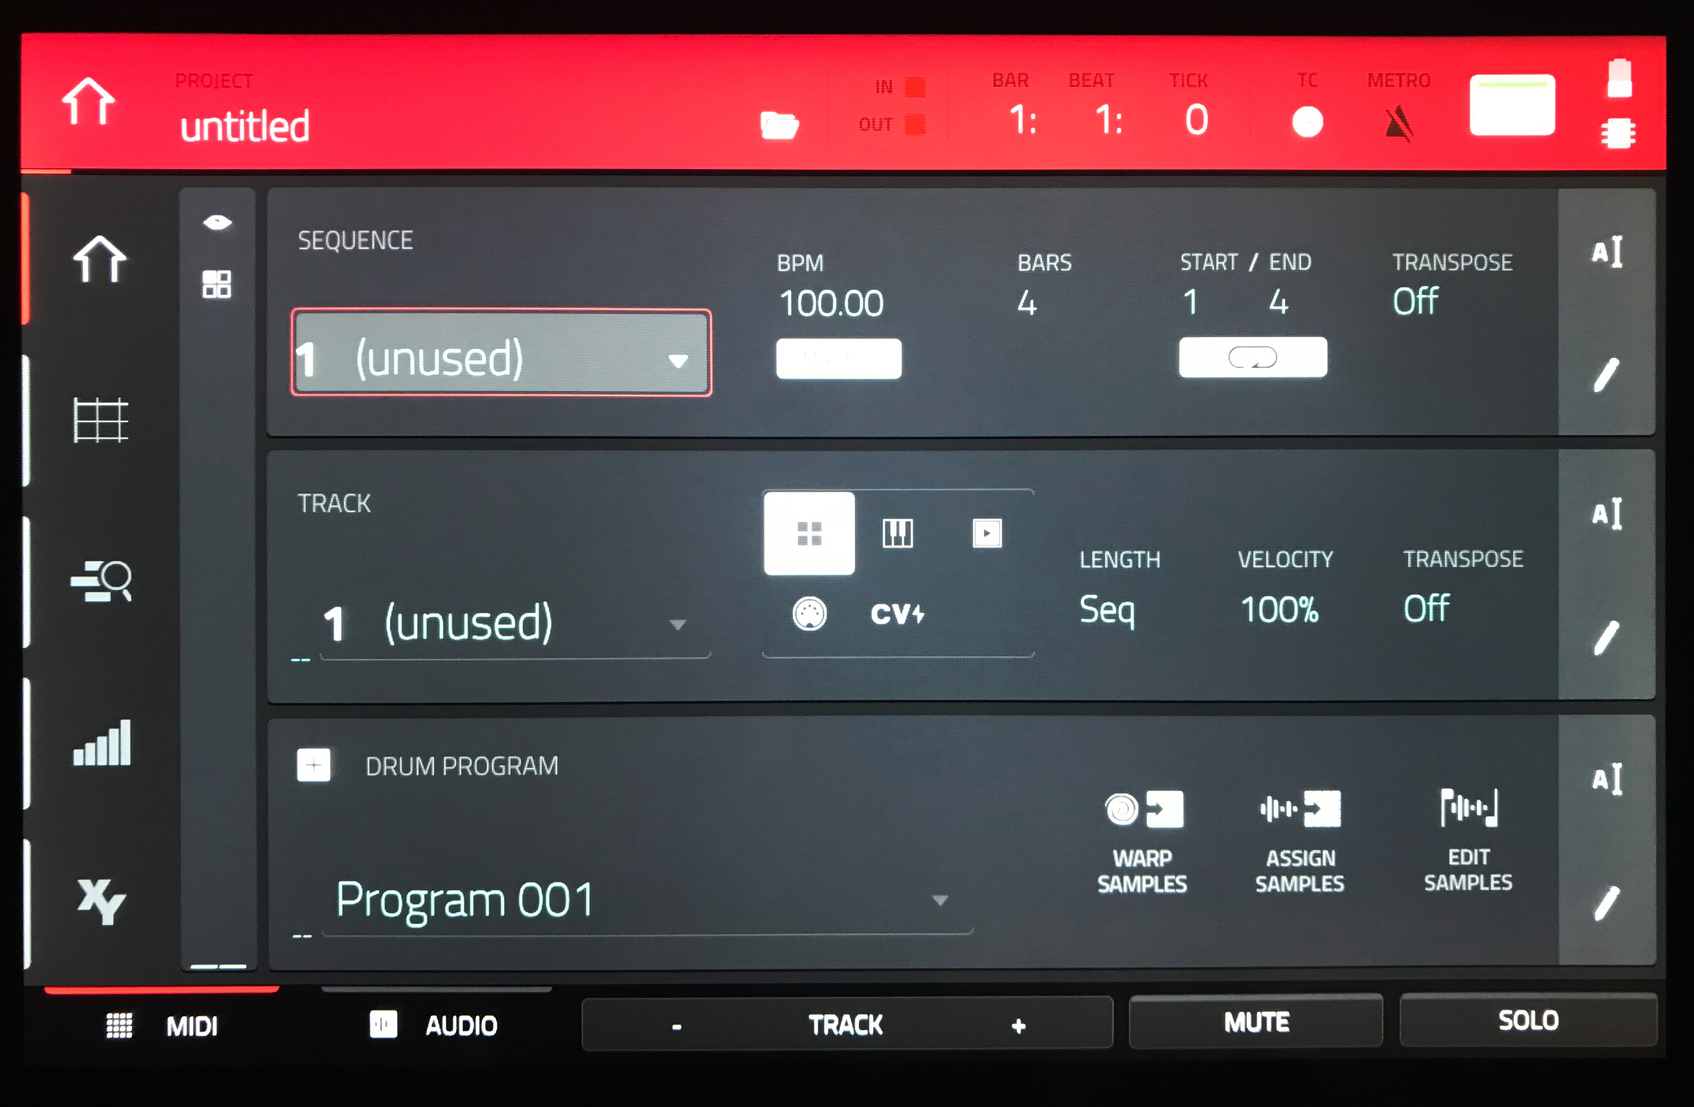
First, open up an empty project on the MPC Live ,and start at the Main screen. At the bottom, under “drum program” you will see “Program 001.” When you start an empty project, Akai gives you a blank program to which you can assign samples. To the right of the drum program’s name, click on the icon that says “assign samples.” This is where we’ll start assigning samples to our pads. On the left it’ll say that there aren’t any samples loaded in the project yet. Just go below that window and select browse instead of sample assign. This is where you can find all of your media. Personally, my samples are on a flash drive which can be located under “Places.”
Once you’ve located your folder of samples, you have to select the individual samples and hit “load” to add them to the project. Even if you’re going to use the sample in a different program, load it anyway. This will add the sample to your entire list of samples and will save some time when you make your other programs. I found some upright bass samples that I’m enjoying, and I will be using them as the starting point for my beat.
Assigning your samples
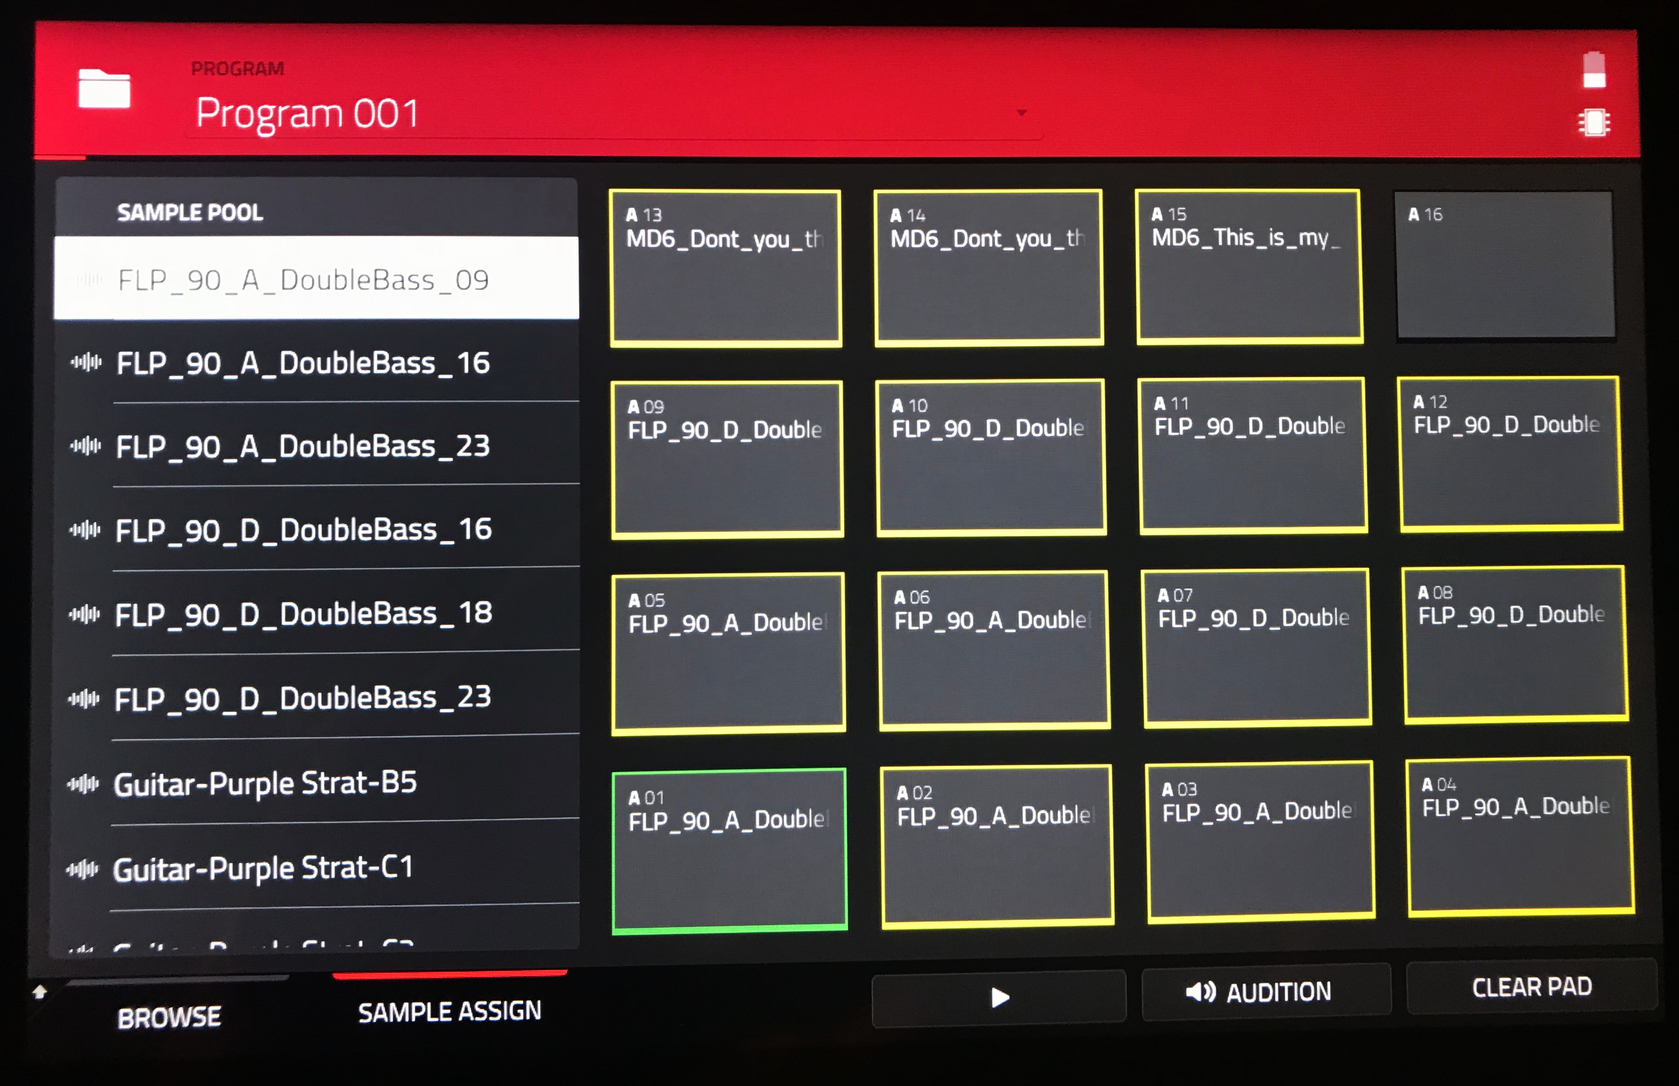
Now, go back to sample assign. You will notice that there are now samples in your project. To assign these samples to a project, hit the pad you’d like to use and then select the sample you’d like to assign to that pad. If the sample is long enough, I like to assign it to 4 different pads because I can then use the same sample in four different ways. Okay — our samples are loaded up, but we’ve got 4 pads playing the same music and we wanna make some creative edits to our samples.
Go back to the main screen, and select “Edit Samples.” This is where we can edit the start and end point of our sample, and make some global edits to the sample. Before you change your start and end points, notice what “slice mode” you are in. On the right, it’ll say “Pad” or “All.” If “All” is selected, the start and end point will change for every pad that uses that sample. If “Pad” is selected, your start and end points will only change for that individual pad. Put all of your pads in Pad mode. (You can go into the settings and make this your default. This will save you the added time of changing each pad in the future.) You may notice the “tune” option within the assign samples screen. This tuning option will change the pitch of the sample and will alter every pad that is using the same sample. Think of it as the global tuning of that sample. On the MPC Live, a half step is a value of 1.00 because it’s going up by semitones.
Altering your samples
We’ve got our start and end point decided…now let’s make some music, right?! Almost. Go back to the main screen, and go to “Warp Samples.” This is where you can make some decisions for just the individual pad. Sometimes, I like to tune one of my duplicated samples down 12 semitones (an octave). If I’m feeling extra jazzy, I might try tuning it down 5 or 7 semitones because it’ll give me some chords that are a part of the keys that are closely related to the key of the unedited sample. If you do a lot of pitch changes, you’ll start getting some warbly artifacts in there. Some cats like those artifacts, some don’t. That’s for you to decide!

The warp samples screen provides you with a world of possibilities. If you go to the LFO modulation screen, you will see that there are a handful of different settings that you can alter. Under modes, you can select your polyphony. If it’s in mono, it’ll cut off the sustain of the note when you play the same pad again. If you’ve selected Poly, it’ll allow you to play the same pad multiple times without cutting off the sustain. The mode that matters the most to me though, is the “Sample Play” mode. If you select “one shot,” the pad will allow the sample to ring out even after you’ve let go of the pad. If you select “note on,” it’ll only play the sample while you’re holding down the pad. I like “note on” a lot more for my style of beat making. It sounds choppier and it’s a lot more Dilla-esque to tastefully cut off your samples.
Now, there are a lot more settings that I could discuss within the MPC Live, but I think we’re all a little tired of clicking through some screens for today. Check out the quick beat I made with the upright bass program that I created.
Sample sources:
https://splice.com/sounds/frontline-producer/upright-bass
https://splice.com/sounds/loopmasters/movie-dialogue-vol-6
https://splice.com/sounds/rankin-audio/lo-fi-trip-hop


Leave a Reply