Few things in music have as profound an effect on tone as providing regular maintenance to your snare drum. By giving your drum a little T.L.C. every now and then, you can bring an old, dead-sounding snare back to showroom status and keep it up-and-running for years to come. By knowing the ins and outs of the shell, cleaning it up, tightening a few screws and tuning it, you can make a huge impact on the tone and lifespan of your drum.
Clean It Up
Much like when guitarists change out strings, removing an old drum head opens up a lot of opportunity for preventative maintenance on the rest of your snare. This starts and ends with cleaning up the drum. Once you remove the old heads you’re replacing you will notice any excess stick dust, dried-up moon gel and other mystery materials fall out from your hoops and the head’s rim; half the battle is already done there. But for the rest of it, just take a cloth or paper towel around the circumference of the drum to catch any left over. A great tool to have for this task is an air compressor or a can of compressed air, often sold in office supply stores. This way you can get that air into every nook and cranny of the drum, getting rid of all hidden dust and debris.
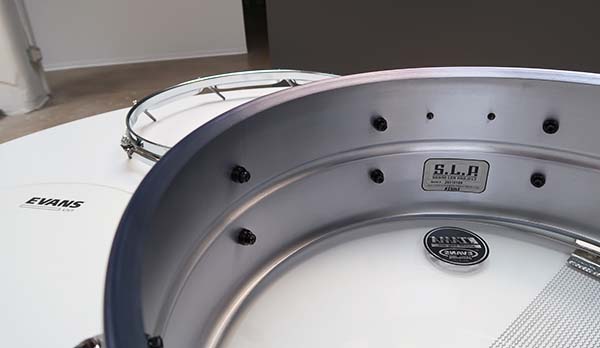
This also gives you time to check out the bearing edge of the drum shell. This is possibly the most important part of your shell’s construction due to the huge amount of tonal variation that well-cut (and poorly cut) bearing edges have on your drum. Bearing edges will collect any of the miscellaneous scrap listed above and need to be cleaned each time you change out heads so not to deaden the new head’s tone. Cleaning the edge is as simple as moving a towel around it, and then spraying it down with compressed air if you have any. Some drummers will take this time to sand the edge to their liking, but unless you have full confidence in your abilities or just watched a long and insightful YouTube video on the process, you should let the professionals take care of that procedure.
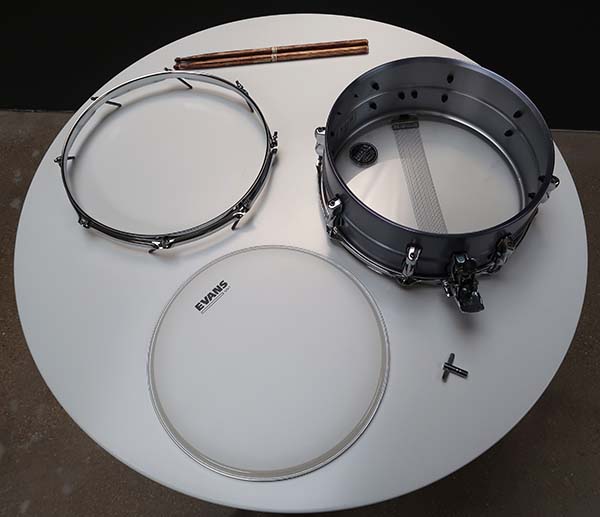
Swapping of the batter snare head.
Hardware Diagnostic
Once the drum is clean it’s a great time to take a look at drum hardware, especially on snare drums which have additional hardware like throw-offs, snare wires and mufflers. But at the most basic, this stage means tightening screws. Go around the circumference of the drum with a screwdriver and inspect the tightness of each screw. A loose screw can often cause unwanted rattle, or in some cases, a high-pitched buzz that ruins the drum tone you strive for in recordings.
Additionally, this is a perfect time to take a look at the health of your lugs and hoops. Unscrewing the lugs and inspecting any rusty or compressed lug springs and then cleaning them as necessary can save time in the future when trying to locate unwanted snare buzz. If the springs are compressed at all, just stretch them out a bit and reinsert them. If buzz persists you can throw bits of cotton ball into the cavity and this will work as a sort of dampener. When inspecting the hoops you are mostly looking for any bent or un-level portions that would make proper tuning impossible. The best bet when you find a bend in your hoop is to correctly realign it by using a table-mounted vise and some cloth to prevent scratches. Obviously, this is a bit of a DIY solution, so bringing it into a drumshop would be a better idea if you don’t have the proper tools.
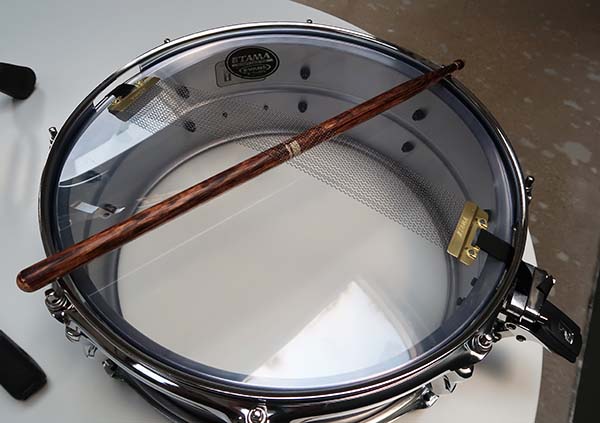
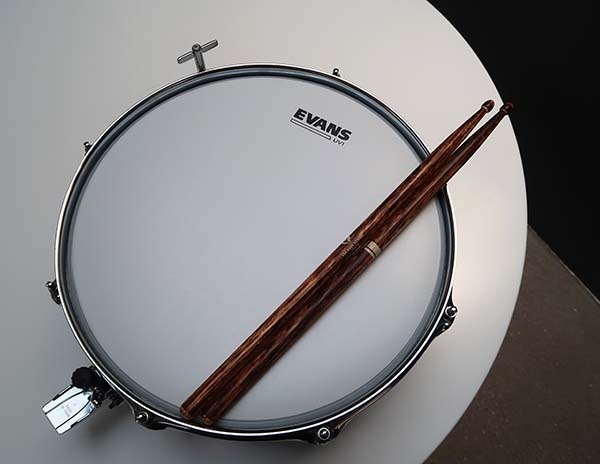
The “stick under snares” hack for tuning the resonant head.
Head Installation and Tuning
Since, by nature the snare resonant head lasts much longer than your batter head, you will be only changing your snare’s batter head most of the time. But on the rare occasion you need to change a resonant head or you just feel like mixing things up on the snare side, it’s best to install your heads and then tune the resonant head first with snares off. Because you’ve already taken off your snare wires due to previous hardware maintenance this won’t be a big deal, but if you are tuning your resonant head on the fly, there’s no need to take off the straps to your snares. Simply disengage the snare throw-off and slide a drumstick in-between the snare wires and head, resting the stick on each side of the hoop across the diameter of your snare. This keeps your snares out of the way while you tune, helping you get the most accurate tuning possible.

An example of the “star pattern” used to tune a snare drum.
When tuning a snare drum, it’s important to keep in mind the power of tension. Tension on each lug affects the tone and timbre of your snare but can also be detrimental to your brand-new snare head if proper procedure isn’t followed. The most popular tuning procedure is called the “star pattern.” This is about as straight forward as it gets: follow each lug to its opposite lug in a star pattern around the drum until each is at a similar tension. This prevents bent hoops, ripples in your head, or even a head ripping.
Use a drum stick or your drum key and tap on the drum head about an inch or two from the lug near the hoop. After you’ve gotten each lug close enough, you can begin the fine tuning stage and jump around to each lug and adjust it as necessary. Repeat this process for the batter head and you’ll be ready to play! It’s important to keep in mind that tuning for the batter and resonant heads can differ, for example the batter head could be tuned higher than the resonant head. There is no correct way to tune your drums, so always plan on experimenting with new tuning methods for the heads you are trying out. Finding a perfect tone is greatly rewarding and can only be done with a little bit of experimentation.
All finished! A fresh head is added to our snare!

