My band and I have been rehearsing in the same building since 2014. It’s one of those “warehouse-turned-band-practice-space-compound” type of deals that you come across in big cities like Chicago — except it never turned fully “practice space.” In its original form, our building was a cold storage facility in the Stockyards industrial district of Chicago. All the owners really did when they converted the building was add as many rooms as possible, and didn’t really think about the acoustic consequences.
The rooms are mostly awkward in shape and size, and you can almost always hear your “hip-hop producer” neighbor on one side, and your “thrash metal blast beat armchair expert” neighbor on the other. We’re a loud band, so we never really cared much, as we drowned most of that out anyway. With a rug here and a tapestry there, we could get most of the small rooms that we inhabited sounding pretty alright — enough for our amps and drums to sound the way they should and the cymbals to not be too shrill.
The only thing we ever struggled with was that all the rooms were too small. We have a bit of a problem with gear hoarding, so with our actual backline — plus all the extra amps, cabs, etc. that we weren’t using — our rooms got pretty crowded. When we outgrew one, we’d move to a slightly larger one, then outgrow it. So, when the opportunity came to move to a much larger room — about three times bigger than the biggest we’d had so far — we jumped at it. We ended up moving to the biggest room in the building, which has been our most comfortable rehearsal space yet, but its slightly awkward shape has presented its own challenges, mainly with sound treatment.
The Room
The rehearsal space measures roughly 18×40, but is broken into two rooms by a 6×6′ cement and brick pillar. The first room is about 10×18′ and the second room is about 24×18′. It’s your typical warehouse basement construction with cement floors, brick and plaster walls and about an 8′ ceiling. Before it was ever a practice space, this room housed the motor for the building’s freight elevator, which is still in the room, as well as a few very old circuit breaker boxes.
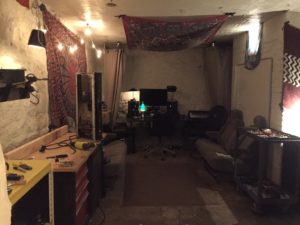
When we first moved in, we decided that the smaller room would serve as more of a lounge/workspace and “control room” for recording purposes, and the larger room would be the “live room” where we would actually rehearse. To get an idea of what we were working with, we set up our drums and amps in the empty live room with nothing but a drum rug and played a song. As you might expect, it sounded terrible. Sound bounced off of every concrete surface and the elevator machinery and old metal boxes rattled wildly with every bass note. Our mission then became to deaden the the troublesome parts of the room as much as possible.
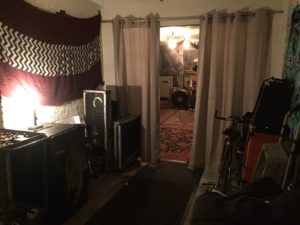
- “Control Room”
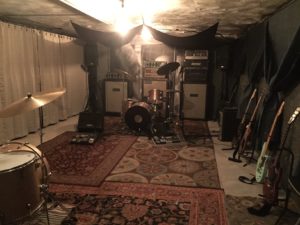
- Entryway to the “Live Room”
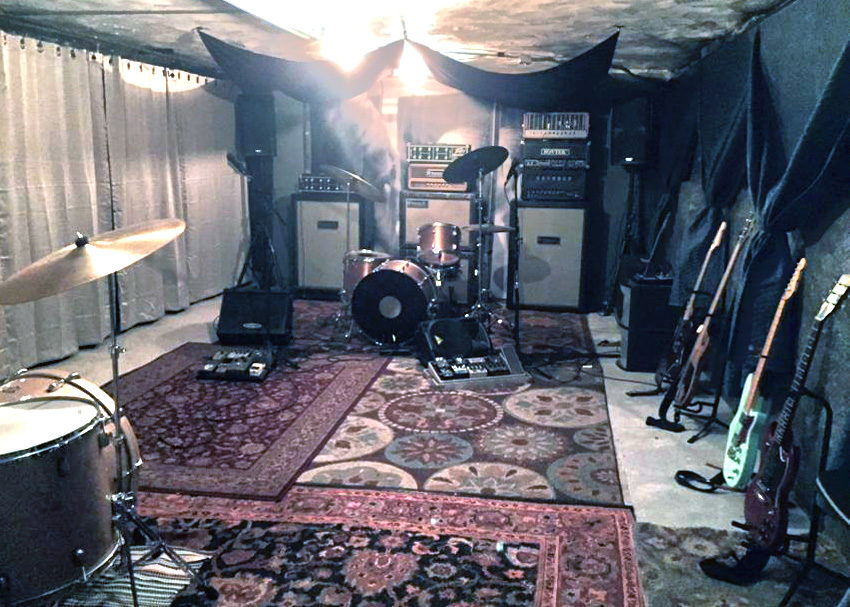
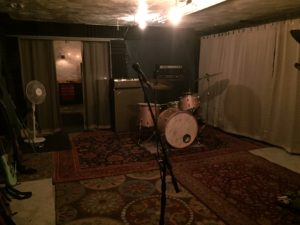
- “Live Room”
- “Live Room” looking toward the “Control Room”
The Treatment
We sourced several rugs and carpet remnants from Craigslist and thrift stores to cover the entire concrete floor, then hung moving blankets and curtains in front of the old elevator equipment. This combination virtually stopped all the metal vibration, but we were still experiencing some harsh reflections from the ceiling and the untreated walls in the room. We then draped some thin fabric sheets directly above the drum kit, which helped immensely with harsh cymbal wash. The remaining bare walls were still an issue, so we covered one entirely with thick moving blankets, and covered the remaining surfaces with acoustic foam.
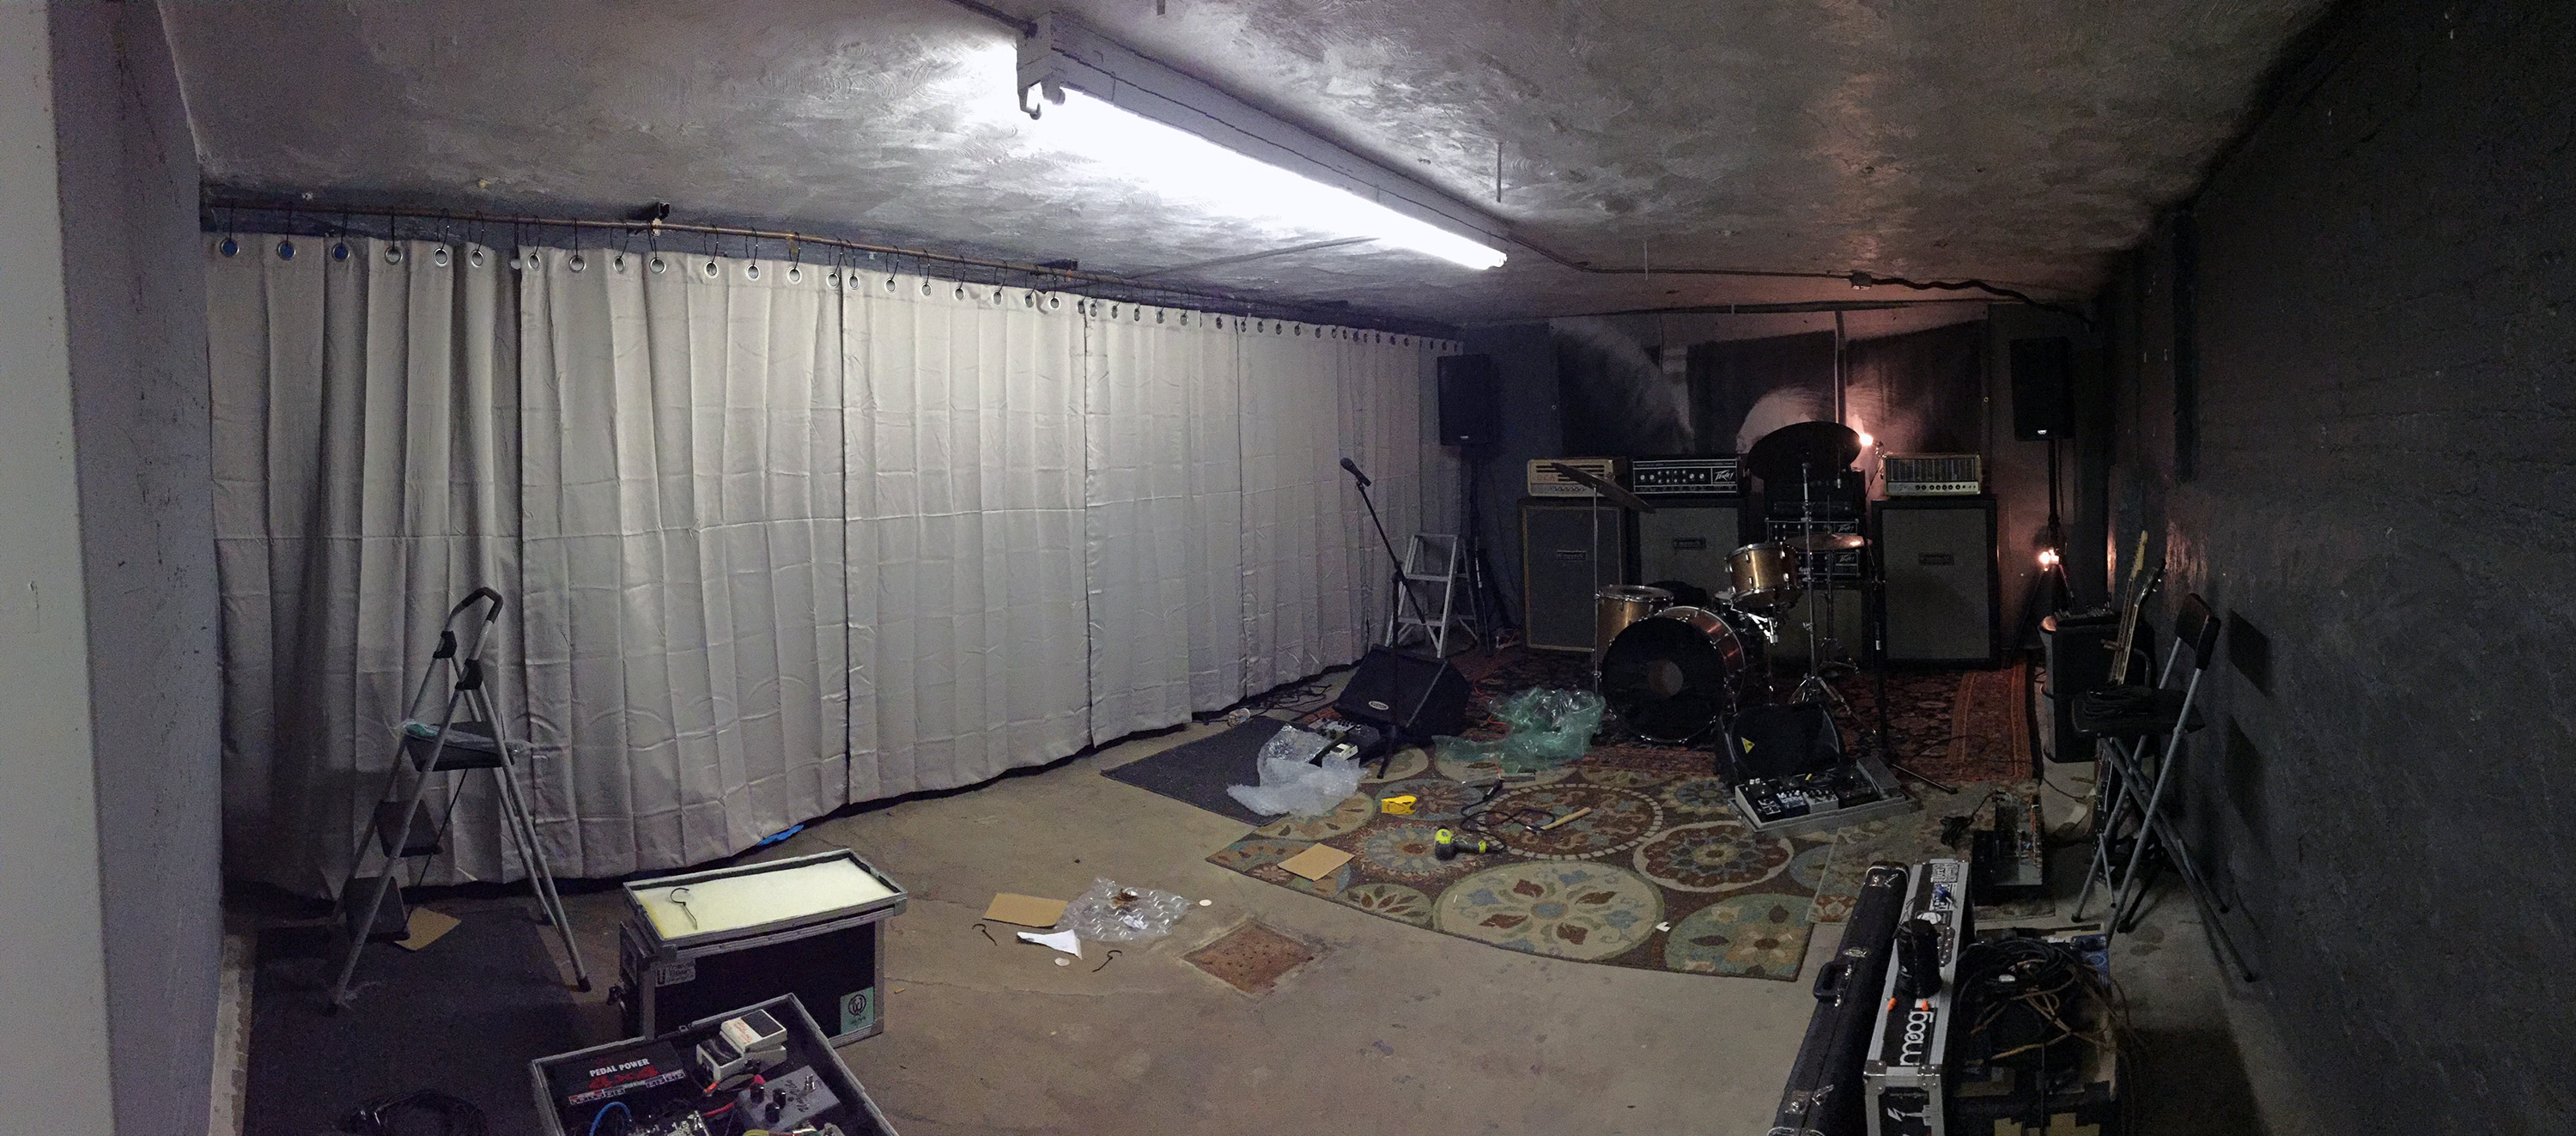
The “Live Room” early on in the treatment process.
At that point, we realized we had gone too far. The room was essentially an over-sized isolation booth — entirely dead, with no ambient reverb to speak of. We had over-compensated for the harsh reflections and vibrations by completely covering almost every smooth surface in the room, giving the sound nothing to reflect off of. Luckily, nothing we’d done was permanent.
First, we addressed the wall of moving blankets. We didn’t want to go back to square one completely, so rather than take them down, we gathered each one in the middle with long zip ties. This left large, vertical, bow-tie-shaped sound diffusers every three feet or so along the longest wall in the room, with a brick wall behind. You could immediately tell the difference that having this wall only partially deadened provided. The room instantly felt more “live,” yet we were still dealing with a strange lack of resonance and low-end — especially from our amps.
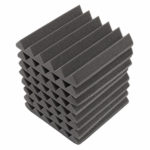
- Acoustic Foam
- Zip Ties
- Moving Blankets
We knew that what the room was missing was a wood floor, however, we weren’t going to spend hundreds of dollars on building a floating floor when we don’t own the space and might one day have to rip it out. Amps — especially large cabs like we use — really benefit from having a hollow wood floor to couple with. It helps the bass response immensely and allows the amp to resonate. We considered either building a floating floor that would be just large enough to fit the drums and cabs, or even one just deep enough for the backline of cabs to sit on to cut material costs and build time. Lucky for us, an office space next to our building was being gutted and among the debris being thrown out were several semi-hollow wooden sliding closet doors.
We brought the doors inside, cleaned them up, removed the hardware and laid two end-to-end along the back wall of the live room to create a roughly 2×12′ floating floor. We re-arranged our gear, putting our cabs on top of the new wooden platform and could instantly hear a difference in the way our amps responded, with the low-end and sustain dramatically improved. Though we haven’t gotten around to it yet, our plan for the remaining salvaged doors is to create moveable diffuser panels that we can use to separate amps, etc. during live tracking, or to slightly shape the room in different ways.
The Lesson
There are a million ways to go about treating your space. It all depends on what your main goals for the space are and what your budget is. In our case, our goal for the space was to have a comfortable place to write, rehearse and record the occasional demo, and our budget was pretty low, leaving us to treat the room with what we could find on Craigslist, the hardware store — and in some cases, the dumpster.
Since we’re in a building dedicated to musicians being loud, we weren’t too concerned with soundproofing — more so just treating the room in a way that sounds as natural as possible. If we were treating the basement of a house, or some type of room where actual soundproofing is needed, the way we went about things would have been much different and probably would have required more of a studio-minded “room-in-room” construction.
Though it wasted a little bit of time and left us with some extra materials, I feel like our approach of over-treating the room helped in the long run because it got us to a point where the room was completely dead, then we could slowly peel back certain layers and liven up the room, rather than blindly hanging blankets and foam until we hit the sweet spot. We can now use the extra materials we were left with to make moveable diffusers, partitions, etc. to allow us to constantly change the layout of the room to suit our needs on any given day.
Now, after a few trips to the home improvement store, a couple Craigslist rendezvous, a dumpster dive and not much money spent, we have a comfortable space to work on our music. The sound has greatly improved from its concrete box beginnings — I can’t say it’s studio-quality, but we’re figuring out ways to make it sound better every day.





Leave a Reply