In this installment of Building a Guitar, I’d like to focus on one of the most important aspects of any guitar: the neck. The neck is the literal “feel” of the guitar, as you manipulate it most from this area as you play. Because of this, a lot of care and attention to detail is necessary to get them just right. As I’ve played guitar over the years, I have naturally gravitated toward a preference for satin finish necks for their feel and the lack of stickiness, which you can sometimes get from a gloss finish neck. This preference went undisturbed for years until something unexpected happened: I played an Ernie Ball Music Man guitar that had an “oil and wax” finish, and I was absolutely floored at how great it felt.
While I was planning my guitar build I immediately knew I had to replicate that finish on mine as well. This is a general walkthrough on how to accomplish this surprisingly simple task, and in my opinion, it is well worth the time invested.
Supplies
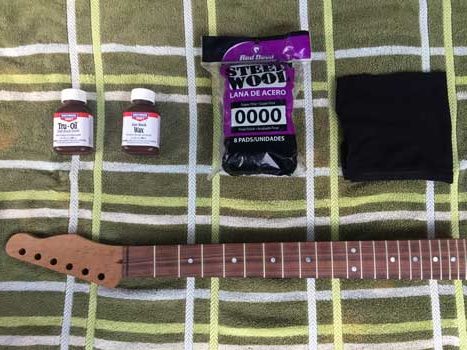
- Birchwood Casey Tru-Oil Gun Stock Finish
- Birchwood Casey Gun Stock Wax
- Cloth for application
- 0000 Steel Wool
- Free Time
- Patience
Getting Started
The finish will need to be applied to a bare wood neck ideally, so be sure to either buy one yourself, as I did here, or remove the finish from a neck you already have with fine grit sandpaper. Here are a few glamour shots of my custom neck, which is composed of roasted birdseye maple wood. In this case, “roasted” means the wood has been heat treated to stabilize and improve its tone. It has a gorgeous pau ferro fretboard, with striking grain striations that are visible even without any finish.
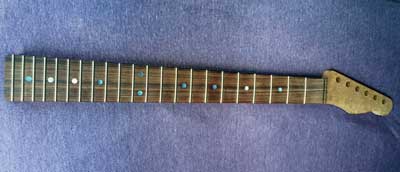
Pau ferro fretboard
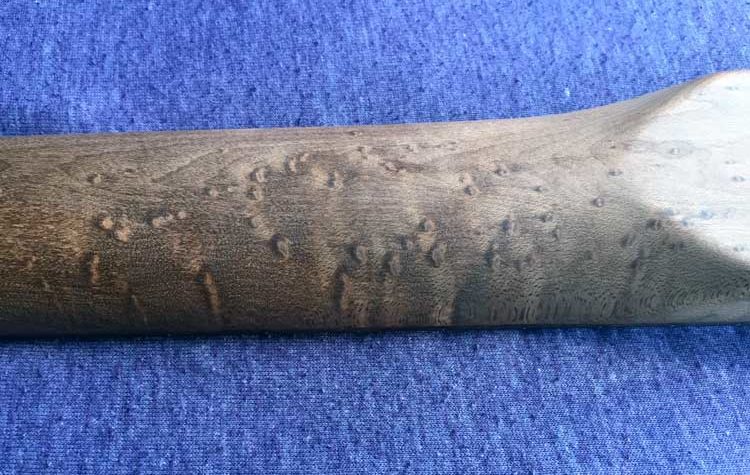
Roasted birdseye maple neck
Check for surface imperfections
Once the old finish is removed, you can begin applying the new finish. Birchwood Casey Tru-Oil is more of a varnish, and is pretty odorous, so this application must be performed outdoors, or in a highly ventilated area to prevent inhalation of the fumes. But before you can apply the varnish, you need to ensure that your neck’s surface is fully able to evenly absorb it. The best way to get rid of any surface imperfections is to use a fine grit steel wool, in this case 0000. Be sure to evenly go over the surface of the neck to smooth out the back of it – not much is necessary before the finish goes on.
Tape off edges
Next, you need to protect the fret edges and the fretboard surface from getting any stain on them, so you’ll have to tape up the fretboard edges. Use a tape that won’t leave a sticky residue when removed, such as blue painter’s tape. (I didn’t have any on hand and had to clean the excess residue off of my neck, so don’t make my mistake!). Be sure to wrap the tape around the outside edge of the fingerboard where it meets the neck to prevent any varnish from staining the fretboard edges.
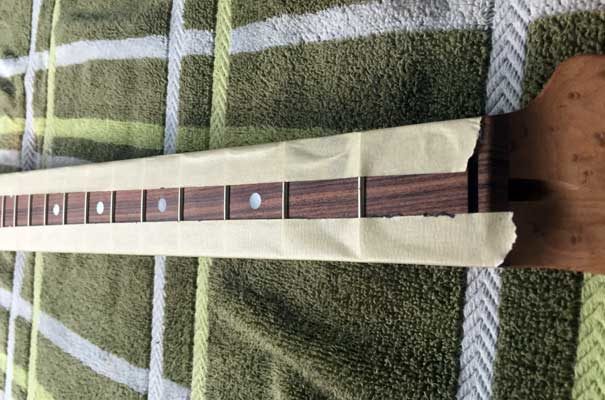
Masking the neck
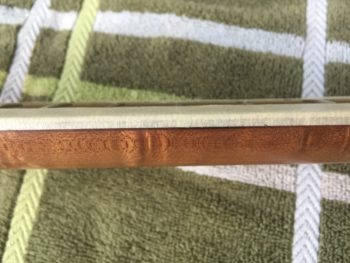
Masking the fretboard edges
Applying the Finish
Now that your neck is smoothed out and properly masked with tape, we can begin applying the oil finish. The oil finish acts as a barrier between your corrosive hand oils and the wood itself, as well as preventing excess moisture from seeping into the wood. An added bonus of using the Birchwood Casey finish is that it has a wonderful amber tint to it, which really makes the grain of the Birdseye Maple wood pop when it absorbs the golden hue.
Application is easy – simply use your cotton cloth (if none is available, use a portion of an old cotton t-shirt) and apply a very small dab of the oil finish to the cloth — I turned the oil bottle upside down onto my cloth and back up, using the quarter-sized amount for my first coat. Begin wiping in long strides across the neck from bottom to top. Make absolutely sure, and this is important, to wipe the finish on with even amounts of pressure. If you push in too hard in one spot relative to another, more finish will be applied to the area of higher pressure, creating an uneven finish. The oil dries relatively quickly too, so spend a few minutes carefully applying the finish as evenly as is possible. Applying more finish to the cloth will be necessary once or twice each time in order to coat the whole neck with a small layer of finish. As I mentioned earlier, the smaller the coat the better – you can always add more and it’s much harder to remove finish. Here’s a photo of my neck after one coat:
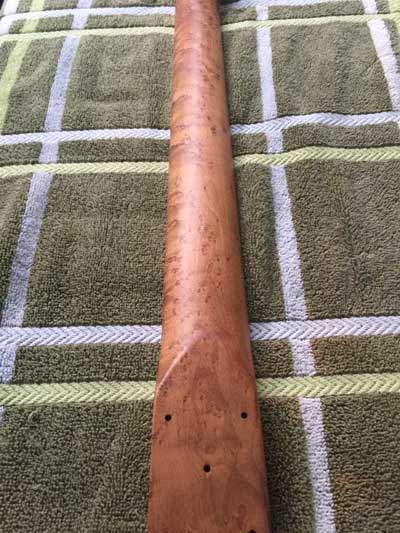
First coat of Tru-Oil
You will need to wait at least a few hours for your coat to dry, sometimes overnight depending on how much finish you apply each time. Touch the surface to inspect dryness – if it is not sticky then it is likely ready for another coat. Begin applying another coat as before. Here was my progress after two coats – you can see the grain becoming more pronounced, with an almost holographic look, and the amber tint is compounding to create a more golden-brown maple color:
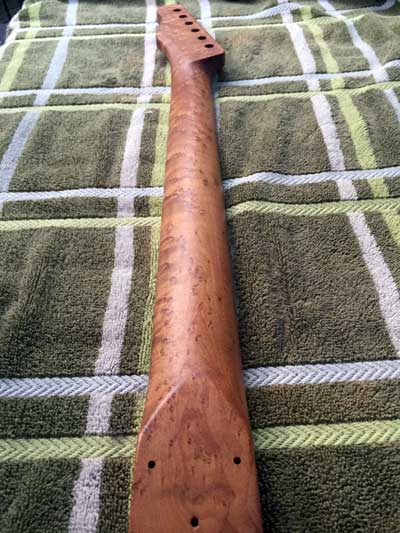
Tru-Oil Coat #2
Smoothing things out
This is an important step: Once your first or second coat of oil is dried completely, break our your trusty 0000 steel wool again. As before, run the wool in even passes along the entirety of the neck back and forth to smooth out the finish. I would spend at least 10-20 minutes of very gentle passings between each coat for optimal results. This gives the neck a very “glassy” feel too, increasing the slickness of the neck. You must do this between each coat of Tru-Oil to ensure the finish stays even.
Continue adding coats until the neck feels how you would like. I ended up at around 5-6 coats before it felt like a substantial enough finish, but wasn’t overly thick. Here’s a photo of my completed final oil application:
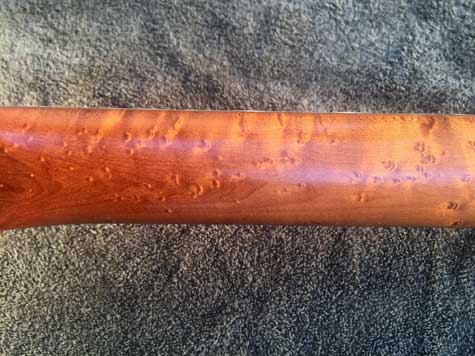
Finished oil application
Adding the Wax
The Birchwood Casey gun stock wax is a superb finish enhancer. It basically creates a more satisfying feel to the neck by reducing any slipperiness and gives it a better texture. It’s quite hard to describe, but it is definitely a step that you absolutely should not skip on. To apply the wax, coat a cloth (preferably NOT the cloth that was used for the oil) with a decent dollop, and smoothly go down the entire surface of the neck as usual. The wax is less definite – not as much care is needed as was for the oil. I ended up applying 2-3 small coats of wax, and each time I applied one I couldn’t help but want to apply another. Here’s the completed and finalized neck:
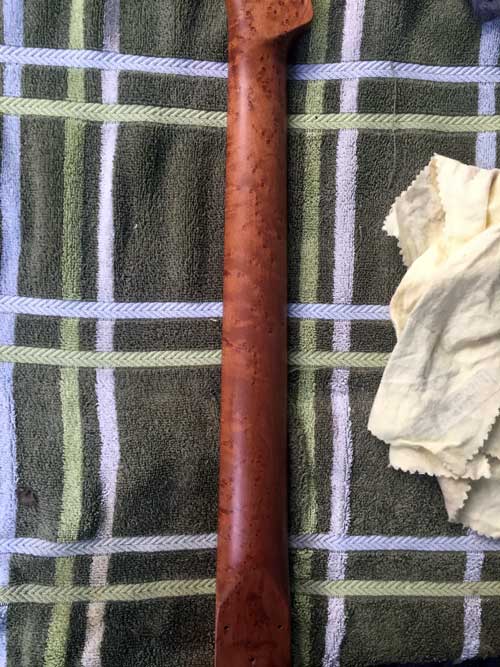
Completed neck finish!
Oiling the Fretboard
Now that you have finished your neck, step back and admire your beautiful work of art. But wait! We aren’t done just yet. Remove the masking from the fretboard and remove any tape residue (if any). Once you have completed this, decide if your fretboard will need to be treated or not. Mine was Pau Ferro, a Bolivian Rosewood (as it is nicknamed), so the board was naturally kind of dry and in need of some serious oil to give it some life. I ended up using a bottle of mineral oil to apply two or three tiny coats to the fretboard surface, which to my pleasure, greatly enhanced the look of the grain and gave it a great feel that was no longer dry. Check out my completed fretboard here:
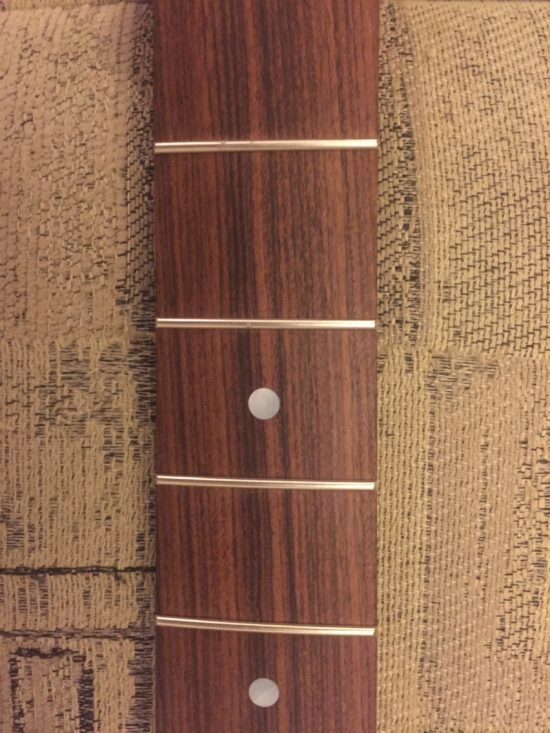
beautiful enhanced Pau Ferro grain
Dive In
To my surprise, applying a custom neck finish was not as scary as everyone made it out to be. It was both a fun experience that challenged my attention to detail and helped me gain a deeper understanding of what goes into making a neck feel how it is expected to feel. I firmly believe that my neck finish is the best that I have ever personally felt, but this is because I got to custom tailor it to my personal feel preferences. I encourage everyone to set out to do the same, and apply your own finish to a neck that you will build your guitar with – it is definitely worth the time and effort.


Leave a Reply